You can wear red in spring and still keep it fresh, not heavy! Go for cherry or tomato shades, then use a glossy jelly finish, a sheer pink base, or a clean red French tip on almond nails. For DIY, you’ll need a base coat, thin red polish, and a shiny top coat—add one tiny flower or cherry on just 1–2 nails so it stays light, bright, and cute. The best twist’s coming next.
Key Takeaways
- Choose bright cherry or tomato reds instead of bordeaux or maroon to keep the manicure light and springy.
- Use glossy or jelly finishes for a fresh, candy-like red that feels airy, not heavy.
- Pair red with sheer nude, milky pink, or soft pink bases to soften the overall look.
- Keep nail art minimal with one or two accent nails, like tiny cherries, florals, or thin French tips.
- Favor almond or squoval shapes and clean, thin details for an elegant, balanced spring finish.
Why Red Spring Nails Still Feel Fresh
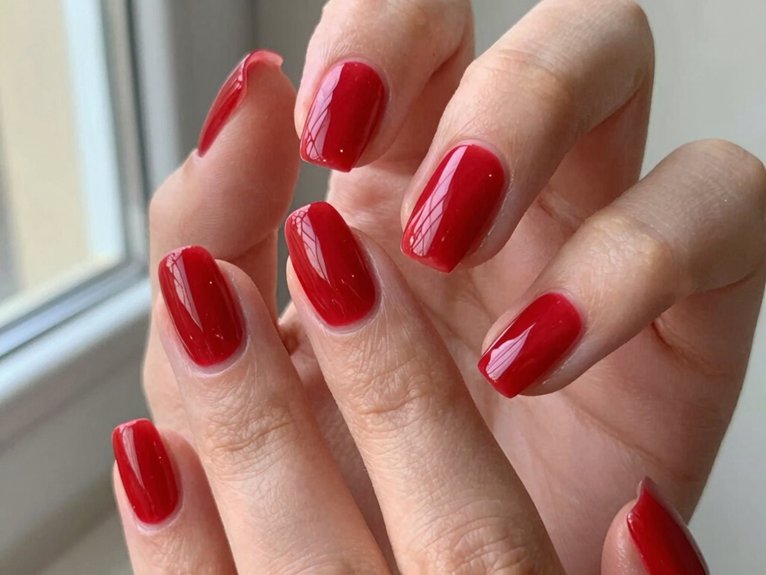
In spring, red nails can feel surprisingly fresh when you pick the right shade, because cherry-red and true tomato reds look bright and lively instead of deep and heavy like bordeaux or dark maroon.
You fit right in with this cheerful vibe, and glossy polish keeps everything looking just done, while a matte finish adds a modern twist—wow!
Try a sheer base for an airy look, or keep most nails solid red and add one tiny accent, like a cherry dot or a soft white flower.
That balance gives your manicure a soft texture, not a crowded one, so your nails feel fresh, easy, and totally spring-ready.
Choose Lighter Reds and Jelly Finishes
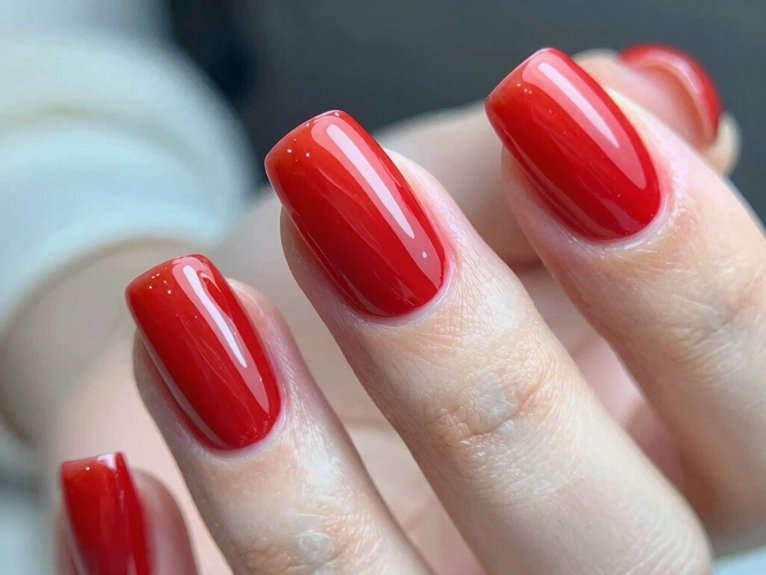
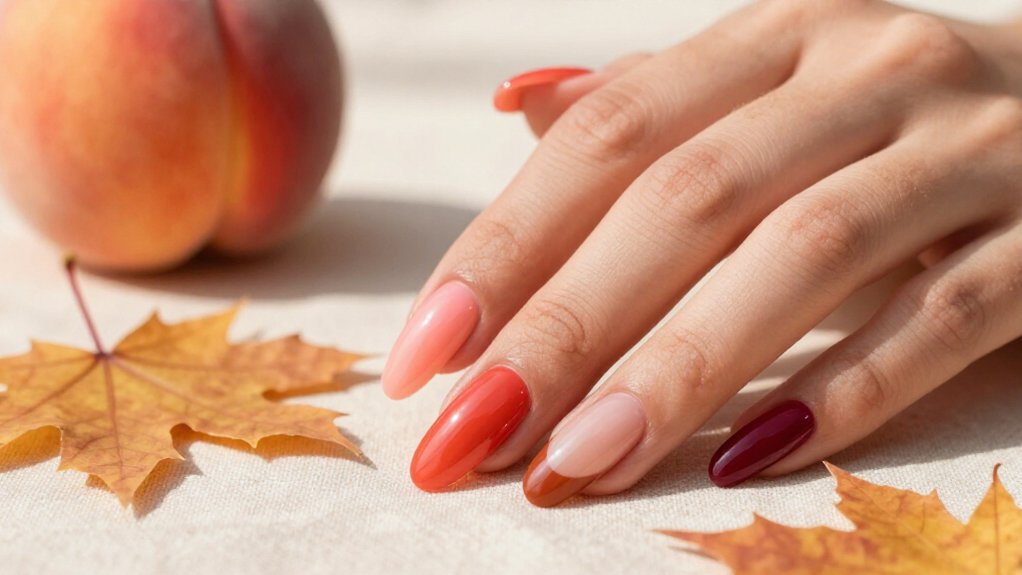
If you want red nails that still feel light and springy, start with a cherry-red or another brighter red that has a happy, fruity vibe—nothing too deep or wine-stained! This keeps your manicure fresh, not heavy, and yes, it’s way more spring than vampy.
Try a jelly finish, so a bit of your natural nail shows through for that glossy-candy look.
Almond or squoval shapes make the color glow evenly, too.
Want extra pop? Add a chrome topcoat for shine, or blend two lighter reds for an airy aura mood, with movement that still says, “I’m here!”
Start With a Glossy Classic Red Base
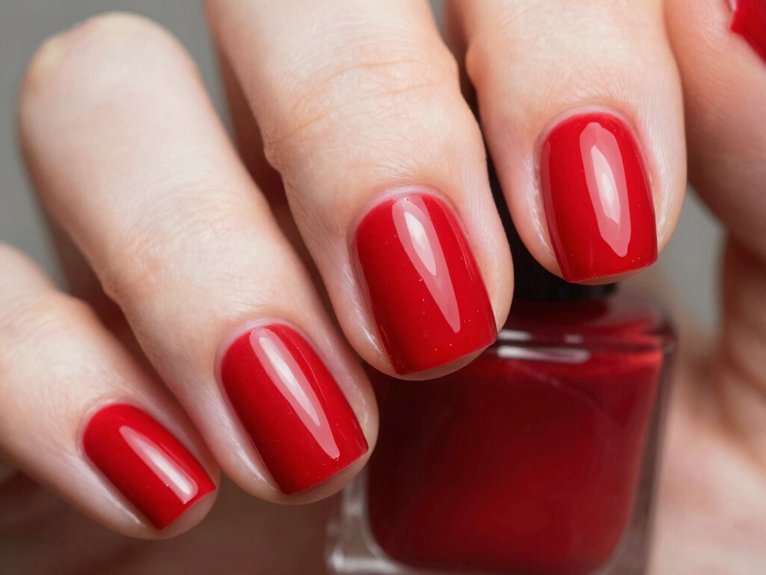
Start with a glossy classic red base, and you’ll instantly give your nails that fresh, bright spring vibe—think cherry candy, not heavy velvet.
You only need a base coat, two thin coats of true red, and a shiny top coat, which helps the color stay smooth, bold, and salon-clean.
Want the best part? That glossy finish can make red look lighter and more polished than matte or chunky finishes, even on a simple DIY manicure!
Glossy Red Foundation
A glossy classic red base does a lot of heavy lifting for you, and it does it with style!
Choose a cherry-bright red, add a proper base layer first, then brush on your color.
Your micro surface prep matters here, so smooth the nail, then let each coat dry fully, or let your jelly topcoat cures seal in that crisp shine.
Go for squoval or short square shapes, they look fresh, not loud.
Want a tiny twist? Add one glossy cherry or flower on one or two nails, and keep the rest pure red.
Cute, easy, and very “you’re in the club” energy!
Fresh, Lightweight Finish
When you want red nails that feel fresh instead of heavy, a glossy classic red on most nails does the trick beautifully! Pick a true cherry shade, not a deep burgundy, and you’ll keep that bright, happy vibe your crew can spot from across the room.
Keep the cuticles clean, then use thin brush strokes for smooth coverage, so the finish stays sleek, not stacked. Seal it with a gel-like or quick-dry top coat for top coat longevity, and try fast dry techniques so you’re not stuck waving your hands like a tiny fan.
Add one sheer accent nail, maybe two, and boom—airy perfection!
Add Cherry Accents Without Overdoing It
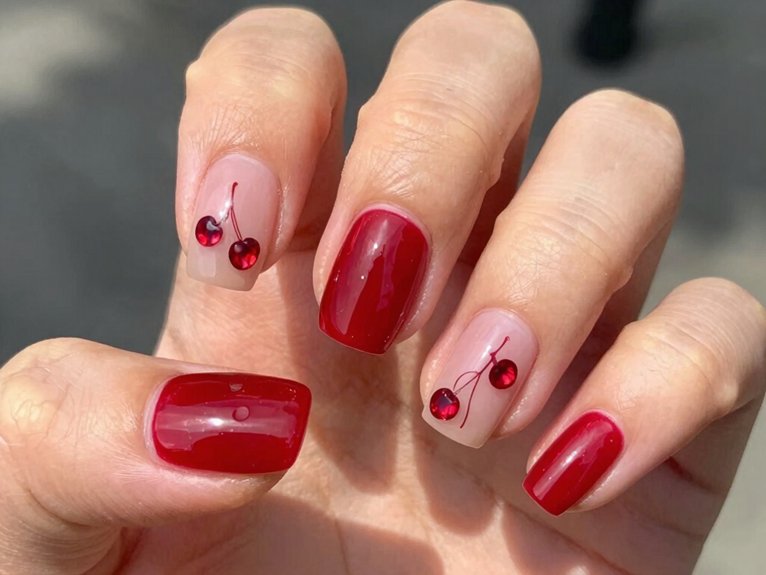
If you want your red nails to feel cute instead of crowded, cherry accents are the sweet spot! Pick a classic red base, then add tiny cherries to just one or two nails, so your set stays fresh, not heavy.
- Use contrast tip accents on clean red French tips for a neat twist.
- Try glossy topcoat prep before adding art, so everything looks smooth.
- Match cherry shades to your red undertone for a cohesive vibe.
- Place slightly oversized cherries with a fine brush, then seal with shine.
A tiny pop says, “I’m in the club,” without screaming it!
Try Strawberry Art on Soft Pink
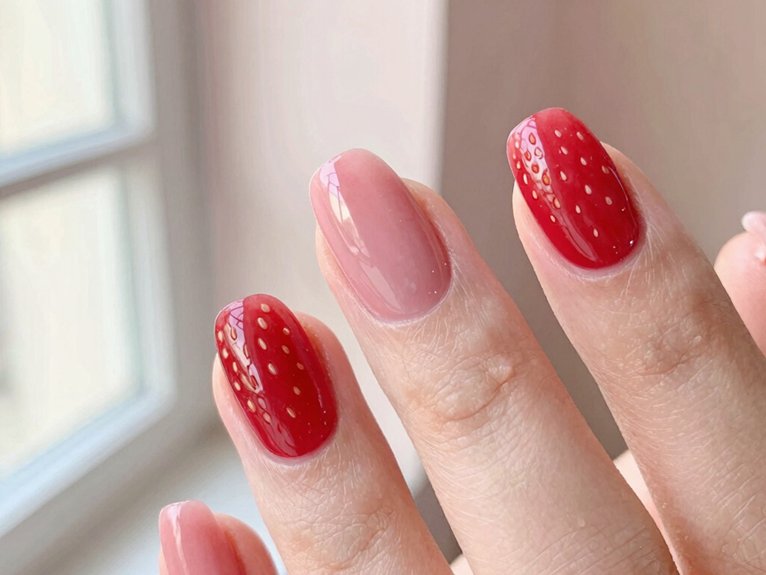
Start with a soft pink base, and let it do the heavy lifting so your strawberry art feels sweet, fresh, and not at all bulky—cute, right?
You can hand-paint tiny strawberries on one or two accent nails with a fine brush or dotting tool, then add a few seed dots and a lighter highlight so they look crisp and juicy.
Want the easiest wow factor? Pair those fruity nails with a couple of solid red nails, and you’ll get a fun balance that keeps the look playful without going full fruit salad!
Soft Pink Base
A milky or sheer soft-pink base is the sweetest place to let strawberry art shine, because it keeps the manicure light and fresh instead of looking busy.
- Start with layered cuticle prep and spring nail hydration for a smooth canvas.
- Paint 1–2 accent nails with strawberry shapes, using a soft pink fruit body and deeper red touches.
- Add tiny white highlights and clean edges with a fine brush or dotting tool.
- Pair the look with glossy red nails or subtle red tips for a cute, polished vibe, and wow, it feels spring-ready!
Hand-Painted Strawberry Details
That soft pink base is already doing the heavy lifting, so now you can let the strawberries take the spotlight without making the manicure feel crowded—cute, not chaotic, yes please!
Grab a fine brush or dotting tool, pick a true cherry red, and keep your strokes crisp so the fruit looks sweet, not silly.
For Nail art placement, paint just 1–2 accent nails, then tuck tiny seeds and green tops near the cuticle or tip for a fresh, polished vibe.
Color consistency tips: keep every berry the same red shade.
Finish with glossy top coat, and you’re set, bestie!
Balance With Solid Red
If you want your strawberry nails to feel fresh instead of overloaded, let solid true red do most of the talking and save the cute fruit art for just one or two accent fingers.
- Paint most nails cherry-red for instant polish and easy wear.
- Use a sheer pink contrast on the accent base for a lighter vibe.
- Add minimal seed placement with a fine brush or dotting tool.
- Finish with glossy top coat, so the red stays bold and the fruit feels playful.
You’ll get that sweet, springy look without the cartoon chaos, and honestly, your hands will look like they belong at the cutest table!
Tiny Floral Details for One Nail
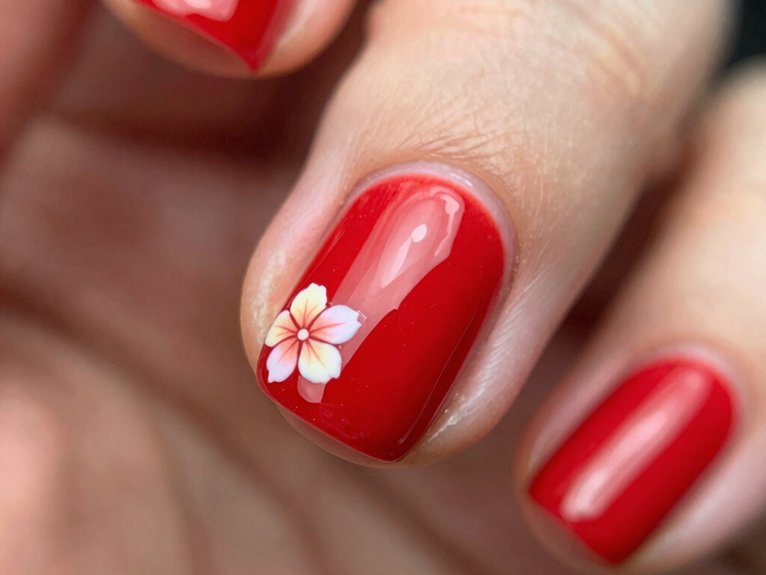
For tiny floral details, keep the blooms on just one nail, or two at most, so your red manicure still feels fresh and light—like spring got a tiny invite instead of taking over the whole party! Grab a fine brush or dotting tool, a milky nude base, and a little white or red polish, then paint 3–5 petal blossoms with airy petal placement.
Keep the springy bloom spacing a bit uneven, not perfect, so it looks natural and cute. Place each flower closer to the center, then seal it with glossy top coat. You’ll get a bright, easy look that feels friendly, not fussy!
Cherry Blossom Nails on Sheer Pink
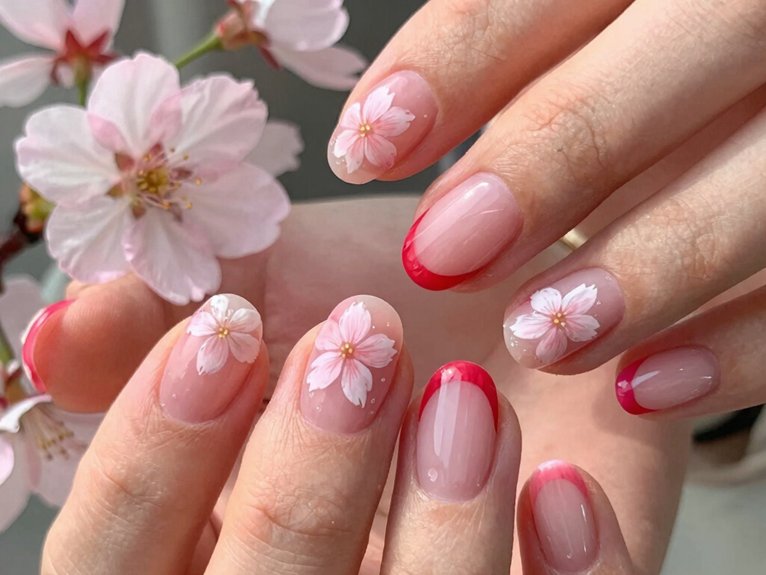
Cherry blossom nails on a sheer pink base give you that soft spring look without making your manicure feel crowded or heavy—so pretty, so easy!
You’ll love how the airy pink acts like a colorful jelly glow, while cherry-red petals feel bright and friendly.
- Use one or two accent nails only.
- Paint soft petals with a thin brush or dotting tool.
- Keep minimal cuticles and thin outlines for clean space.
- Place blooms near the center or top, then seal with glossy shine.
It’s a simple DIY, budget-friendly, and looks fresh as it grows out!
Keep Red Spring Nails Minimal and Clean

When you want red spring nails to look fresh instead of heavy, keep most of the manicure super simple and let just one or two fingers do the talking—easy, right? Paint the rest in glossy true red, then add a tiny accent with a sheer nude base, a fine brush, and a dot of patience.
| Idea | What you need | Result |
|---|---|---|
| Cherry dot | Red polish, nude base | Cute, light |
| Slim stripe | Striping brush | Clean, modern |
| Tiny florals | Detail brush | Soft spring vibe |
That color palette restraint and placement clarity tips keep you in the cool-girl club, not the clutter crew!
Refresh French Tips With Red Edges
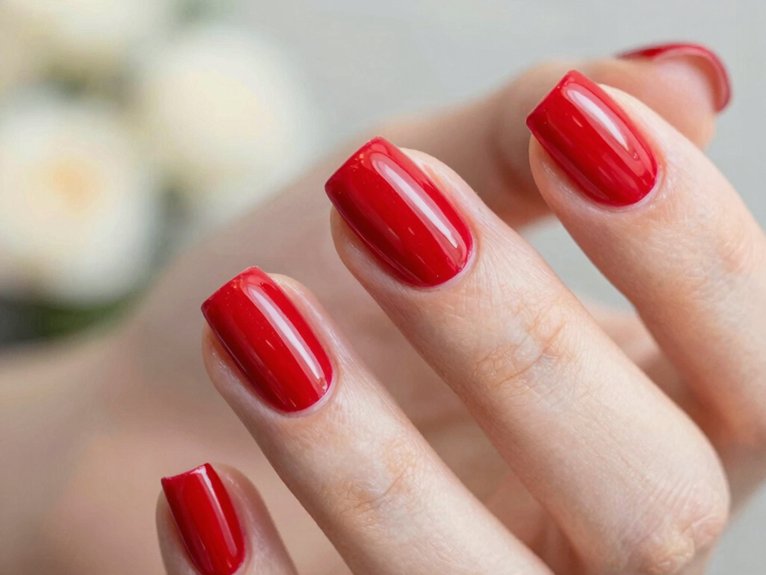
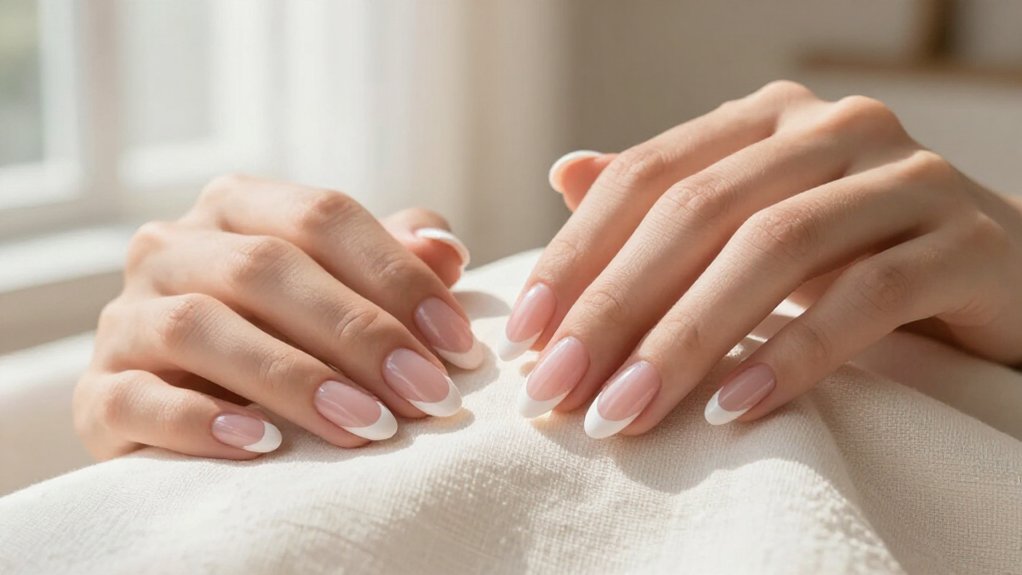
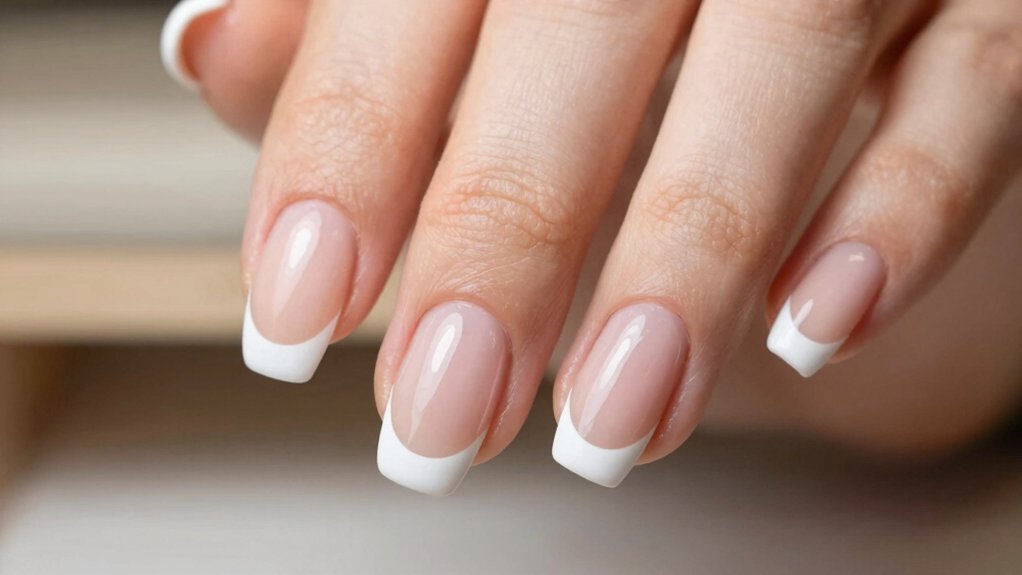
Want your red spring nails to feel a little more polished without getting loud? Try a sheer nude or milky pink base, then add a clean red French edge so your set stays airy and chic!
- Use Thin tape guides for a crisp line.
- Pick a cherry or scarlet polish for that happy spring pop.
- Keep Micro tip placement close to the nail edge.
- Finish with a shiny gel top coat for extra glow.
You’ll get a neat, modern look that feels friendly, not fussy.
Plus, it’s easy to do at home, even if your steady hand is still in training.
Mix Red With Confetti-Style Floral Dots
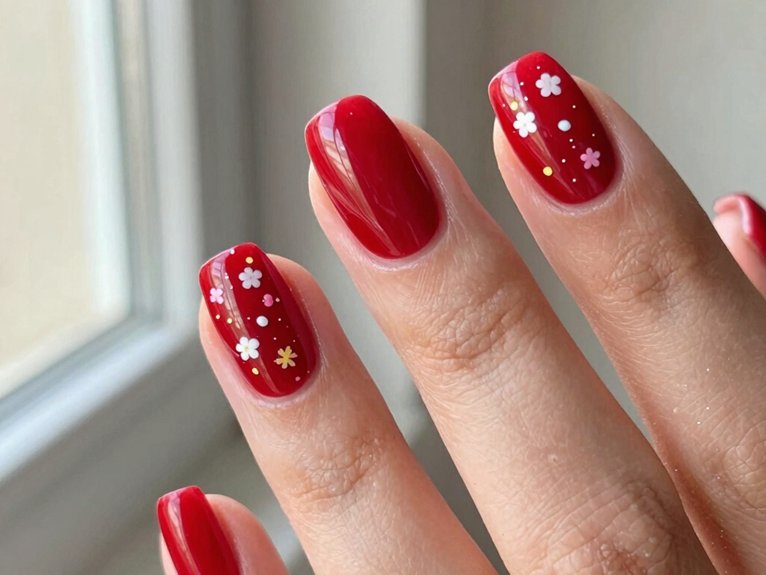
A glossy red base can look even fresher in spring when you break it up with tiny confetti-style floral dots on just one or two accent nails—cute, light, and way less intense than a full all-over design! Grab a dotting tool or fine brush, then make tiny flower centers with 4–5 petal dots in soft white, blush, or light red.
Keep confetti placement uneven, and play with dot spacing so each nail feels breezy, not busy.
Use minimal red edging near the tips, then seal the raised details with clear builder gel and top coat.
You’ll get shine, smoothness, and easy compliments—yay!
Try Abstract Petals on a Sheer Base
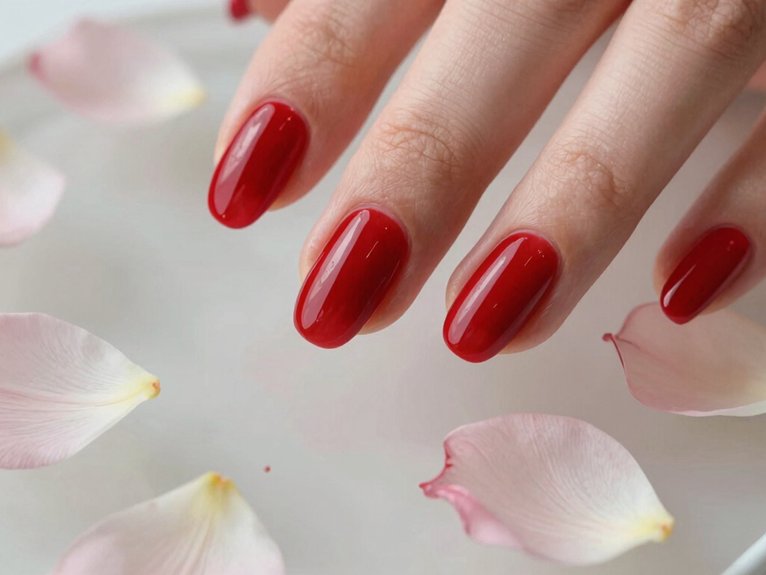
If the confetti dots felt cute and playful, this next look keeps that fresh spring energy but makes it feel a little more artsy, ooh! You start with a sheer pink or milky base, then sketch abstract red petals with light brush control for a painterly vibe.
- Keep negative space showing for clean balance.
- Build the petals in thin, semi-opaque layers.
- Use a fine brush or dotting tool to shape swoops.
- Let the petal flow stay uneven, not too perfect.
The result feels airy, modern, and easy to wear, and a glossy top coat makes the sheer base glow.
Add Floral Line Art for a Chic Finish
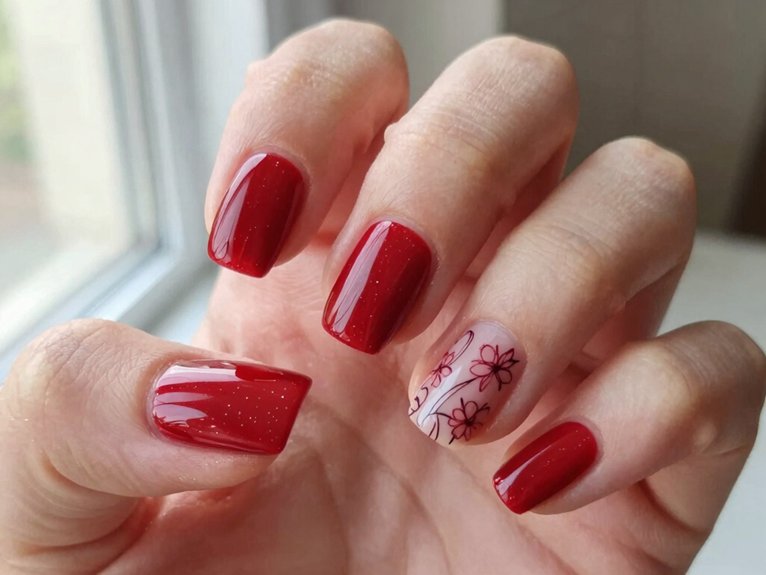
Want a chic twist? Start with a rich glossy red base, then use a thin detail brush to add fine floral line art on just one or two nails, so the design stays airy, not bulky.
Keep the outlines clean and single-line, match them to your nail shape, and seal everything with a high-shine top coat—boom, you get a fresh spring look that’s crisp, modern, and way more polished than a flower sticker explosion!
Delicate Floral Outlines
Delicately, floral line art can make red nails feel sweet, modern, and just a little bit elegant without turning them into a full-on bouquet situation!
- Pick a glossy red base, then keep accent balance by decorating only 1–2 nails.
- Use a fine detailing brush or liner pen, and draw airy flower outlines with thin strokes.
- Try thoughtful floral placement near the center, so the art stays visible as your nails grow out.
- Finish with high-shine top coat; it keeps the red bold and the outlines crisp.
On squared or softly rounded nails, this look feels polished, easy, and totally wearable!
Minimal Red Linework
A bold red base already does a lot of the heavy lifting, so a little floral linework goes a long way without making your nails feel crowded. You’ll fit right in with this easy spring vibe!
| Step | Feel |
|---|---|
| Pick one accent nail | Sweet |
| Use a liner brush | Calm |
| Add delicate dots | Playful |
| Keep negative space | Fresh |
Grab red polish, a thin brush, and a dotting tool, then sketch tiny stems and petals with airy placement. Keep the design centered on one accent nail, so the other nails stay bold and simple. That less-is-more look feels polished, not fussy, and it’s super beginner-friendly!
Glossy Chic Finish
Glossy top coat is the secret sauce here—it turns your rich red manicure into something sleek, glassy, and just a little bit stylish!
You’ll keep the red as the star, then add thin line art on only 1–2 nails for that “I totally belong here” vibe.
- Use a fine brush and a dotting tool for tiny flower centers.
- Pick airy accent placement, slightly off-center.
- Try deeper red or soft white for crisp contrast.
- Seal with high-shine gel for a fresh, polished glow.
Square or softly rounded nails make the thin line art look sharp, not crowded.
Pair Deep Red With Subtle White Florals
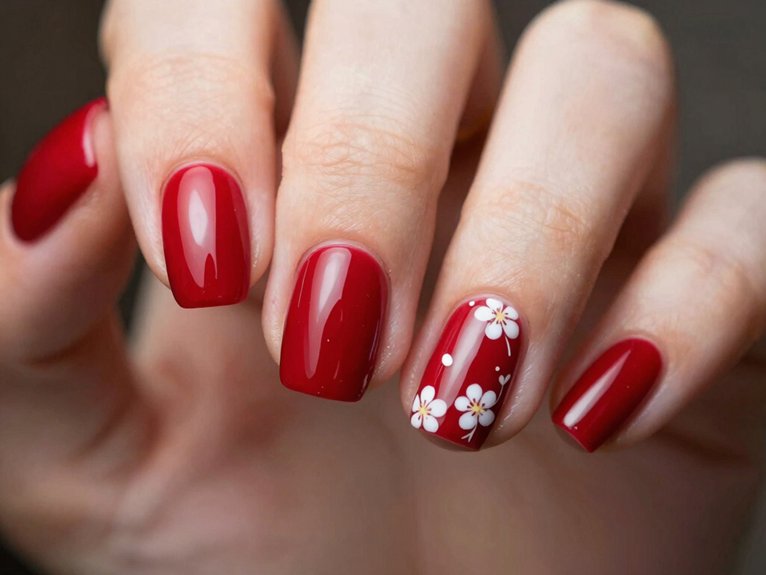
If you want your deep red nails to feel springy instead of heavy, tiny white florals are such a good trick! They fit a Seasonal palette without stealing the show, and minimalist placement keeps your bordeaux or cherry red as the hero.
Grab a fine liner brush, white polish, and a glossy top coat, then paint one or two tiny blooms near the cuticle or center.
Keep petals crisp and small, like little daisies with manners.
Want an airier vibe? Use a sheer pink or nude base under the flowers.
You’ll get a fresh, polished look that feels easy, not fussy!
Balance Red With Blush Accent Nails
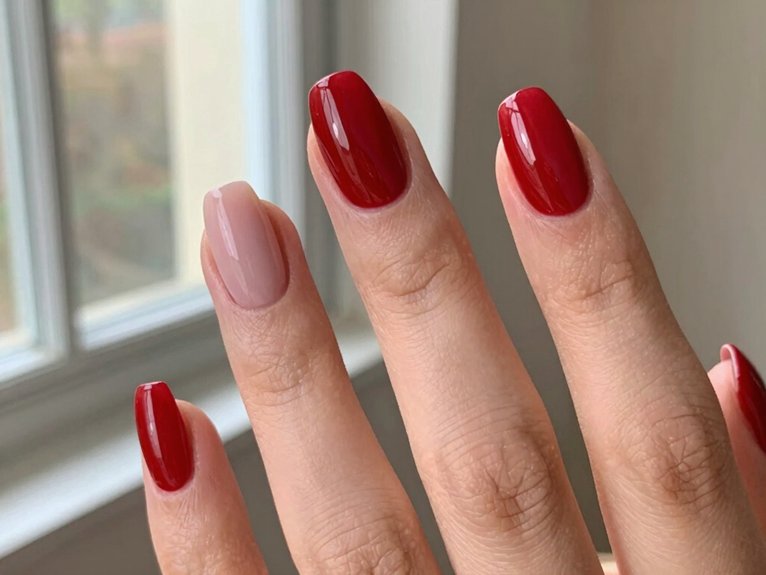
Start with a blush accent tone that fits your undertone, so your red nails feel balanced instead of a little wonky.
Try 1 or 2 blush nails with tiny five-petal flowers, and keep the red in charge while the blush softens everything just enough.
Finish both shades with a glossy top coat, and boom, the contrast looks crisp, fresh, and way less heavy!
Blush Accent Balance
Beside a bright red manicure, a blush accent can feel like the little wink that keeps everything fresh instead of heavy! You keep most nails true, glossy red, then let only 1–2 blush nails do the sweet talking.
- Try blush undertone matching for a flattering finish.
- Use airy nail spacing with tiny five-petal flowers.
- Pick sheer or milky pink if you want easier grow-out.
- Keep details light, so red stays the star.
A soft blush base also hides regrowth better, which feels great for busy weeks. You’ll look polished, not overdone, and yes, your nails can totally join the spring squad!
Soft Red Contrast
For a red manicure that feels bright, not bossy, try giving most nails a true cherry or scarlet base, then swap just 1–2 nails to a blush-toned nude or pink that matches your undertone—instant balance, wow! Start with spring nail prep, trim, file, and smooth. | Step | What you need | Result |
| — | — | — |
|---|---|---|
| 1 | red polish | bold color |
| 2 | blush polish | soft contrast |
| 3 | jelly topcoat | shiny unity |
Paint tiny five-petal flowers on the blush nails, spacing them a little unevenly for that relaxed “I woke up cute” vibe. Keep shapes squoval or almond, and finish glossy so nothing looks chalky.
Keep Retro Red Spring Nails Cohesive
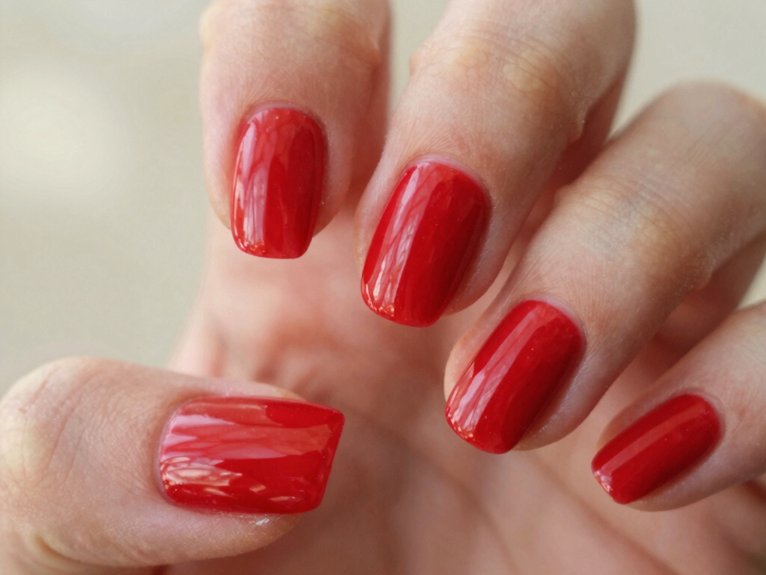
When you want retro red spring nails to look cute instead of crowded, a little restraint goes a long way! Start with retro motif planning, then scale your accent nail designs so they feel friendly, not loud.
- Keep 2–3 patterned nails, max.
- Use cherry, bing, or bordeaux reds only.
- Add one helper shade, like white or milky pink.
- Repeat the same layout, so the set feels connected.
Accent nail scaling matters, because tiny cherries on a sheer base feel crisp, while giant cartoons can fight the vibe.
Finish with glossy solids, and your nails will look like the cool girl crew.
Choose the Best Shapes and Top Coats
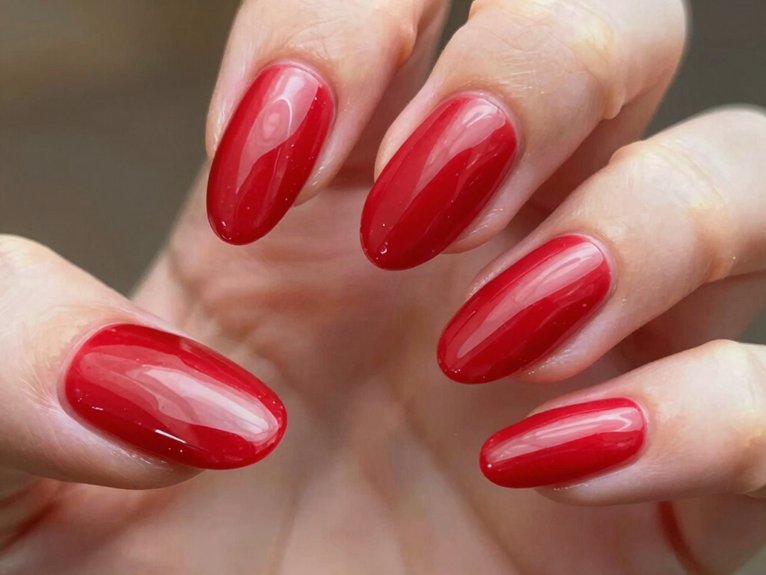
Once you’ve kept your red spring nails looking neat and balanced, the next move is picking a shape and finish that won’t make the color feel too heavy. Short square or squoval feels effortless and classy, while almond gives you that chic, modern glow.
| Shape | Best For | Vibe |
|---|---|---|
| Squoval | Everyday wear | Clean |
| Almond | Glossy red | Sleek |
| Coffin | Red chrome | Bold |
Skin tone matching helps too, and glossy or gel-like top coats boost shine plus longevity tips. If you love micro French tips, keep edges crisp on short-to-medium nails. Matte stays soft, but shiny finishes really pop—wow!
Frequently Asked Questions
Are Red Nails Classy or Tacky?
They’re classy when you choose versatile red shades, keep office friendly looks clean, and match everyday styling with modern nail finishes. You’ll look polished, not tacky, if you avoid overcrowded art and harsh neon tones.
What’s a Nice Spring Color for Nails?
You’ll love soft coral or light pink for spring nails because they feel fresh, pretty, and easy to wear. If you want more pop, choose cherry red with a glossy finish for a lively look.
Is Red a Good Spring Nail Color?
Yes—red works beautifully for spring, especially if you choose bright red gel options and add spring nail art accents. Like a cherry in bloom, you’ll look polished, fresh, and confidently in step with the season.