You can beat the weekday rush with 13 easy braids: try a low braided bun with a tie and 2–3 pins, sporty Double Dutch braids, or a side braid after dry shampoo. Upgrade a ponytail by wrapping hair over the elastic, or make bubbles with tiny bands—no salon budget needed! For a soft finish, twist a rope braid or loosen a fishtail. Best surprise: a crown braid looks chic in 5–7 minutes. Keep scrolling for simple steps and hold tips.
Key Takeaways
- Prep with dry shampoo or texturizing spray, wait 30 seconds, and detangle first for better grip and faster braiding.
- Choose low braided buns, claw-clip braids, or twisted braids for polished, beginner-friendly updos with minimal tools.
- Upgrade a low or mid ponytail by adding a braid and wrapping a small hair section around the elastic.
- Try Dutch, side, or double braids for sleek weekday coverage; gently pancake the edges for quick volume.
- Use crown, bubble, rope, or loose fishtail braids when you want a more decorative style in under 10 minutes.
Low Braided Bun
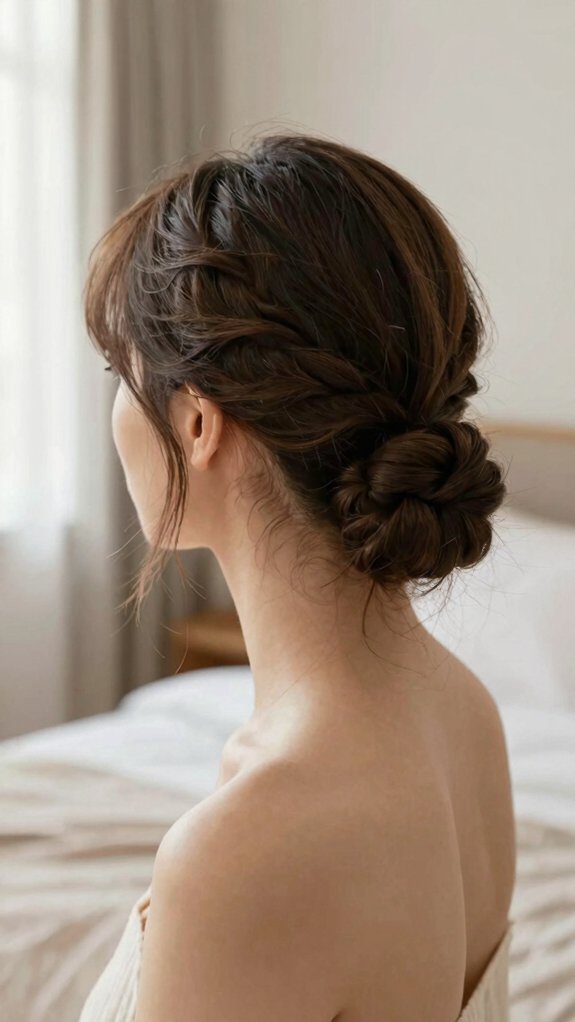
Turn a rushed morning into a polished look with a low braided bun—it’s easy, beginner-friendly, and takes only a few minutes! Grab a hair tie, 2–3 pins, and a small braid kit. The look stays versatile with Fulani braids-inspired elements like a center part and neat cornrows that can be adapted for a low bun, while maintaining cultural identity through bead accents or shell details bead accents for a subtle traditional touch. Flip your head over, gather your hair, and secure a loose bun at the crown. Before braiding, try these texturizing spray tips: mist roots lightly, then wait 30 seconds for grip. Take a small piece from the bun, braid it, and wind it around the base. Here’s the secret sauce: use fast bobby pin tricks, crossing pins for a firm hold. You’ll get an effortlessly put-together style that stays with your busy-day crew!
Double Dutch Braids
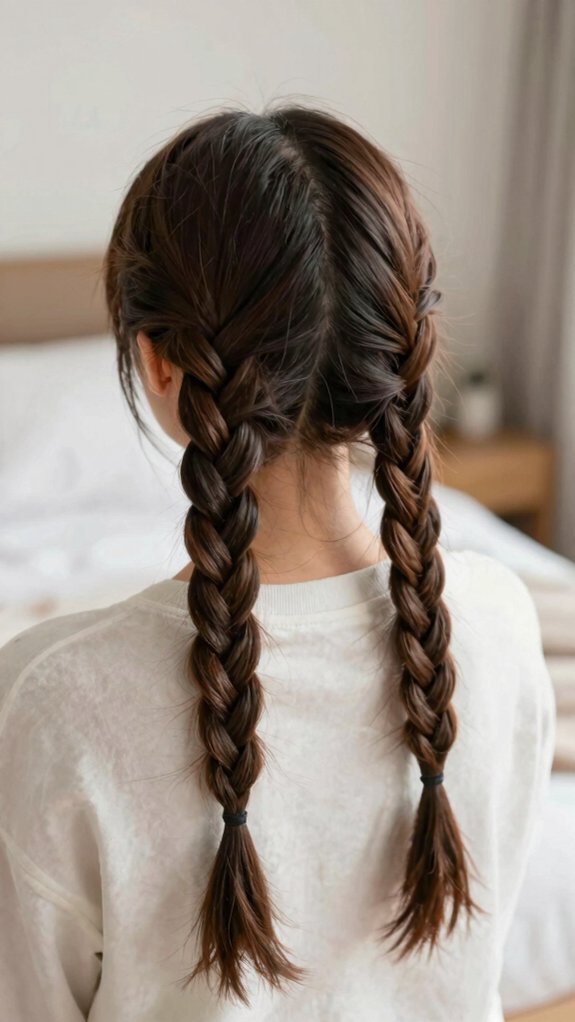
Double Dutch braids give you that sleek, sporty, ready-for-anything look, even when your morning is moving at warp speed! You’ll fit right in, whether you’re headed to class, work, or the carpool line.
- Grab two elastics and texturizing spray.
- Part down the middle, then begin with three hairline sections.
- Braid under, adding hair to the outer strand each time.
- Keep even tension for a tidy finish.
Braids for texture help prevent slipping, so mist roots first. Continue to the nape or ends, secure, and you’re set!
For Dutch braid troubleshooting, gently pancake the outer edges—instant volume, no helmet-hair vibes!
Side Braid

A side braid is your quick fix when you want polished hair without a full styling project—hello, extra five minutes!
Make a deep side part, mist roots with dry shampoo or texturizing spray, and wait 30 seconds for a secure braid grip.
Sweep everything over one shoulder, then begin a classic three-strand braid close to your ear.
It’s easy, comfortable, and ready for the school run, office, or coffee catch-up!
Here’s the fun upgrade: gently pancake the sections as you braid for instant fullness, no stylish tools required.
Finish with an elastic and a couple of bobby pins for flyaways.
These lightweight styling tips help your braid stay put beautifully!
Braided Ponytail
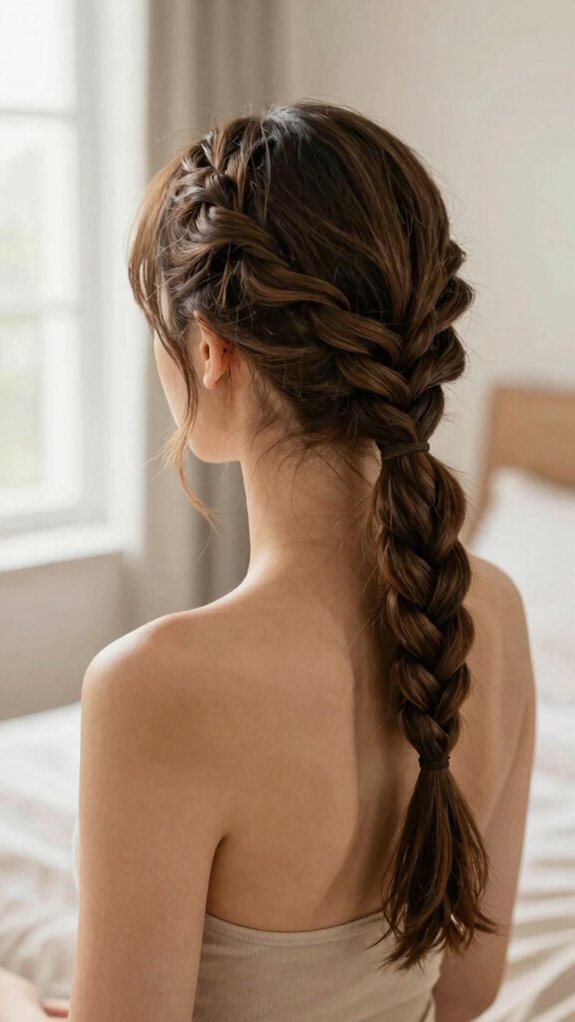
When your morning clock is moving faster than you are, a braided ponytail gives you a neat, put-together look in about three minutes—seriously, it’s weekday magic!
- Use dry shampoo prep: spray roots, wait 30 seconds, then gather a low or mid ponytail.
- Secure it with a hair tie, then try hair tie hacks by wrapping a small underside section around the elastic and pinning it.
- Braid the ponytail, secure the ends with a small tie, and you’re ready to join the day’s polished crowd!
- Have thin ends? Stop higher and leave an intentional tail—it looks sleek, not accidental. No special tools, just you, two elastics, and a bobby pin!
- For extra longevity, consider a center-part frame and light edge control to keep the look calm and wearable throughout the day center-part frame.
Crown Braid
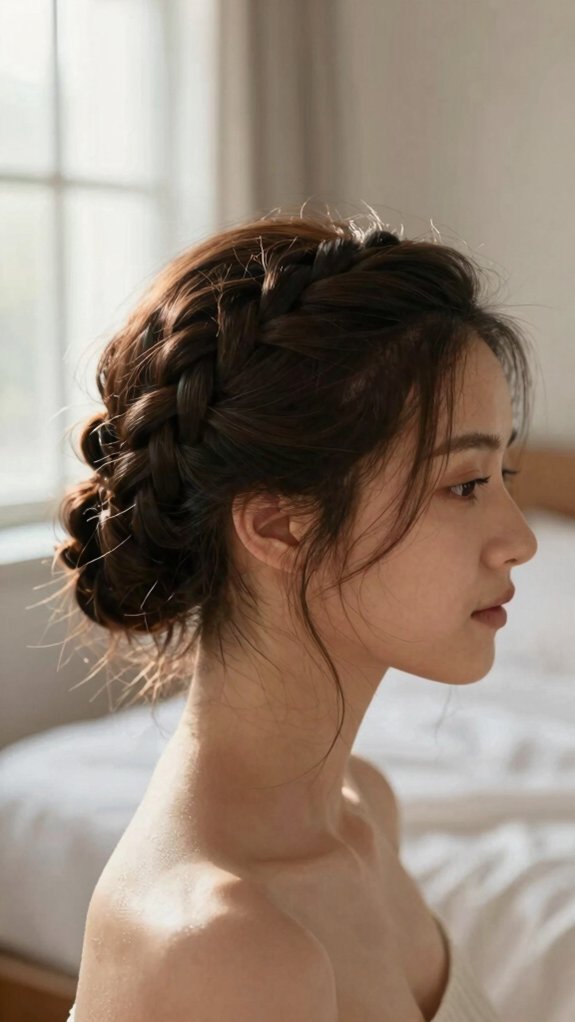
Crown braids look stylish enough for a special event, yet you can pull one off before school or work in about 5–7 minutes—without salon skills required! For scalp-friendly preparation, add dry shampoo or light texturizing spray at your roots. Part down the middle, then make a simple three-strand braid on each side, starting near the roots and moving back. Gently pancake each braid for fuller texture—easy, right? Lift the right braid across your crown and secure it with bobby pins. Repeat with the left, tucking its end beneath the right braid to hide the finish. These braid longevity tips help you stay polished and part of the effortlessly put-together crew all day! Texturizing goal
Bubble Braid
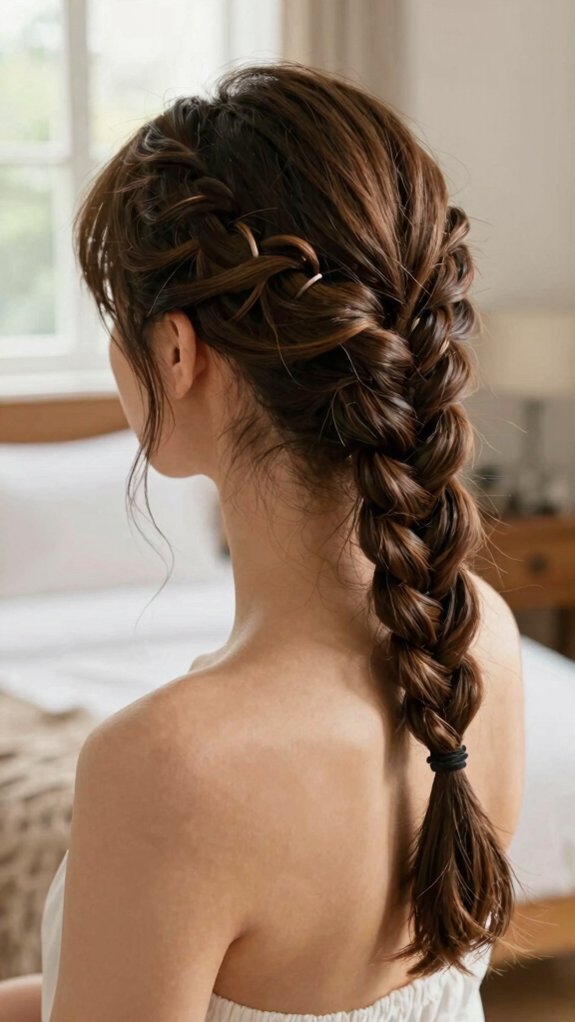
Bubble braids turn a basic ponytail into something playful and polished in just 5–10 minutes—yes, even on a rushed weekday morning!
- Mist roots with dry shampoo, then wait 30 seconds.
- Gather a low or mid ponytail and braid it tightly.
- Add thin elastics every 1–2 inches down the braid.
- Gently tug each section into soft, round bubbles.
- For added texture and hold, lightly pancake-tug the bubbles to create volume and a fuller look.
- These Bubble braid tips make you part of the easy-style club—no salon skills or elaborate tools needed! Keep elastics snug so nothing unravels before lunch.
For the best finish, lightly pancake-tug the bubbles for extra volume.
It’s one of those Weekday hair hacks that looks impressively intentional, even if you got dressed at warp speed! a simple styling method
Half-Up Braids
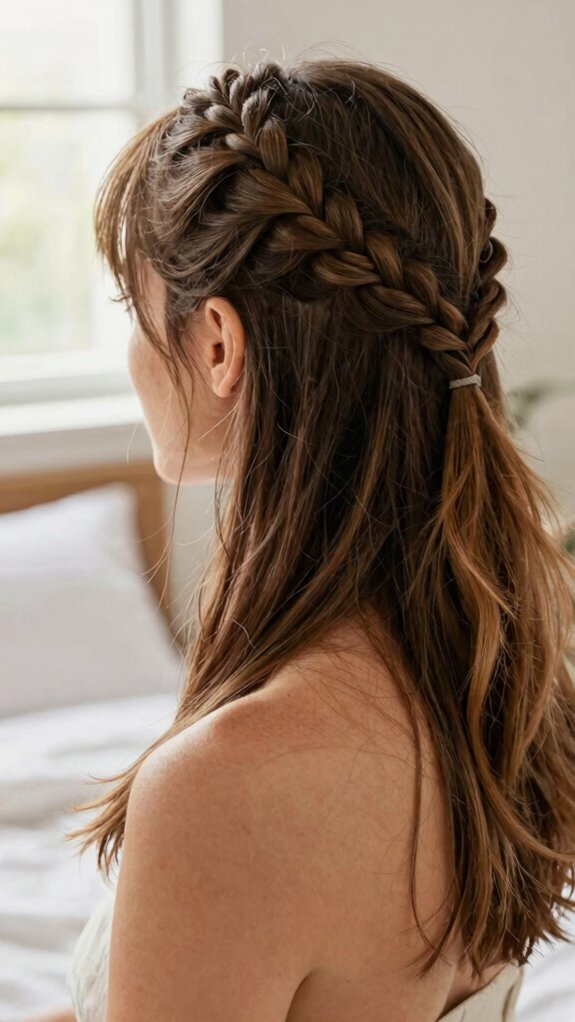
For a softer look that still feels put together, half-up braids keep your hair off your face while letting the rest flow freely—best of both worlds, right?
Grab two elastics, pins, and dry shampoo or texturizing spray. Mist roots, wait 30 seconds, then braid two sections from your part and secure them at the crown. You can use three-strand, Dutch, or fishtail braids—whatever feels most like you!
For braid longevity tips, use light mousse at slippery roots and leave-in only on ends.
Next, try these half up volume tricks: gently pancake each braid, then twist both into a tiny bun. Instant fuller-looking hair, no salon budget required! clip-in
Rope Braid
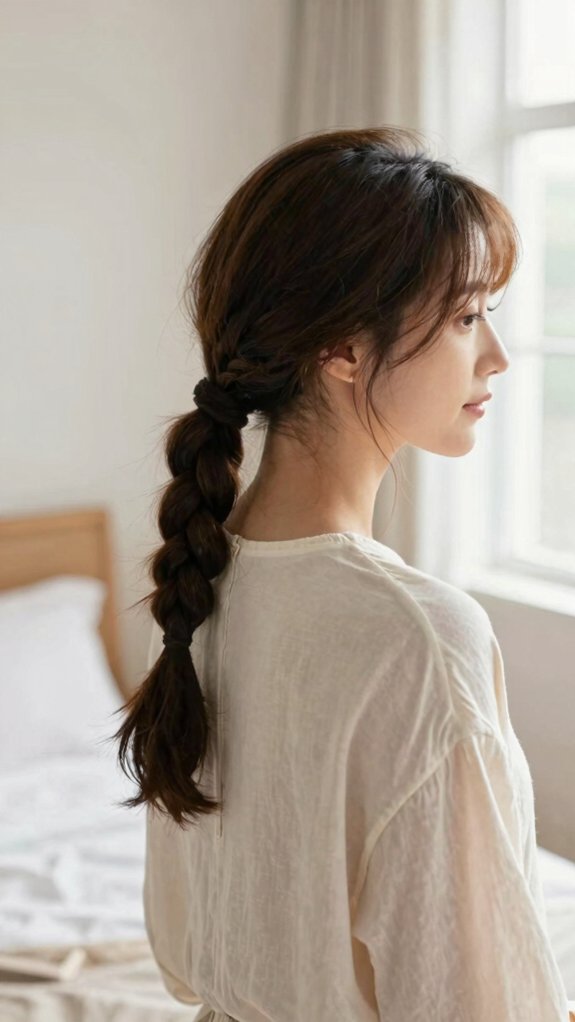
A rope braid gives you a polished, “I totally planned this” look in just a few minutes—no stylish braiding skills required!
- Gather your hair into a smooth ponytail.
- Add dry shampoo for grip; these hair texture tips help fine hair stay put.
- Split it evenly, twisting both sections the same way.
- Twist them together opposite ways, then secure with a small elastic.
Keep your tension even, and you’ll get a neat, sturdy style that feels office-ready and friend-approved.
Want the secret upgrade? Try rope braid volume tricks: gently tug the finished braid wider for soft, fuller texture.
Easy, affordable, and zero drama—unless your elastic disappears, of course!
Claw Clip Braid
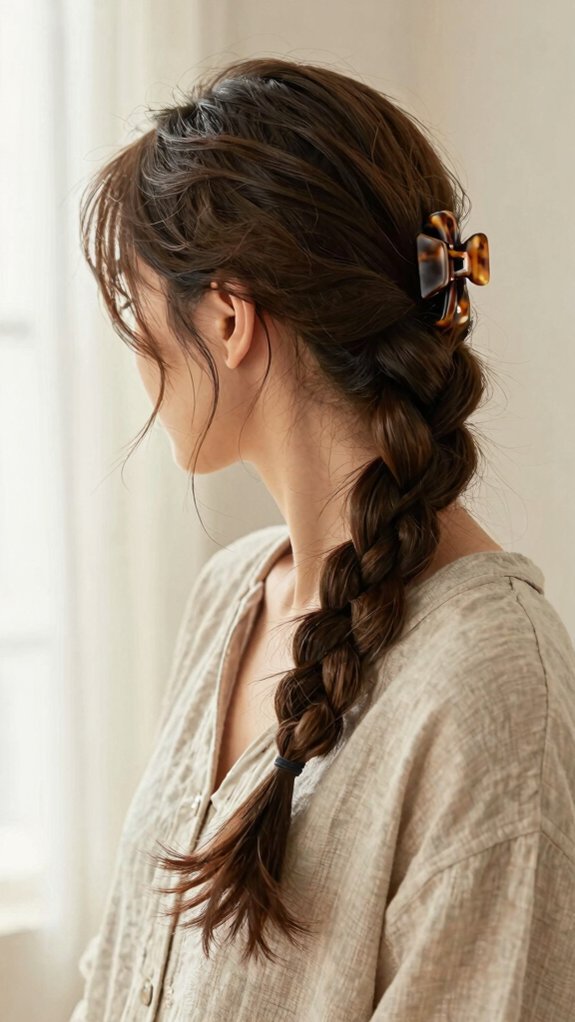
Need a fast updo that won’t demand a drawer full of bobby pins? You’ll fit right in with this claw clip braid—easy, polished, and perfect for protective styling!
Try these quick texture tips: mist detangled roots with dry shampoo or texturizing spray, then wait 30 seconds. If your hair slips, add a tiny touch of mousse at the roots.
Make a low or mid ponytail, three-strand braid it, and secure the end with a small elastic. Gently pancake the braid, coil it at the base, then clip it in place. Voilà—classroom ready braids with sweat friendly hold, no pin scavenger hunt needed!
Loose Fishtail
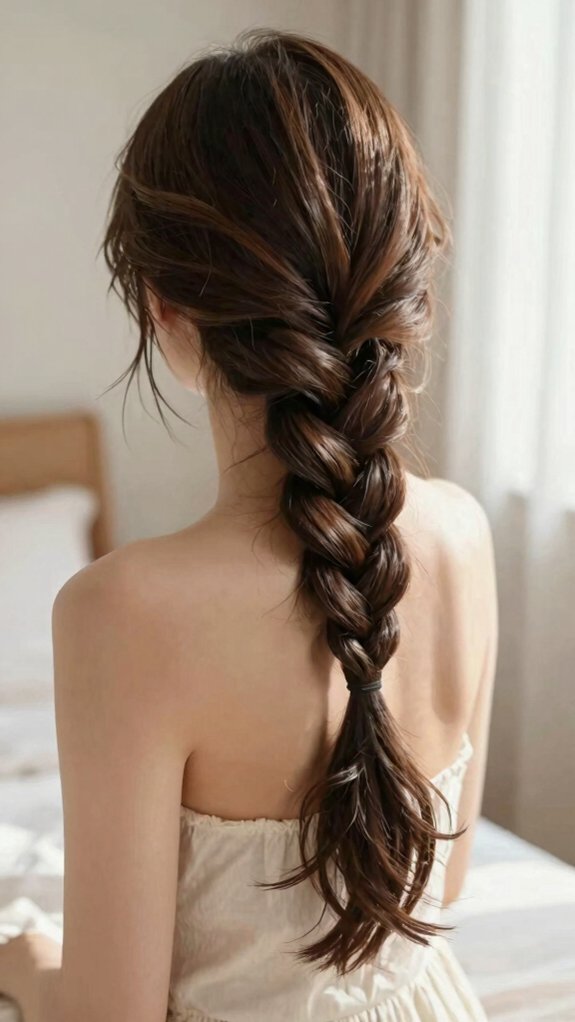
Want a braid that looks soft, beachy, and way more complicated than it really is? You’ll fit right in with this easy loose fishtail!
- Grab dry shampoo, a comb, and a clear elastic.
- Add light root grip for fast snag prevention.
- Split hair into two equal sections.
- Cross tiny outer strands over, alternating sides.
Keep strands small, so your braid looks woven, not chunky. It takes about 5–8 minutes once you’ve practiced—totally weekday-friendly!
Secure the end, then gently tug each side outward. These Textured braid tips create airy volume and help the style feel relaxed, polished, and secretly impressive.
Braided Headband
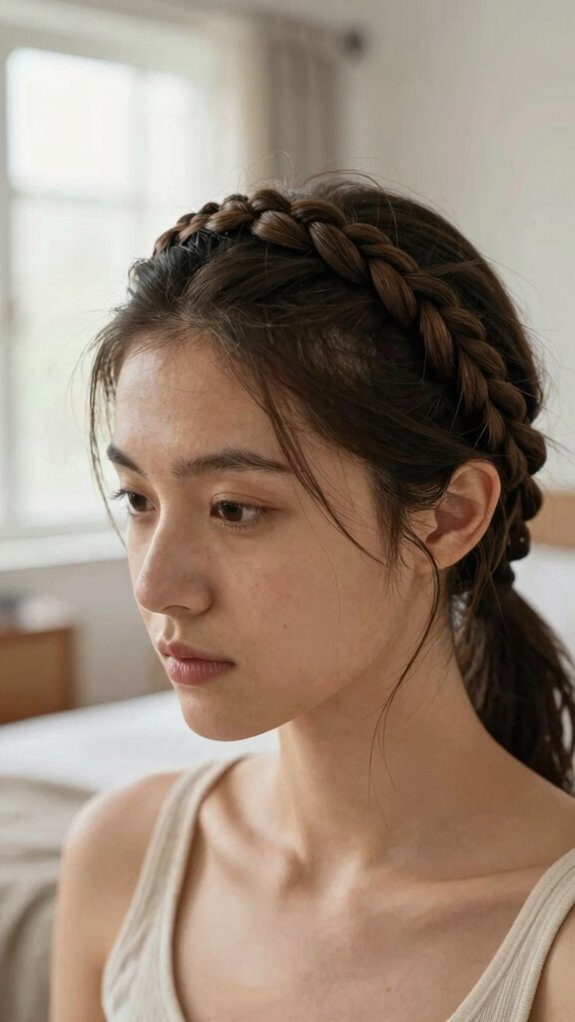
When your hair won’t stay out of your face, a braided headband swoops in like a tiny weekday hero! Grab a comb, dry shampoo or texture spray, and bobby pins—nothing posh, promise.
For easy Braiding hair tips, spray roots, wait 30 seconds, then braid a small section from one ear across your crown. Pin the end securely, and don’t stress a crooked part; it looks purposely relaxed!
Need extra strength? Try styling for texture with a mini Dutch braid worked close to the scalp. Or braid both sides and pin them together behind your head. You’ll look polished, included, and ready for anything!
Twisted Braid
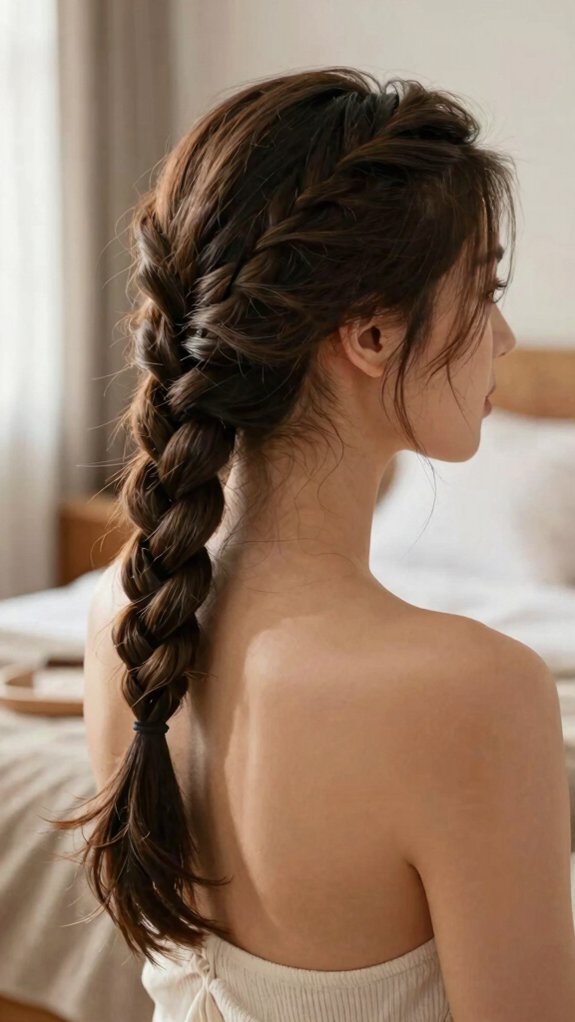
Although it looks decorative, a twisted braid is one of the fastest styles you can pull off before school or work—no salon skills required!
You’ll fit right in with this polished, easy look!
- Detangle with a wide-tooth comb, then add dry shampoo at roots.
- Split hair into two strands, cross, and twist downward.
- Secure with a small elastic; add pins if the base slips.
- Prevent frizz buildup with light spray and overnight maintenance.
For fuller texture, gently pancake the lower twists, but keep the top snug.
These hold time tips help your rope twist stay neat all day—no midday unraveling drama!
Five-Minute Everyday Style
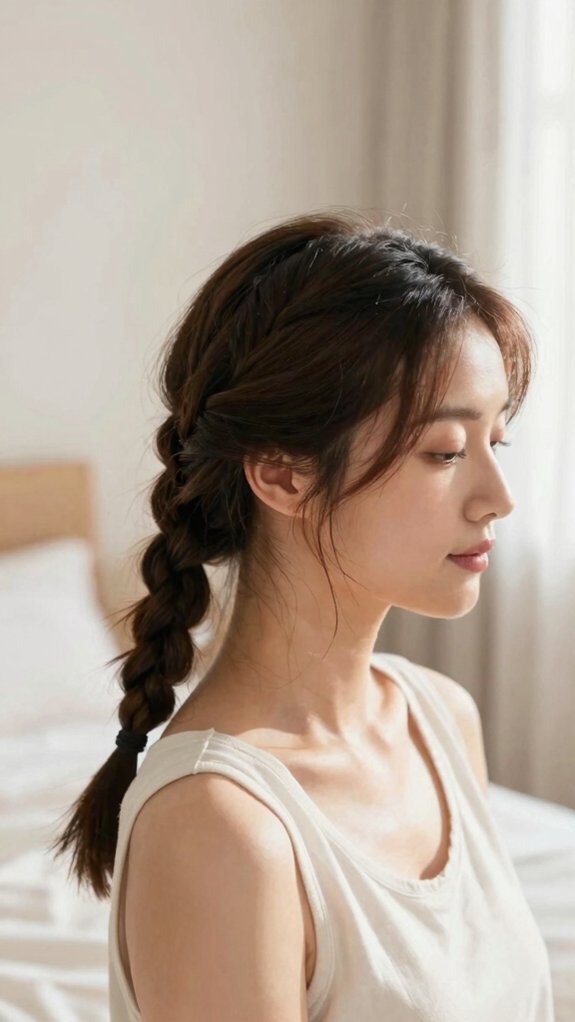
A busy morning doesn’t have to mean a boring hairstyle—five minutes, a brush, a few elastics, and a little dry shampoo can give you a braid that stays put!
Try this Dry shampoo technique: detangle for 30–60 seconds, mist roots, then wait 30 seconds. Add product only to ends, because slippery roots are nobody’s friend!
Need two minutes? Sweep hair sideways, braid from ear down, tie it, and gently pancake the loops.
For a polished three-minute look, braid a low ponytail.
But here’s the cozy winner: two low braids with a soft zigzag part. These braid grip hacks stay comfy under hoods all day!