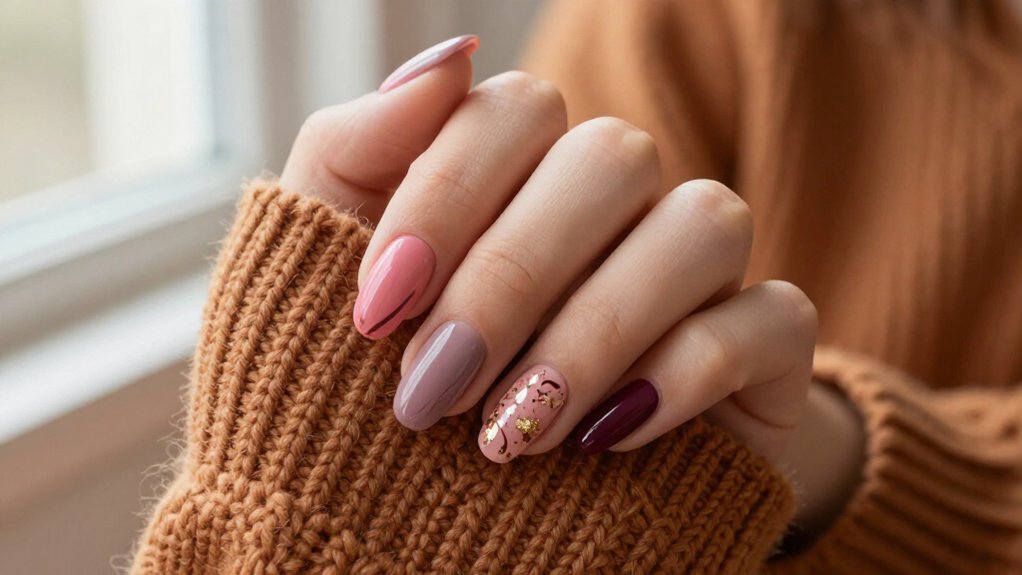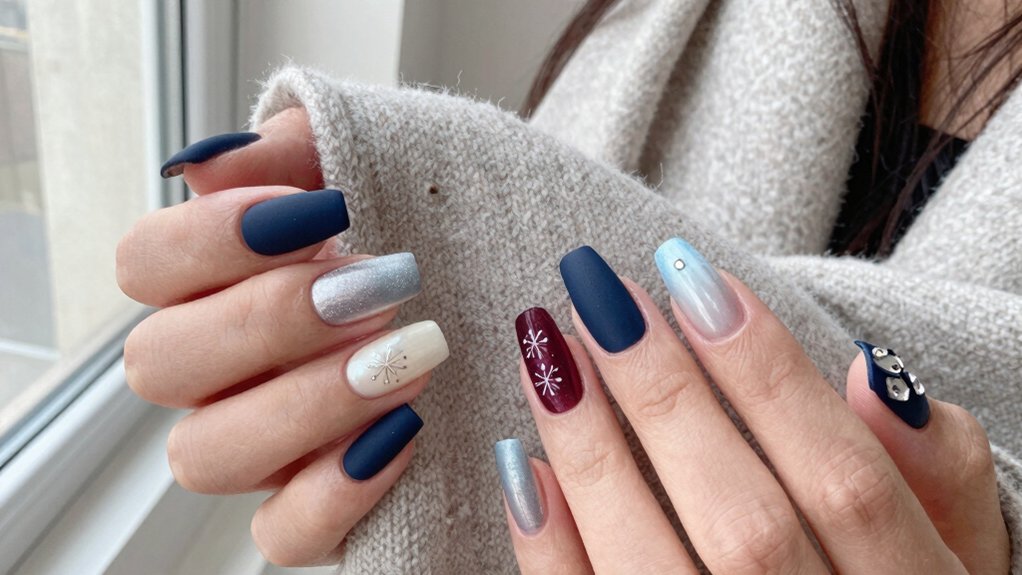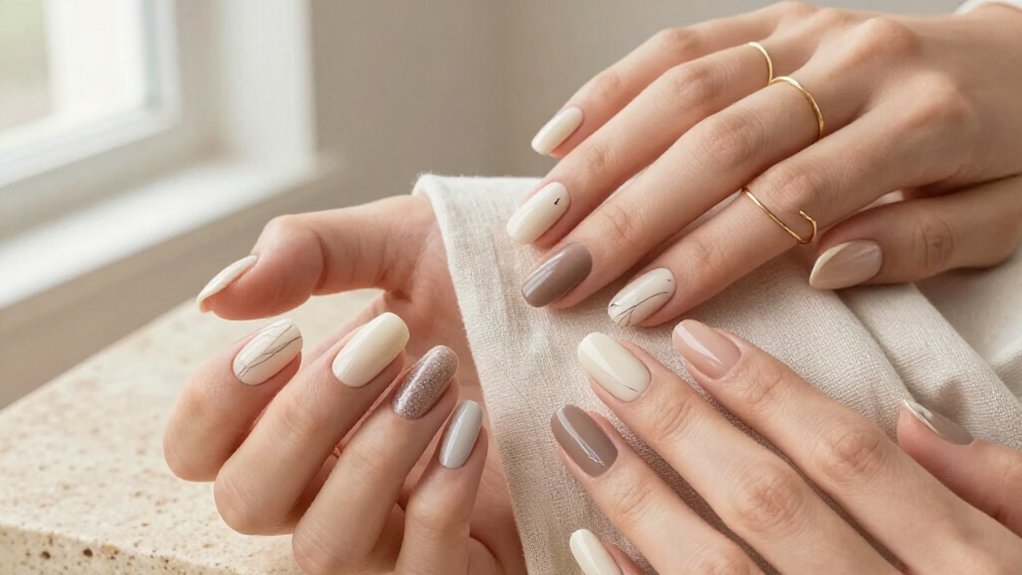
You’ve got endless pastel floral options to try! Soft pink blossoms, lavender fields, and mint gardens deliver dreamy, wearable designs using dotting tools and fine brushes. Want something bolder? Try candy stripe florals, baby blue petals, or a peachy ombre with delicate blooms. Feeling adventurous? Marbled nails combined with hand-painted flowers create serious depth! Mix and match pastel bases—powder pink, lilac, mint, butter yellow—with tiny daisies, roses, or five-petal blossoms. Whether you’re going minimalist or creating a full rainbow garden, these techniques work beautifully on short or long nails. Stick around to uncover exactly how to nail each design!
Key Takeaways
- Soft pink bases with hand-painted five-petal blossoms and gold or deeper pink dotting-tool centers create delicate, wearable accent nails.
- Lavender and lilac themes paired with tiny white flowers, sage-green stems, and optional iridescent glitter provide dreamy, romantic aesthetics.
- Baby blue pastel foundations adorned with mini white daisies and pale-yellow centers offer ethereal, balanced designs for short or long nails.
- Mint-green and coral ombre bases combined with blush blossoms, sage stems, and gold accents deliver fresh spring-inspired floral nail art.
- Pastel confetti and striped designs featuring colorful five-petal blooms in white, butter yellow, lilac, and mint create playful, multidimensional looks.
Soft Pink Blossoms
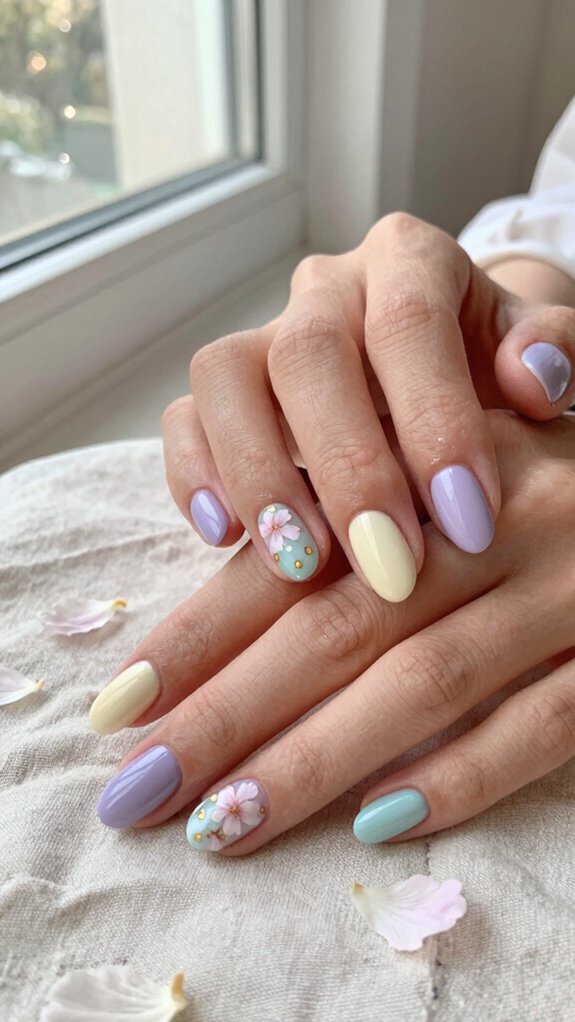
You can create seriously gorgeous soft pink blossoms with tiny, hand-painted flowers that’ll give your nails that dreamy, romantic vibe—think delicate five-petal blooms on a pale pink or creamy base that scream spring or wedding season!
Using a dotting tool (or even a bobby pin in a pinch), you’ll place a small contrasting center in gold or deeper pink, then add five petals around it, and honestly, it’s way easier than it sounds once you get the hang of it.
These little botanical beauties work best as accent nails on just one or two fingers, keeping your whole look polished and wearable without going overboard!
Tiny hand-painted flowers for delicate look
If you’re craving a nail look that whispers elegance instead of screaming it, soft pink blossoms are your answer!
Start with a creamy baby-pink base that lets your micro blossoms truly shine without overwhelming the nail. Using a fine dotting tool, create five-petal flowers with a tiny center dot and equally spaced petals around it—think delicate and understated!
Space these cuticle florals sparingly, adding just one to three per nail for that effortlessly chic vibe. Layer slightly darker pink shadows and golden centers for dimension, then seal with glossy or matte top coat. You’ve got this!
Lavender Fields
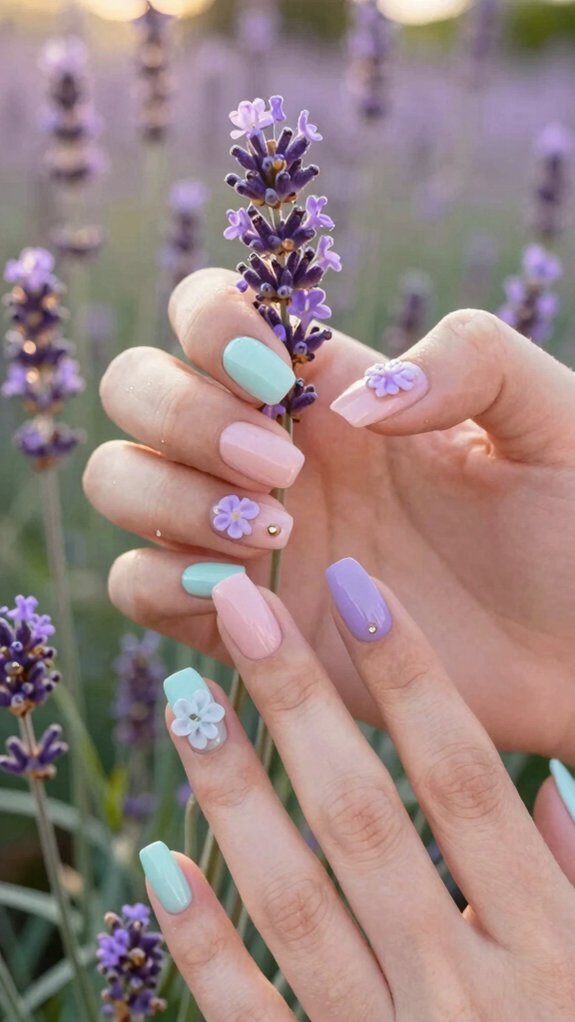
You’re going to love how light purple nails with subtle floral touches transform your fingertips into a dreamy garden scene!
Picture soft lilac or powder lavender bases paired with tiny white or pale yellow daisy-like blooms that instantly make your nails feel fresh and romantic.
Whether you’re keeping it short and sweet or rocking longer nails, this design works beautifully because you can cluster those delicate flowers toward the tip or along one edge—making it both wearable and absolutely gorgeous!
Light purple nails with subtle floral touches
Dreamy and romantic, lavender fields nail art brings that peaceful meadow vibe right to your fingertips!
Start with a pale lavender base—think soft lilac polish—that creates the perfect backdrop for delicate florals. Using a fine dotting tool, paint tiny white five-petal flowers near your nail tips, adding sage-green stems and leaves for that authentic meadow feel.
The beauty? You’re keeping everything subtle and understated! Try an ombre gradient on one accent nail using slightly darker lavender, or sprinkle iridescent micro-glitter for extra depth.
Finish with a semi-sheer matte top coat to boost that romantic, airy aesthetic. It’s effortlessly refined!
Mint Garden Nails
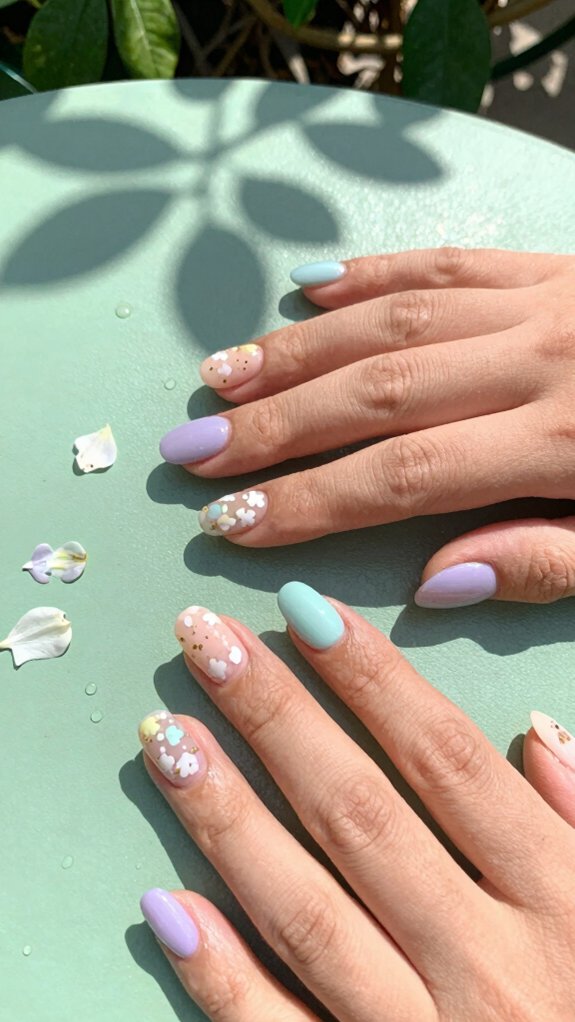
You’re going to love how invigorating mint green looks on your nails—it’s like wearing a spring garden right on your fingertips!
Start with a soft pastel green base (think seafoam vibes), then add tiny white or coral flowers using a dotting tool to create that delicate garden feel.
Mix it up by using a nude base on some fingers and mint on others, so you’ve got depth and contrast that totally rocks!
Pastel green base with spring flower details
Creating a fresh spring look doesn’t get much easier than starting with a soft mint-green base—and we’re here for it! Try shades like Essie Mint Candy Apple to create mint gradients that feel effortlessly chic.
Next, grab a dotting tool and paint tiny white and blush-pink blossoms as accent clusters on two nails. Add slim sage-green stems with a fine liner brush, creating botanical texture that brings depth and realism to your design. Seal everything with a glossy top coat for shine or matte for that soft, modern vibe. You’ve just created garden-inspired nails you’ll actually want to show off!
Baby Blue Petals
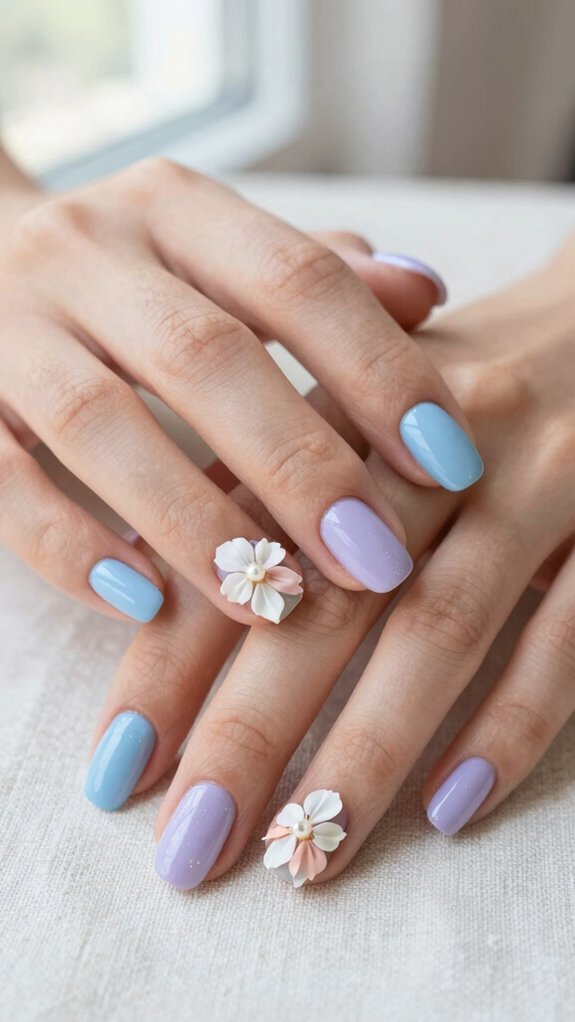
You’re going to love how soft blue nails accented with white flowers create that dreamy, ethereal vibe you’ve been seeing everywhere!
The combo of a powdery baby blue base paired with tiny white flower centers is effectively the definition of effortless elegance—perfect for keeping your nails looking fresh and delicate.
Whether you’re going for a single accent nail or scattering these mini daisies across your fingertips, you’ll have a look that’s undeniably cute without being over the top!
Soft blue nails accented with white flowers
If you’re looking for a nail design that’s equal parts dreamy and doable, soft blue nails with white flowers are totally your answer!
Start with a powdery baby-blue base (think hex #BFE6FF) that creates the perfect backdrop for your floral accents.
Create tiny white flowers using a dotting tool—just add a pale-yellow center dot surrounded by five white petals.
For delicate petal placement, position mini daisies near the tip on shorter nails or arrange clusters diagonally on longer ones.
Seal everything with a glossy top coat for protection and dimension.
This design balances softness with polish-perfection, and you’ll love how effortlessly wearable it feels!
Peachy Bloom Tips
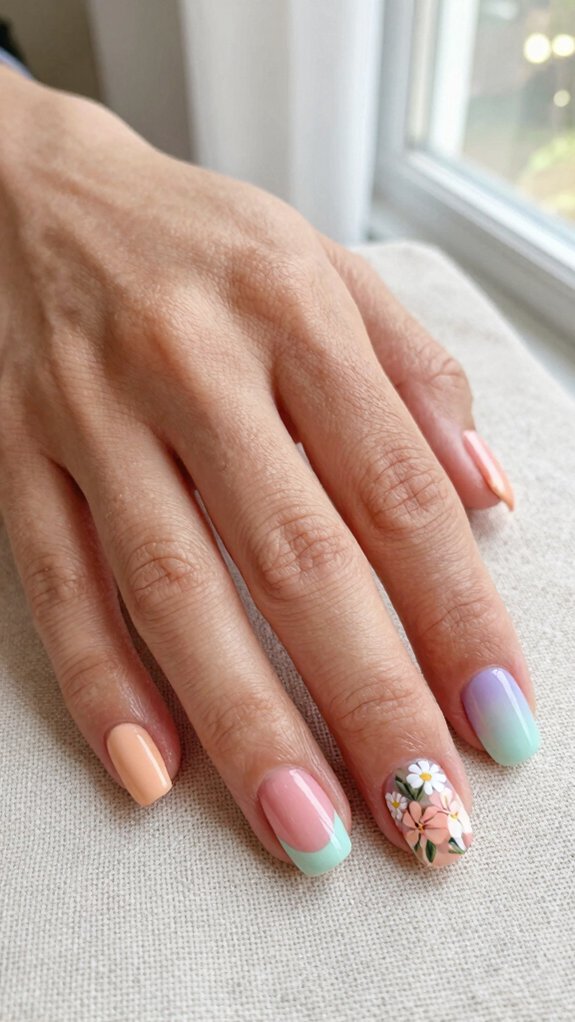
You can totally raise your peach manicure by swapping the traditional French tip for delicate floral designs—think soft, blush petals peeking out from your nail edges instead of the classic white line!
This modern twist gives you that upscale, put-together vibe while keeping things fresh and unexpected, and it’s way more interesting than a standard manicure.
French manicure twist with floral tips
Bring together the timeless elegance of a French manicure with delicate botanical charm, and you’ve got yourself the Peachy Bloom Tips—a fresh take on a classic that’ll have everyone asking for your nail artist’s number!
Start with a sheer peach gradient base, then paint tiny blush and coral petals clustered at your tips. Add delicate stems and leaf accents with a fine liner brush, finishing each bloom with a contrasting dot center for definition. Seal everything with a glossy or matte top coat.
Want an easy shortcut? Press on delicate floral decals instead! Either way, you’re rocking salon-worthy nails!
Pastel Yellow Daisies
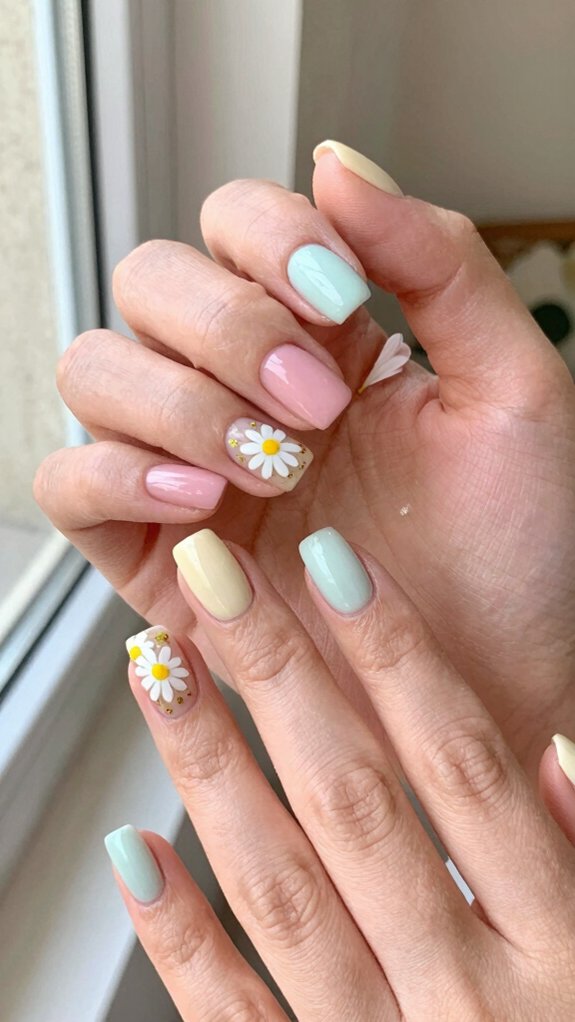
You’re going to love how glossy yellow nails with daisy accents bring that fresh, spring-ready vibe to your fingertips!
Imagine this: a buttery pastel yellow base that catches the light beautifully, topped with delicate five-petal daisies and tiny gold centers that make your nails look like miniature works of art.
It’s the perfect combo of cheerful and sophisticated, so you’ll feel confident showing off your manicure whether you’re heading to brunch or just living your best life!
Glossy yellow nails with daisy accents
There’s something undeniably cheerful about pastel yellow nails adorned with delicate daisies!
You’ll create a stunning sunny manicure by starting with a creamy, soft-yellow base that feels warm yet understated.
Using a dotting tool, paint tiny white petals around small yellow centers, or grab decals for a polished look.
Those vintage daisies deserve protection, so seal everything with a glossy top coat!
Want extra dimension? Layer slightly darker yellow in the centers and add thin green stems with a fine brush.
Position mini daisies near your cuticles for elegance, or go bold with full coverage.
You’ll rock this springtime vibe with ease!
Lilac Rose Accents
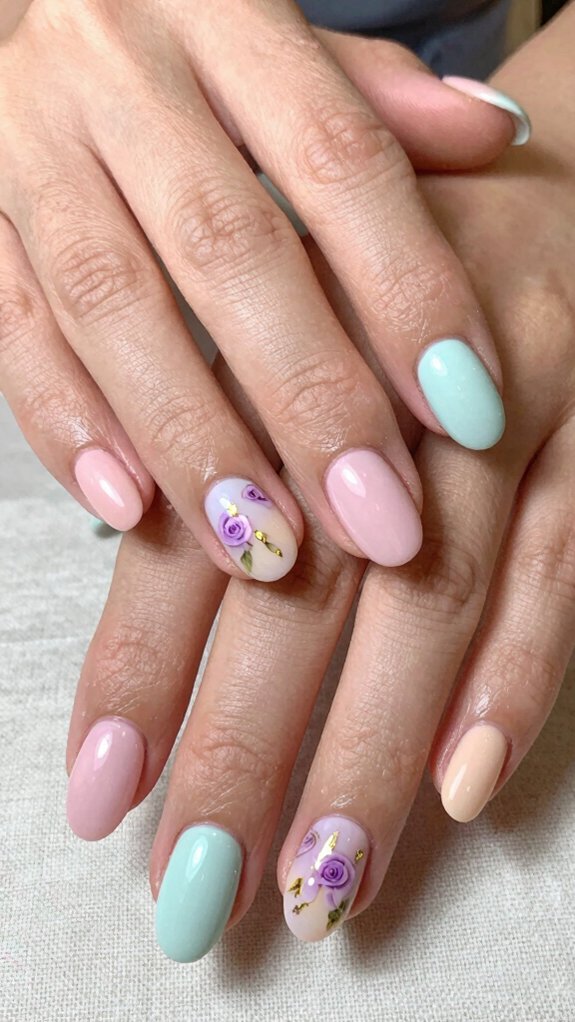
You’ll absolutely love how almond-shaped nails showcase miniature hand-painted roses, especially when you keep the design minimal and let those delicate blooms do all the talking!
By placing just one or two rose accents near your cuticles or nail tips against that gorgeous soft lilac base, you’re creating a look that’s elegant without being over-the-top.
Trust us, this combo hits that sweet spot between romantic and modern that’ll have everyone asking what salon you went to!
Almond-shaped nails with miniature roses
If you’re dreaming of nails that scream romance and elegance, almond-shaped nails paired with miniature lilac roses are totally your answer! The tapered tip naturally elongates your nail bed while creating the perfect canvas for delicate floral art.
Here’s how to nail this look:
- Base coat: Apply soft milky or nude polish to make lilac petals (#C8A2C8) truly pop!
- Rose creation: Use a dotting tool for the center, then layer 3–5 crescent petals in progressively lighter shades.
- Rose placement: Position one rose per accent nail or cluster near the cupcake.
- Seal it: Choose glossy for shine or matte for vintage vibes; gel manicures last 2–3 weeks, preserving intricate details beautifully while requiring minimal almond maintenance.
Coral Flower Ombre
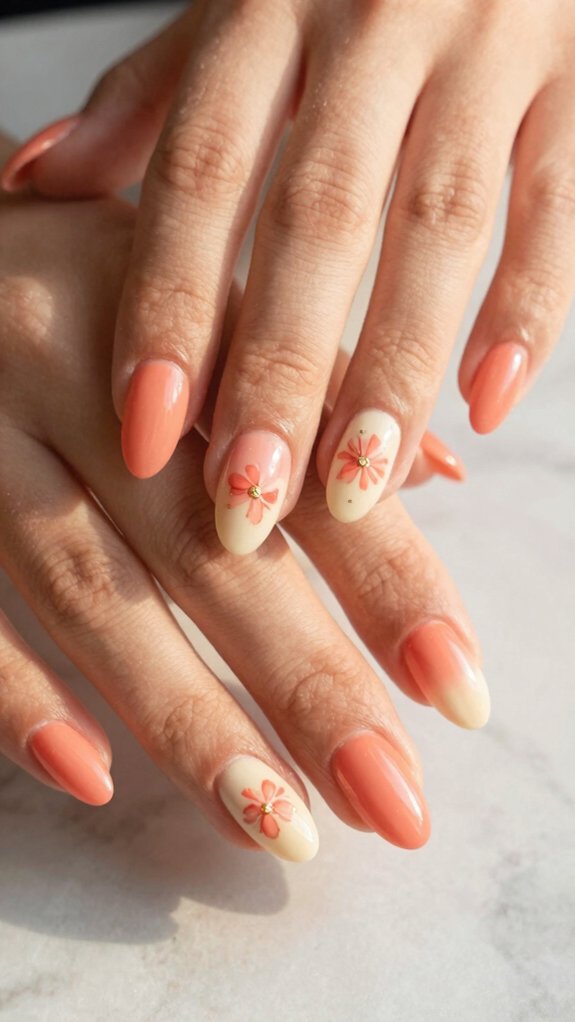
You’ll absolutely love how gradient coral nails with floral highlights create a dreamy, romantic look that’s perfect for spring and summer!
This design pairs a soft ombre blend—transitioning from peachy coral to creamy pastels—with delicate hand-painted flowers that pop against the gradient base.
It’s the ideal way to rock a wearable yet totally eye-catching pastel floral statement without going over the top!
Gradient coral nails with floral highlights
Creating a coral flower ombré is like painting a sunset right on your fingertips—except way more fun and way less messy!
This gorgeous ombre technique blends deep coral at your cuticle into soft peachy tones toward your tips using a makeup sponge and thin layers.
Here’s your roadmap to nailing this look:
- Apply a durable base coat for longevity
- Create coral gradients by layering polish shades evenly
- Paint delicate five-petal flowers in white or pale blush once dry
- Seal with a glossy or matte top coat
Add gold centers for dimension—you’ve totally got this!
Soft Lavender Glitter Blooms
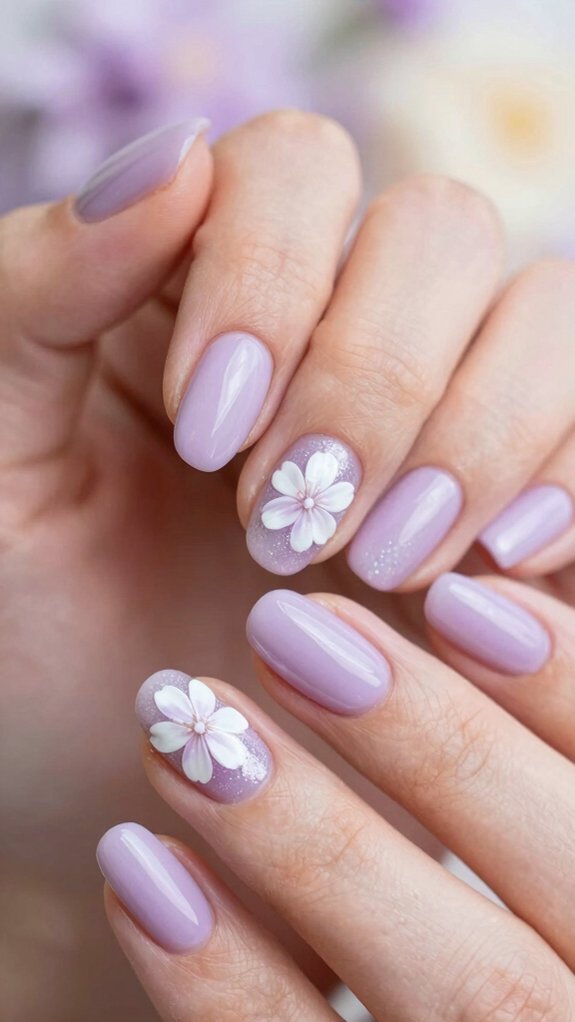
You’re going to love how glitter and tiny floral details come together in this dreamy design!
By pairing a pale lilac base with hand-painted petals and just a touch of iridescent shimmer, you’ll create a manicure that’s both sparkly and polished—no overwhelming glam here.
The secret is letting those delicate blooms steal the show while the glitter catches the light, giving you a look that’s perfect for everyday wear or special occasions!
Glitter + tiny floral details
If you’re craving a nail design that’s delicate yet totally eye-catching, this glitter-and-floral combo is your answer!
You’ll love how this look comes together:
- Start with a sheer milk-lavender base and add a fine holographic top coat for that gorgeous iridescent texture
- Place tiny lavender blooms off-center near your cuticle to maintain negative space placement
- Create petals using a dotting tool—small silver center with five lilac dots around it
- Layer lighter lavender while tacky for subtle depth and shimmer
The result? A modern, airy design that’s absolutely stunning without overwhelming your nails.
You’re creating something truly special here!
Sky Blue Spring Florals
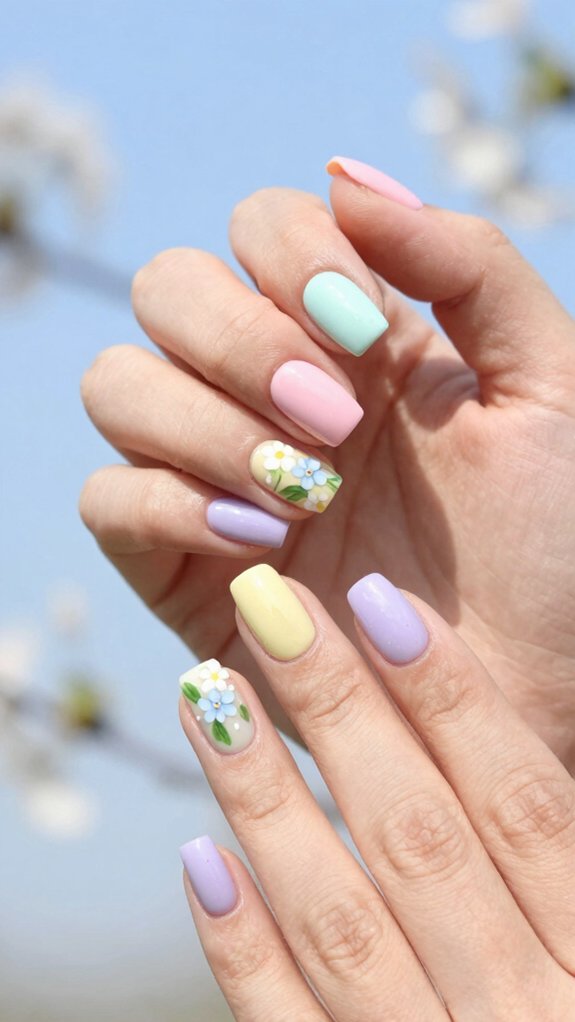
You’ll absolutely love how a soft pastel blue base transforms into the perfect canvas for scattered flowers—it’s like carrying a tiny spring garden right on your fingertips!
Start with that dreamy sky-blue shade (#B7D7F0 is *chef’s kiss*), then scatter delicate white daisies and pale yellow dots across the nail for a fresh, airy vibe that screams springtime.
The best part is that this look works whether you’re rocking short nails with a few mini clusters or longer nails with an entire flowery vista!
Pastel blue base with scattered flowers
Transform your nails into a dreamy spring vista with a powdery pastel blue base that’ll make you feel like you’re wearing the sky on your fingertips!
Here’s your roadmap to this gorgeous look:
- Create your sky gradient using baby blue polish (#B7D7E8) as your foundation, allowing it to fully dry before adding details.
- Dot mini flowers (2–4 per nail) with white centers and five tiny petals, keeping each bloom around 1.5–2 mm for delicate charm.
- Use negative space placement by positioning flowers toward nail tips or sides, preserving wearability on shorter nails.
- Add sage green leaves and seal with glossy top coat for springtime shimmer and depth!
Powder Pink Flower Confetti
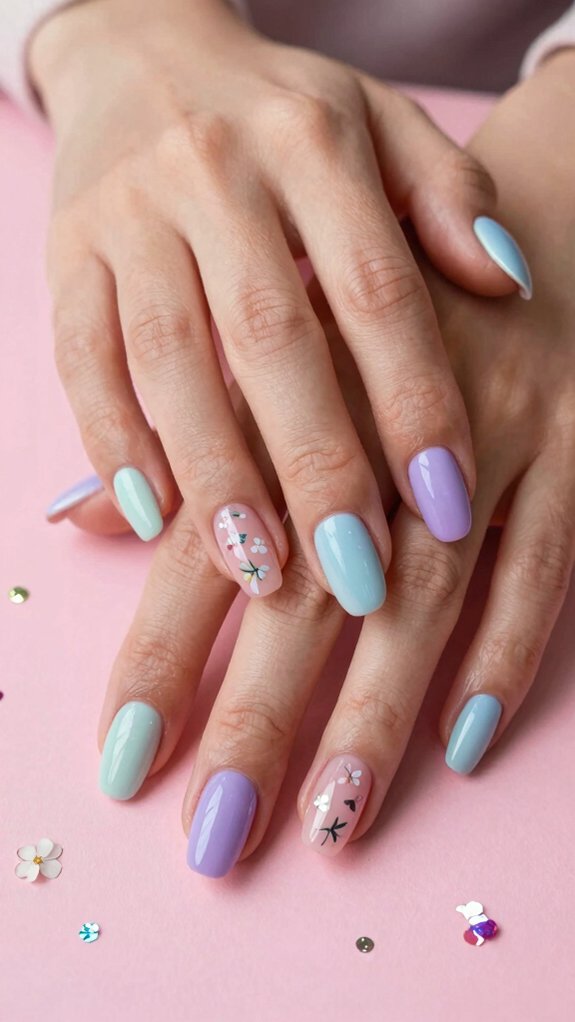
You’re going to love how powder pink flower confetti nails bring spring right to your fingertips with that soft, milky pink base paired with tiny, colorful blooms scattered across your accent nails!
These whimsical designs feature delicate little flowers in white, pale yellow, lilac, and mint—creating an airy, confetti-like look that’s perfect for everything from bridal brunches to casual spring days.
Whether you’re heading to the salon for a gel manicure or trying the DIY route with a fine dotting tool and pastel polishes, you’ll end up with nails that feel fresh, feminine, and totally Instagram-worthy!
Light pink nails with confetti-style blooms
If you’re craving a nail look that’s sweet without being over-the-top, powder pink nails with confetti-style blooms are totally your answer!
This dreamy design combines soft pastel textures with delicate brushstroke accents that feel fresh and modern:
- Start with a pale blush base (#F6D1D8) for your canvas
- Use a dotting tool to create 3–5 mini petals clustered around center dots
- Choose white, butter yellow, and lilac petals with mustard or coral centers
- Place 3–6 asymmetrical flowers per nail near cuticles or edges
Seal everything with glossy or matte topcoat for that candy-like finish!
You’ve totally nailed it!
Candy Stripe Floral Nails
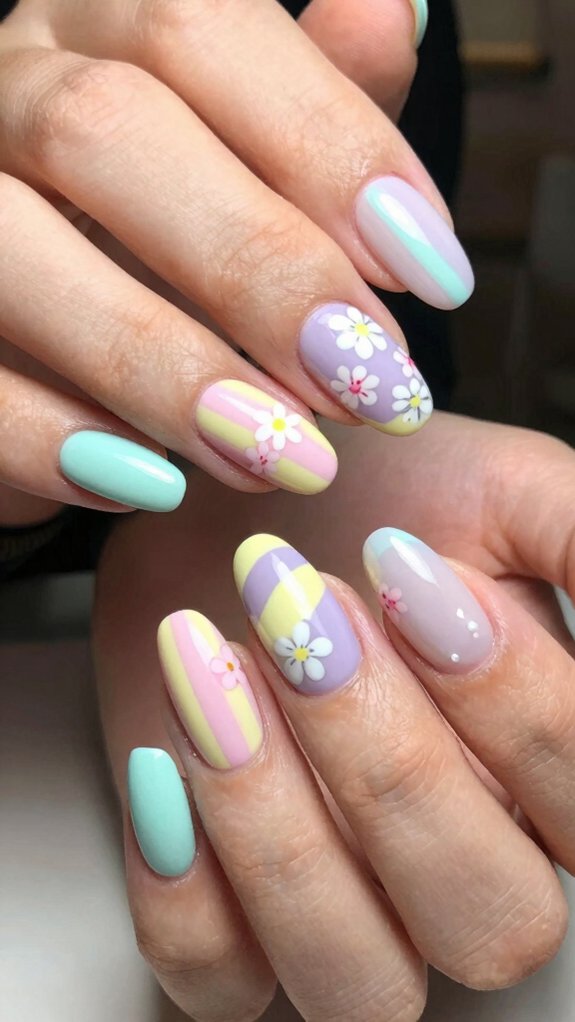
You’re going to love how candy stripe floral nails bring together the best of two nail trends—soft, pastel stripes paired with delicate hand-painted flowers that pop!
This design lets you play with multiple colors like mint, lilac, and baby blue in thin, even lines across your nail, then top it off with tiny daisies or mini blossoms tucked between the stripes.
It’s the perfect balance of playful and polished, giving you that spring-ready look without overwhelming your nails with too much going on.
Multi-color stripes with tiny floral designs
Candy stripe floral nails bring together the best of two worlds—vibrant, playful stripes and delicate botanical details!
You’ll create a manicure that’s totally cohesive and fun by following these steps:
- Apply pastel stripes (baby pink, lilac, mint, butter yellow, powder blue) using thin striping tape, varying stripe placement between vertical, diagonal, and tip-focused designs
- Let each color dry completely before adding the next to prevent bleeding
- Paint tiny five-petal flowers using a dotting tool, placing a contrasting center dot surrounded by delicate petals
- Finish with a glossy top coat for tactile textures and a polished look
Add nude accents on some nails to avoid visual overload!
Minimalist Floral Pastels
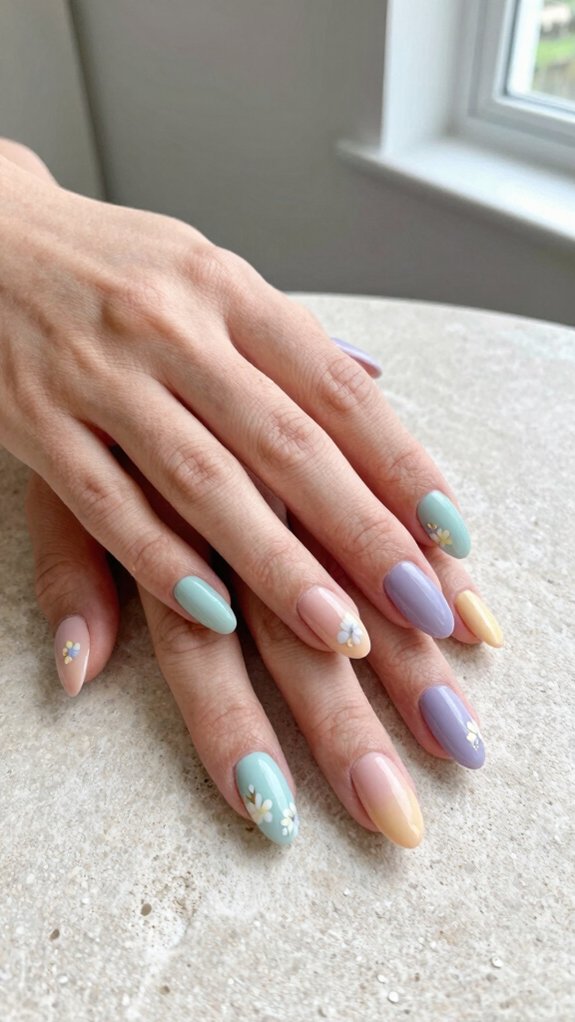
You’ll love how a single flower per nail creates serious elegance without any fuss! Imagine this: one delicate 2–3mm daisy or tiny blossom on your accent nail, surrounded by a soft pastel base that lets it shine like it’s the main character. It’s the perfect way to keep your nails looking chic and minimalist while still showing off those botanical vibes you’re after!
Single flower per nail for elegance
When you’re drawn to delicate, understated beauty, minimalist floral pastels hit just right! This approach celebrates negative space—leaving 60–70% of your nail bare creates that elegant, intentional vibe.
You’ll love these placement options:
- Centered near the cuticle for a vintage half-moon effect
- Off-center positioning for modern, asymmetrical appeal
- Placed at the tip for a delicate French-flower look
- Using tiny floral decals for salon-level precision without freehand stress
Create your bloom with a dotting tool, making 3–4 petals around a contrasting center that pops!
Pair soft pastel bases like pale pink or powder blue with a glossy or matte top coat. You’ve got this!
Pastel Rainbow Garden
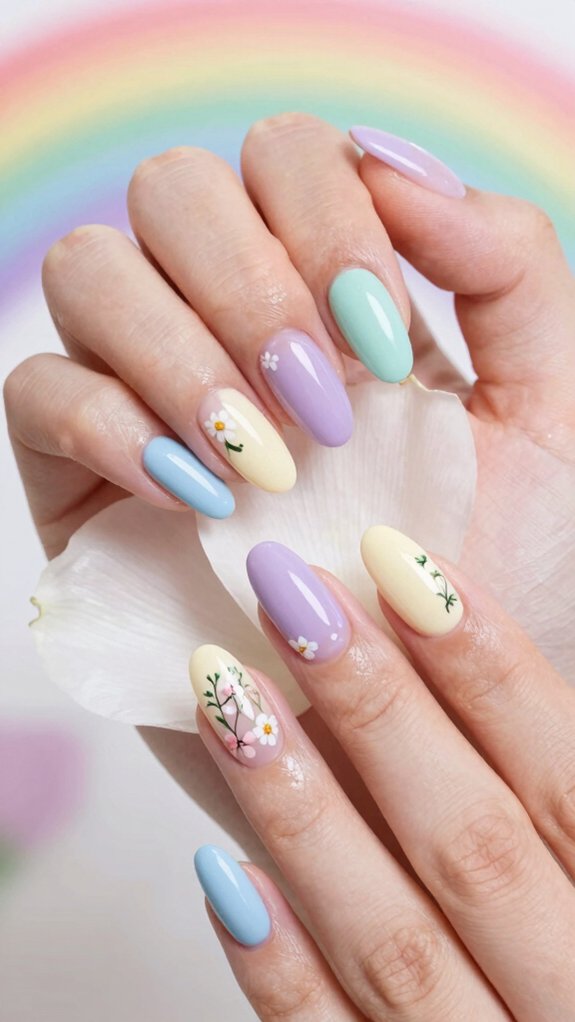
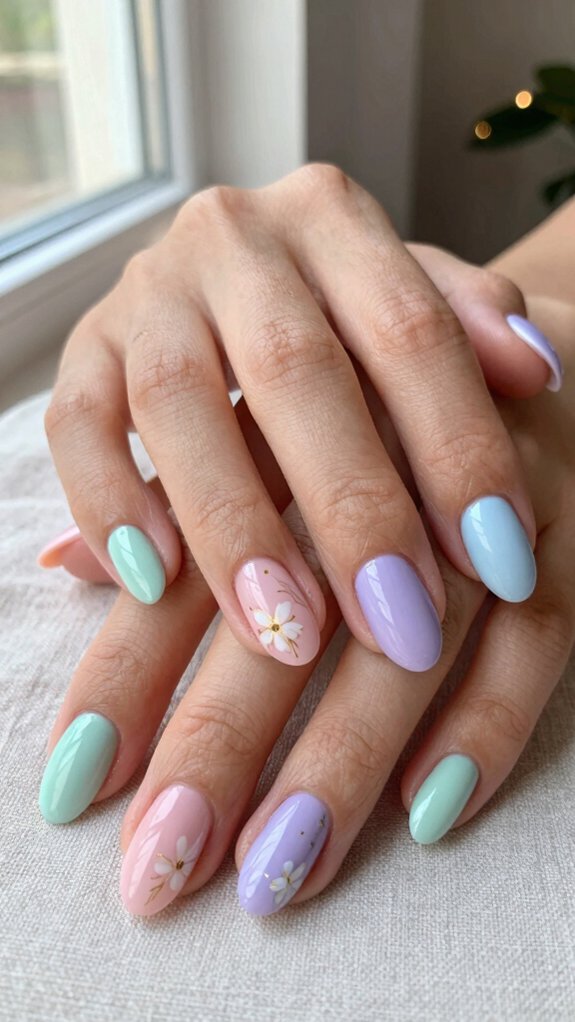
You’ve got to try giving each nail its own soft pastel shade—think powder pink on your thumb, lilac on your index, mint on your middle, baby blue on your ring finger, and butter yellow on your pinky!
The magic happens when you add a tiny matching flower (like a delicate daisy or blossom) to each nail, creating a totally coordinated look that feels way more intentional than just slapping random colors together.
It’s the perfect way to rock multiple pastels without looking like a crayon box exploded on your hands!
Each nail a different pastel flower shade
If you’re craving a manicure that’s cheerful, coordinated, and totally unique, the Pastel Rainbow Garden is your answer!
You’ll paint each nail a different soft shade, creating your own color story. Here’s what makes this design so special:
- Use powder blue, lilac, mint, blush pink, and buttery yellow for maximum impact
- Add tiny daisies or roses in white for a cohesive garden vibe
- Try matte petals with micro Frenchies at the tips for dimension
- Include delicate green stems on one or two nails to tie everything together
The result? A wearable, totally coordinated garden that’s unmistakably you!
Soft Marbled Floral Nails
You’re going to love how soft marbled floral nails blend two totally different techniques into one gorgeous design!
By swirling pastel shades together and topping them with delicate hand-painted flowers, you’ll create a nail look that’s got serious depth and visual interest.
It’s the perfect balance of dreamy, watercolor vibes mixed with cute floral charm that’ll make your manicure stand out!
Marble effect with embedded floral accents
Dreamy and delicate, soft marbled floral nails combine two gorgeous techniques into one stunning design!
You’ll love how veiled translucency creates depth while negative space blooms peek through.
Here’s your roadmap:
- Blend two to three pastel polishes using water-marble or drag-brush techniques, working one nail at a time
- Hand-paint tiny florals (daisies, cherry blossoms, or micro roses) on partially cured gel layers
- Encapsulate with clear builder gel or glossy top coat to seal and protect your flowers
- Add subtle metallic leaf flecks sparingly to amplify dimension
Keep layers thin and translucent—heavy opaque shades flatten your design completely!
Frequently Asked Questions
Which Nails Look Best as Accent Nails?
You’ll want to choose your ring finger or thumb as accent nails—they’re naturally eye-catching spots where matte pearls and textured chrome details really shine. These strategic placements let your floral designs pop beautifully while keeping you part of the pastel trend community.
What Is the Most Classy Nail Color?
You’ll find that soft taupe and muted mauve are your most classy choices—they’re timeless, sophisticated, and universally flattering. These understated shades let you belong to an elegantly polished aesthetic that transcends trends and easily complement any outfit you’re wearing.