You can make Dollar Tree crafts look expensive by keeping colors neutral, adding texture, and using clean lines. Try a linen-wrapped foam board panel, a cork-bottom coaster, or a tiny mirror riser with beaded trim—just glue, trim, and style with a candle or plant. Use warm white, beige, or greige, and keep each piece simple so it feels chic, not crafty. The best budget trick is a mirror upgrade, and there’s more ahead!
Key Takeaways
- Use neutral colors, matte finishes, and only one or two shades to make Dollar Tree crafts look calm and expensive.
- Layer textures like linen, faux cane, cork, or jute for a richer, more designed finish.
- Keep shapes clean and oversized for impact, using crisp edges and intentional blank space.
- Turn Dollar Tree mirrors into decor risers or wall pieces to bounce light and add a high-end focal point.
- Use strong glue and neat finishing so the craft feels sturdy, polished, and worth keeping.
Why These Dollar Tree Crafts Look Expensive
What makes Dollar Tree crafts look so pricey, anyway? You’re seeing texture layering, bold scale, and clean lines working together like a tiny design team!
Linen wraps, faux cane, and cork details give plain supplies that cozy, upscale feel, while neutral colors keep everything calm instead of crafty.
Bigger shapes, like wall panels or beaded mirrors, read as intentional, not random.
For craft durability, strong glue and neat edges matter, because peeling ruins the magic fast.
Then use placement tips: style pieces on trays or risers, and add mirrors to bounce light around.
Suddenly, your space feels curated, not cheap.
Craft to Keep, Not Just to Finish
You don’t want your Dollar Tree craft to be a one-night wonder, so pick projects that can actually work in your home, like wood coasters with cork bottoms or mirror risers that help style a shelf.
Use strong glue, clean lines, and simple finishes, because when a piece feels sturdy and looks calm and collected, it can earn a real spot in your space.
And honestly, the best upgrades are the ones you’ll notice every day—wait until you see how a linen-wrapped panel or cane-look detail can make a tiny DIY feel like a keeper!
Daily-Use Winners
Daily-use Dollar Tree crafts are the real overachievers—they don’t just sit there looking cute, they earn their keep! You can turn tumbling tower blocks into modern bookends that hold up your reads and add fresh magazine styling.
Add a cork bottom to wood coasters for easy furniture-safe budget friendly upgrades that feel polished fast.
Mini picture frames become tiny quote or photo clusters, giving your desk a friendly gallery vibe.
Want a little extra wow? Try a mirror riser for candles and perfume, then wrap foam board in linen for statement wall panels that make your room feel finished.
Styled To Stay
If you want your Dollar Tree crafts to do more than just look cute for five minutes, start with the “styled to stay” mindset—because a pretty piece is great, but a pretty piece that doesn’t wobble, peel, or quit on you is even better! Use strong glue, crisp edges, and finishes that look calm and clean.
- Make coasters or risers with sturdy layers.
- Try mirror upgrades that lift candles and plants.
- Wrap foam board in linen for shelf styling.
- Build bookends that add shape and function.
Choose larger statement pieces, and your shelf routine will feel polished, collected, and totally you!
How to Make Dollar Tree Decor Look Expensive
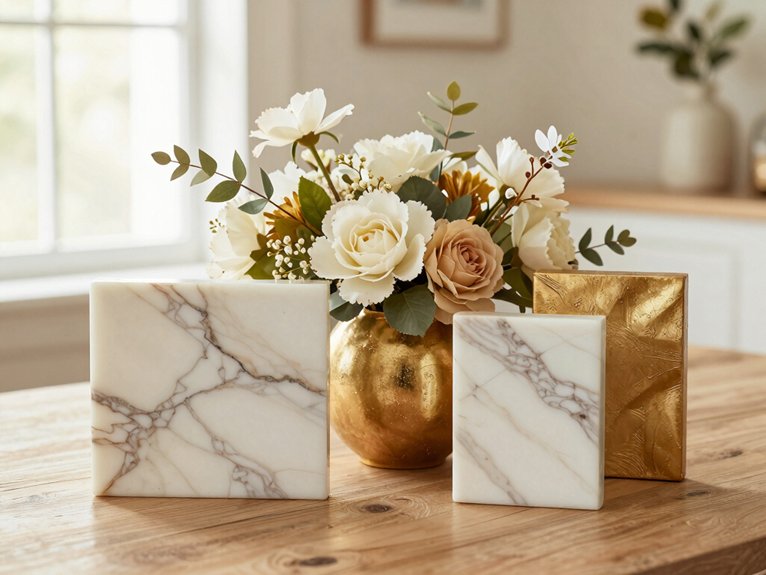
Start by thinking bigger and simpler—an oversized wall piece, a linen-wrapped panel, or a chunky mirror can change the whole room fast, and they don’t need skilled skills to pull off.
Use color matching tips to keep tones close, then add grout line illusions with slim painted strips or frame seams so the piece feels built-in, not bargain-bin.
Pick two textures max, like linen and wood, and keep the lines clean.
For a boutique vibe, group decor in odd numbers on a tray or riser.
Finish strong with heavy-duty glue, because peeling screams “oops” while solid edges whisper “designer.”
Choose Neutral Colors for a High-End Look
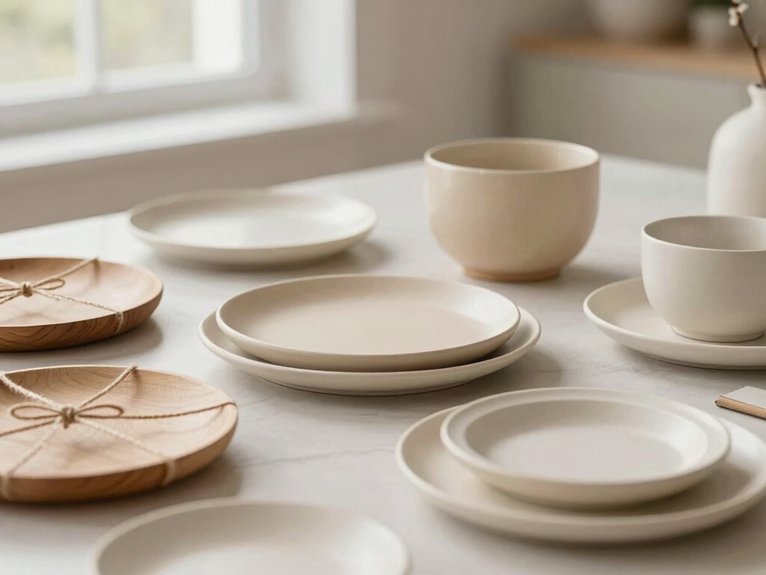
When you keep your colors calm, Dollar Tree finds can look way more polished, and honestly, it’s kind of magic! You don’t need a rainbow to impress your crew—just cohesive neutrals that feel collected, not chaotic.
- Choose 1–2 shades: warm white, beige, taupe, or soft greige.
- Go matte first: matte finishes hide flaws and feel richer.
- Add black accenting: use it sparingly for a crisp, finished touch.
- Repeat the palette: frames, coasters, and panels in the same tones create that “where’d you shop?” look.
Texture first, color second, and boom—your DIYs feel like a stylish set!
Use Texture to Add Depth
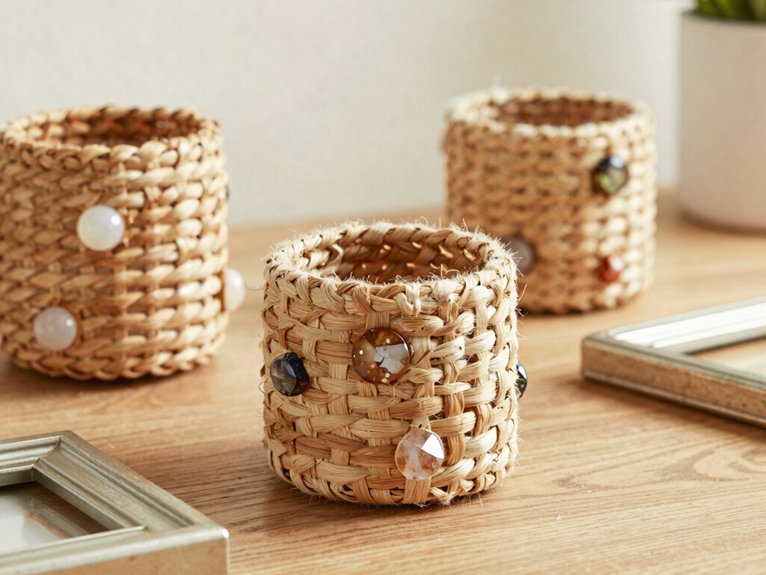
Texture is where cheap supplies suddenly put on a little black-tie outfit! You can start with foam board wrapped in linen, cork-backed wood, or even rug underlay for a lifted edge, and suddenly your Dollar Tree piece feels like it belongs in a nicer room.
Texture layering does the heavy lifting, especially when you place a textured top over a smooth base, like a beaded mirror or faux cane jar wrap.
Keep your cohesive neutrals soft and warm, then finish with tight finishing so every fold looks intentional.
For the biggest wow, try oversized wall panels—hello, designer depth!
Keep Shapes Clean and Simple
Clean shapes can do a lot of heavy lifting, and honestly, they make Dollar Tree projects look way more polished than a pile of “maybe this will work” parts.
- Pick rectangles, circles, or layered ovals, then leave some space blank so your modern display feels calm, not crowded.
- Sand foam-board or blocks, trim stray edges, and you’ll get crisp lines that whisper “expensive,” not “oops.”
- Stick to creams, beige, black, or warm gray, with one accent finish, so your piece keeps cohesive symmetry.
- Dry-fit first, keep spacing even, then paint smooth, and save texture for one small spot.
Pick Dollar Tree Items With Real Versatility
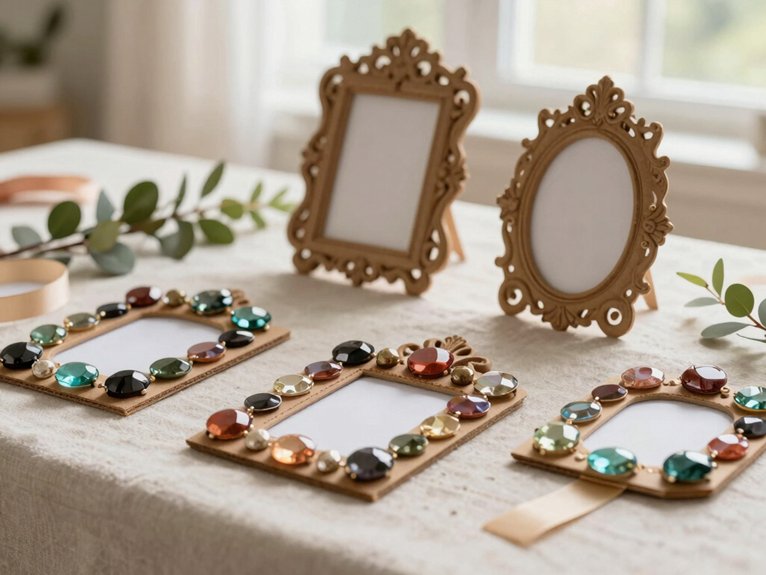
If you want your Dollar Tree crafts to look clever instead of random, start by grabbing items that can pull double or triple duty, because that’s where the magic really happens!
Picture frames can hold printable art, build a gallery wall, or get a quick paint refresh.
Foam board can become a wall backdrop, and rug underlay adds texture layering for faux cane details.
Keep a neutral palette so everything feels calm and pricey.
Then try tumbling tower blocks for bookends or sculptural accents, and use mirrors as risers or wall pieces.
Boom—budget decor that still feels like your style!
Mirrors Make the Biggest Budget Upgrade
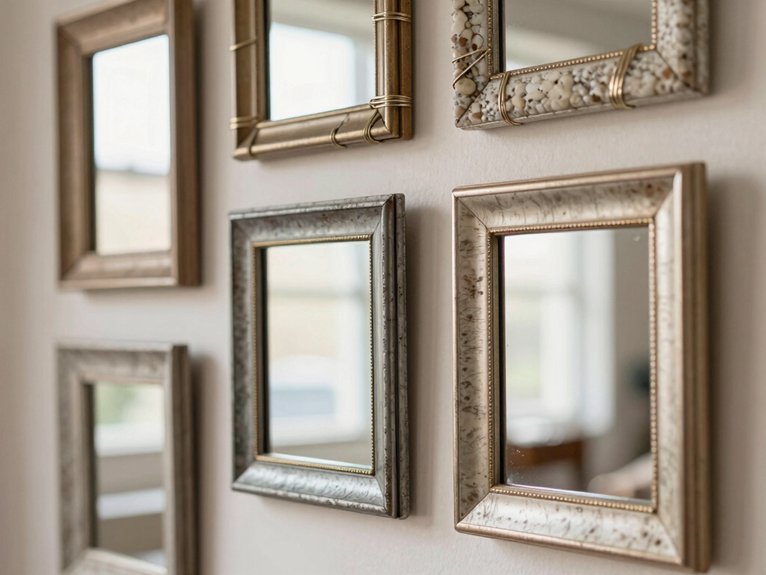
Mirrors are a tiny Dollar Tree buy that can totally change a room, because all that shiny reflection bounces light around and makes your space feel bigger and brighter—magic, right?
You can even make a simple mirror riser with a small base, glue, and a thrifted or Dollar Tree mirror, then stack your candles or mini plants on top so everything looks styled on purpose.
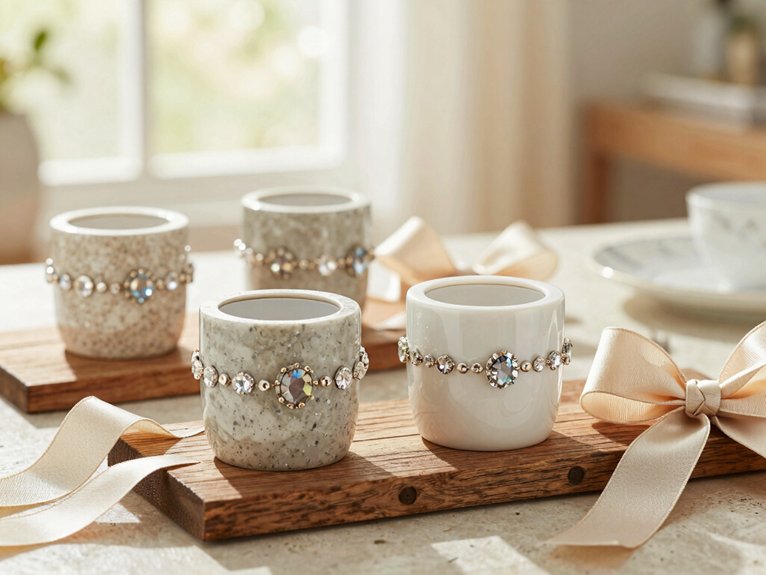
And if you want the biggest wow factor, turn a cheap mirror into a statement piece with beads or texture around the edges, then keep the area around it clean and neutral so the mirror gets all the glory!
Reflective Pieces Add Light
When you want a room to look brighter fast, reflective pieces can do the heavy lifting without making your wallet cry!
You’ll fit right in with these easy Dollar Tree moves, and they follow smart mirror placement tips and reflective styling rules.
- Put a mirror across from a window for instant glow.
- Turn a small mirror into a tray riser with beads.
- Set a mirror under candles or plants for a polished shine.
- Choose a larger mirror when you want the biggest light boost.
Tiny swap, big sparkle—your shelf will look elegant, not fussy!
Make Decor Feel Intentional
On a tiny budget, the easiest way to make your decor feel polished is to give it one clear focal point, and Dollar Tree mirrors do that like magic!
You can grab a statement-shaped mirror or a mirror riser, then keep it simple with a candle or tiny plant.
That’s it, friend—no clutter, no chaos.
Center it on a wall or entry spot, then place it against a clean backdrop, like linen texture, for a boutique vibe.
Choose Balanced colorways, and let the mirror’s finish do the talking.
A beaded or cane-style detail adds height, texture, and that “whoa, is this custom?” feel!
Statement Mirrors Maximize Impact
Under a little empty wall space, a statement mirror can do a wild amount of work for almost no money! You’ll fit right in when your room feels brighter and taller, like it got a tiny glow-up from the inside.
- Pick an oversized arched or rounded Dollar Tree mirror.
- Add beading, linen wrap, or a luxe frame finish.
- Try Dollar Tree mirror placement across from a lamp or in an entryway.
- Turn one into a beaded riser for candles and plants.
That’s high end reflective styling, and it makes your space look chosen, not случайно.
Foam Board Does More Than You’d Think
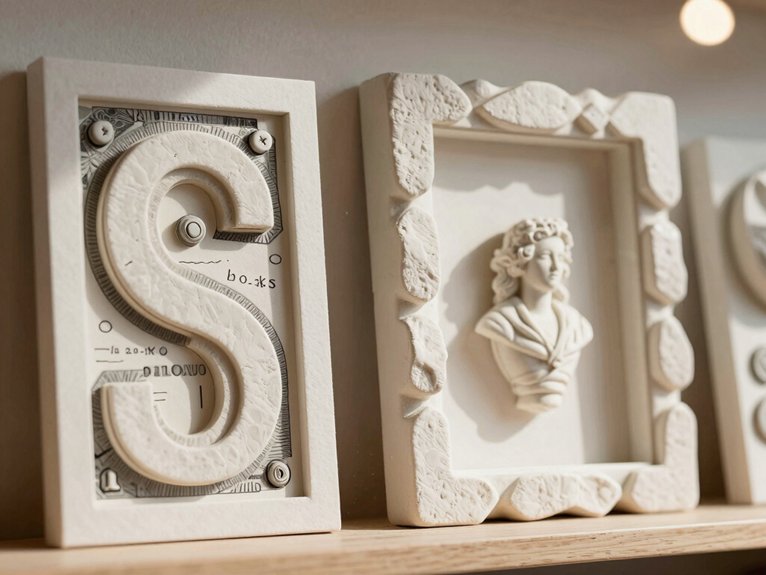
Foam board might look like the plain cousin of craft supplies, but wow, it can do way more than you’d think! You can cut it into crisp frames, panels, or sturdy art backs that stay flat and polished.
Wrap it in linen, faux fabric, or textured paper, then seal the edges for great Adhesive longevity and smooth texture layering.
Need a quick upgrade? Try oversized wall art backings or faux upholstered panels.
Add neutral finishes like burlap or matte paper, and you’ll get that boutique, “I totally belong here” look fast.
It’s easy, cheap, and oddly elegant—kind of magic, honestly!
Start With the Easiest Dollar Tree DIYs
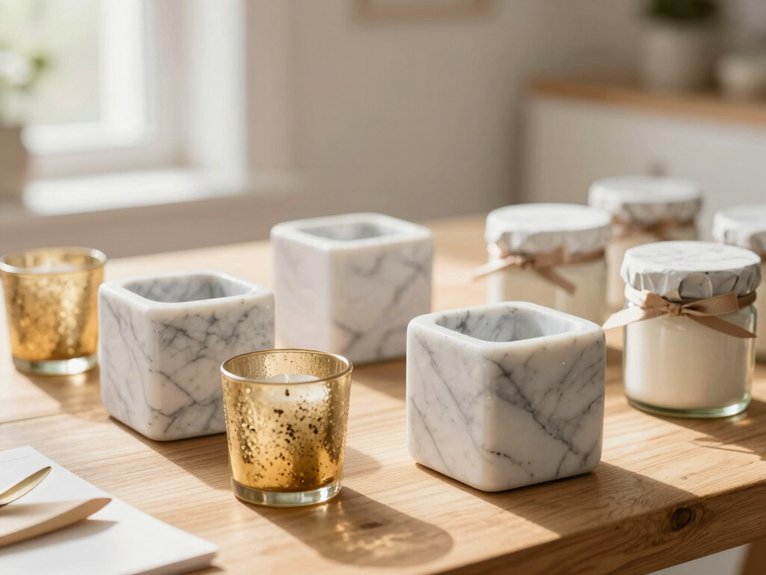
If you’re brand new to Dollar Tree DIYs, start with the small wins first, because they’re fast, cheap, and way less scary than a full weekend project!
- Mini frames: add printable quotes or photos, and your shelves instantly feel collected and personal.
- Wood coasters: glue on cork bottoms, brush on a simple finish, and you’ve got boutique-style protection.
- Faux cane wraps: try a mason jar wrap for easy texture layering and a budget big impact.
- Mirror trays: build with reflective pieces, then style candles or plants, and your table looks polished fast!
Modern Wood Sculpture Bookends
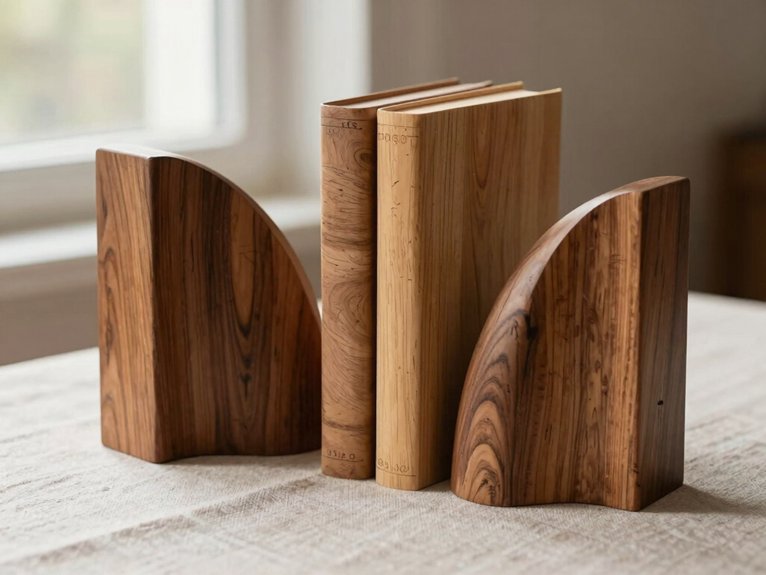
For a bookend that looks more like modern art than a craft-store stack, Dollar Tree tumbling tower blocks are such a fun place to start! You’ll stack them into clean, geometric shapes, then glue them tight so nothing wobbles.
| Look | Feel |
|---|---|
| Warm wood | Cozy, polished |
| Matte black | Bold, modern |
| Cream | Soft, airy |
| Tall stacks | Boutique vibe |
Choose one neutral finish, and skip color palette mistakes that scream DIY. On a messy shelf layout, these add structure fast. Smooth rough edges, add a light topcoat, and you’ve got sturdy pieces that can even frame tiny vase moments.
Mini Picture Frames for Small Moments
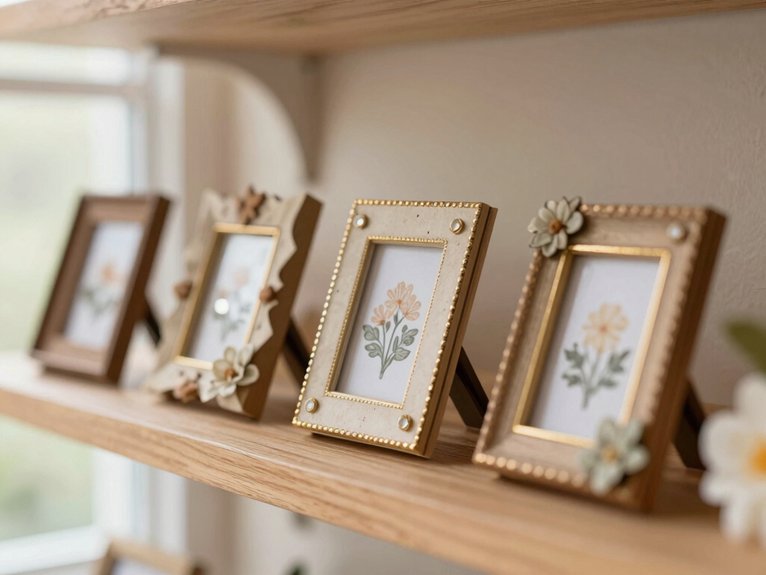
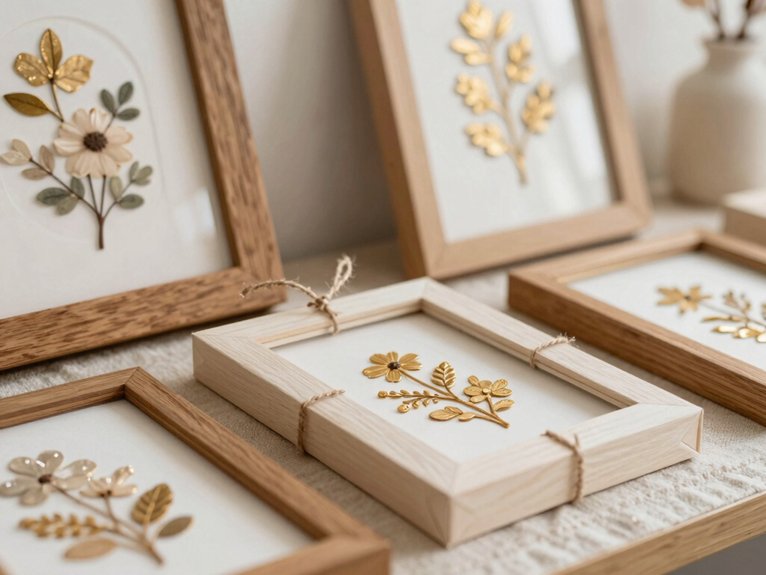
Mini Dollar Tree picture frames make it easy for you to turn tiny art into a big style moment—think favorite quotes, postcard prints, or a sweet little photo that feels totally intentional.
You can group 2 or 3 on a shelf or desk for an easy mini-gallery, and honestly, it looks way fancier than the price tag!
Want it to feel custom? Swap the inserts with seasonal art or affirmations, then add a simple backing for that crisp, polished finish.
Tiny Art Displays
Sometimes the smallest things make the biggest style splash, and Dollar Tree mini picture frames are proof of that!
Try these tiny art moments:
- Swap in printable quotes or 2×3 photos for instant charm.
- Use Frame insert upgrades with matte paper or wood-textured scraps.
- Pick black, white, or wood-tone frames so your display feels calm, not cluttered.
- Build a gallery style grouping with two or three frames at different heights.
You can place them on books, by coasters, or in an entryway for a finished look. Cute, cheap, and yes, totally room-brightening!
Shelf Styling Moments
Those tiny frames don’t just shine on their own, they can make your shelves look styled on purpose, not just “I put stuff here and hoped for the best.”
Cluster 2–4 Dollar Tree mini picture frames together on a narrow riser or a stack of books, and suddenly you’ve got a little shelf moment that feels collected and cute!
Try simple color pairing tips: keep the art in cream, taupe, or black, then mix frame finishes for a boutique vibe.
Play with shelf riser heights so one frame sits higher, and tuck another partly behind a candle or vase for easy depth.
Easy Personal Touches
When you want a shelf, desk, or entry table to feel a little more “you,” Dollar Tree mini picture frames make it ridiculously easy!
Try these quick ideas:
- Swap in a printable quote, then clip it behind glass for a tiny boost.
- Add a favorite moment card with a photo, tape, and a neat trim.
- Use Frame layering tips: group 2–3 same-finish frames with small gaps.
- Do Neutral palette swaps with cream, black, or taupe, plus a matte backing.
These little frames work fast, cost almost nothing, and make your space feel like you belong there—without the clutter!
Upgrade Plain Frames With Texture
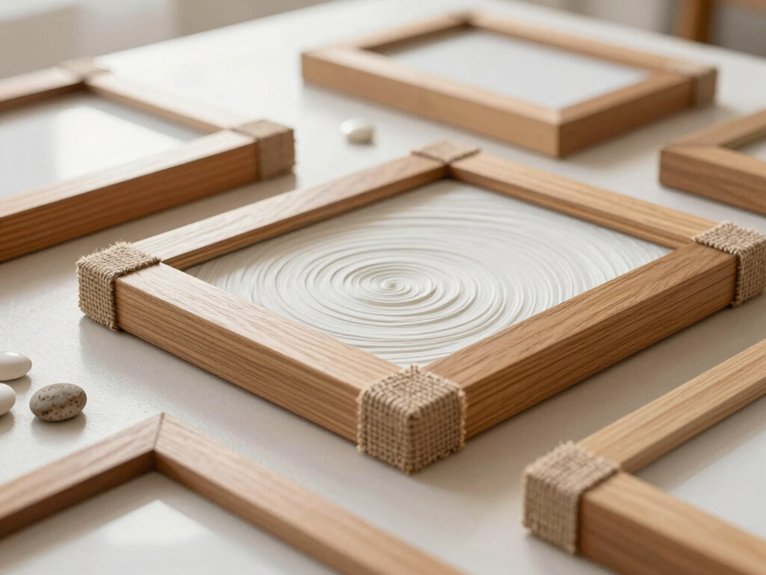
Start with a plain Dollar Tree frame and give it a little texture magic!
You can turn it into a Textured focal with thin foam board, jute strips, or linen-like fabric, all in cream, beige, taupe, or black.
Wrap a band, add a slim border, or place a centered panel so it feels intentional, not crafty.
Trim everything flush, glue the edges underneath, and lightly seal or paint the surface for a smooth finish.
Then try gallery styling: pair your upgraded frame with one or two textures and a simple print.
Clean matting helps it look polished, pricey, and totally welcoming!
Make Linen Wall Panels That Steal the Show
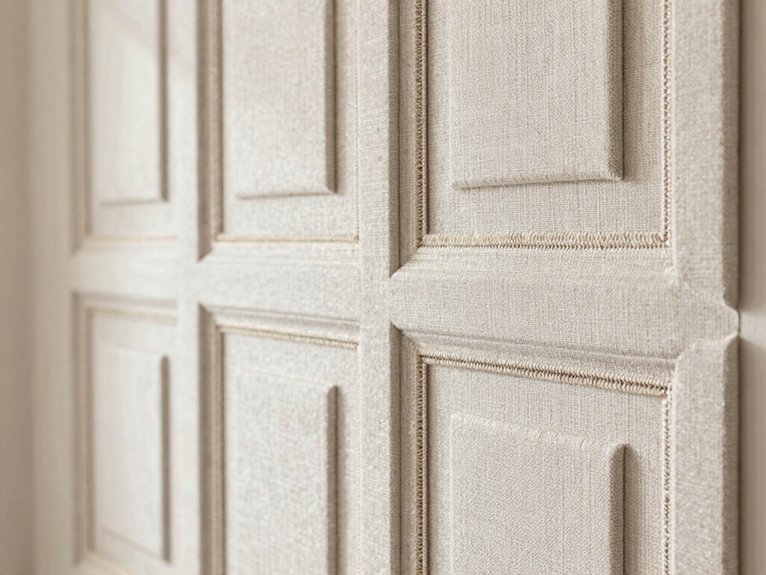
Linen wall panels work because they bring in soft texture and a custom, upholstered look without the custom price tag—pretty great, right?
You can start with foam board, wrap it in neutral linen, and suddenly your wall feels calmer, warmer, and way more finished.
For the best wow factor, make large, evenly spaced panels in a clean grid, because oversized panels look polished and help your art stand out instead of float away!
Why Linen Panels Work
Because they borrow the look of luxurious upholstered walls, linen panels instantly bring in that soft, high-end texture without the price tag of real reupholstery. You’ll feel like you joined the “fancy but friendly” club!
- Wrap foam board with linen for a tidy, built-in look.
- Use neutral styling rules so the room feels calm, not busy.
- Try Layered lighting tips, and the weave glows beautifully.
- Make one large panel, because scale quiets visual noise and helps art feel grounded.
That simple combo adds structure, warmth, and a custom vibe. Best part? It’s beginner-friendly, affordable, and seriously impressive!
Styling Large Wall Panels
When you want a wall to feel custom without the custom-price drama, large linen panels can totally do the trick!
Start with foam board, wrap it in linen, and secure it with hot glue or a strong adhesive.
Go big—larger panels give you better visual impact and let that soft texture show from across the room.
For color balance, keep it easy with warm whites, beige, and greige, then add simple art or mirrors.
Mount them on a dark wall so everything feels grounded, not floaty.
Finish edges snugly, and you’ve got cohesive styling that looks downright designer!
Add Cork Bottoms to Wood Coasters
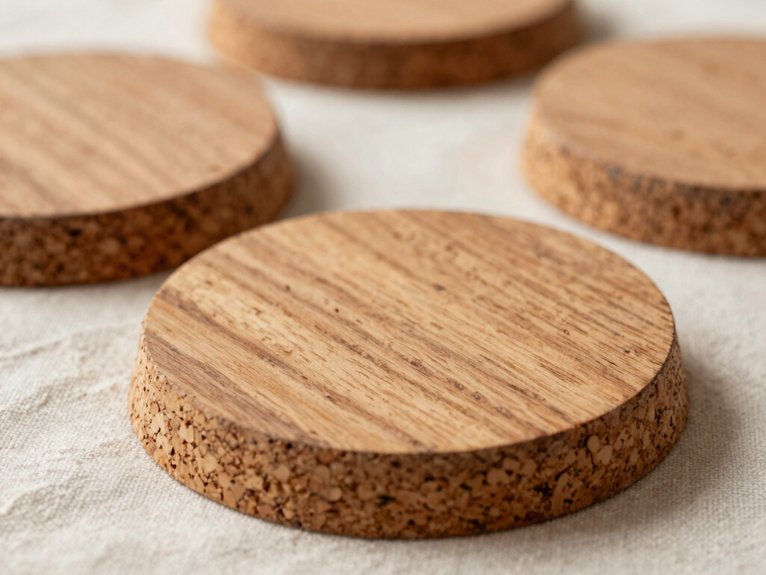
A simple cork upgrade can make your Dollar Tree wood coasters feel way more polished! If you love thrifted charm, this little trick fits right in with your favorite Alternative coaster materials and furniture protection hacks.
- Grab flat wooden coasters and a cork sheet or adhesive cork.
- Trace and cut the cork to fit snugly.
- Glue it on with wood-safe adhesive.
- Let it cure fully before use.
You’ll get a smoother underside, better protection from rings and heat, and a boutique look without the boutique price. Honestly, it’s the kind of tiny upgrade that makes your whole coffee table feel in the club!
Turn a Dollar Tree Mirror Into Wall Decor
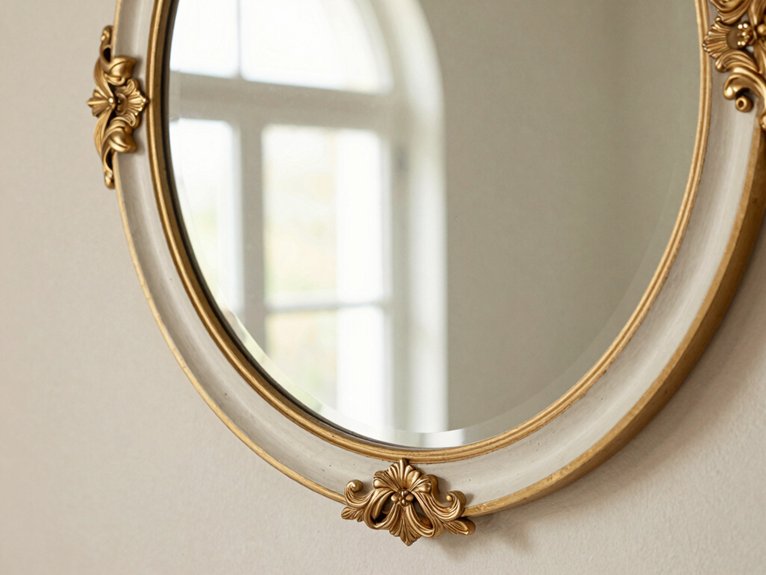
Even the plainest Dollar Tree mirror can turn into charming wall decor with just a few smart upgrades!
Start with a simple frame upgrade using linen-look fabric, textured wrap, or warm wood tones, and your mirror suddenly feels boutique, not basic.
Add thin trim or foam-board backing for a layered look, then keep the color clean and calm so it follows minimalist styling rules.
Want more charm?
Try faux-cane or beaded trim for a modern boho touch.
Mount it securely, place it where mirrors for light can shine, and tuck a small tray beneath it for an easy little wow!
Build a Beaded Mirror Riser
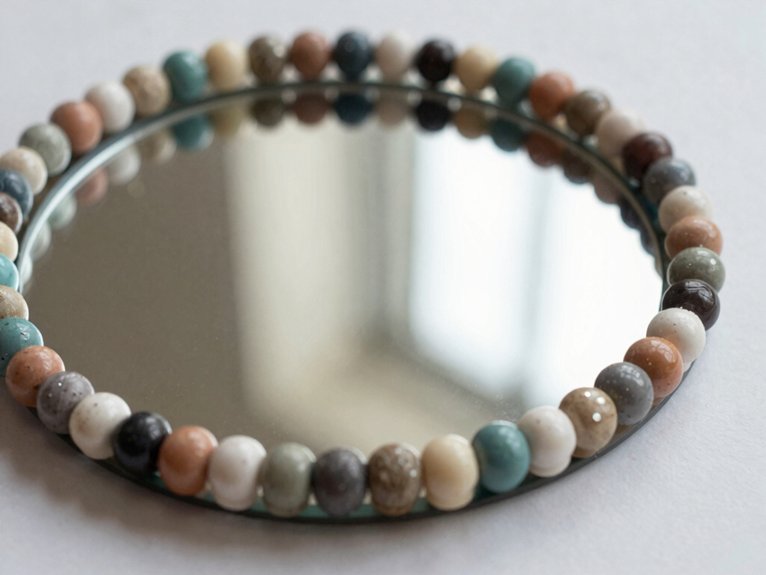
You can turn a Dollar Tree mirror into a tiny riser that looks luxurious fast, just add beaded trim around the edges and stack foam board or scrap wood underneath to give it some lift.
Hot glue helps the mirror sit secure and seamless, and a quick clear coat keeps those bead details looking crisp instead of crafty.
Style it with only two or three items, like one candle and a small plant, and suddenly your decor looks way more expensive—hello, little glam moment!
Beaded Mirror Styling
With a beaded mirror, you can turn a plain shelf into a tiny stage for your favorite decor, and honestly, it looks fancier than it should!
- Pick a neutral frame, like gold, cream, or warm wood, so the beads shine.
- Set it on a sturdy foam board or trimmed shelf base, then add candles, a small vase, and a plant.
- Keep the top simple, and use DIY lighting tips to catch extra glow.
- Try seasonal styling swaps for a fresh look, then place it near natural light.
You’ll get a boutique feel, without the boutique price!
Decor On Display
A Dollar Tree mirror can do way more than reflect your face—it can become a cute little riser that makes candles, a mini plant, or a tray look instantly more styled and a whole lot fancier!
Start with a foam board shelf frame, add the mirror on top, and wrap the edges so it feels sturdy, not crafty. Then finish the perimeter with faux beads or cane accents for that high-end wow.
Paint it cream, white, or warm wood, so style cohesion comes easy and color matching rules don’t fight you.
Place it on a console, then style just 2–3 pieces.
Boom—boutique vibes!
Style a Mirrored Tray on Any Surface
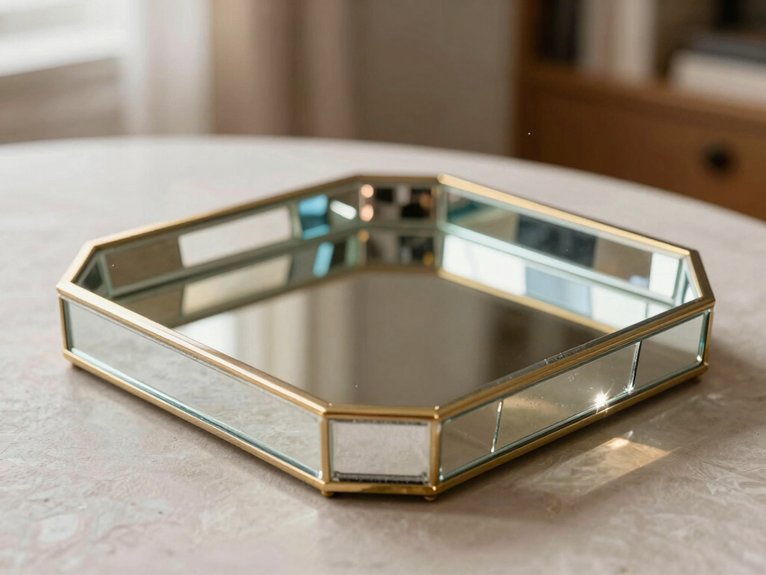
When a Dollar Tree mirrored tray lands on a nightstand, dresser, or coffee table, it instantly makes the whole spot feel brighter and a little more polished—fancy, but not fussy! Use it as a catch-all base, then build a tiny scene you can love.
- Pick 2–4 pieces in one tight palette.
- Add height with a candle holder or bud vase.
- Mix in faux greenery, glass, or ceramic for richer texture.
- Add a neutral liner, then do Seasonal swaps and gentle mirror upkeep.
Move it around the room, and your tray stays fresh, not cluttered.
Add a Mirror Accent to Storage Shelves
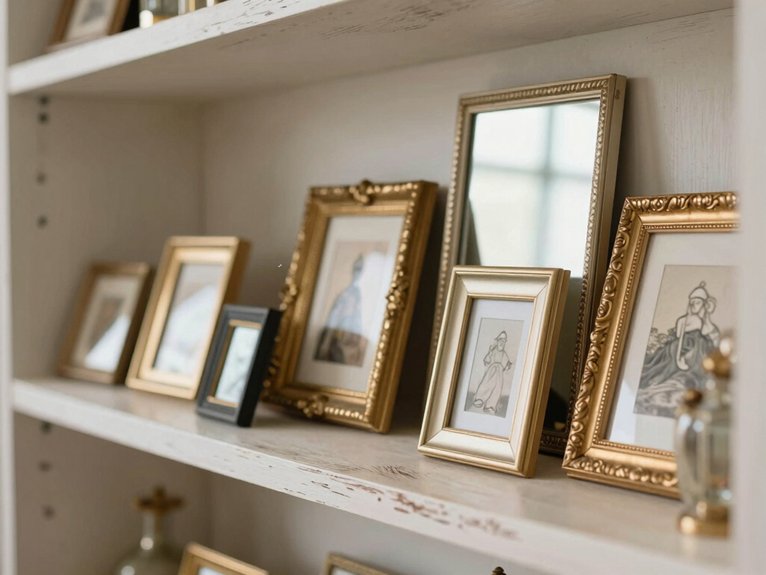
A small Dollar Tree mirror can do wonders on your storage shelves, especially when you tuck it behind books or candles to brighten up a dark spot—hello, instant glow-up!
You can prop it at an angle as a simple backdrop, and suddenly your shelf looks styled, not stuffed.
For an even better finish, layer it with a tray and a little greenery or a candle, and keep the colors soft and neutral so the whole display feels chic, not chaotic.
Brighten Dark Shelves
If your storage shelves look a little dim and blah, a tiny Dollar Tree mirror can work some magic by bouncing light around and making the whole space feel more open—fancy, right?
Use smart Lighting tricks and watch your shelf proportions feel lighter fast.
- Pick a simple frame.
- Add strong glue or a secure backer.
- Place it mid-height with a candle and plant.
- Raise it on a small riser for extra depth.
Keep it tucked where it won’t get bumped, and you’ll get a cozy, curated look that feels like you belong in a stylish little nook.
Reflective Styling Touch
That little mirror trick you used to brighten dark shelves? It works even better as a riser! Grab a Dollar Tree mirror, or mirror-look piece, and center it on top of your shelf. Then place candles, plants, or stacked books on it for instant style.
| Item | Look | Tip |
|---|---|---|
| Mirror | Reflective | Use a beaded frame |
| Ceramics | Calm | Keep a neutral palette |
| Greenery | Fresh | Add height |
This gives you texture contrast, a boutique feel, and a cleaner focal point. Slightly lift the mirror, and your shelves suddenly look layered, polished, and oh-so inviting!
Make a Statement Beaded Mirror Piece
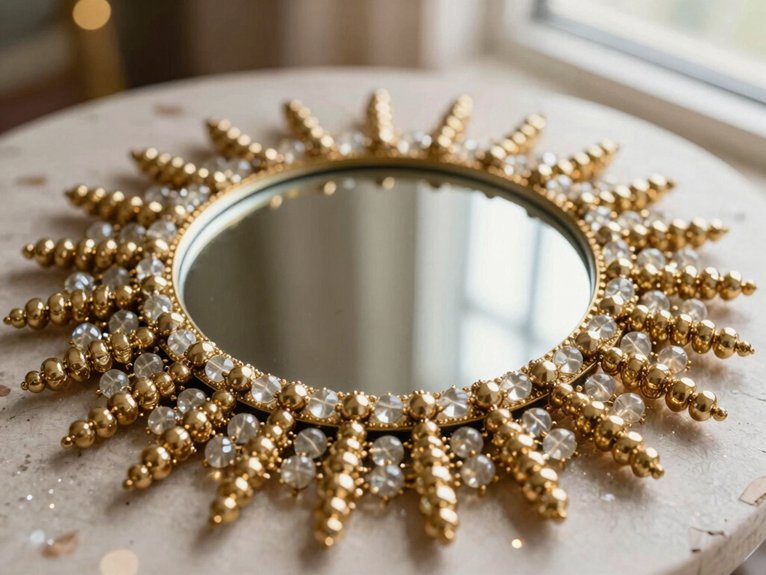
When you want a mirror that looks way fancier than its price tag, start with an inexpensive Dollar Tree round or rectangular mirror and turn it into a beaded beauty! You’ll fit right in with the trend, and your space will thank you.
- Gather Mirrors, faux cane trim, hot glue, and a backing.
- Follow spacing tips so every bead sits even and smooth.
- Use a neutral bead arrangement in ivory, cream, or gold.
- Mount it with strong hooks for finish longevity.
Hang it at eye level, then add greenery or a tiny tray. Boom, boutique vibes without the big-store bill!
Create a “Hey You” Door Sign
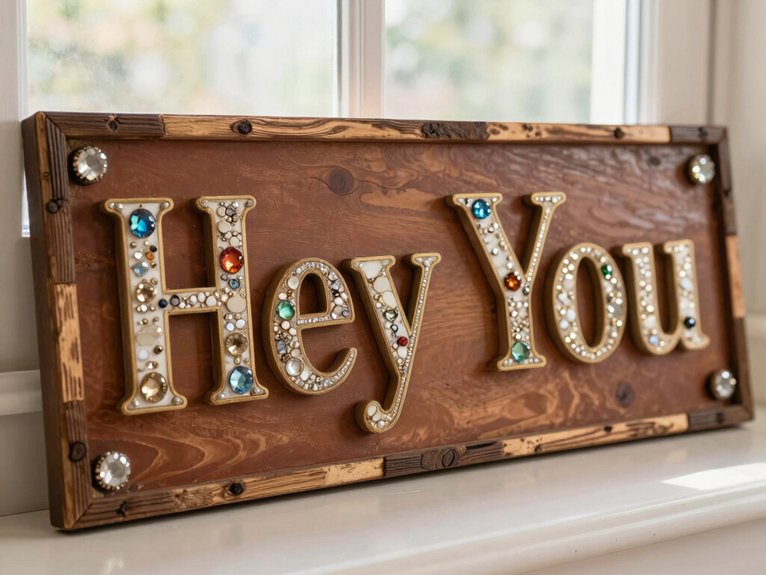
A plain door gets a fun little glow-up with a “HEY YOU” sign, and it’s easier than it sounds!
You start with a simple Dollar Tree board or wood-look shape, then paint it cream, beige, or soft greige for a calm, welcoming vibe.
Next, add a faux cane layer by cutting rug underlay into thin strips and pressing it on in neat rows.
Use modern typography choices for bold, simple “HEY YOU” lettering, so it reads clean from the hall.
Finish with a clear coat, then try budget friendly mounting with a hook or small screws.
Too cute, right!
Wrap Mason Jars in Faux Cane
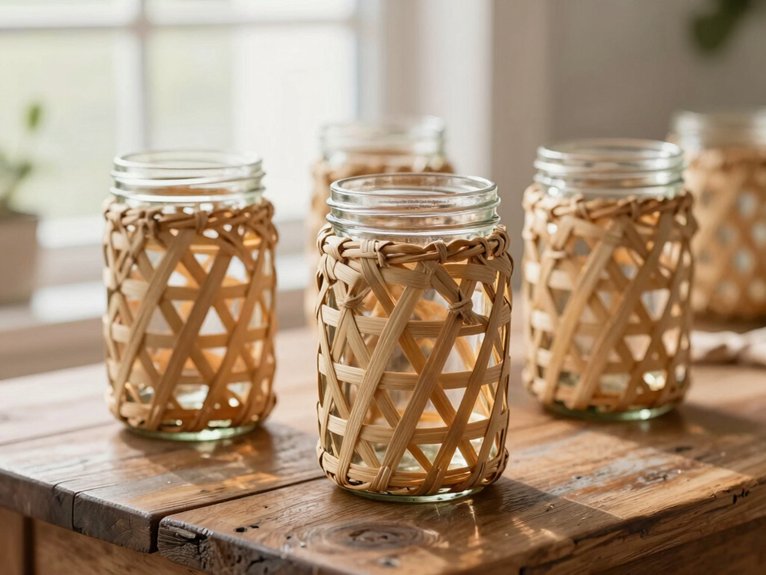
Use a Dollar Tree mason jar as your base, and you can turn it into a little designer-style piece in just a few easy steps! Wrap it in faux cane, and suddenly it feels like it belongs in your cutest shelf styling.
- Cut Dollar Tree rug underlay into strips for extra woven depth.
- Glue the strips on with strong craft adhesive, then add faux cane over top.
- Let it cure fully so it stays put for candles or a small vase.
- Style it with cream, tan, or wood tones for home fragrance and easy season swaps.
Cheap? Yep. Chic? Absolutely!
Add Cane-Style Inserts to Cabinet Doors
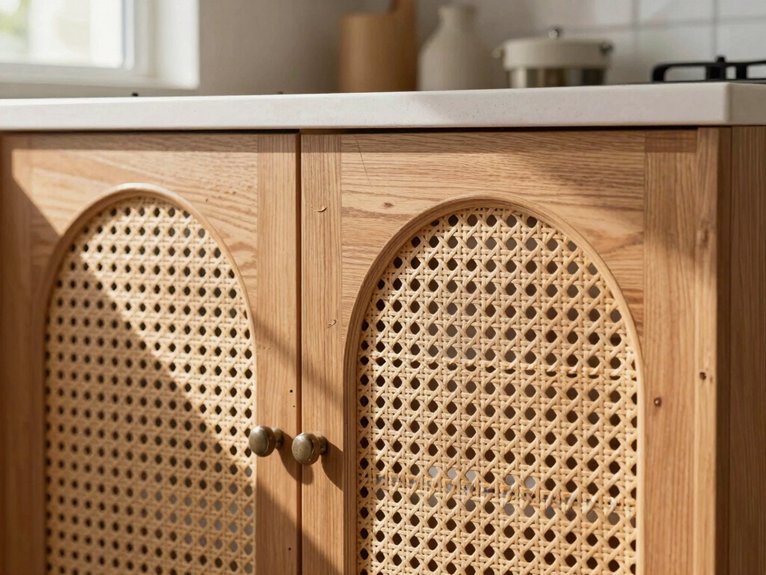
Those cute cane-wrapped jars can spark even more ideas, and cabinet doors are a super fun place to fake that stylish look! You’ll cut Dollar Tree foam board to fit the panel, then cover it with woven contact paper or a cane-rattan wrap. Keep it slim, about 1/4–1/2 inch, so it feels built-in, not bulky.
| Step | Tip |
|---|---|
| Cut | Match the door opening |
| Wrap | Smooth the cane texture |
| Glue | Use tacky construction adhesive |
| Finish | Seal with matte sealer |
Budget adhesive tips help edges stay put, and Tool free finishing tricks make it feel boutique.
Build a Faux Drawer Front With Foam Board
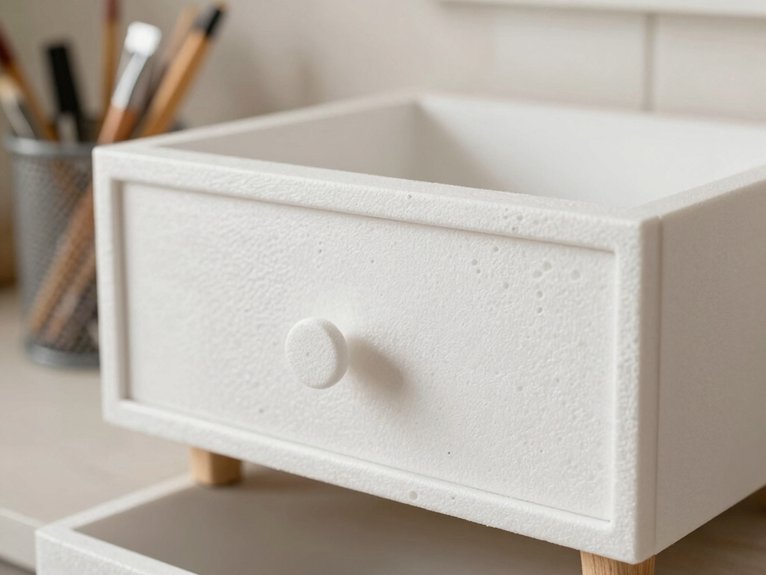
You can turn Dollar Tree foam board into a faux drawer front by cutting one piece for the face and a second piece for the inner border, which gives you those clean drawer detail lines without much fuss.
Glue the layers with a strong craft adhesive, press them flat while they cure, and you’ll keep the edges crisp instead of wobbly—nobody wants a “drawer” that looks like it had one too many bumps!
Finish it with a neutral paint or faux wood coat, add a simple knob, and attach it securely so it looks polished, deeper, and surprisingly furniture-grade.
Foam Board Base
A Dollar Tree foam board can become the sneaky little secret behind a faux drawer front, and it’s a budget-friendly way to make a plain cabinet look way more custom! You can fit it into your space, keep the edges crisp, and enjoy that “wait, you made that?” reaction.
- Cut the board to match the opening.
- Add thin perimeter strips for a little depth.
- Brush on lightweight spackle, then sand smooth.
- Glue on your top layer, then seal it.
It’s perfect for workshop organizers and budget friendly labels, too. Cute, sturdy, and totally one-of-a-kind!
Drawer Detail Lines
Sometimes the tiniest lines make the biggest difference, and that’s exactly what happens with faux drawer fronts!
You’ll cut your foam board rectangle a touch larger than the opening, then trim it with cutting precision until it fits like it was made for your piece.
Next, score shallow grooves along the edges and add two center rail lines, so your dresser gets that real, layered look.
For a clean finish, cover it first with smooth paper or paint, let it cure, then use budget friendly adhesives to add wood-look trim.
The result? A crisp, custom front your friends will swear is store-bought!
Finishing For Depth
Now that the drawer lines are in place, it’s time to make that foam board front look like it belongs on a real piece of furniture, not a craft table! You’re building depth, and that’s where the magic happens.
- Cut a shallow recessed panel for a subtle shadow.
- Smooth seams with caulk, filler, or cardstock strips.
- Wrap it in linen, or add textured paint for a custom feel.
- Paint inner edges, then add your drawer hardware upgrade after it dries.
Seal it with matte clear coat, and your faux drawer front will feel crisp, dimensional, and proudly yours—like it came from a chic boutique, not a dollar bin.
Make Oversized Wall Art on a Tiny Budget
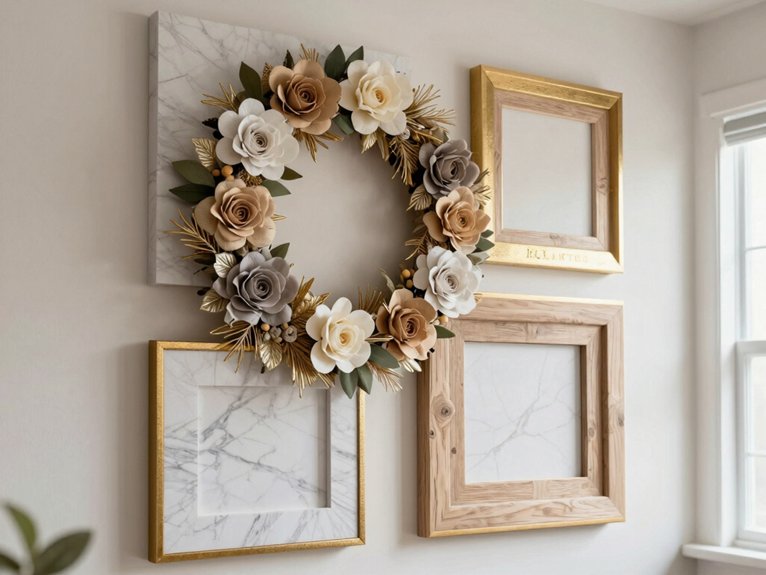
When you want your wall to look big and elegant without the big-fancy price tag, foam board can do some seriously impressive heavy lifting!
Wrap it in linen-look fabric or a painter’s drop cloth, then keep your colors soft—cream, beige, taupe, and a few black accents.
Spread glue evenly, pull the fabric taut from the center out, and finish the back neatly with tape or staples.
Add a thin framed edge or second layer for a built-in shadow gap—nice!
With Color matched lighting and removable mounting options, your oversized piece feels custom, secure, and totally room-worthy.
Why Oversized DIYs Look More Expensive
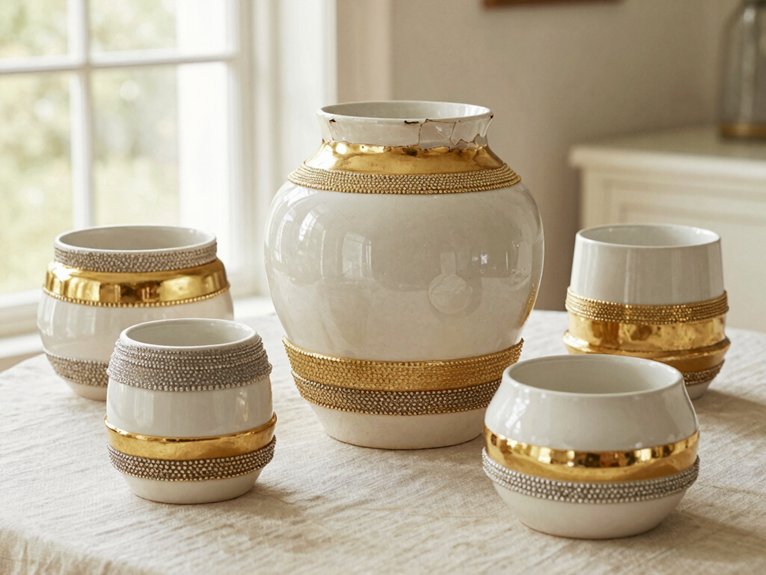
Big pieces just look more luxe—your eye reads them as intentional, like custom art or stylish wall panels, instead of a bunch of little craft bits scattered around.
When you go oversized, you create instant impact, and even simple materials can feel designer-level with clean lines and neutral colors.
Honestly, the bigger the DIY, the more it can make your room feel expensive, especially when you finish it well and let it stand tall as the star!
Bigger Feels More Luxe
A giant wall piece can do what a dozen tiny crafts can’t—it grabs the whole room at once and makes your budget details fade into the background. You fit right in when you go bigger; it feels polished, calm, and a little elegant, honestly!
- Use texture layering with foam board and Dollar Tree wraps.
- Try scale first styling for a linen panel backdrop.
- Add a statement mirror to pull eyes upward.
- Keep construction lines simple; the finish will speak first.
Large DIYs turn cheap materials into luxe-looking moments, and that’s the magic. Because the surface is bigger, every dollar works harder, wow!
Scale Creates Impact
Because scale changes the whole mood of a room, even a Dollar Tree base can look custom-made once you size it up!
You’re not just making decor, you’re giving your wall a new anchor, and that feels sophisticated fast.
Try foam board wrapped in linen-style fabric, or stack frames into one big panel, then add Layered textures, visible craftsmanship for a richer finish.
Keep your Wall spacing, furniture proportion in mind, so the piece fits your sofa or bed without looking lost.
Bigger shapes hide little seams, and wow, one bold statement beats a bunch of tiny crafts!
Oversized = Designer Look
When you go oversized, your DIY suddenly starts acting like it hired a stylist! Big pieces grab attention fast, and that designer scale makes your room feel put together, not patched together.
- Try a giant linen-look wall panel with foam board; wrap it, hang it, and boom, Budget friendly impact.
- Make one oversized framed print with clean lines; it feels curated and calm.
- Use a large statement mirror, then keep decor simple around it.
- Pick neutral tones and texture, and your project reads premium from across the room.
Less clutter, more wow, and you belong in that stylish club!
The Best Adhesives for Dollar Tree Crafts
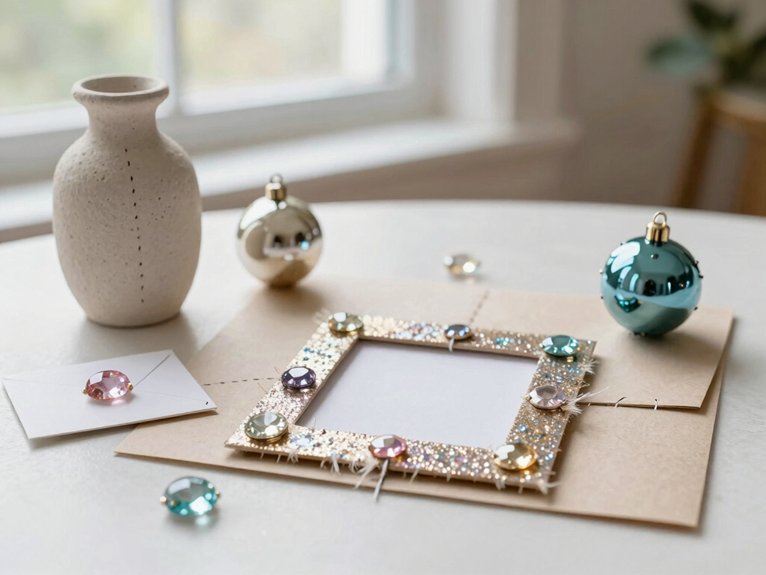
For Dollar Tree crafts that need to look high-end, the adhesive you pick can make or break the whole project, and yes, the wrong glue will absolutely let you down at the worst moment!
Choose hot glue for instant tack, or E6000 when you want flexible, glass-to-wood strength.
Match the glue to the surface, too, and you’ll feel like you’re in the insider club: foam loves grabby glue, painted wood likes a stronger hold, and fabric needs flex.
Use thin layers, press firmly, and keep Color palette rules and seam hiding tricks in mind.
Strong glue, secure placement, gorgeous finish—boom!
How to Make Dollar Tree Crafts Last
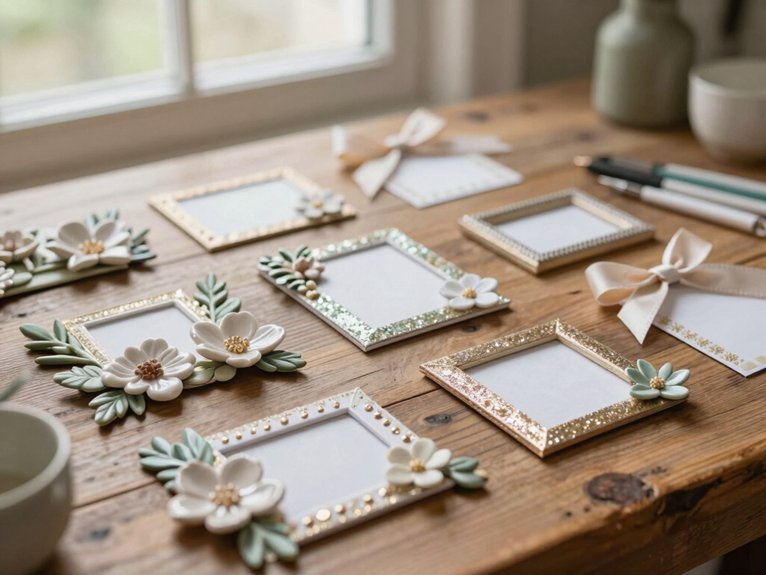
If you want your Dollar Tree crafts to survive more than a weekend, start with the bones of the project, not just the cute finish! Strong builds feel like home, and they hold up better too.
- Use hot glue or wood glue, then press pieces until they set.
- Add glue dots in corners and layer materials for extra strength.
- Pick stable items, like cork-backed coasters or wrapped foam board.
- Finish with clear sealer, then store extras in budget storage with simple styling tips.
Skip damp spots and rough handling, and your craft crowd will stay impressed!
Secure Placement for a Custom Finish
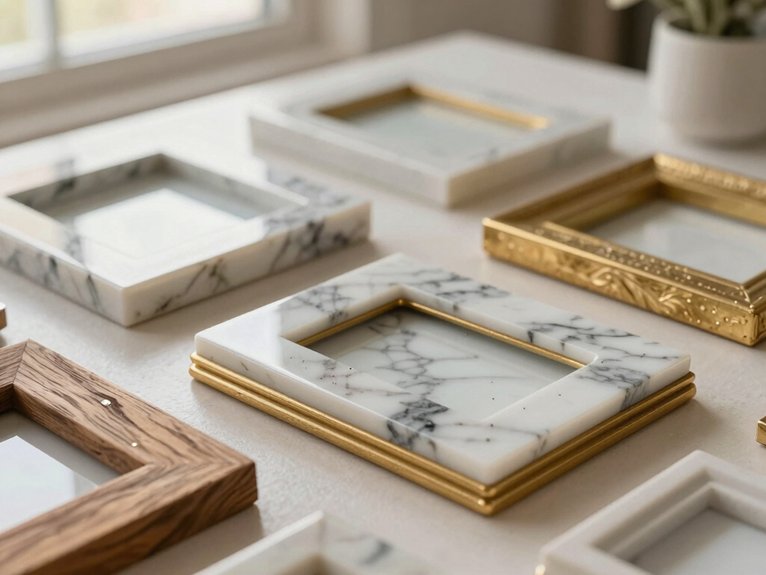
A sturdy Dollar Tree craft looks even better when it stays put, and that starts with the way you attach it, not just how you decorate it! Pick strong construction adhesive or heavy-duty glue, not school glue, so your project feels like it belongs on display.
| Step | Tip |
|---|---|
| Press | Hold firmly |
| Wait | Respect adhesive curing |
| Mount | Use anchor alternatives |
Let it dry flat, away from heat and humidity, so edges don’t curl like a sleepy snack wrapper. For mirrors or big art, choose the heaviest-duty hook or anchor you can. A clear sealant on corners helps too, keeping your custom finish looking polished and ready for compliments!
Finishing Touches That Make DIYs Look Collected
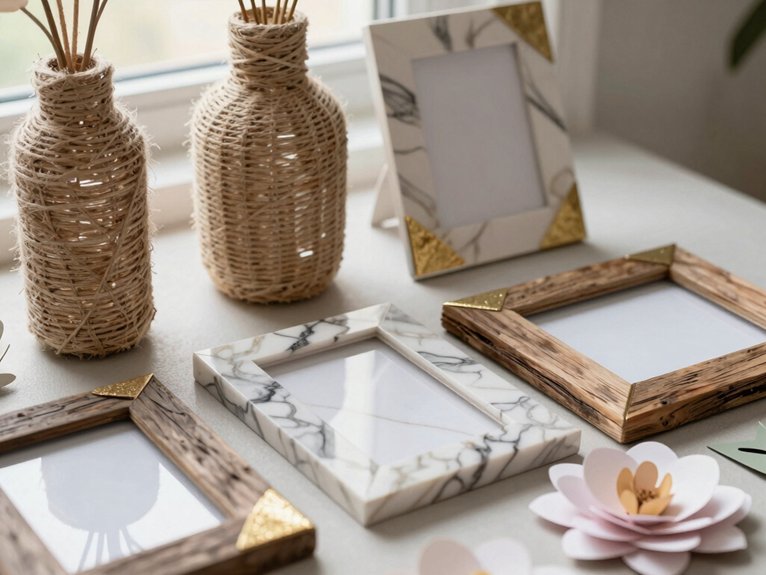
To make your Dollar Tree DIYs look collected, you’ll want to layer in texture and keep your finishes on purpose—think linen-style fabric, a cork bottom, or a faux cane look that adds instant charm.
Then tie everything together with a calm neutral palette, so your pieces don’t scream “random craft table,” they whisper “styled on purpose,” which is way cooler!
Finish strong by repeating those same tones and textures across bigger and smaller pieces, and suddenly your project looks like it came from a cute little boutique instead of a glue gun rescue mission.
Layered Textures
- Linen-wrapped foam board for soft wall art.
- Cork-backed coasters for a grounded, polished feel.
- Cane-look strips on baskets for instant charm.
- Oversized mirror risers with strong glue and sealed edges.
Keep beige, cream, black, and wood tones together, and your layered textures read expensive, not messy!
Intentional Styling
Once you’ve layered in those cozy textures, the magic really happens when you style your DIYs like they belong in the room, not like they just landed there from a craft cart!
Keep your Styling consistency tight with a neutral palette, then repeat shapes and texture repetition across shelves, mantels, and tables so everything feels connected.
Use intentional placement: one candle, one plant, one small object, not a crowd of stuff.
Mirrors and risers are your secret helpers, because they lift simple pieces and make them feel collected.
Finish with strong adhesive, neat edges, and full, clean surfaces, and boom, instant “wow!”
Style Dollar Tree Crafts Without Clutter
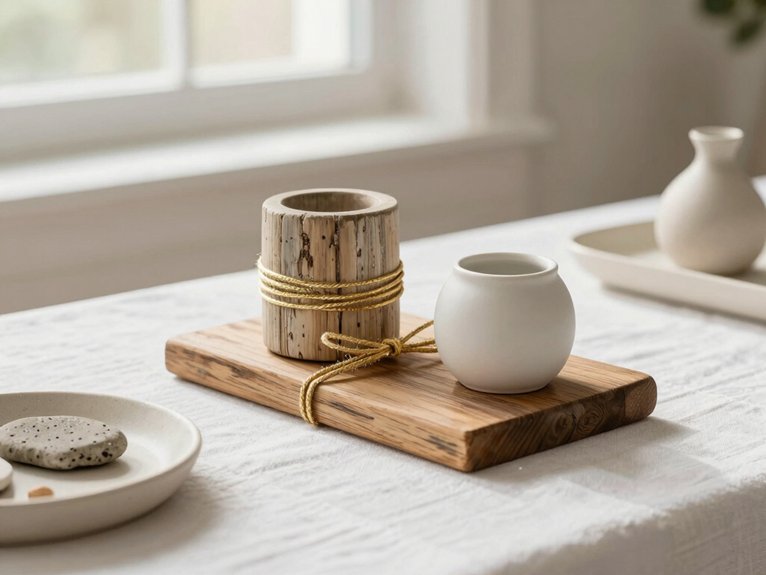
When your Dollar Tree crafts start looking a little too busy, a simple color palette can save the day!
You’ll fit right in with calm, collected style when you use color balance and negative space. Try this:
- White frames: add one bold print, then stop.
- Cream trays: layer linen and wood, nothing extra.
- Beige wall art: go bigger, so it feels finished.
- Neutral shelves: group three items, or one focal piece with two helpers.
Keep the look airy, and your DIYs’ll feel expensive, not crowded. Tiny tweaks, big wow—your space won’t scream “craft corner!”
Place These DIYs Around Your Home
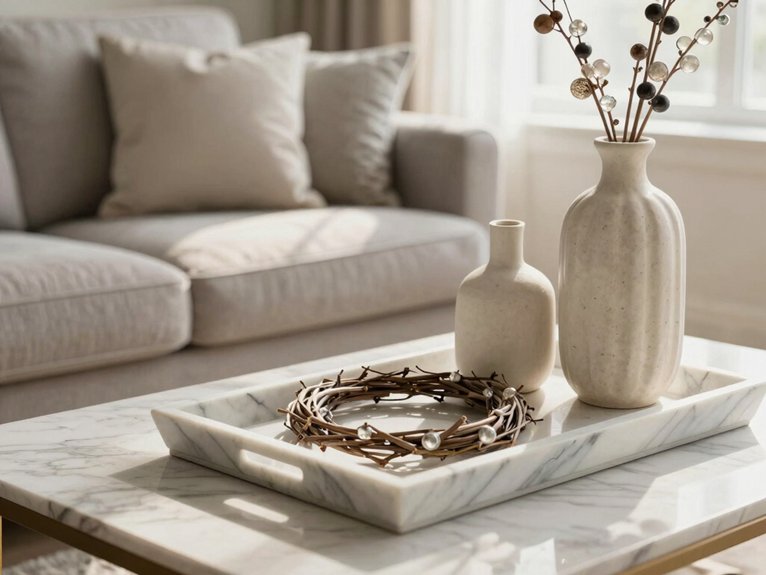
To spread these Dollar Tree DIYs around your home without making every room feel like a craft aisle, think about where each piece can do the most good!
Start with an Entryway mirror or office wall, where a beaded statement frame gives instant glow.
Next, try a mirror-based riser on shelves or counters, using a small mirror, glue, and a candle or plant. It adds height fast.
For a polished look, place a mirrored tray on a shelf, or tuck a Round leather mirror into a layered wall moment.
Keep tones neutral, lines clean, and textures mixed, and your space’ll feel collected, not cluttered!
Entryway Dollar Tree Crafts That Welcome Guests
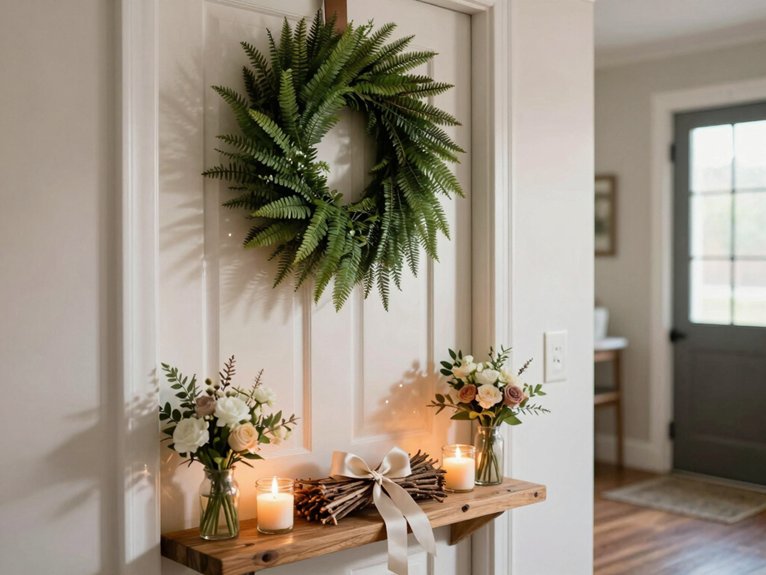
Your entryway sets the whole mood, so let’s make it feel warm, welcoming, and a little stylish without turning it into a craft-store explosion! Try these budget friendly entry decor ideas for instant charm.
- Mirror welcome: Style a Dollar Tree mirror on a clean wall, add a tiny tray, and try reflective surface styling for glow.
- Mini gallery: Use simple frames, neutral prints, and tight spacing for a neat hello.
- Wood coasters: Add cork bottoms and finish for polish near your keys.
- Surprise upgrade: Wrap foam board in linen for a soft, high-end focal point.
Easy, right?
Living Room Dollar Tree Crafts That Feel Boutique
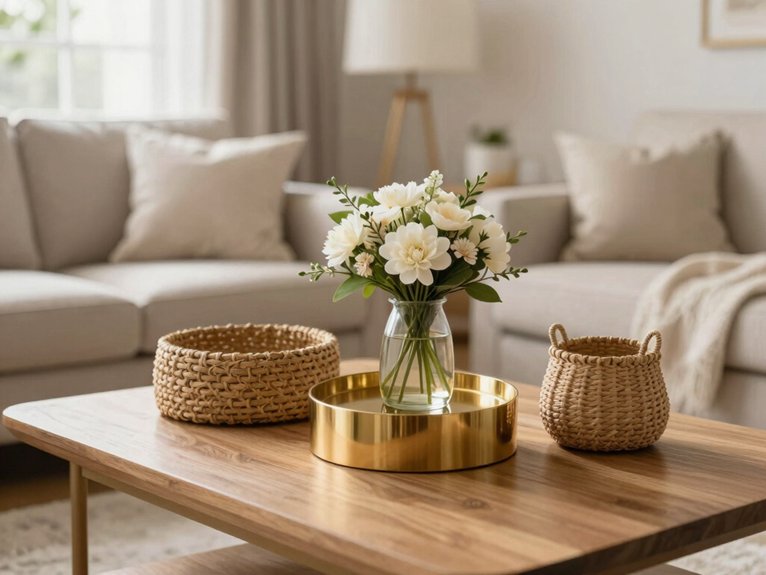
If you want your living room to look a little more boutique and a lot less “I bought this all in one frantic trip,” Dollar Tree can totally help! Start with a smart Color palette and cohesive neutrals, then add texture that feels collected.
| Craft | Result |
|---|---|
| Linen wall panels | Soft, upholstered backdrop |
| Beaded mirror | Layered, styled sparkle |
| Textured frames | Clean gallery-wall look |
| Leather-detail mirror | Chic tabletop polish |
These tiny upgrades boost light reflection and make ceiling mirrors feel intentional. For the biggest wow, go oversized art or a statement mirror, and your space will feel polished, cozy, and oddly elegant!
Which Dollar Tree Craft Should You Make First?
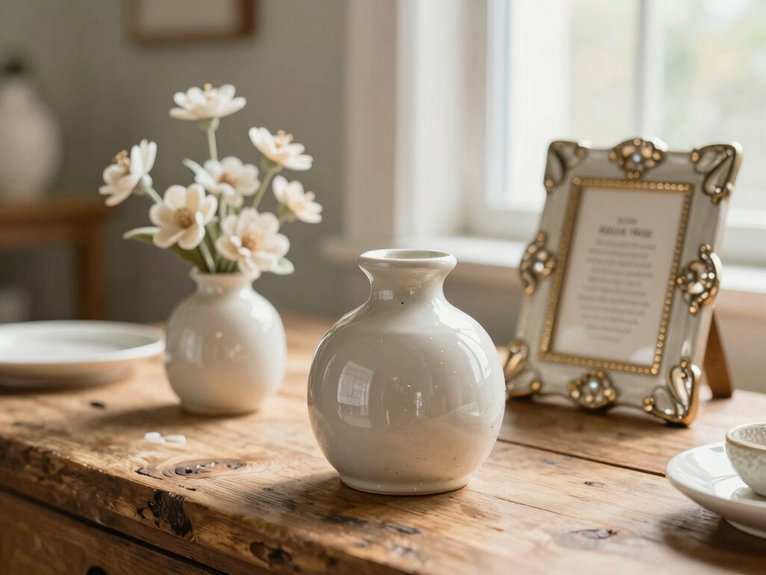
Wondering where to start? You’re in the right crew!
Try these beginner friendly placement wins:
- Mini frames: grab plain frames, add texture or quote printables, and you’ve got a quick gallery-wall glow-up.
- Coaster set: use cork-bottom tiles, seal them, and your table looks polished, not random.
- Wood-style bookends: stack tumbling blocks, glue, paint, and your shelf gets boutique energy fast.
- Statement mirror: make this last, because it gives the biggest wow. For texture first upgrades, the linen wall panel is a champ too, grounding art and making your space feel styled, not stuck.
Frequently Asked Questions
Which Dollar Tree Items Are the Most Versatile for Crafting?
You’ll get the most versatility from picture frames, foam board, mirrors, and tumbling tower blocks. They’re multipurpose picks for seasonal supplies, everyday organizers, and easy customization, so you can create polished pieces that feel uniquely yours.
What’s the Best Day to Shop at Dollar Tree?
Monday through Wednesday are your best shopping times—early restocks make shelves bloom like fresh spring buds. You’ll catch weekly sales, beat the crowds, and feel like you’re in the know with your fellow bargain hunters.