You can totally transform your yard on a budget with simple DIYs—gravel patios with a compacted crushed-stone base and decomposed granite top for barefoot comfort, raised beds built from cedar for veggies, flagstone or stepping-stone paths on a crushed base, a cozy fire pit with stacked blocks, and a small pergola for shade and string lights! Add layered plantings, a mini pond or rock garden, and mulch borders for polish—keep going and you’ll find step-by-step tips and measurements.
Key Takeaways
- Create a gravel patio with a 4–6″ crushed-stone base and 1–2″ decomposed granite top for an inexpensive, low-maintenance seating area.
- Build DIY seating from cinder blocks or stacked pallets, seal wood, and add outdoor cushions for budget-friendly comfort.
- Install stepping-stone or flagstone paths on a 2–3″ crushed base with landscape fabric and pea gravel for permeable, barefoot-friendly walkways.
- Define beds and paths with metal, plastic, or brick edging on a compacted 4–6″ base to keep materials tidy and low-maintenance.
- Add a small fire pit using stacked heat-resistant blocks over a crushed gravel drain, keeping 10–20 ft clearance from structures.
Gravel Patio Area
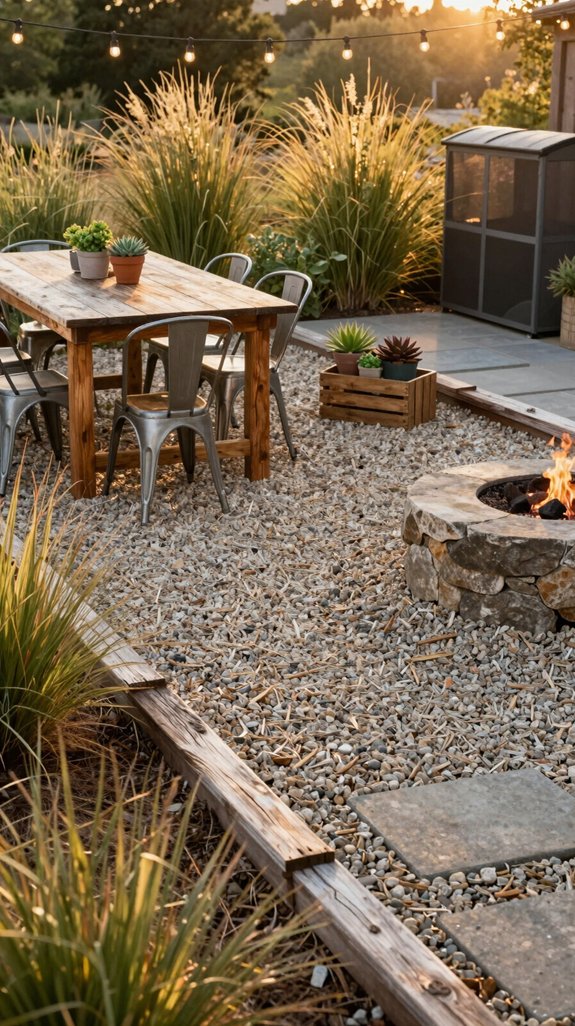
If you want a low-maintenance hangout that still looks crisp, a gravel patio is your best friend — and it’s surprisingly easy to build!
You’ll set a 4–6 inch compacted crushed stone permeable base, then top with 1–2 inches of decomposed granite or pea gravel for comfort — great for barefoot afternoons!
Lay garden fabric, plan a smart drainage plan, and edge with metal, plastic, timber, or pavers to keep everything neat.
Costs stay friendly, maintenance is just annual raking and topping up, and you’ll feel proud sharing this cozy, practical spot with friends!
Raised Garden Beds
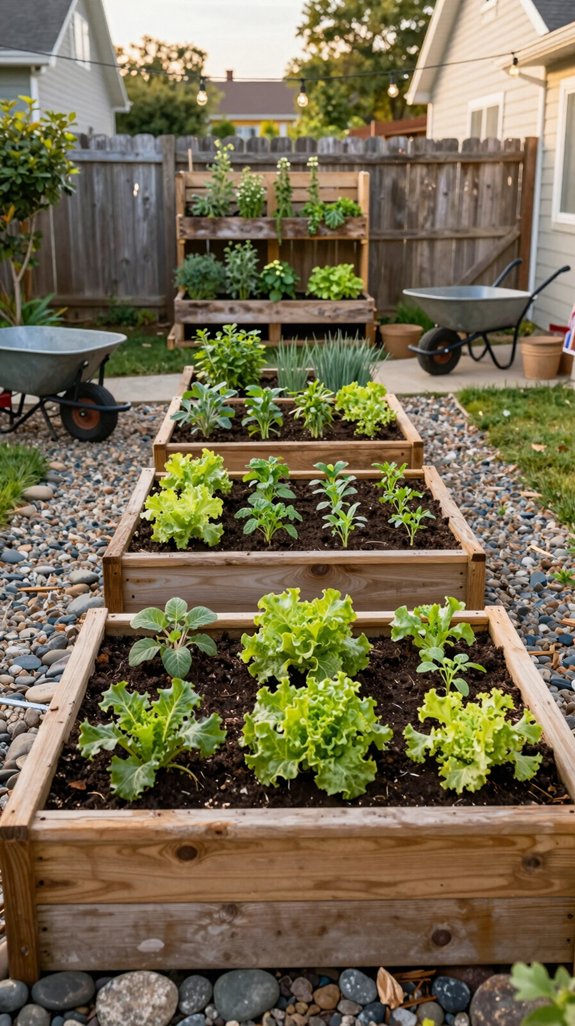
Ready to start a beginner-friendly raised bed that actually makes gardening fun? You can pick simple, stackable cedar boards in a 4-foot-wide layout so you’ll reach every plant without bending, fill them with a mix of topsoil, compost, and a little sand for great drainage, and place them in full sun with long sides north–south for even light—easy, right?
Don’t worry about perfection at first; a level base, landscaping fabric, and a sense of adventure will get you growing in no time!
Beginner-friendly layout
Because raised beds give your plants a comfier home, they’re one of the easiest ways to kick off a beginner-friendly layout—just imagine neat 4×4 or 4×8 boxes filled with rich soil, bursting with herbs, salad greens, or a row of crunchy carrots!
You’ll use 2×8 cedar or food-safe boards, choose 6–12 inches of soil depth depending on crops, and mix 60% topsoil, 30% compost, 10% sand or perlite for yum.
Think path placement and scale planning: leave 2–3 feet between beds for easy access, level the ground, and enjoy a shared, welcoming garden you helped create!
Stone Pathway Design
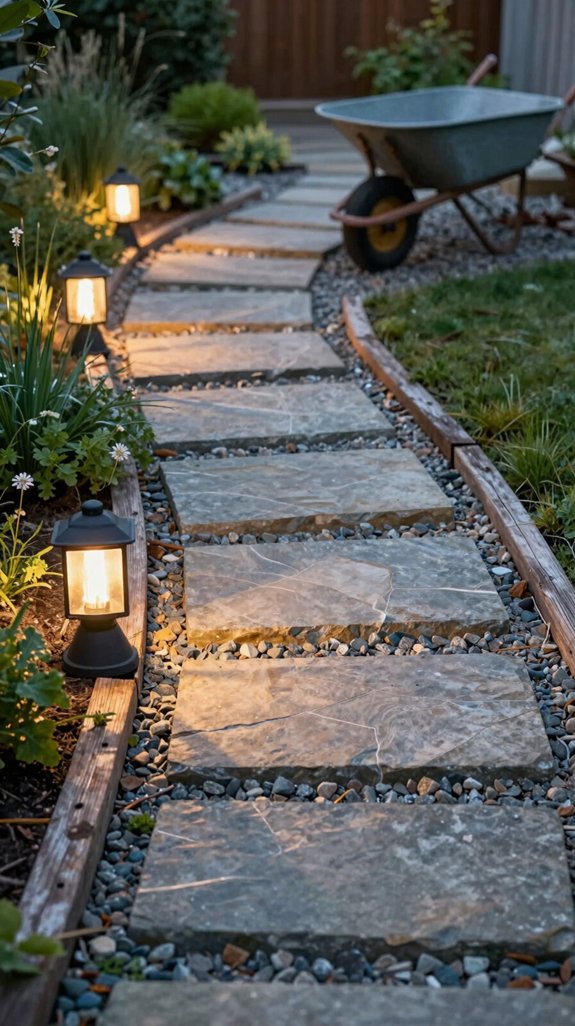
Picture a winding stone path leading you through the garden—it’s easier to build than you might think and it’ll instantly boost your backyard’s charm! You’ll choose permeable pavers or flagstones, space pavers 2–4″ with pea gravel, or set irregular stones 6–12″ apart for a barefoot friendly route with moss or thyme. Lay terrain fabric, add 2–3″ crushed stone base and 1–2″ decorative top, slope 1–2% for drainage, and keep edges neat with 4–6″ edging. Aim 36–48″ width for main walkways, 30″ minimum, and enjoy the shared pride of a welcoming path!
| Material | Gap | Base |
|---|---|---|
| Pavers | 2–4″ | 4″ crushed |
| Flagstone | 6–12″ | 2–3″ crushed |
| Gravel | 2–4″ | fabric + top layer |
DIY Fire Pit Setup
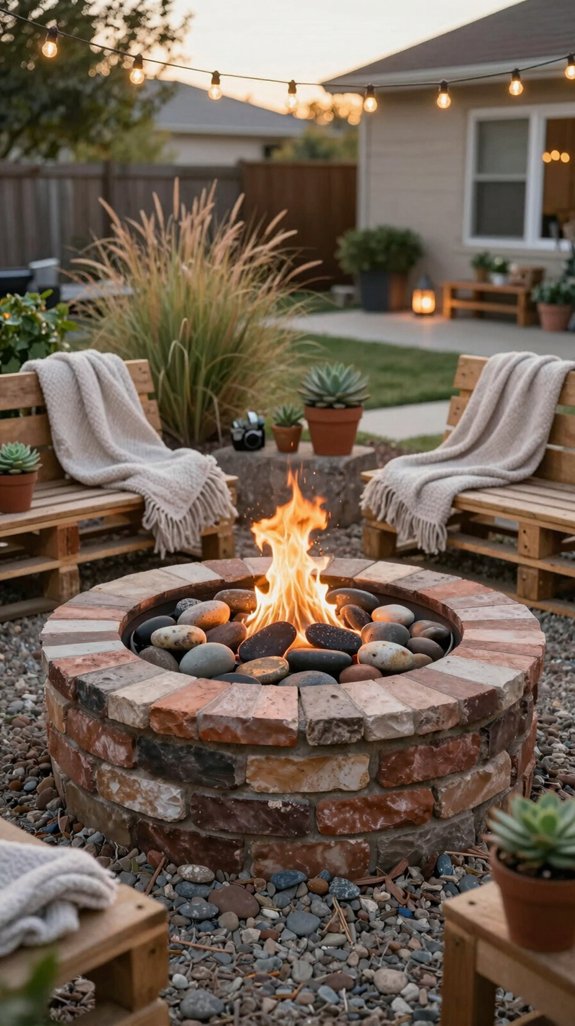
Dig in and make your backyard the place everyone wants to hang out—building a simple fire pit is easier than you think and super satisfying!
Dig a 12–24 inch deep circle, 36–48 inches wide, add crushed gravel for drainage, then stack heat-resistant pavers or retaining wall blocks—no mortar needed!
Use a steel ring insert or fire-rated bowl, and consider permanent fireglass for a clean look, or keep a portable chiminea nearby for smoky nights.
Keep it 10–20 feet from structures, maintain a 3–5 foot non-combustible zone, add a gravel seating apron and bench walls, and check local rules first!
Wooden Pergola Addition
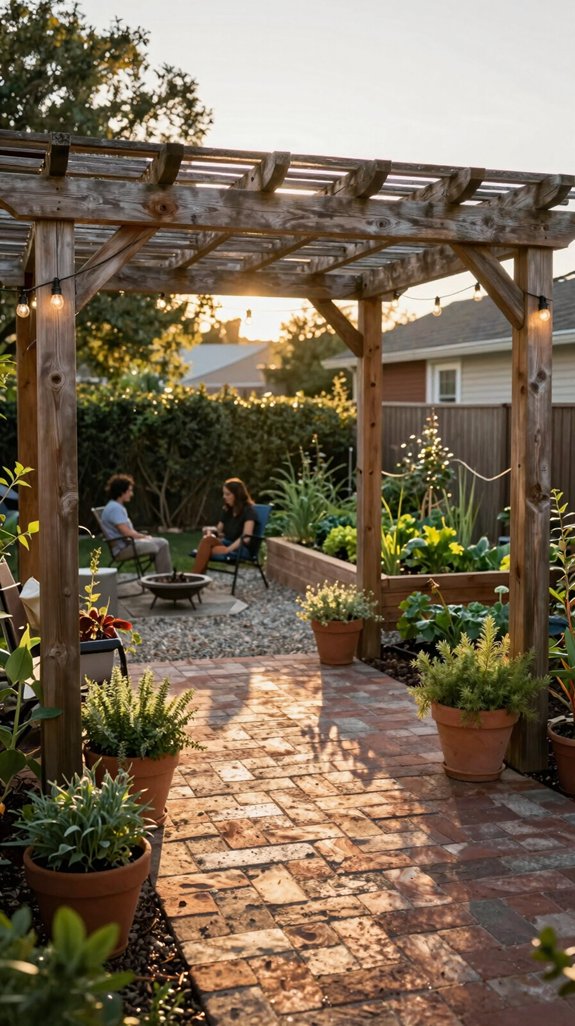
Want a simple shade solution that looks great and feels cozy? You can build a 10×10 wooden pergola with four 6×6 posts and 2×8 rafters, spacing them closer for more shade or topping with 2×2 lattice and climbing wisteria for dappled light and charm—budget-friendly materials usually run $300–$800, or grab a prefab kit if you want it up in a weekend!
It’s a fun weekend project that’ll give you a sunny spot for daytime naps and string-light nights, and won’t break the bank.
Shade solution option
If you’re craving shade and a little backyard style, a wooden pergola is a fantastic, do-it-yourself solution that’ll transform a patio into a cool hangout spot fast!
You can build a simple pergola with pressure-treated 4×4 posts set in concrete and 2×8 rafters spanning 8–12 feet, keeping costs low, or grab a prefab kit to assemble in a weekend—team up with a friend!
Add adjustable louvers or a retractable canopy for flexible shade, or drape 90% UV-blocking fabric.
Train clematis or star jasmine for green privacy, and seal and stain wood every few years for longevity!
Mulch Garden Borders
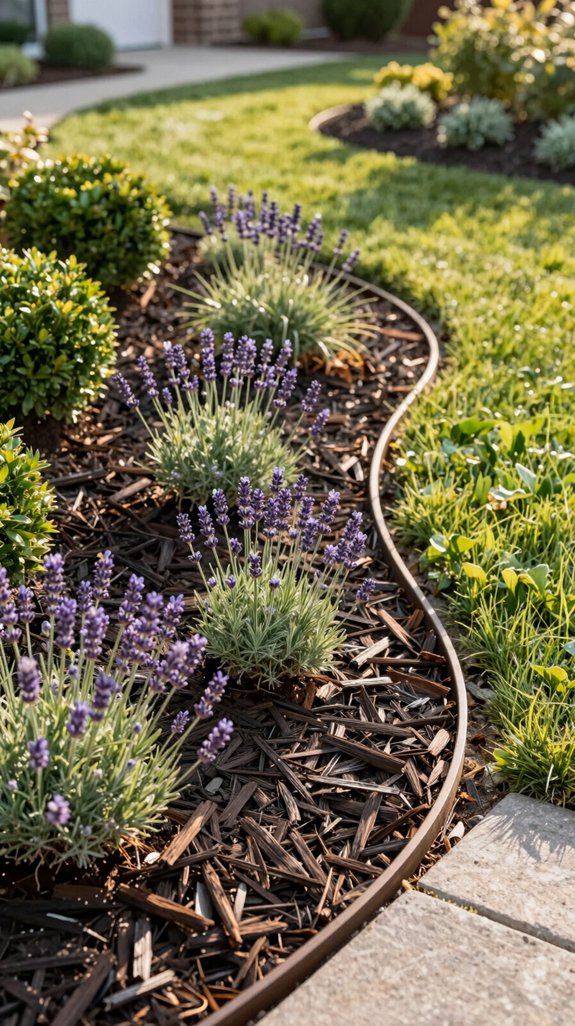
Let’s dress up those beds with mulch garden borders—they’re one of the easiest ways to make your yard look tidy and cared-for, and you’ll get practical benefits too!
You’ll lay 2–3 inches of organic mulch—shredded bark or wood chips—around edges to suppress weeds, hold moisture, and buffer roots.
Install a 3–4 inch-wide plastic or metal edging, buried 1–2 inches, for a crisp line.
Leave a 1–2 inch gap from stems to prevent rot.
Refresh yearly, or top-dress an inch, since organic mulch breaks down.
Try seasonal mulching with native mulch for health and neighbor-approved charm!
Backyard Water Feature
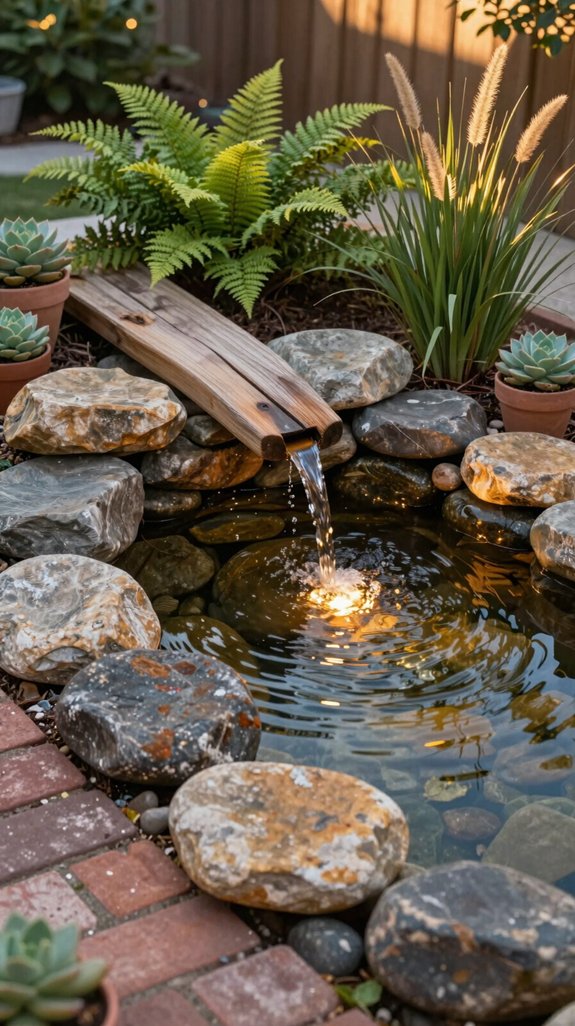
Bring a little sparkle and sound to your yard with a backyard water feature that’ll turn heads and invite wildlife—think a bubbling container on the patio, a small preformed pond tucked into a flower bed, or a mini waterfall cascading over stacked stone.
You’ll love how a 4–6 ft preformed pond ($100–$400) or a glazed pot fountain (5–20 gal) becomes a neighborhood magnet for birds and pollinators, boosting wildlife habitat. Solar pumps ($30–$150) keep water moving, cut mosquitoes, and save wiring hassles.
Add native aquatic plants on a shallow shelf to cut algae and ease seasonal maintenance—simple, joyful, and shared!
Vertical Garden Wall
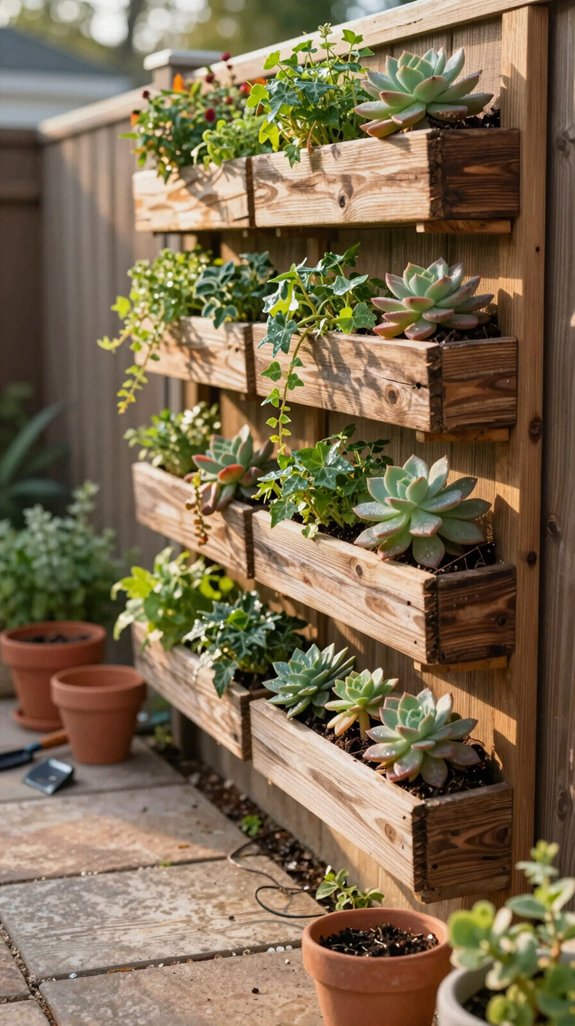
After you’ve added a bubbly pond or a little fountain that birds and bees can’t resist, turn your attention upward and make a living wall that packs a punch in a small space! You’ll build it with pallet frames, trellises, or modular pockets, fitting dozens of herbs, succulents, lettuce, and ferns in 4–8 sq ft. Mount to sealed cedar or plywood, secure to studs, and use vertical irrigation like drip lines with a timer to give 0.5–1 gal/ft² weekly. Space pockets 6–12 inches, mix trailing and upright plants, and invite friends to help — it’s community grown!
| Plant Type | Spacing | Water |
|---|---|---|
| Herbs | 6–8 in | 0.5–1 gal |
| Succulents | 8–12 in | Low |
Outdoor String Light Setup
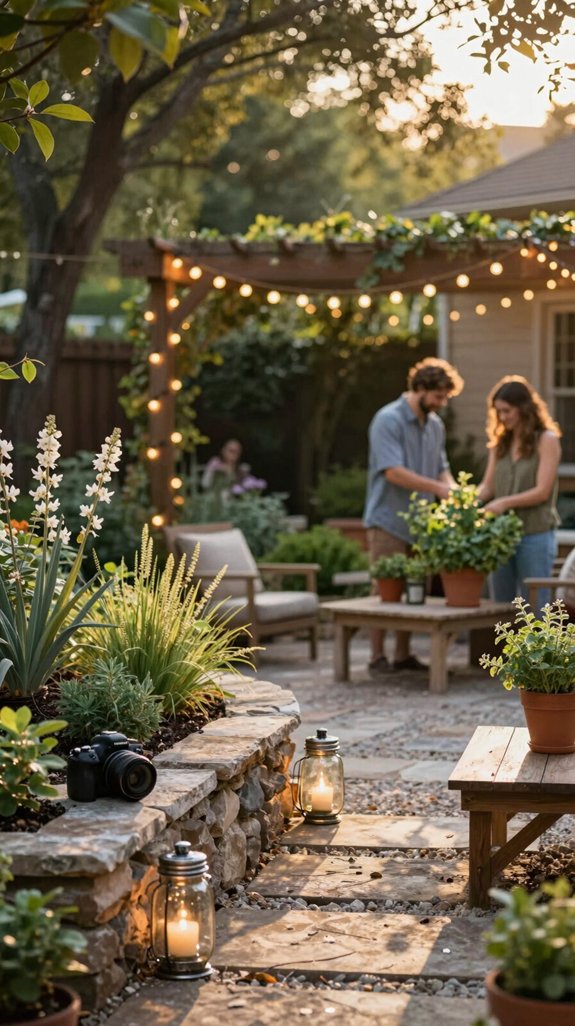
Want to make your backyard feel like a cozy little nightspot? String up outdoor-rated LED lights with gentle sags between pergola beams or 4×4 posts, spacing bulbs 2–4 feet for warm, even glow and mixing globe or Edison styles for personality—it’s amazing what a few strands will do!
Don’t forget to plug into a GFCI outlet or use solar options, and keep circuits under 15A so your mood lighting doesn’t trip the breaker—woohoo, instant ambiance!
Cozy evening ambiance
You’ll often find that a few strands of warm, twinkling lights turn an ordinary backyard into an instant hangout spot—cozy, cheerful, and totally inviting!
You’ll want outdoor-rated LED strands (IP65+) hung 12–36 inches apart depending on brightness, anchored to posts or tree limbs with zip-ties or turnbuckles so they don’t sag, and set on a smart timer for 4–10 pm.
Add candle clusters and nearby firewood storage for layered warmth and a welcoming vibe!
Tips:
- Use warm white 2700K bulbs, dimmable for soft nights.
- Run lights zigzag or radial for even glow.
- Choose energy-saving LEDs, they last!
DIY Retaining Wall
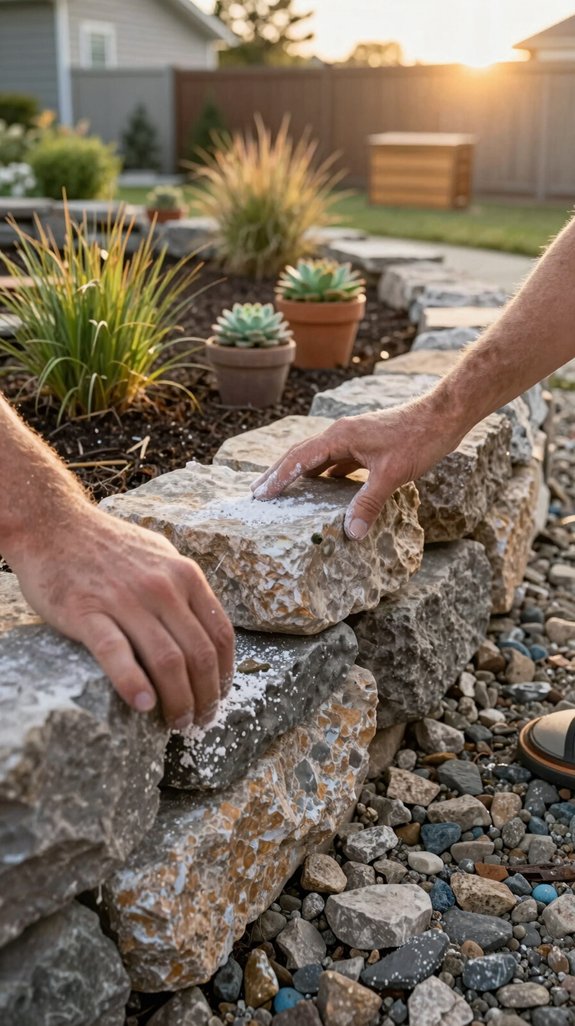
On a sunny weekend with a bit of elbow grease, you can build a sturdy, attractive retaining wall that transforms a slope into usable garden space—no masonry degree required!
Grab stacked blocks, level a trench, and lay a 4–6 inch compacted crushed-rock base; it’s satisfying, affordable, and totally doable.
Don’t skip drainage installation — wrap a perforated pipe in terrain fabric behind the lowest course to stop hydrostatic pressure.
Backfill in 6–8 inch gravel lifts, compacting each layer, and cap with glued cap blocks for a finished look.
For taller slopes, consider geogrid or call a pro, okay?
Flower Bed Edging with Bricks
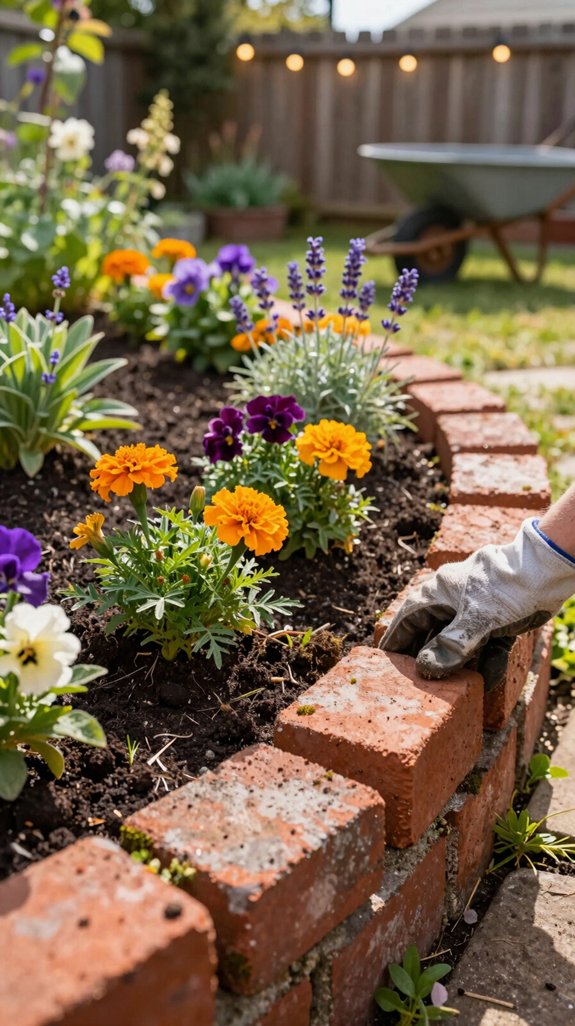
After you’ve tamed that slope with a retaining wall, it’s time to give your flower beds a neat, finished edge—bricks do the job like champs!
You’ll feel proud laying a soldier course, choosing 4-inch-wide clay or concrete pavers, and deciding on a brick pattern that matches your vibe.
Follow these drainage tips: compact a 4–6 inch base of crushed stone and sand, bury bricks halfway for a flexible border, and slope them 1/4-inch away from beds while tapping level with a rubber mallet.
Seal porous bricks every 2–3 years, check alignment with a string line, and enjoy!
Pallet Outdoor Furniture
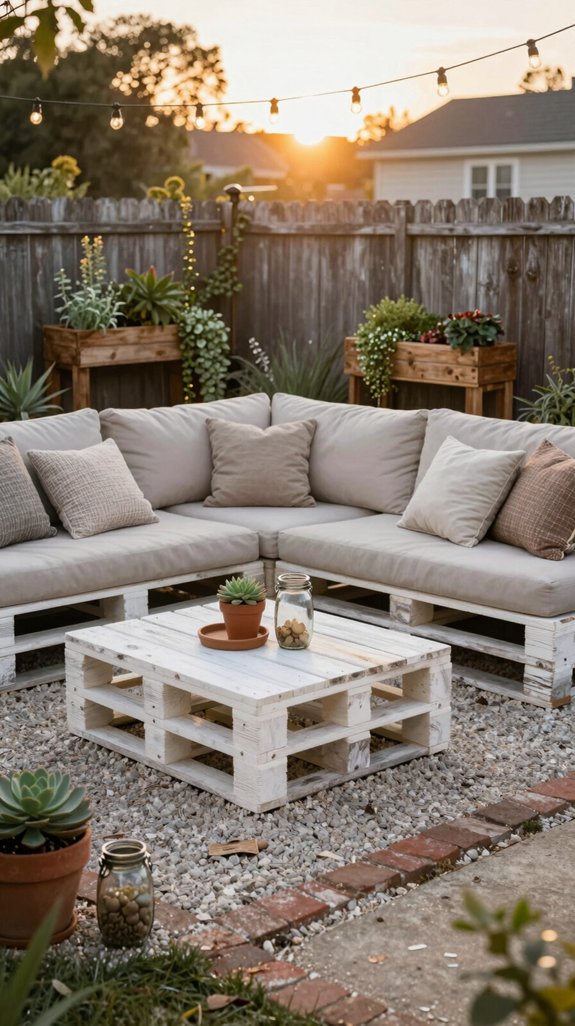
Pallet furniture is a crafty, budget-friendly way to give your backyard a relaxed, homemade vibe—think sturdy sofas, coffee tables, or even a rustic dining setup that looks way fancier than the price tag.
You can stack two standard pallets for a loveseat base, sand and seal with exterior primer and two coats or spar urethane, then add 2–4″ high-density foam cushions in outdoor fabric for comfort.
Choose HT-stamped pallets, avoid MB or stained ones, and secure pieces with exterior screws and corner brackets.
With reclaimed aesthetics and a bit of custom palletization, you’ll create cozy, communal spots for friends!
Small Pond Installation
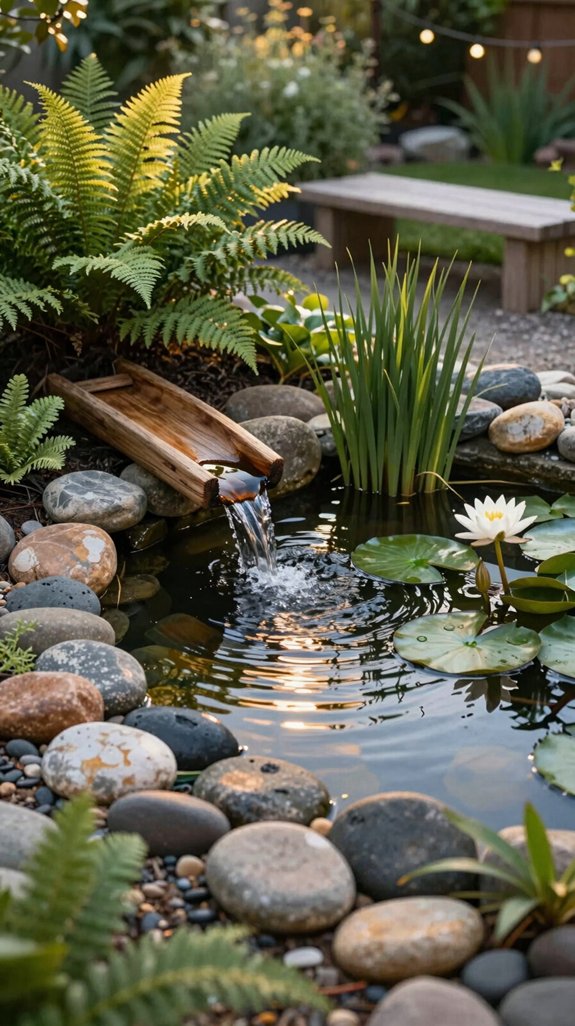
You’ll love how a natural-look pond can transform your yard into a peaceful retreat—think irregular edges lined with native stones, a shallow planting shelf, and a few clumps of cattails and water lilies for texture and wildlife.
Keep it simple with a preformed liner, a small submersible pump, and about 60% plant cover so the water stays clear and frogs have places to hang out—no elaborate gear required!
Trust me, a little gravel, some native plants, and a playful splash of design will make the pond feel like it’s always belonged there, and you’ll be grinning every time you check on the frogs.
Natural look approach
If you want a backyard that feels like a little slice of wilderness, try installing a small natural-look pond—you’ll be surprised how quickly it becomes the go-to spot for birds, frogs, and peaceful evenings!
You’ll dig a contoured basin with shallow shelves and an 18–24 inch deep center, holding about 100–300 gallons, then lay a 30–45 mil EPDM or PVC liner over sand.
Add a low-watt pump and simple filter, edge with flat stones and wildlife friendly pond choices like native marginals (iris, sedge, pickerelweed), wait, and watch life arrive—magical and shared.
- Safe depth
- Durable liner
- Native plants
Backyard Seating Nook
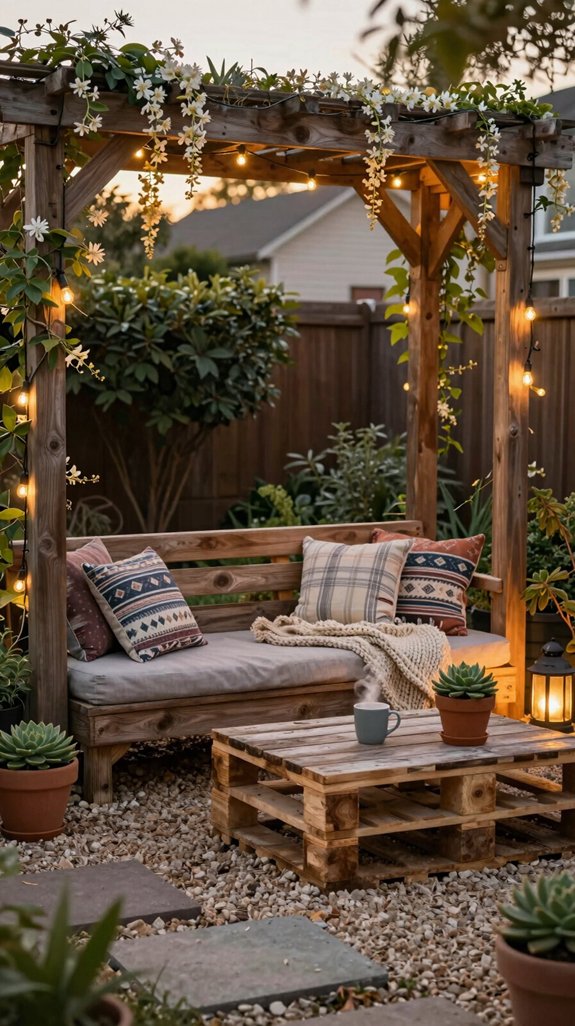
Kick back and make the most of a tiny corner—your backyard seating nook can feel cozy and clever without costing a fortune! You can build a compact bench with concrete blocks and a 4×6 plank for under $60, seat two, and add corner cushions for color and comfort. Fit a 6–8 ft bench on a 4×4 patio, stash pillows in a 36–48 inch storage bench, and string 15–20 ft of LED globes for mood. Want shade? Try a 6×6 pergola kit or retractable awning. Cozy vibes, sharing space, and simple DIY joy await!
| Materials | Size | Cost |
|---|---|---|
| Blocks+plank | Seats 2 | <$60 |
| Cushions | 18–24 in | 2–4 |
| Lights | 15–20 ft | Solar/low-cost |
Decorative Rock Garden
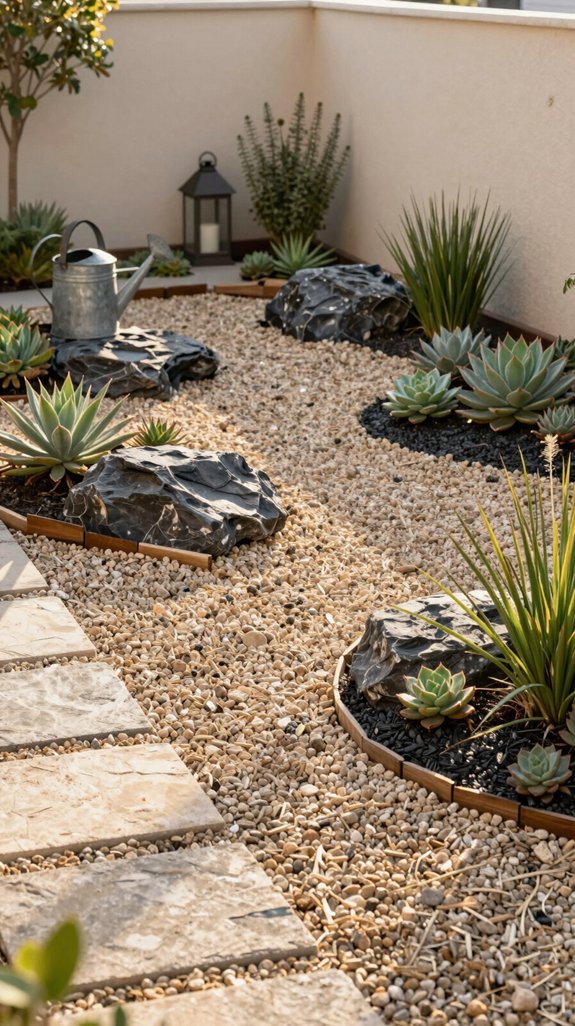
Your cozy seating nook sets the scene, and now you can keep the good vibes rolling with a decorative rock garden that’s low-maintenance and full of personality! Mix large boulders (18–24 in), medium rocks (6–12 in), and 1–2 in gravel for varied rock textures and natural focal points, then lay 4–6 mil fabric and 2–4 in crushed stone base for stability.
Add drought planting with sedum, thyme, yucca, and ornamental grasses spaced 12–24 in. Edge 3–4 in deep to keep things tidy, and run a drip line with 1–2 GPH emitters aimed at roots for efficient watering.
- Size mix
- Fabric/base
- Drip care
Herb Garden Corner
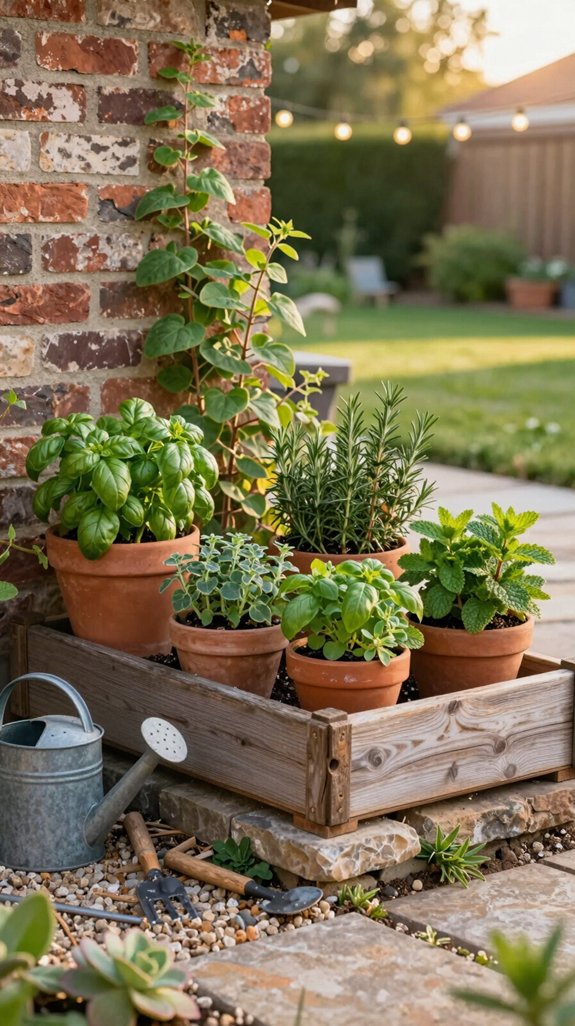
Creating a sunny 3×3 ft herb corner is a simple, rewarding way to bring fresh flavors right to your patio—imagine snipping rosemary, thyme, and sage just steps from the grill! You’ll plant perennials spaced 12–24″, add wall planters for basil and mint, and mix potting soil with compost plus 10–15% perlite for good drainage. Water deeply once or twice weekly, rotate crops, and harvest often. Add herb signage for charm and use companion planting to boost growth and ward off pests. You’ll feel welcome, proud, and connected to your little edible oasis—welcome home!
| Smell | Touch | Taste |
|---|---|---|
| Rosemary | Sage | Thyme |
| Basil | Mint | Parsley |
Stepping Stone Walkway
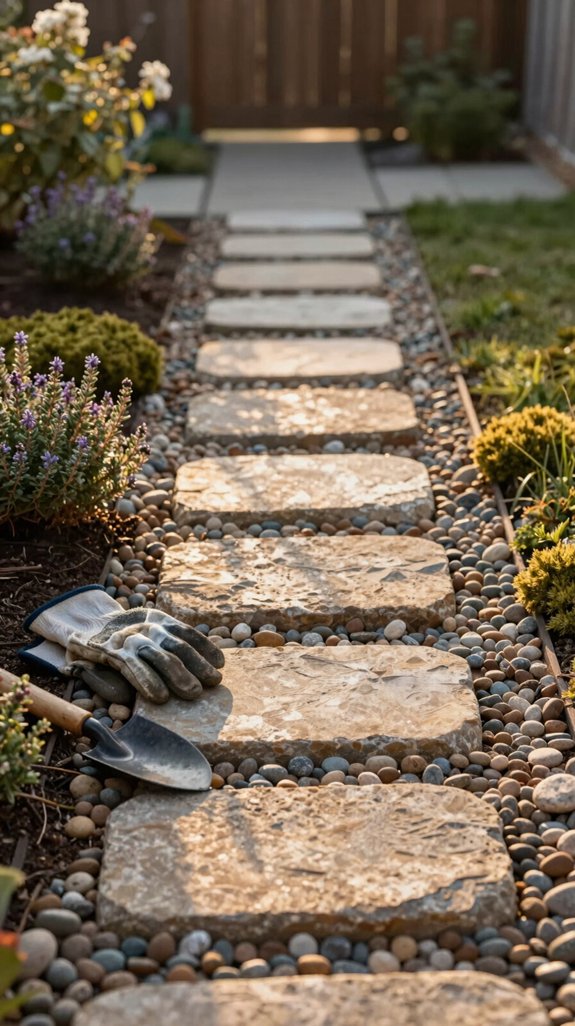
You can tackle a stepping stone walkway in a single weekend, and it’s a fun way to add instant charm to your yard! Pick flagstone, concrete pavers, or even reclaimed bricks, space them about 18–24 inches apart for a comfy stride (or 12–16 inches for kids), then set each on a 2–3 inch compacted sand or gravel base so they don’t wobble.
It’s an easy, budget-friendly project—lay pavers on compacted soil for a temporary path or use crushed stone and landscaping fabric for a neat, low-maintenance finish, plus you’ll get to brag about it by Sunday evening!
Simple weekend project
Ready to give that bare patch of yard a quick, charming upgrade? You can build a stepping stone walkway in a single weekend, and your friends — and you — will love the cozy vibe!
Use 12–18-inch concrete pavers spaced 12–18 inches center-to-center, excavate 2–3 inches, lay ground cloth, then 1–2 inches of sand. Set stones, tap with a rubber mallet, and check positioning with a string and level. Add turf or thyme between stones for barefoot-friendly comfort.
Edge the path, top-dress with fine gravel, and place container seating or a saltwater table nearby—welcome home!
- Prep base
- Set pavers
- Finish edges
Outdoor Privacy Screen
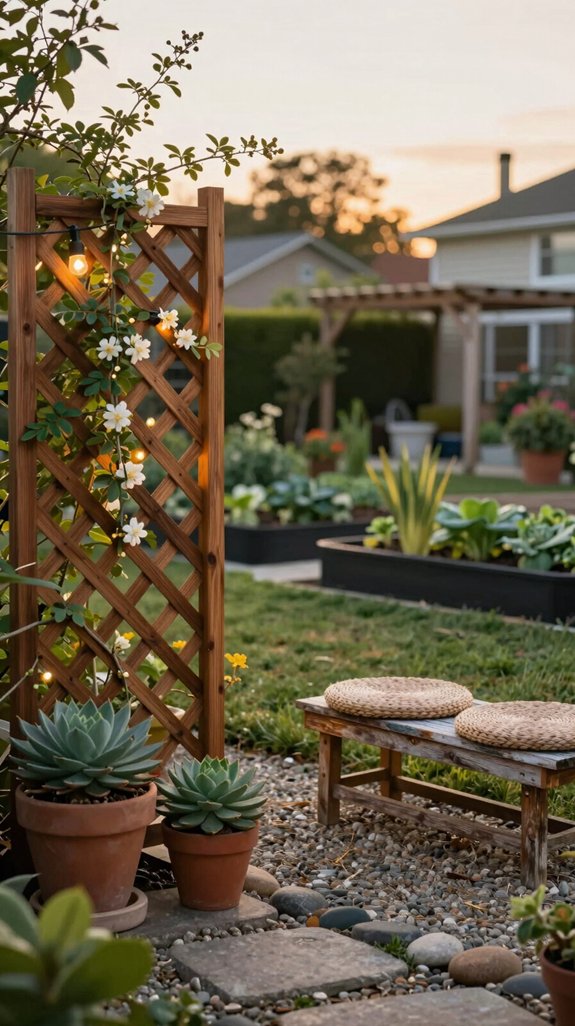
If you’re itching for more privacy in your backyard, there are a bunch of smart, stylish options that can be up and running fast or grown in over a few seasons—yay choices!
You can plant a fast-growing hedge like Thuja Green Giant to hit 6–10 ft in 3–5 years, spacing plants 6–8 ft and pruning yearly.
For instant cover, attach 6–8 ft lattice or bamboo privacy panels to a wood frame and train clematis or jasmine to soften it.
Try a 4–6 ft living wall on pallets, or mix container bamboo, trellis and pergola curtains for layered screening!
DIY Garden Arch
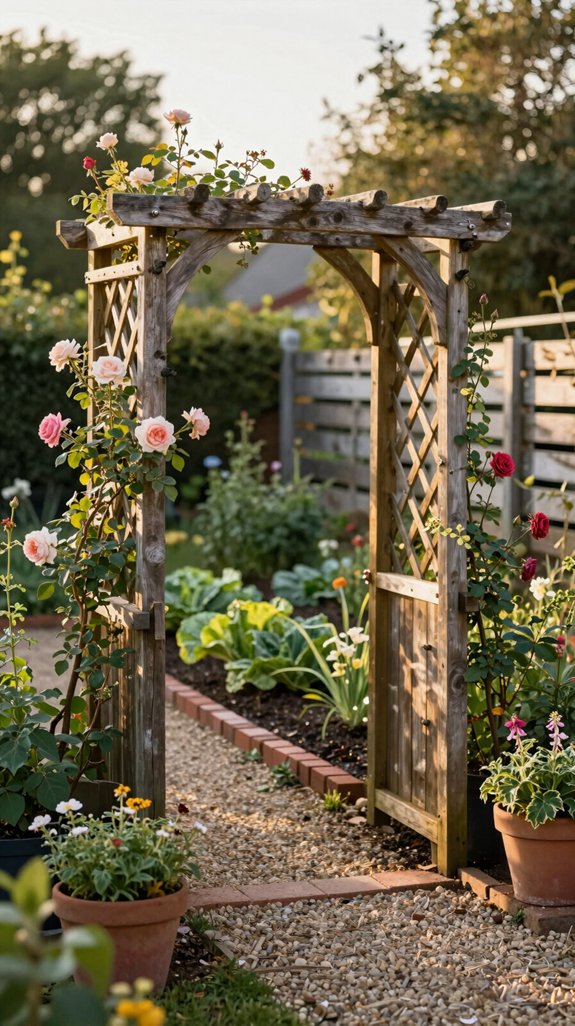
Build a charming garden arch that’ll turn a boring path into a secret entrance—seriously, it’s easier than it looks and way more rewarding than another bag of mulch!
You’ll feel proud installing a rustic arbor using pressure-treated 2x4s or a simple galvanized pipe, costing under $120 or even $50.
Anchor posts in concrete or spikes, seal wood, and add vine supports for fast climbers like clematis or morning glory.
Invite friends to help and celebrate together!
Quick tips:
- Cut a curved top from plywood for a handmade look.
- Space arches 6–8 ft for a tunnel.
- Add string lights!
Layered Plant Heights Layout
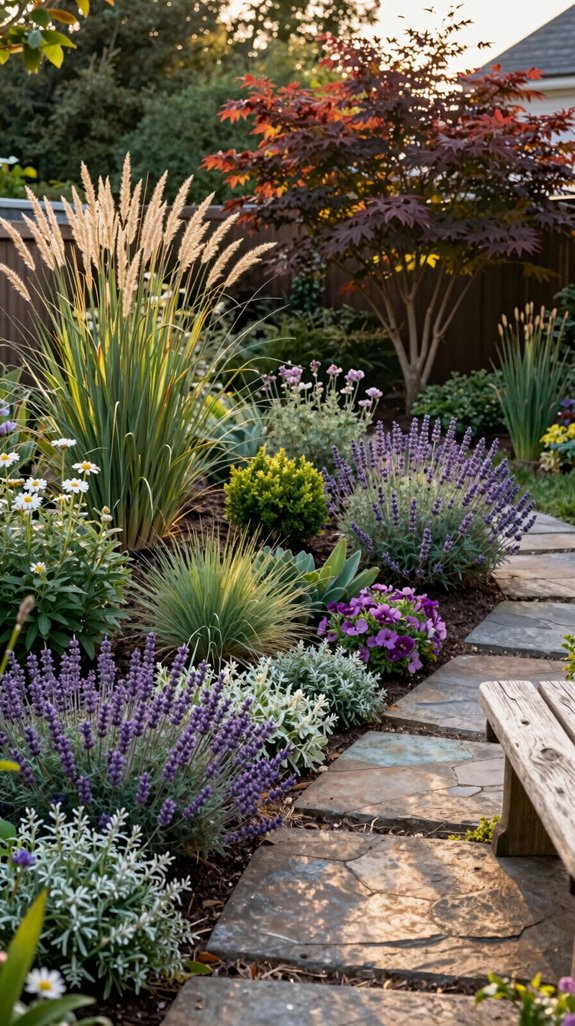
Want to make your yard look bigger with a simple trick? Start by arranging tall trees or 6–8 ft shrubs at the back or center, mid-height perennials like coneflowers and salvias in the middle, and low groundcovers up front to create a clear depth illusion—repeat groups of 3–5 and stagger spacing so nothing blocks the view.
Mix in evergreen anchors and a few vertical accents like a trellised vine or columnar tree, and you’ll get year-round interest and a fun, layered scene that practically pulls the eye through the space!
Depth illusion trick
When you layer plants by height, your yard will suddenly feel deeper and more dramatic—think tall grasses or small shrubs at the back (or the center of a circular bed) with mid-height perennials like Hostas in front and little groundcovers or bright low bloomers edging the front row; it’s an easy trick that fools the eye and makes even a compact space seem expansive!
Use repeating clumps, stagger spacing, and contrast textures. Try this:
- Tall (4–8 ft) grasses like Miscanthus behind.
- Mid (1–3 ft) Hostas, shrubs, partially hiding a focal tree.
- Low (0–12 in) bright bloomers edging.
Add a mirror pool or forced perspective, lighting, and you’ll feel at home!
Backyard Zen Corner
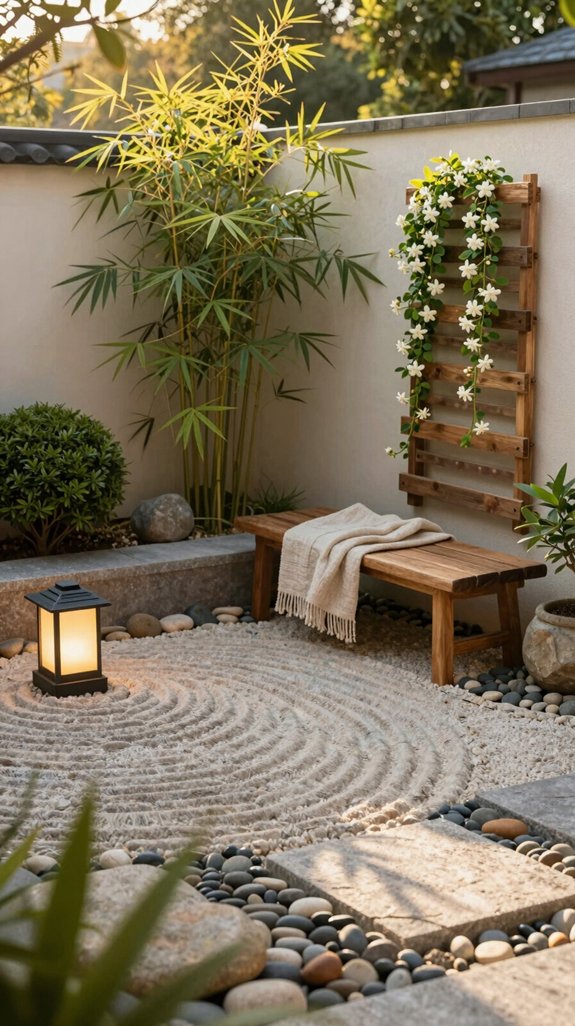
If you’re craving a little calm in your backyard, a compact Zen corner will do the trick—think a 6–8 foot circular gravel bed with a neatly raked ripple pattern that makes you breathe a little easier the moment you sit down!
You’ll anchor it with one focal piece—a 2–4 foot boulder, mossy stump, or bamboo spout—then add a meditation bench or 24–30″ stone slab on paver pads, aimed at the focal point to invite mindful sitting.
Define the edge with cedar planks or bamboo, plant mondo grass or ajuga for soft borders, and add one warm solar spotlight to finish.
Budget Artificial Turf Area
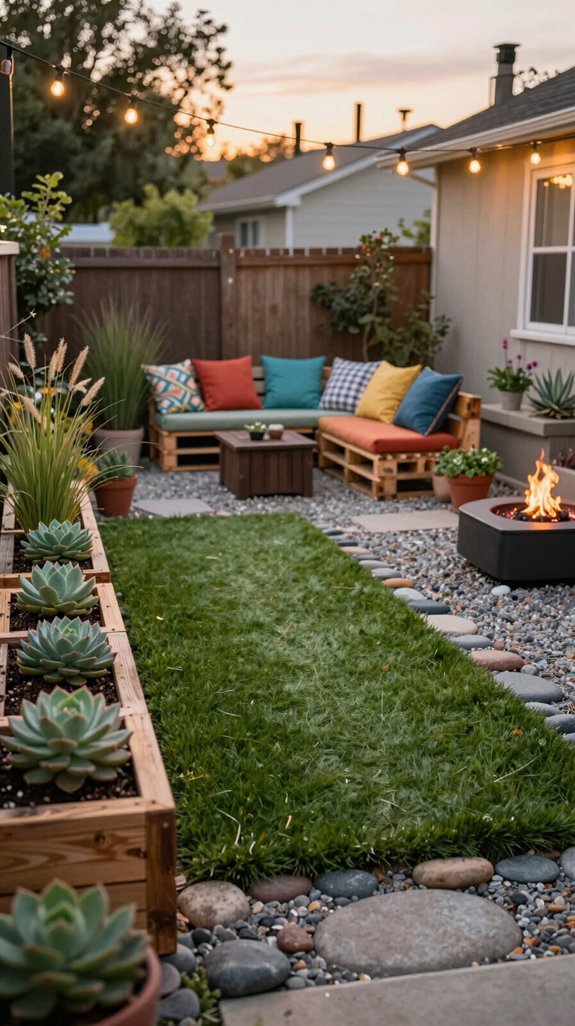
Give your backyard an instant refresh without breaking the bank by laying down a budget artificial turf area—it’s surprisingly doable and looks great for patios, play zones, or pet corners!
You’ll love the low maintenance vibe, and it helps create a shared, welcoming spot for family and friends.
For DIY, compact 3–4″ crushed stone, add a geotextile barrier, then unroll polyethylene turf (40–80 oz/yd², 20–35 mm pile).
Use 1–2 lbs/ft² silica sand infill, top up yearly, and add perimeter edging.
Pick heat-reducing backing or color choices for cooling options—practical and pretty!
- Prep
- Install
- Finish
Outdoor Dining Space Setup
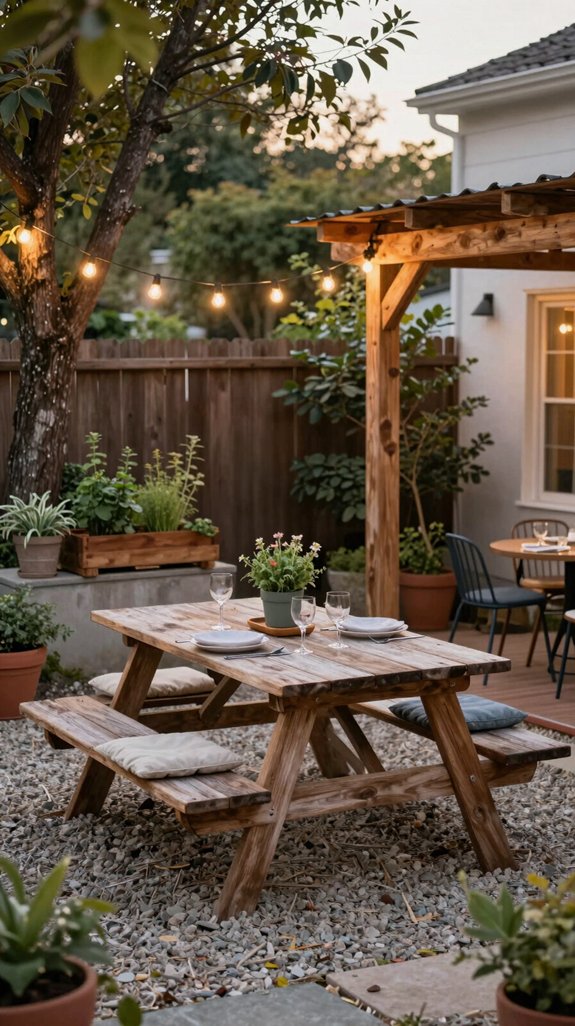
You can turn a small patch of yard into a lively, functional entertaining zone by laying a neat 6–8 ft gravel or paver pad and placing a compact bistro set—perfect for cozy dinners or after-work drinks!
Add string lights zigzagging about 7–8 ft high and a storage bench that doubles as seating and stash for cushions, so your space feels welcoming and stays clutter-free.
Throw in a DIY pergola or retractable awning to tame the sun, and you’ll have a spot that’s ready for family meals, friends, and the occasional impromptu dance party!
Functional entertaining zone
Start by carving out a cozy 10×10-foot spot for your outdoor dining—trust me, it makes all the difference!
You’ll want a 6–8 ft table on a 10–12 ft paver or deck pad, shade it with a pergola or retractable awning, and string 4–6 globe lights overhead for warm evening glow.
Make it welcoming with multi functional seating and weatherproof storage so cushions and dishes stay tidy.
Add a compact fire pit table to stretch nights into cool months.
You belong here, hosting friends, laughing under lights, sharing food and stories—your backyard becomes the heart of home!
- Shade
- Lighting
- Storage