You can turn broken glass into art with simple, beginner-friendly projects! Try a glowing votive jar, a sea-glass-style tumbler, or a frame mosaic using E6000 or clear craft glue, plus gloves and eye protection. Clean and sort the pieces first, then arrange shards for color and light, and let everything cure fully. For a bigger wow, add grout or LED candles, and keep an eye out for the coolest layout trick tucked just ahead.
Key Takeaways
- Wear thin gardening gloves and eye protection, then rinse and safely sweep up shards before starting any broken glass craft.
- Plan your mosaic with a dry run, balancing color, symmetry, and shard spacing for the best light-through effect.
- Use clear-drying glue like E6000, Mod Podge, or Elmer’s, and let pieces cure fully before handling.
- Try projects like mosaics, crushed-glass votives, sea-glass jewelry, or decorative frames to turn fragments into art.
- For outdoor pieces, use weatherproof methods and concrete-safe epoxy, especially for stepping stones or bird baths.
Broken Glass Craft Basics
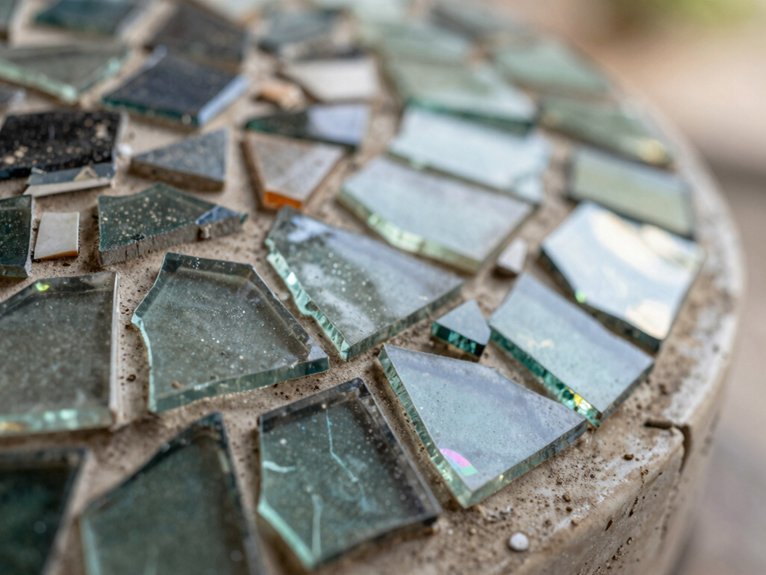
Before you start turning broken glass into something beautiful, set yourself up for safety and success, because tiny shards have a sneaky way of ending up where your feet are! Wear thin gardening gloves, rinse each piece, then wrap a jar or bottle in an old towel and tap it gently with a small hammer. Keep only the sizes you need for your design—easy and cheap!
For mosaic fun, spread clear-drying craft glue on the glass base with an old bristle brush, then place pieces and try pattern testing as you go.
If you’re using a wood-and-glass frame, choose strong adhesive, let the adhesive cure fully, and check for loose bits later.
Glass Safety Tips Before You Start
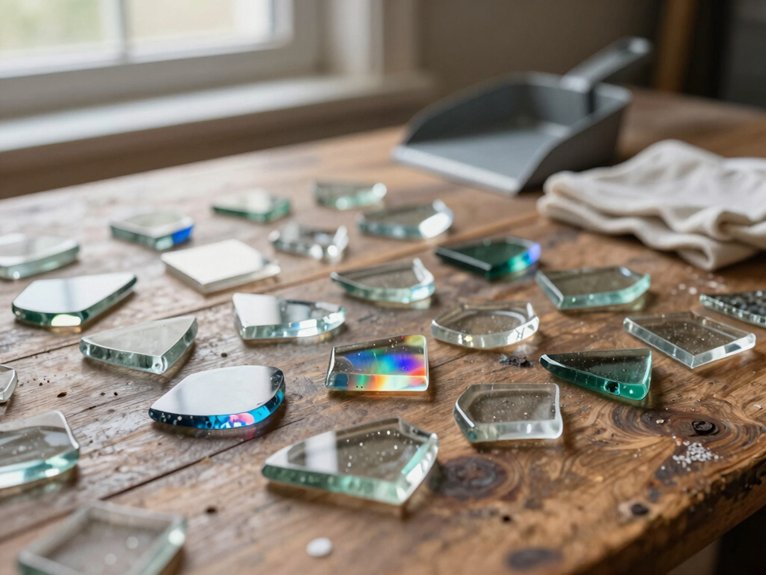
Even if you’re just making a tiny glass charm or a colorful mosaic, a little safety prep goes a long way!
Start with eye protection and thin gardening gloves, because sharp edges don’t care how cute your project is.
Sweep up shards right away, and keep dust control in mind by containing debris and cleaning as you go.
Before gluing, rinse glass pieces, then let them dry fully so grit doesn’t get trapped under adhesive.
If you break glass, wrap it in an old towel and tap gently, not wildly.
For drilling, wet the glass, start slow, and mist often.
Smart prep keeps you crafting happily!
Gather Glass, Glue, and Tools
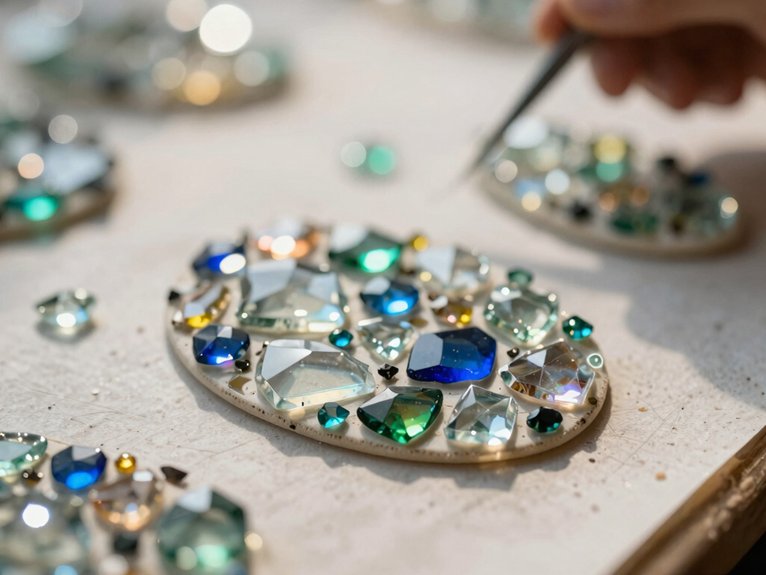
Roll up your sleeves, because now it’s time to gather the goodies! Grab your frame or glass base, plus accent glass pieces, and give everything a good rinse for glass surface prep. Clean glass helps your glue bite better, and a quick glue bond testing dab saves you from sad surprises later.
Next, stock up on E6000, Mod Podge or clear Elmer’s glue, small brushes, and an old bristle brush for texture. Toss in trowels or sponges for grout, eye screws, wire, and thin gardening gloves. Keep tiny shards out of the way—your toes will thank you!
Prepare Glass, Frames, and Containers
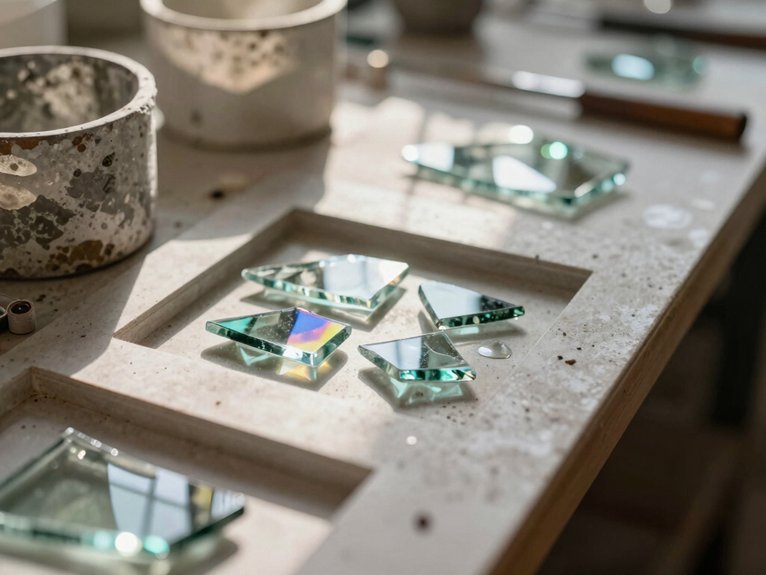
Now that your supplies are ready, give the glass cover and any accent pieces a good rinse, then dry them well so dirt doesn’t sneak into your finished mosaic and your adhesive, like E6000, can grab properly.
Pop on thin gardening gloves, and if you need smaller shards, wrap a jar in an old towel and tap it gently—easy does it!
For frames, glue the glass cover to the wood base, then check frame positioning tips before it sets.
Watch adhesive curing times so the bond stays strong.
If you’re using a jar, keep the lid closable, place it first, then add LED candles.
Plan a Broken Glass Mosaic Design
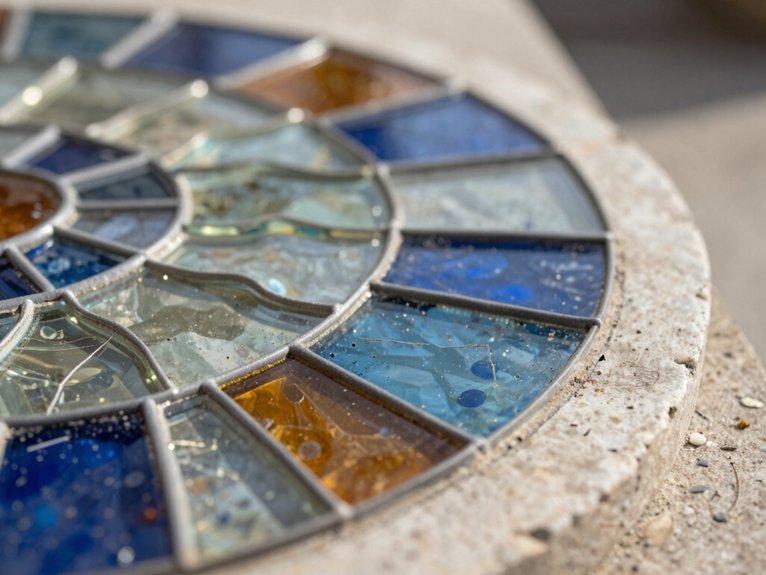
With your glass and frame ready, it’s time for the fun part—planning the mosaic itself! Start with a dry run on the glass base, and try color gradient planning or symmetry layout practice to see how light dances through each shard.
| Step | What you do |
|---|---|
| Clean | Wash pieces and base well |
| Glue | Spread thick, clear-drying Mod Podge or Elmer’s glue |
| Build | Press in small bits first, then anchor big shards with E6000 |
| Finish | Let it dry fully, then recheck loose spots |
If pieces feel tricky, layer and re-glue them. You’re building art that fits your style—yay!
Broken Glass Crafts for Wall Art
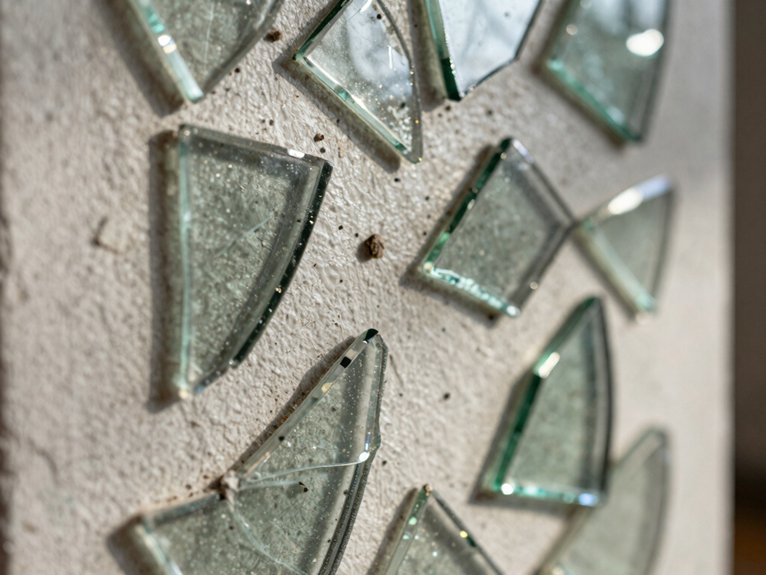
For wall art, you can turn a simple barn-wood frame into a shiny glass mosaic frame, and it’s easier than it sounds! Clean the glass, spread clear glue, and press on your bigger shards first, then tuck in smaller bits like sea glass or buttons so the surface looks full, not fussy.
Once it dries, hang it where sunlight can hit it, because that’s when your reused glass design really starts showing off!
Glass Mosaic Frames
Glass mosaic frames are such a fun way to turn broken pieces into wall art, and the best part is that you don’t need skilled skills to make one!
You clean your barn-wood frame and glass cover first, then glue the cover on with E6000 and let it set.
Next, you arrange your shards for color mixing and texture contrast, using clear-drying glue on the base, plus E6000 for heavier bits.
If you’re breaking glass yourself, wear gloves and wrap it in a towel, then tap gently.
Let it dry fully, re-anchor any loose pieces, and hang it!
Light-Catching Hanging Art
If you want a wall piece that sparkles every time the light hits it, this one’s a winner! Clean your glass base and accent pieces, then glue the cover to a barn-wood frame with E6000. Let it dry firm, so your suncatcher durability starts strong.
- Brush on thick clear glue.
- Place broken pieces so light shines through.
- Anchor bigger chunks with E6000, adding extra layers where edges lift.
After it dries, check for loose shards and fix them. An eye screw or hanger helps it face the light, and light reflective grout isn’t needed. Hello, cozy glow!
Reused Glass Design Tips
After you’ve gathered your reused glass cover and shiny little shards, give everything a good wash and rinse, then pull on thin gardening gloves so you don’t end up finding sneaky fragments in your socks later—ouch!
Next, glue the cover to a barn-wood frame with E6000 and let it dry firm.
For easy pattern layout ideas, sketch a loose map first, then spread Mod Podge or clear glue with an old bristle brush for sweet texture contrast tips.
Press in bigger pieces, tuck irregular edges, and anchor heavy accents with E6000.
Check for loose spots, then hang it near a window for sparkle!
Make Mosaic Stepping Stones
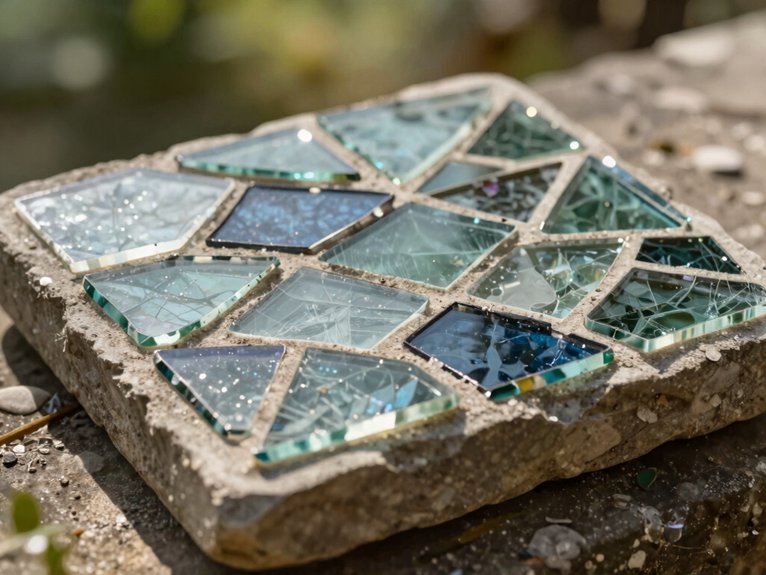
With a little epoxy and a fun pile of broken pieces, you can turn a plain stepping stone into a tiny work of art! For outdoor placement, clean the stone, then press each shard into wet concrete-safe epoxy so it locks in tight.
- Lay your pattern.
- Mix sanded grout.
- Wipe, then seal.
Wear eye protection, sweep up stray bits, and keep sharp chips away from little feet.
After the epoxy dries, spread grout with a trowel, wipe with a damp sponge, and do a final cloth wipe.
Surface sealing helps your mosaic stay bright, sturdy, and ready for your garden crew!
Decorate Terracotta Planters
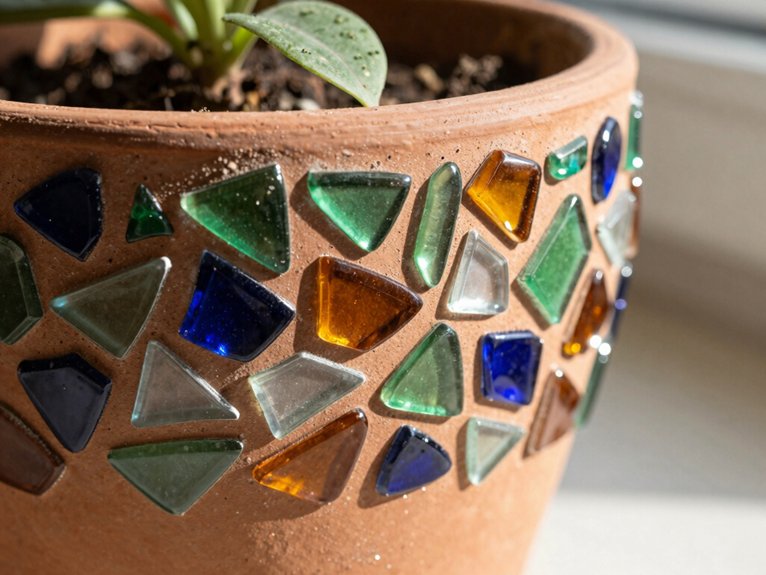
Terracotta planters are a fun place to use your broken glass scraps, and you can start by cleaning the pot well, then spreading a ceramic-safe mortar or epoxy over the surface.
Press in your glass pieces in a pattern you like, and don’t worry if it looks a little messy at first—that’s part of the magic!
For outdoor pots, use a thicker layer to hold bolder shards, then finish with bright or transparent accents so the sunlight makes your planter sparkle.
Mosaic Pot Surface
If you’ve got a plain terracotta planter begging for a glow-up, a mosaic surface can turn it into a tiny backyard showstopper! Clean it well, let it dry, then spread clear-drying glue or outdoor-rated adhesive. Use these grout techniques and outdoor sealing tips so your hard work lasts.
- Start with big sea-glass, marbles, or thrifted buttons.
- Fill gaps with smaller shards, overlapping on curves.
- Spot-glue pieces that wander, then let it cure.
After that, mix grout, press it in with a trowel, wipe with a damp sponge, and buff clean. You’ll get a sturdy, sun-ready pot that feels handmade and friendly!
Outdoor Color Accents
Around the edges of your planter, a few bright glass accents can turn plain clay into a tiny burst of color! Clean and dry the terracotta first, then spread thick clear glue, or a weatherproof adhesive, where you want sparkle.
Sea glass, flattened marbles, and tiny thrift-store buttons keep it light, cute, and budget-friendly.
Press each piece in, then anchor bigger bits with E6000 or even mortar if rain and sun will hit hard.
Let everything cure fully before outdoor placement, and give each accent a gentle nudge.
When it’s ready, your planter glows like a little patio cheer squad!
Build a Ground-Level Bird Bath
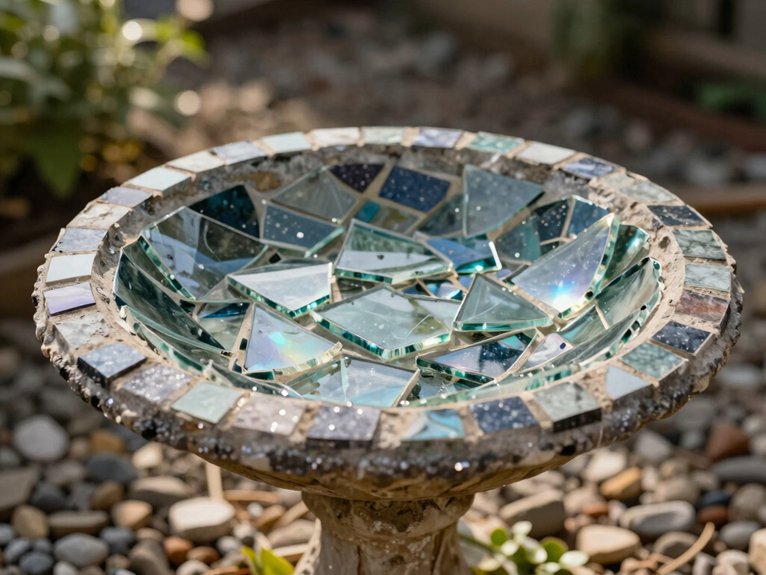
For a bird bath that feels like a tiny stone pond right at ground level, start by digging a shallow, bowl-shaped hole about 15 x 6 inches, then add a coarse layer of sand and pat it down firmly so you’ve got a smooth, steady base.
- Lightly moisten dry sand, so it packs like a dream.
- Mix about 40 pounds of quick-setting concrete, and wear a dust mask, friend!
- Shape a 2-inch bowl, then press broken glass bits in evenly.
Think weatherproof mounting and drain considerations now, so your little hangout stays happy.
Let it set fully, and you’re ready!
Make DIY Sea Glass Pieces
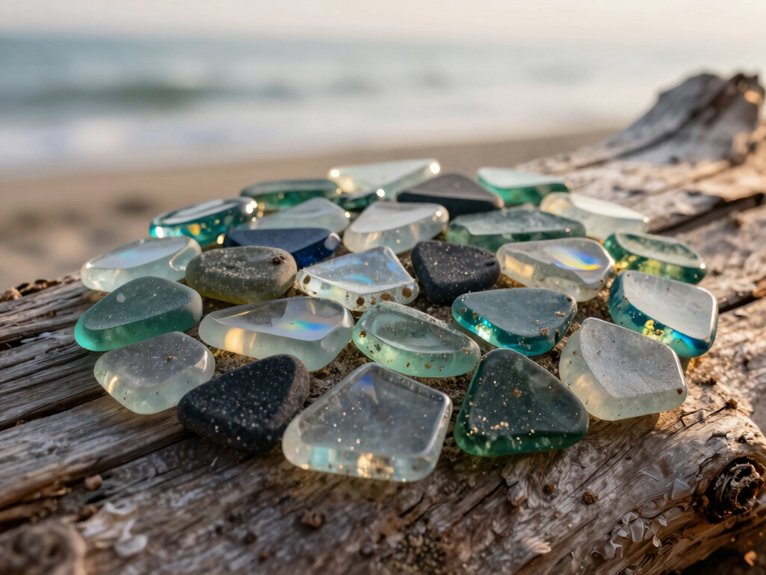
Those broken glass bits don’t have to stay rough and jagged—they can look like soft little beach treasures with a simple tumbling trick! You can make your own sea-glass style stash with clean glass bits, coarse sand, water, and a concrete mixer or rock tumbler.
| Step | What to do | Why it helps |
|---|---|---|
| 1 | Load glass, sand, water | Start the tumble |
| 2 | Run a few hours | Round the edges |
| 3 | Sift and wash | Finish sea glass cleanup |
| 4 | Sort by size | Plan projects |
| 5 | Keep colors apart | Better color batch sorting |
Store dry, handle gently, and you’ve got crafty shine!
Turn Crushed Glass Into Votives
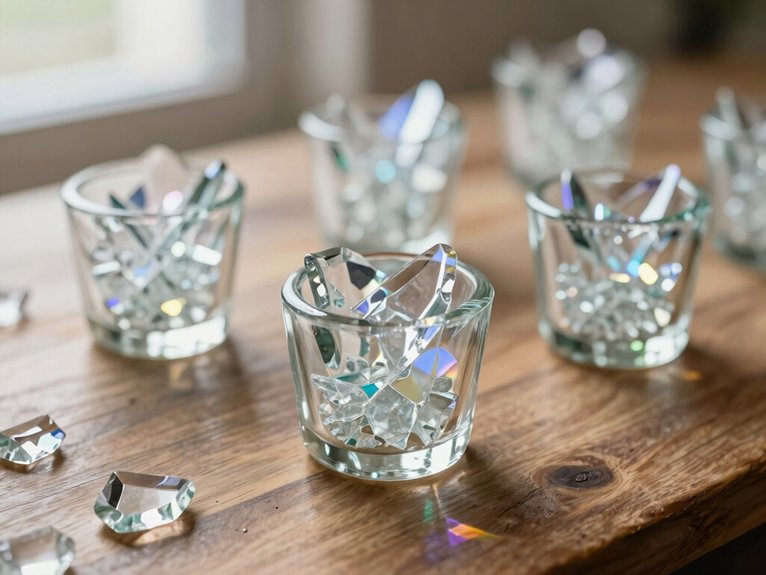
If you’ve got a pile of crushed glass, you can turn it into a glowing little showpiece without much fuss! First, wrap glass in an old towel, tap it gently with a small hammer, and wear thin gardening gloves for control. Then do shard free cleanup, rinse away grit, and get ready to build.
- Fill a tall lidded glass container almost to the top.
- Nestle a small votive holder inside so it stays upright.
- Add battery LED candle placement, close the lid, and dim the lights.
Wow, the shimmer feels magical, costs little, and looks fancy!
Create Sea Glass Jewelry
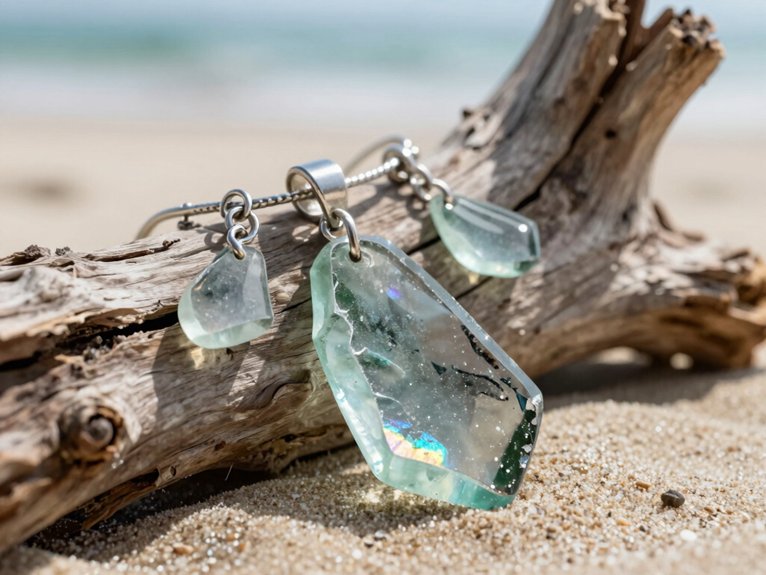
That pretty crushed-glass glow from the votives can do more than sit on a shelf, so let’s give those little bits a second life as jewelry!
You can make sea glass-style seasonal jewelry that feels like it belongs in your crew, not a craft bin.
Toss sharp scraps with coarse sand and water in a tumbler or concrete-mixer setup, then wash and sort the softened pieces.
Next, wet the glass, mark a tiny divot, and drill slowly with a strong glass bit, misting water as you go.
Clean the hole with olive oil, then thread ribbon, hemp, or leather for easy gift ideas.
Choose the Best Glue for Glass Crafts
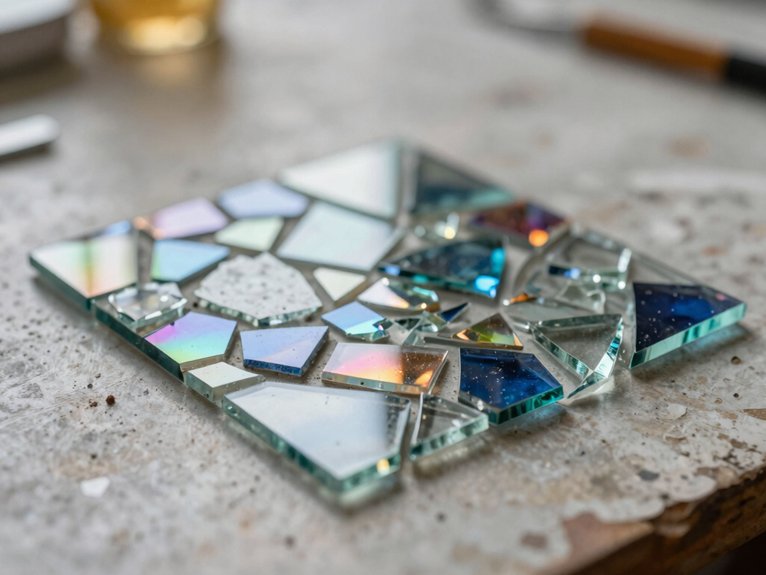
When you’re gluing broken glass crafts, you want a bond that’s strong but also dries clear, so your finished piece looks polished, not sticky and weird—like glue wearing a bad costume!
For glass-to-glass or glass-to-wood projects, E6000 can hold tricky edges in place, while clear-drying adhesives like Mod Podge or Elmer’s glue work well for mosaic layers on a glass base, especially when you spread them thick and let them dry fully.
For outdoor stepping stones or press-in glass settings, epoxy made for concrete and glass is the sturdier pick, and whatever you use, rinse the glass first so dust and dirt don’t sneak in and ruin the hold.
Strong Bonds for Glass
Glue is the quiet hero of glass crafts, and picking the right one can make the difference between “wow, I made that!” and “uh-oh, why is everything sliding around?”
First, clean every piece, because dust loves to sabotage your shine! Then try:
- E6000 for glass to wood or glass,
- clear-drying craft glue for small glass-on-glass layouts,
- E6000 again for larger, odd-shaped chunks.
Use enough coverage to grip both sides, then let it cure before resin finishing prep or mosaic grout mixing.
That’s how you join the crew, keep pieces steady, and make art that actually stays put!
Drying Clear and Secure
On glass crafts, the drying stage can make or break your whole project, so picking the right adhesive is a big deal!
Use E6000 for a glass cover on a wood/glass frame, and wait until the joint feels rock-solid before adding more mosaic bits.
For glass-on-glass accents, spread Mod Podge or Elmer’s glue in a thick, clear layer, place your pieces, and give them time to grab.
If edges are odd, layer glue on both surfaces for extra grip.
Check for loose spots, re-glue, then wait again.
That’s weather resistant curing, and clear resin timing matters!
Set and Seal the Glass Pieces
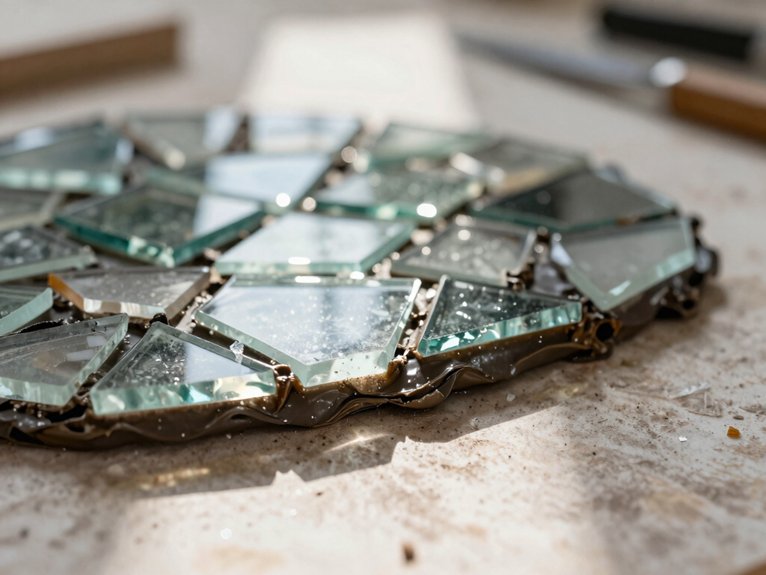
With your glass pieces finally in place, it’s time to let the adhesive do its thing and cure all the way until every shard feels solid and unmoving—no wobble, no slide, no sneaky little “I’ll fix myself later” behavior! Then you’re part of the club of careful crafters.
- Check each piece with a gentle tap; if it shifts, add a tiny dab of glue.
- For stepping stones, let epoxy dry, then pack on grout so edges stay covered.
- Wait for full drying before resin curing or weatherproof sealing, or you may trap moisture.
A snug finish means stronger art, fewer repairs, and way more wow!
Add Grout, Resin, or Concrete Finishes
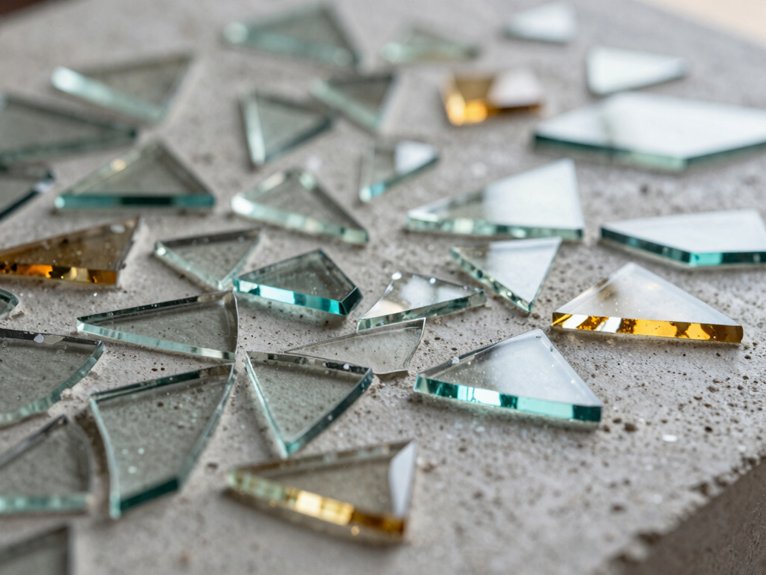
After your glass pieces are firmly set, the fun part starts—adding the finish that makes everything look polished and ready to show off! For mosaic stepping stones, spread a thin epoxy layer, set the glass, then wait for resin curing before you add sanded tile grout with a trowel. Wipe with a damp sponge, then a cloth, for that crisp, friendly shine.
For bird baths or planter-style pieces, concrete works better, so pack it in, press the glass, and let it cure undisturbed. Resin is often optional on small pieces, and color matching helps everything blend beautifully.
Clean Up Glass Shards Safely
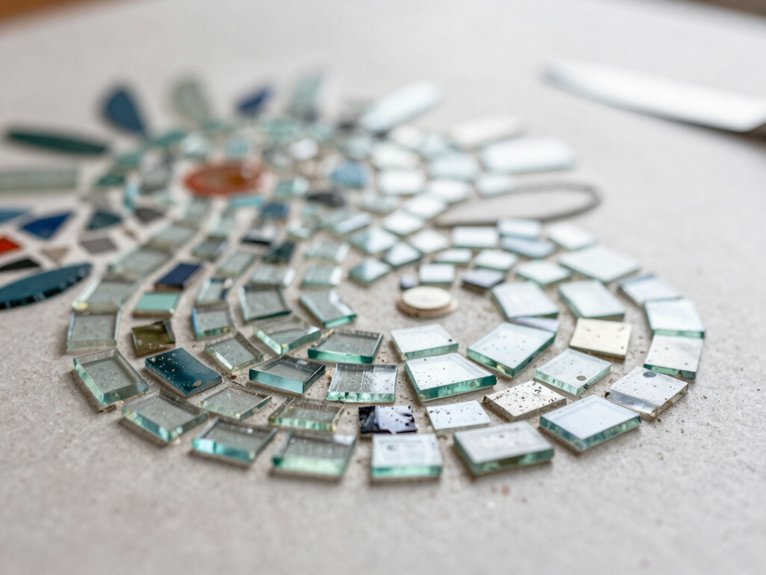
Start with thin gardening gloves and a dust mask, then sweep up the big and tiny shards right away so you’re not playing “find the glass” with your feet later—no thanks!
Use thick cardboard, tongs, or a scoop to gather sharp bits, and keep them out of bare hands, even if a chip looks harmless.
Seal the broken pieces in a sturdy container or trash bag, then give the area a good vacuum, especially corners, because those sneaky micro-shards love one last surprise.
Wear Protective Gloves
Broken glass can look a little glamorous in a craft photo, but in real life, those tiny shards are sneaky little troublemakers!
You’ll fit right in with smart crafters when you wear thin gardening gloves, and eye protection too, for safer Beginner mosaic practice.
- Keep your workspace bright, so you spot sneaky bits fast.
- Sweep or bag shards right away, using gloves, a broom, or tongs.
- Rinse and wipe dusty spots, then use Safe shard containment in a sturdy sealed container.
If you drop glass, don’t grab it bare-handed.
Gloves make cleanup feel calm, quick, and way less ouchy—yes, please!
Contain Broken Shards
With a few careful moves, you can tame those sneaky shards before they turn into surprise glitter for your floor!
Slip on thin gardening gloves, then do your gloves handling one piece at a time during shard sorting, so you can separate keepers from tiny bits without nicking your fingers.
Sweep everything into a pile, then wipe the area with a damp paper towel or cloth to catch the sneaky splinters.
If shards scatter, drop to floor level with a flashlight—yes, detective mode!—and vacuum with a shop-vac, then wipe the nozzle clean.
Dispose Of Safely
Now that you’ve gathered the bigger pieces and chased down the tiny glittery troublemakers, it’s time to get rid of them the safe way!
Wear thin gardening gloves, then follow these quick steps:
- Scoop shards into a puncture-resistant box lined with paper.
- Label it “SHARP GLASS,” then stash it away from kids and pets, using Child safe storage, smartly.
- Check Recycling glass tips before trash day, or reuse rules may surprise you!
Sweep again, or use a shop vac carefully, because sneaky bits love hiding in grass.
Toss tiny scraps right away; saving them isn’t worth a foot ouch.
Display Broken Glass Crafts With Light
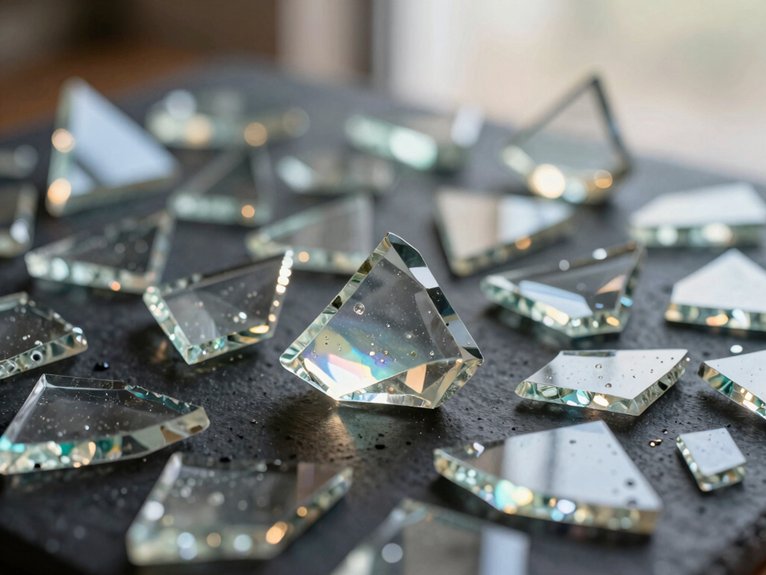
Start with a glass-covered wooden frame, glued with E6000 and dried solid, then brush on clear-drying glue.
Arrange larger shards and accents so tiny gaps let glow slip through, creating texture contrast and color balance that feels magical.
Hang it where light hits through the piece, and choose translucent marbles or sea glass for extra sparkle.
Want a cooler twist? Pack crushed glass into a tall lidded jar, tuck in a battery LED votive, and close the lid.
Wow—instant shimmer!
Before hanging, check loose bits, let everything dry, and use eye screws and wire for a sturdy finish.
Frequently Asked Questions
How Do I Fix Cracked Glass Pieces Safely?
You can’t safely fix cracked glass; you should replace it. Wear gloves, use safe cleanup methods, and focus on handling sharp edges carefully. You’ll protect yourself and keep your space welcoming, calm, and secure.
Can I Mix Different Glass Colors in One Project?
Yes, you can mix different glass colors in one project—if you’re curious, the magic starts there. Try color blending, practice layering effects, and you’ll join a creative circle where your piece truly belongs.
What Tools Cut Glass Into Smaller Shapes?
You’ll use a glass cutter or tile cutter for tile scoring, plus running pliers and breaking pliers. Wear safety gear, trace custom templates, and score carefully so you shape pieces neatly and confidently.
How Long Do Broken Glass Crafts Usually Last Outdoors?
Usually, your broken glass crafts can last outdoors for years, like sunlit jewels, if you use UV protection, weatherproof grout, sealing tips, and gentle display care. Without them, weather can dull them faster.
Can Broken Glass Crafts Be Made With Recycled Bottles?
Yes, you can make them with recycled bottles. You’ll need proper prep, choose nonsharp fragments, plan mosaic patterns, and enjoy creating with others. Your shared project can feel welcoming, meaningful, and beautifully unique.