You can turn cardboard into surprisingly stylish decor with a little prep and a few smart tricks! Start with thick cardboard, gesso, and light sanding, then paint matte black, metallic, or ocean blues for a cleaner finish. Try layered wall art, cute birdhouse shapes, crescent shelves, or cottage pieces with twine and stencils. Seal everything with Mod Podge so it lasts, and for the coolest look, add texture, shadows, and raised edges—there’s more fun stuff ahead!
Key Takeaways
- Prime cardboard with gesso, sand lightly, and choose matte, metallic, or light-reflecting paint for a polished finish.
- Layer and stack cardboard pieces first to create depth, then paint edges to make the craft look more expensive.
- Add stylish details like stencils, watercolor washes, metallic tape, twine, shells, or pearl beads for instant visual appeal.
- Use cardboard for decorative forms such as birdhouse wall art, crescent shelves, cottage scenes, animal accents, and seasonal wreaths.
- Seal finished pieces with Mod Podge or spray sealant, and reinforce weak spots so the decor lasts longer.
Why Cardboard Crafts Look Stylish
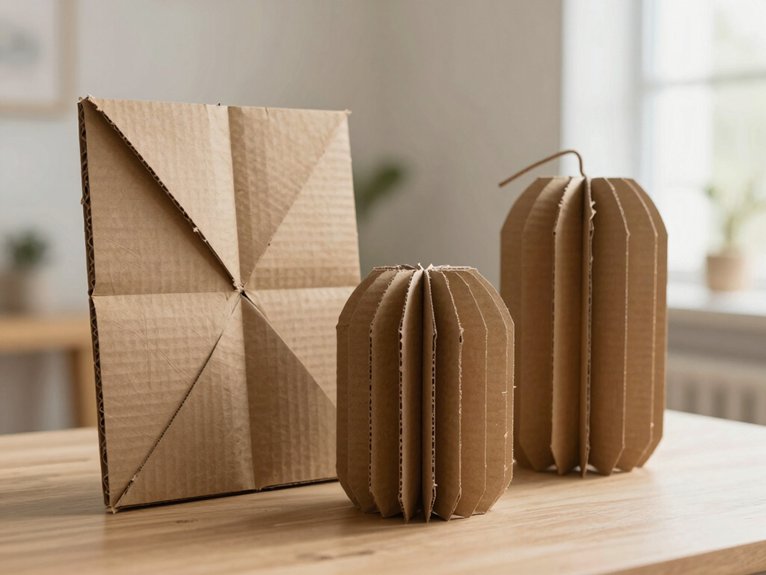
One of the coolest things about cardboard crafts is that they can look surprisingly chic with just a few smart finishing tricks!
You’re not just making a boxy project, you’re joining the crowd of clever home stylists who know the secret: good surface finishing.
Start with a smooth base like gesso, then sand it lightly and add paint that suits your vibe.
Matte black feels bold, metallics add glow, and light reflecting paint can make the piece pop in real rooms.
Layer cardboard for depth, seal it well, and you’ll get a stylish, store-bought look that lasts.
How to Prep Cardboard for Decor
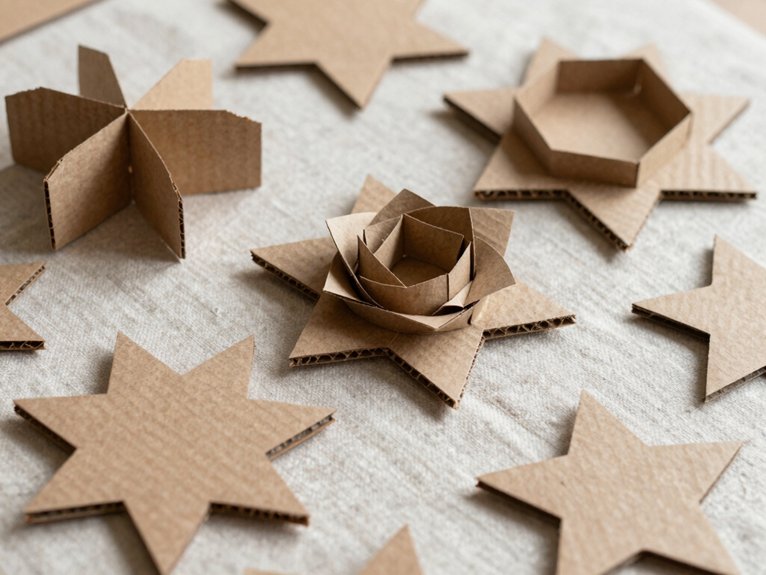
Before you grab paint and glue, give your cardboard a little prep magic—because a sturdy, smooth base makes all the difference!
Start with thick corrugated pieces, then reinforce edges with hot glue and layered cutouts where you need depth.
- Sand rough spots lightly
- Brush on gesso or joint compound
- Respect Primer curing time
- Test paint on a scrap first
- Finish with moisture resistant sealing
Seal every layer well, and let adhesive dry fully, or hidden failures can pop up later.
For a stylish, expensive look, try matte black, metallics, or pearly finishes.
You’ll feel like the crafty crew, and your piece’ll stay durable, too!
Cardboard Wall Art Ideas
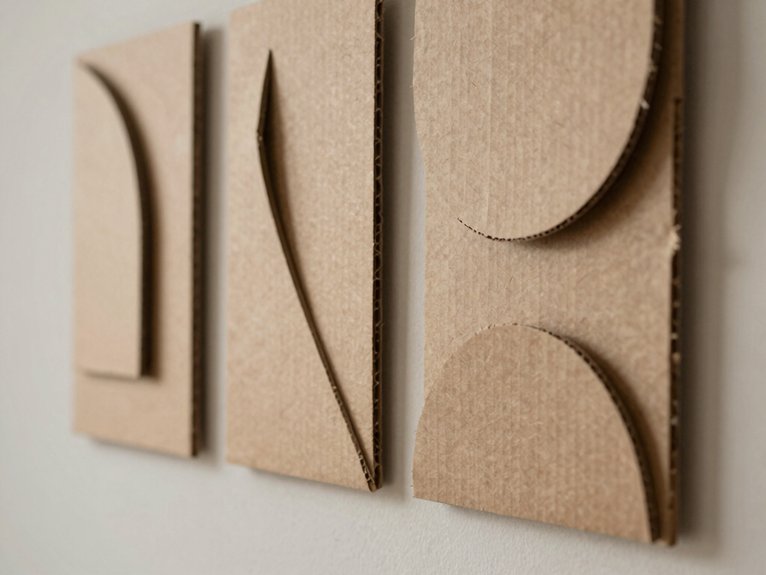
Now that your cardboard is prepped and sealed, it’s ready to become actual wall art, and yes, it can look way fancier than “I made this from a shipping box!”
Start with a cute birdhouse shape, add slatted strips, paint, then hang it with twine—tiny cabin vibes, big charm.
Want more drama?
Layer a horse head, a black geometric floral frame, or a bold flower tree for instant wow.
For a softer vibe, make coastal quote art with blue stripes, shells, and pearl beads.
Try colorful stencils, textured backgrounds, and don’t worry—these pieces are cheap, beginner-friendly, and seriously eye-catching!
Cardboard Houses and Cottage Shapes
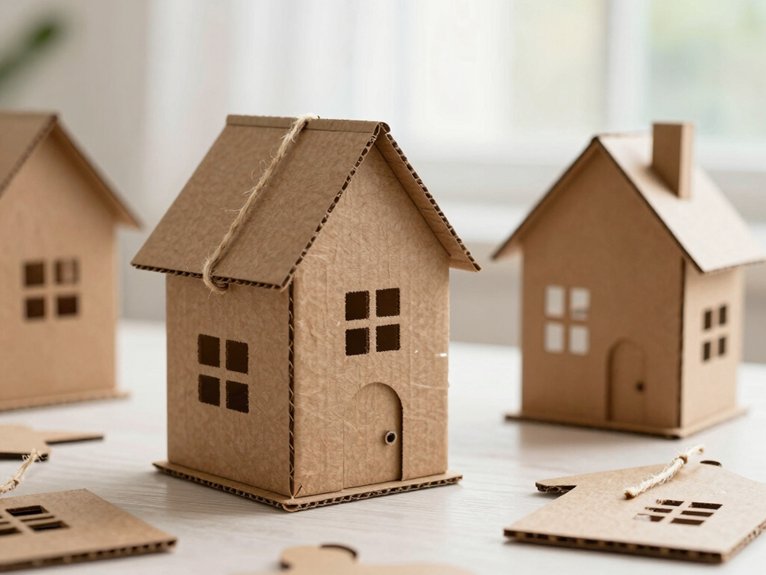
If you love tiny, storybook-style décor, cardboard houses and cottage shapes are such a fun place to start! You can make one on a rainy afternoon, and it’ll feel like you joined a cozy little maker club.
- Build a 6×6×8-inch glitter fairy cottage with layered roof pieces.
- Add paper flowers, sequins, and twinkle embellishments for charm.
- Try soft pastel florals for sweet seasonal colorways.
- Paint a 10-inch birdhouse shape, then hang it with twine.
- Use slatted cardboard strips for a rustic finish.
Most projects cost very little, and they’re beginner-friendly. Tuck one under a tree or hang it up—cute, right?
Cardboard Shelves and Display Pieces
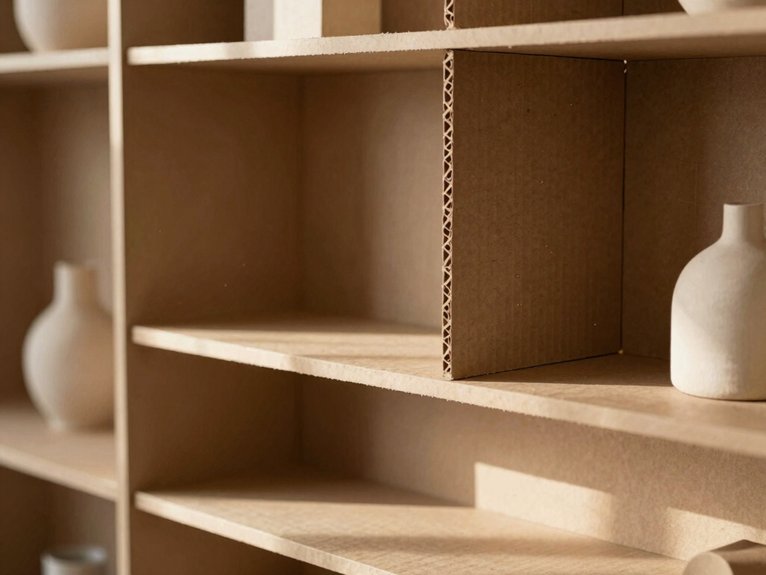
On the shelf of your imagination, cardboard can turn into a super cool display piece that looks way fancier than it really is! You can make a crescent moon shelf by tracing two corrugated crescents, cutting them out, and spacing them with layered strips for depth.
Add 3–4 round platforms, then hot glue them in place for a sturdy little stage.
Stack extra cardboard along the edges if you want more strength, then paint everything for that gallery-style glow.
After it dries, style tiny trees or figurines for seasonal styling and minimalist decor.
Keep it sparse, and wow, your display becomes pure holiday magic!
Cute Cardboard Storage Ideas
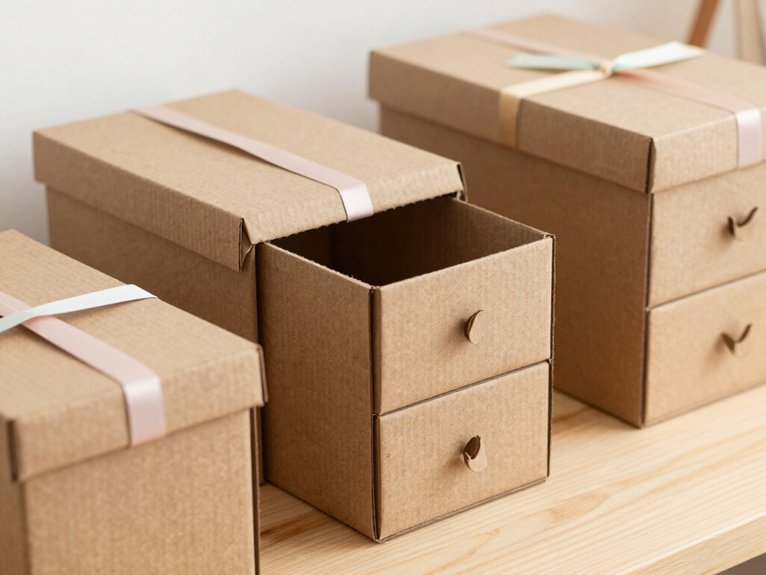
Cardboard doesn’t just make cute shelves and display pieces, it can also help you wrangle the little stuff that usually ends up everywhere—pens, jewelry, bracelets, even random bits of clutter that seem to multiply overnight!
You’ll feel right at home with these easy wins.
- Make a jewelry tree from a thick base, paper towel roll, and angled branches.
- Try a parrot pencil holder with a box, paint, and felt circles.
- Build a clean tabletop catchall for Modular organizing.
- Fit shelf backs with wrapped cardboard for polished storage.
- Turn long tissue boxes into basket-style bins for Gift ready storage.
Paint, seal, and enjoy cute, low-cost storage!
Cardboard Play Sets for Kids
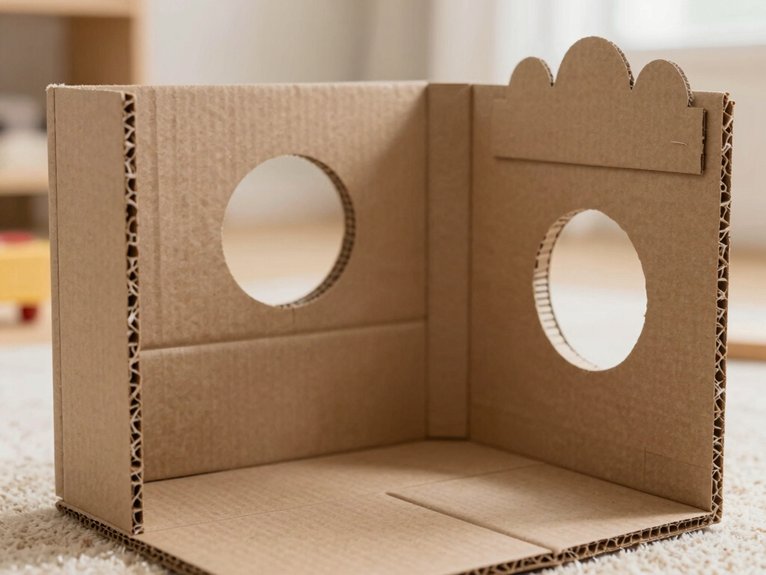
You can start with a cardboard farm or water-cycle scene, where big circles, shoeboxes, and a few painted details turn scraps into a tiny world that actually feels alive—pretty cool, right?
If you want more action, build a parking garage with stacked cardboard platforms and folded ramps, then add road lines so toy cars don’t get lost in the “no-parking” chaos.
And for the biggest grin, make teddy bear face masks or props from sturdy cardboard, because they’re quick, cheap, and way more fun than pretending your couch is a zoo!
Farm Small-World Scenes
If you want a farm scene that feels way more fun than a flat mat, start with a tray base and build up from there! You’ll love how a miniature scale setup makes play storytelling feel cozy and real, especially when your tray dimensions keep everything snug.
- Cut large cardboard circles for platforms.
- Glue paper towel rolls underneath as supports.
- Add folded cardboard ramps for travel.
- Tuck in tiny chicks and fence cutouts.
- Keep a few removable parts for mix-and-match fun.
Build it within the tray edges, and your farm turns into a sturdy little world kids can return to again and again—simple, cheap, and delightfully busy!
Buildable Parking Ramps
With a big cardboard tray or box lid as your base, you can build a mini parking garage that feels ready for action, and it’s easier than it sounds!
Cut wide platforms from flat cardboard, then stack them with glue reinforcement so your structure stays steady for every toy car.
Next, fold long strips into ramps, secure them along the sides, and keep safe edges so little hands stay happy.
Add grey paint, then tape off yellow and white lines for that real city vibe.
During ramp testing, you can tweak the slope, open new routes, and watch your cars zoom with style!
Animal Masks And Props
Roar, snip, and paint your way into a tiny wild kingdom! You can make animal masks and props that feel like your crew’s own secret play club.
- Cut a 6–7 inch teddy bear face from sturdy cardboard.
- Punch eye holes, then paint rosy cheeks and tiny bows.
- Dry-brush white acrylic for a worn, cozy texture.
- Glue and reinforce a wooden stick on the back.
- Repeat with bold, graphic animal faces for storytelling games and classroom activities.
Let everything dry fully before play, so the colors stay crisp.
These cheap, sturdy masks on sticks hold shape, invite big imaginations, and make every cub, fox, or bunny feel instantly included!
Cardboard Bird, Horse, and Parrot Decor
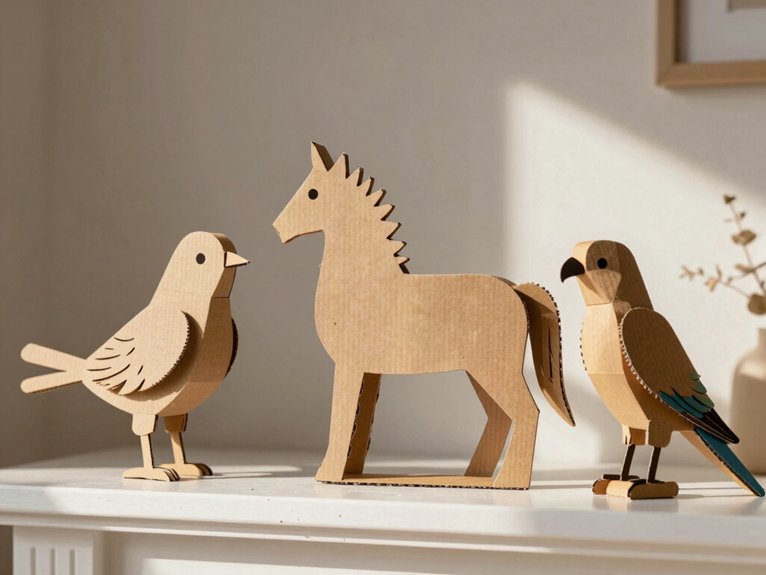
You can turn plain cardboard into charming animal accents, like a sweet birdhouse wall charm, a bold horse head, or even a playful parrot piece that doubles as a pencil holder—pretty clever, right!
Start with simple materials like corrugated cardboard, hot glue, paint, and scraps of felt or paper, then cut, layer, and finish each piece so it looks neat, sturdy, and ready to hang or sit on a shelf.
Keep the same paint-and-seal routine across them, and you’ll end up with a fun little set of décor that feels pulled together instead of tossed together.
Birdhouse Wall Charm
If you want a wall charm that feels sweet, rustic, and a little bit whimsical, start with a cardboard birdhouse and let the rest of the scene build around it! You’ll fit right in with this cozy craft crowd.
Cut sturdy corrugated cardboard into a 10–12 inch house, add thin slats, then test paint texture tips for a weathered look and finish with weatherproof sealing.
- Hot-glue twine for hanging
- Layered cardboard horse head for depth
- Coastal quote circle with shells
- Black geometric lines, plus faux blooms
- Tiny parrot pencil cup nearby
It’s cheap, easy, and charming!
Animal Wall Accents
A little cardboard can go a long way when you start making animal wall accents, and honestly, that’s half the fun! You can craft a sweet birdhouse from corrugated cardboard, add vertical slats, paint it, then finish with a twine hanger for easy display.
Want more wow? Trace two horse-head profiles, layer them for depth, and glue on separate ears for a rustic sculptural look.
For a playful twist, make a parrot pencil holder from a small box, felt circles, and a front opening.
Use black painted cardboard structure with Cardboard stencilwork, plus Wall mounted hooks, for the cleanest, coolest finish!
How to Add Paint and Texture
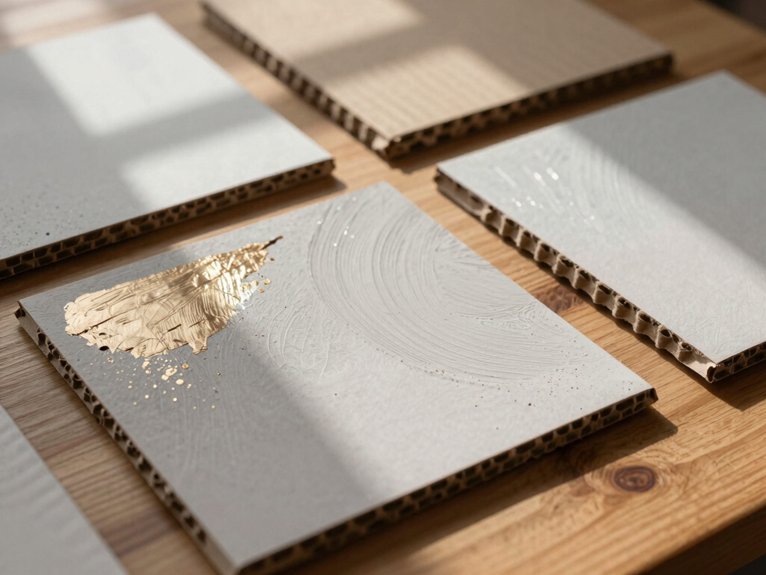
Once your cardboard shape is built, the real fun starts—paint and texture can turn “cute craft” into “wait, you made that?!” magic. You’ll fit right in once you try these easy upgrades!
- Prime with gesso, then sand for a smoother, pricier look.
- Stack cardboard layers first, so paint catches the edges.
- Use watercolor techniques or stencil accents for soft style.
- Sponge on blue and turquoise for textured ocean layers.
- Finish with metallic tape, a black pen, then seal it.
A matte black coat can make geometric pieces look gallery-ready, and dry-brushed white adds worn charm. Let each layer dry fully—your cardboard will look stylish, not sticky.
Easy Seasonal Cardboard Decor Ideas
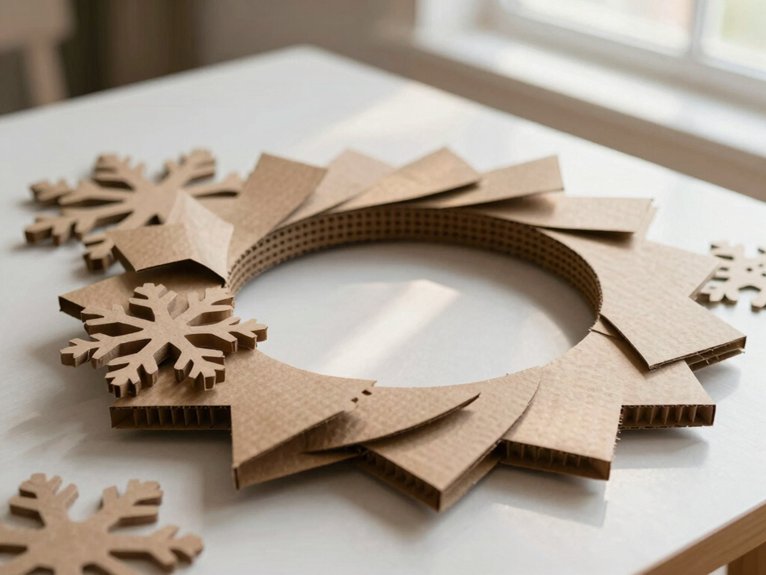
Paint and texture can make cardboard look decorative, but seasonal decor is where things get extra fun—because one base material can turn into holiday magic for every month of the year!
Try cardboard garlands with hearts for Valentine’s Day: cut, punch, and string them fast for a sweet banner.
For spooky season, paint a cardboard wreath form and top it with ghost shapes for cheerful seasonal wreaths.
Need more glow? Turn paper tubes into Halloween candles with paper and paint.
In July, make a crate centerpiece or firecrackers, then finish winter with gingerbread-style pieces.
Cute, cheap, and totally you!
How to Make Cardboard Decor Last
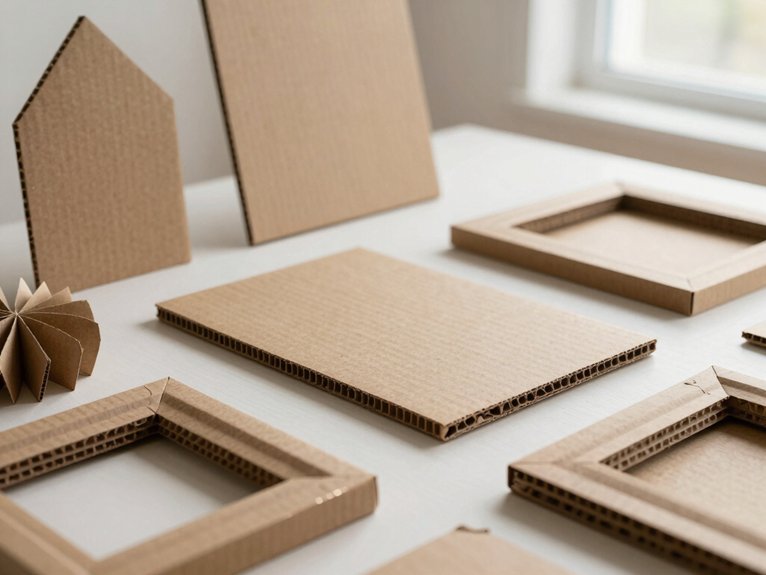
You can make your cardboard decor last a whole lot longer by sealing the surface first, since a clear finish like Mod Podge or spray sealant helps keep moisture out and protects your paint job.
Then, look for weak spots—those sneaky corners and attachment points—and reinforce them with extra glue or layered cardboard before they start acting flimsy.
For the best results, let every layer dry fully, because a little patience now can save your cute craft from doing the cardboard flop later!
Seal The Surface
A little sealing magic goes a long way! You’ll keep your cardboard crew looking fresh, not flimsy, when you protect the surface before decorating. Try this:
- Brush on Mod Podge for shells or pearls
- Let every coat cure fully
- Use waterproof sealing for damp spots
- Smooth with gesso or joint compound
- Add edge reinforcement, then seal again
After that, sand lightly and paint matte black or pearlescent for a luxe vibe.
If you skip priming, hidden failures can sneak up fast, but a sealed piece handles daily touch like a champ.
Your DIYs deserve that wow, and you’ll feel it!
Reinforce Weak Spots
When cardboard starts looking amazing, the weak spots usually show up right where the stress lives—corners, joints, and those sneaky little bends that love to sag! To keep your piece in the group chat for the long haul, use corrugated cardboard, then hot glue extra layers where it needs muscle. Next, reinforce seams so birdhouses, wall art, or mini garages stay tight and proud.
For moisture-prone spots, weatherproof corners with polyurethane or waterproof spray. Smooth rough areas with gesso, let each layer dry fully, and finish with paint or tape. That little patience? It stops peeling, warping, and surprise flops!
Frequently Asked Questions
What Are Some Cool Cardboard Crafts?
You can make birdhouse wall art, horse-head decor, moon shelves, parrot desk organizers, and a water-cycle diorama—why settle for plain? You’ll create upcycled storage, wall art, desk organizers, picture frames, and belong to crafty style.