Plastic canvas is beginner-friendly because the grid guides every stitch, so you don’t have to guess—nice, right? Start with yarn, a needle, and a small project like a coaster, then try continental stitch for smooth fills, running stitch for clean lines, or backstitch for bolder edges. Use 2 strands to keep things comfy, and pick 12 or 14 count for a sharper look. Finish with felt backing, and you’ll have neat gifts before you know it—plus a few clever tricks ahead.
Key Takeaways
- Continental stitch is beginner-friendly and versatile, creating neat diagonal coverage with steady, predictable rows.
- Cross stitch works well for small areas, forming crisp X shapes using two diagonal passes.
- Running stitch is simple for straight lines and borders, giving plastic canvas a clean, polished look.
- Fly stitch and long stitch offer flexible coverage, with fly stitch adding shape and long stitch filling larger spaces quickly.
- Whip stitch or overcast stitch finishes edges neatly, making projects feel durable and complete.
Why Plastic Canvas Is Easy to Learn
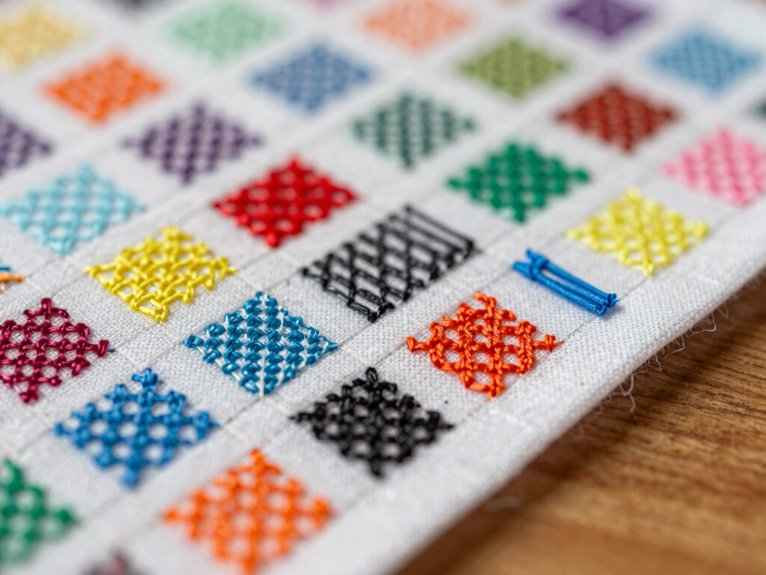
On plastic canvas, you’re not fighting a tricky fabric, you’re working with clear little grid holes that practically guide your stitches for you—nice, right?
You can jump into Beginner projects with yarn, often cotton, and the canvas stays calm while you learn.
Threading the needle may feel fiddly at first, so do stitch swatch practice before your big piece.
Start small, maybe a name tag or coaster, and use the chart as your map.
As you stitch, the design grows predictably, until the canvas is no longer visible.
That’s when you know you’re in the club!
Continental Stitch: Your Best Starting Point
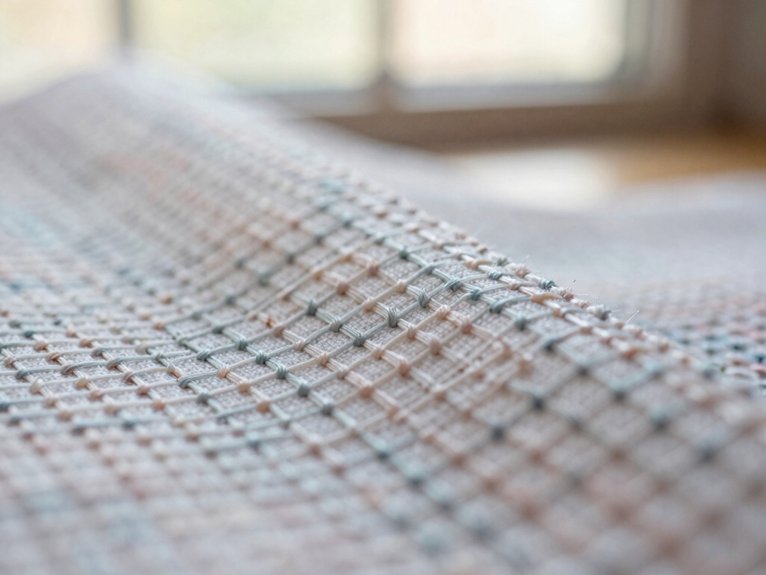
The continental stitch is your go-to starting point, because you work it diagonally over each canvas intersection and build neat, steady rows without any fuss—nice and easy!
You just bring the needle up through the start hole, go up and over to the next one, and keep that rhythm going, which makes it simple to cover shapes and picture parts with an even look.
Keep your tension steady, though, because a snug stitch can look crisp, while a looser one gives a fuller finish, and that little twist can really change the whole design!
Continental Stitch Basics
Getting comfortable with continental stitch is like learning the “hello” of plastic canvas, and once you’ve got it, everything starts to click! You bring your needle up through one hole, then angle it over and down to the next, keeping that slant steady. That simple diagonal move helps your Color pattern planning look crisp and makes stitch consistency tips easier to follow, too.
Use it for charts, picture shapes, and neat edges, because it hugs the grid without fuss. On the back, a half-cross feel keeps threads from piling up, so your piece stays tidy.
Pretty handy, right? Soon, you’ll read patterns like a friend!
Why Start Here
Because continental stitch is the main stitch you’ll keep coming back to, it makes a smart place to start, and honestly, it’s the “learn this first” move of plastic canvas! You’ll get clean diagonal coverage fast, and your canvas grid starts making sense right away.
When you Practice before charting, you build stitch direction consistency, which helps every project feel less tricky and more fun. Grab a needle, yarn, and scrap canvas, then work up and over diagonally. It’s cheap, easy, and great for buddies who want to fit in with the plastic canvas crowd.
Later, those picture-style stitches will click even faster—yay, teamwork!
Running Stitch for Clean Lines
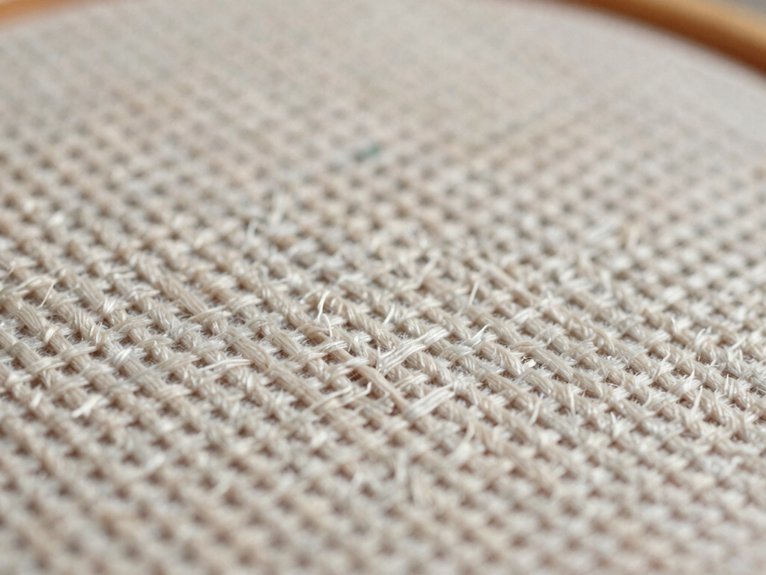
A running stitch is one of the easiest ways to make your plastic canvas look neat and polished, and honestly, it’s kind of satisfying! You simply go in one hole and out the next, again and again, and suddenly you’ve got a clean row.
For Stitching tension tips, keep each pull gentle and even, so your stitches sit the same height and your line stays smooth. With straight line alignment, the hole-to-hole path helps you stay on track, which feels great when you want that tidy, “I made this!” look.
If you’re adding a border, use felt behind the canvas and pick a thread color that either pops or blends quietly.
Backstitch for Fuller Details
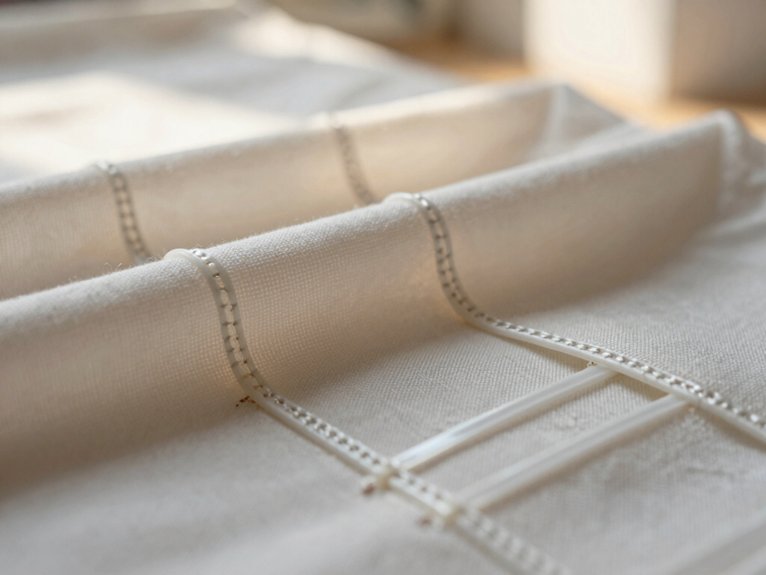
When you want your plastic canvas design to look fuller and more finished, backstitch is a fantastic little trick! You’ll feel right at home using it, because it adds a neat, solid edge that makes your piece look cared for.
| Look | Mood | Tip |
|---|---|---|
| Soft | Cozy | Same color |
| Bold | Exciting | Contrast pops |
| Neat | Proud | Control tension |
Thread your needle, then go forward two holes and back one, repeating along borders or details. It’s cheap, easy, and friend-friendly. With stitch tension control, your line stays smooth, not wobbly. Color choice contrast can make outlines whisper or shout, and wow, that’s fun!
Cross Stitch and Fly Stitch Basics
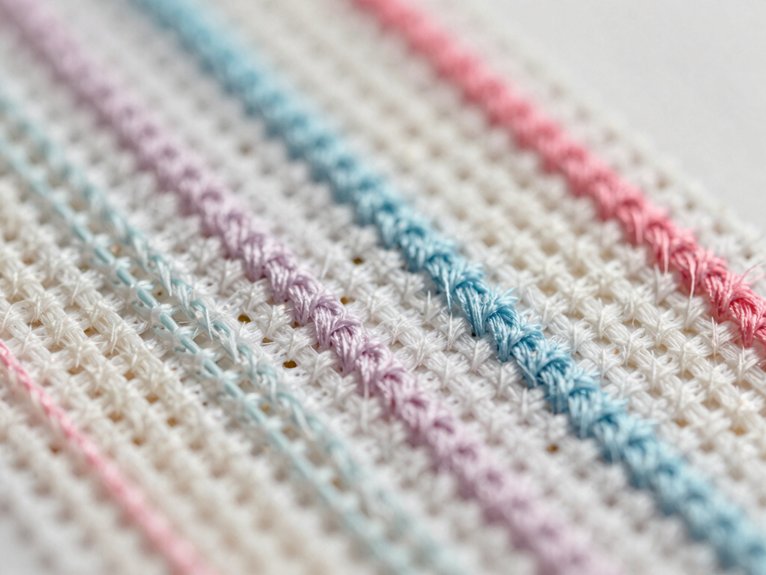
On plastic canvas, cross stitch and fly stitch can add that extra bit of charm without making your project fussy! You’ll fit right in with these easy stitches, and they’re perfect for little pictures and neat shapes.
- Cross stitch: use two diagonal passes to make tiny Xs.
- Fly stitch: bring yarn up, then angle it into a sweet V.
- Thread tension tips: practice on scrap canvas, since tighter or looser pulls change the look.
- Stitch placement accuracy: follow the grid, and your pattern stays crisp.
Try a half-cross on the back if you want less bulk, and voilà—clean, happy stitching!
Long Stitch for Fast Coverage
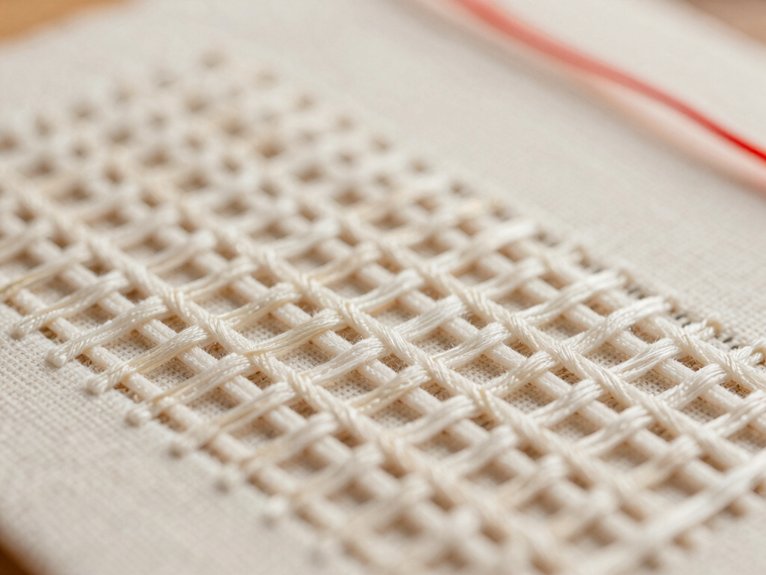
With long stitch, you can cover big plastic canvas spaces fast, and that’s a happy little win for any beginner!
You just guide your thread in parallel rows, vertical or horizontal, and watch the blank spots disappear.
Pick Color choices that make you smile, then keep stitch spacing even so the surface looks calm and full, not wobbly.
A small bundle of yarn, a needle, and steady hands are enough, so it won’t bust your budget.
Use gentle tension control, and you’ll get smooth coverage instead of lumpy hills.
Different canvas counts change the look, and that surprise is half the fun!
Overcast and Whip Stitch for Edges
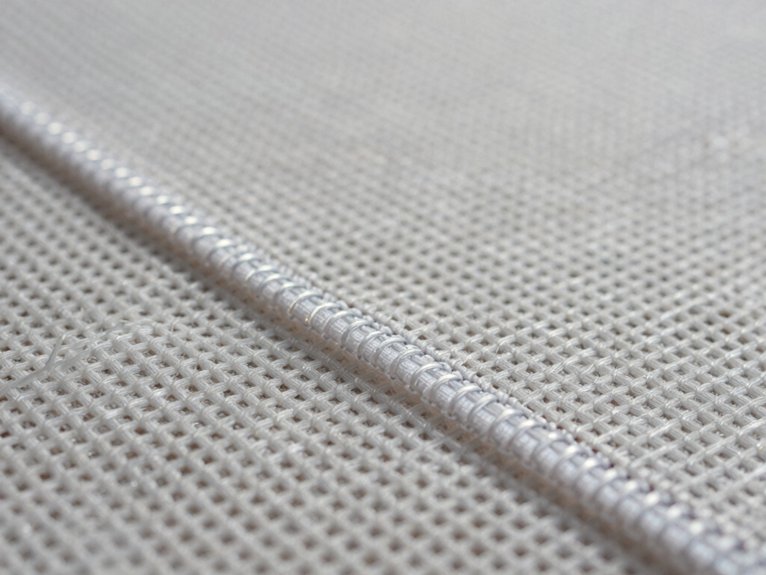
Around the edges, overcast stitch is a super simple way to tidy up your plastic canvas fast! You stitch back-to-front the same way each time, and it covers those little holes like a friendly hug. If you want a fuller border, whip stitch wraps the yarn around the edge and feels extra cozy.
- Grab yarn and your canvas.
- Try color thread choices that match your design.
- Keep your tension snug for a smooth edge.
- Finish after felt backing for finished edge durability.
You’ll get a neat look, less fray, and a project that feels proudly yours!
How Many Strands Should You Use?
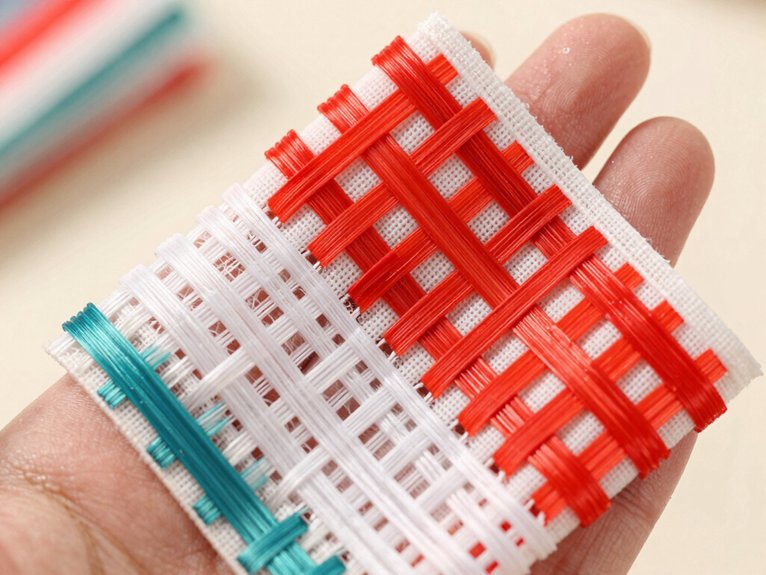
When you’re stitching plastic canvas, 2 strands is a smart starting point, because it usually gives you solid coverage without turning your needle into a wrestling match.
If you bump up to 3, 4, or even 5 strands, the fill can look fuller, but the needle gets harder to push through crowded spots, and your fingers may start complaining—fast!
Try a few swatches first, since the best strand count depends on your canvas and thread, and sometimes the neatest look comes with a tiny trade-off in comfort.
Strand Count Basics
- Start with 2 strands—it’s a common sweet spot and feels friendly.
- Try 3 strands if you want fuller stitches, but expect more tugging where stitches meet.
- Move to 4–5 strands only if you don’t mind sore fingers, yikes!
- At 6 strands, test a swatch first; some yarns look plush, others get bulky fast.
A quick sample saves time, money, and grumbles!
Coverage Vs Ease
Want more fill? 3 strands can work, but intersections get tougher.
4–5 strands hide gaps better, yet they may make your fingers grumble.
At 5+, pliers might join the party.
Your setup is personal, so belong to your own sweet spot!
Test Your Swatches
How do you know how many strands to use? Start with a tiny swatch, because your yarn, tension, and canvas count all change the look. Most stitchers begin with 2 strands, then add more if the plastic still peeks through.
- Try contrast swatches on scrap canvas.
- Compare stitch pull so your hands stay happy.
- Assess comfort level before you commit to a big piece.
- Evaluate color match, since stitched thread can look different from the bobbin.
Higher counts fill faster, but 4 or 5 strands can feel like arm day at the gym—oops!
Choose the Right Canvas Count
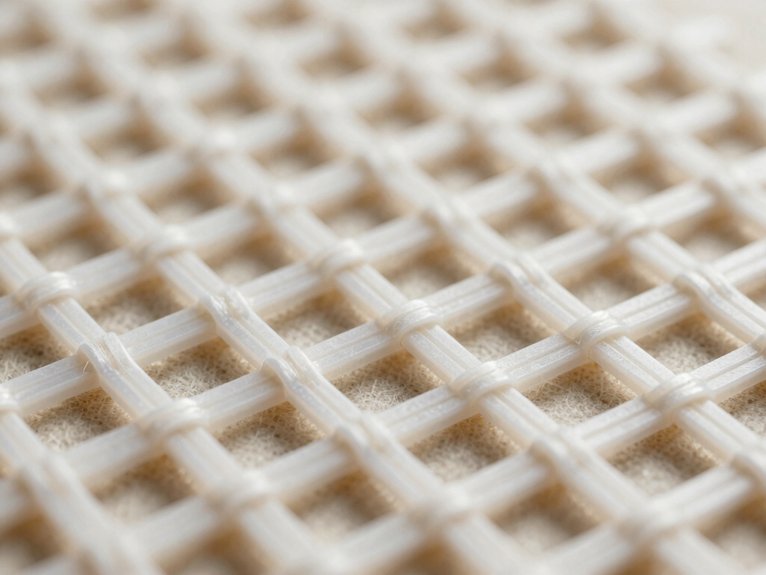
The right canvas count can make or break your plastic canvas project, so this is one of those tiny details that packs a big punch! You’re choosing stitches per inch, so 10 count gives you bigger holes, bigger stitches, and a bigger finish.
Want a smaller, sharper design? Try 12 or 14 count, and watch the details pop—nice, right?
For a quick Swatch size comparison, lay samples side by side and notice how the same chart shrinks or grows.
Then do Chart count verification before you cut, because the chart usually matches that count exactly.
Fixing a wrong size later? Oof, that’s the craft-world plot twist nobody wants!
Cut and Finish Plastic Canvas
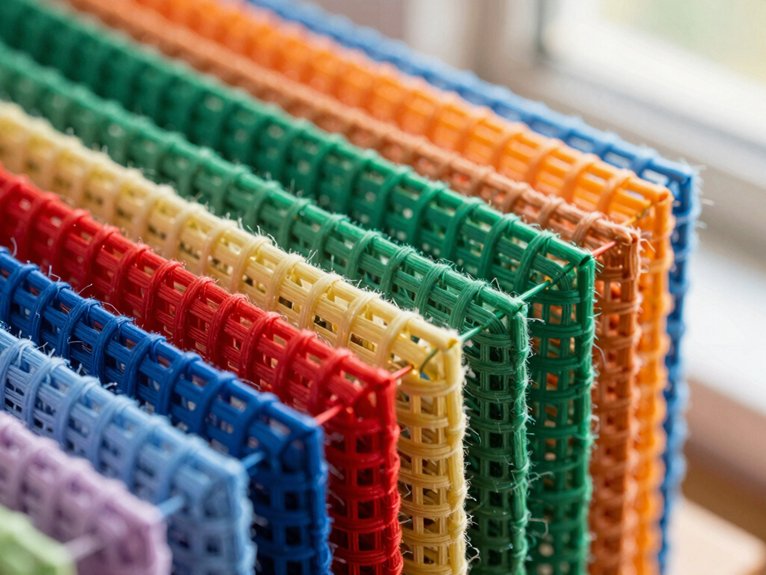
Trim close to the stitch rows, but don’t cut into them, and leave a little extra plastic in spots that need strength, like corners or edges that might take a beating. You’ll feel like you’re part of the club once your piece looks neat!
Cut after stitching, so you can hold it easily and avoid going too small.
- Use stitch spacing tips to guide tidy curves.
- Follow pattern transfer methods before you snip.
- Reach for an exacto knife on a cutting mat for openings.
- Cut felt roughly first, then trim it cleanly later, yay!
Felt Backing and Border Stitching
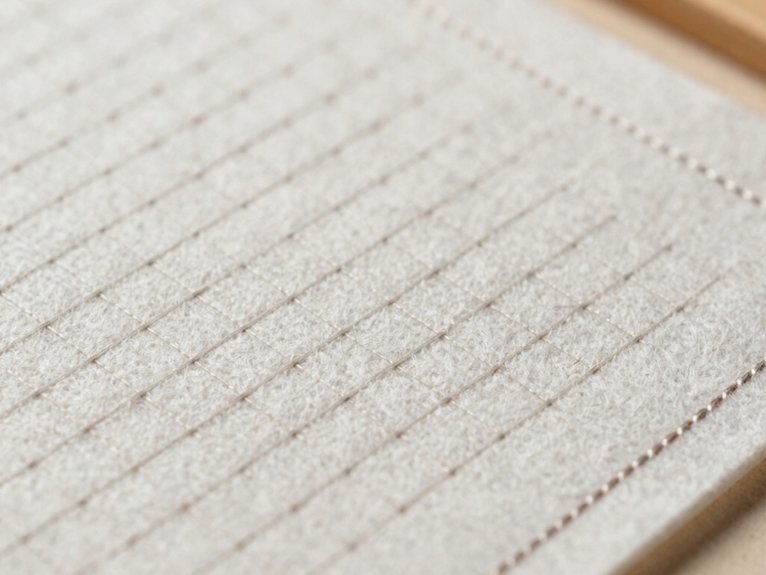
A felt backing can give your plastic canvas projects a tidy, polished finish, and it’s especially handy for keychains, earrings, and other small goodies that need a softer back!
For keychain finishing, do your felt placement planning first: lay the canvas on the felt, cut it with a little extra, then trim it clean after stitching.
Use a running stitch dashed border, going up one hole and down the next while the needle slips through the felt behind it.
Pick thread that blends, or pop with contrast.
If you want a smoother edge, swap in backstitching, then whip stitch around the perimeter for a neat, friendly finish!
Frequently Asked Questions
Can You Sew Through Plastic Canvas?
Yes, you can sew through plastic canvas. You’ll pass a needle through its holes, not the plastic. When you’re choosing thread types, blocking and finishing stay easy, and you’ll join our crafting circle confidently.
What to Cut Plastic Canvas With?
You can cut plastic canvas with small craft scissors, embroidery scissors for tight spots, or a hobby knife for precise openings. Use good cutting techniques and safety precautions, and you’ll join other crafters making clean, easy pieces.