For easy, aesthetic ceramic painting, start with a mug or bowl, sketch a tiny design, and keep your palette to 2 or 3 colors—so manageable, right? Try polka dots, skinny stripes with painter’s tape, or little hearts and leaves using a fine brush or paint pen. Paint light colors first, let each coat dry, then add darker accents for pop. The result? Clean, cute, and totally gift-worthy, with a few fun tricks waiting just ahead.
Key Takeaways
- Start with simple designs like polka dots, stripes, hearts, or tiny stars for an easy aesthetic look.
- Use a small color palette of 2–3 contrasting shades to keep the ceramic piece clean and cohesive.
- Sketch your design first and plan light colors before darker details for neater results.
- Try beginner-friendly pieces like mugs, bowls, or plates, since their shapes suit simple patterns well.
- Add personal touches like a name, pet face, or small heart to make the piece feel special.
What Makes Ceramic Painting Easy and Aesthetic
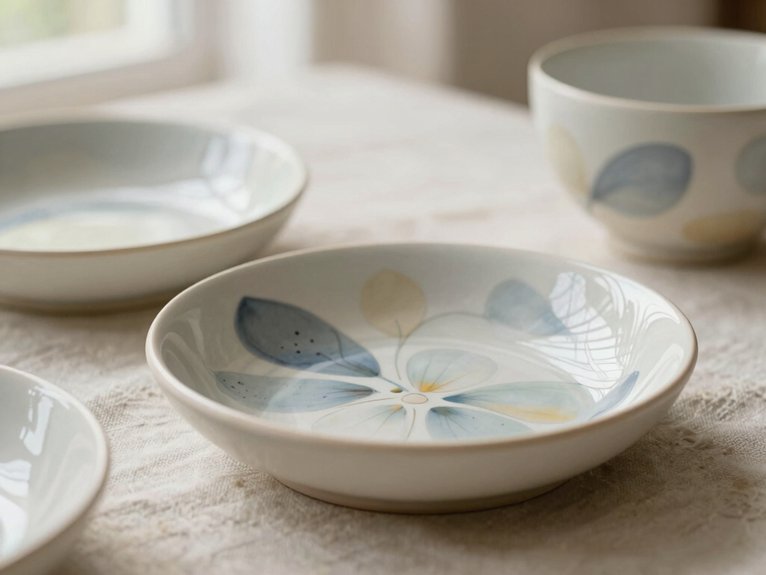
Color palette planning helps you stay calm: pick 2 or 3 shades, then paint light colors first and add darker details later. That keeps edges cleaner and saves fixes.
Do a quick sketch, then try brush pressure practice on paper. Rinse brushes well, keep water separate, and tape straight lines firmly—tiny moves, big polish!
Pick a Beginner-Friendly Pottery Class
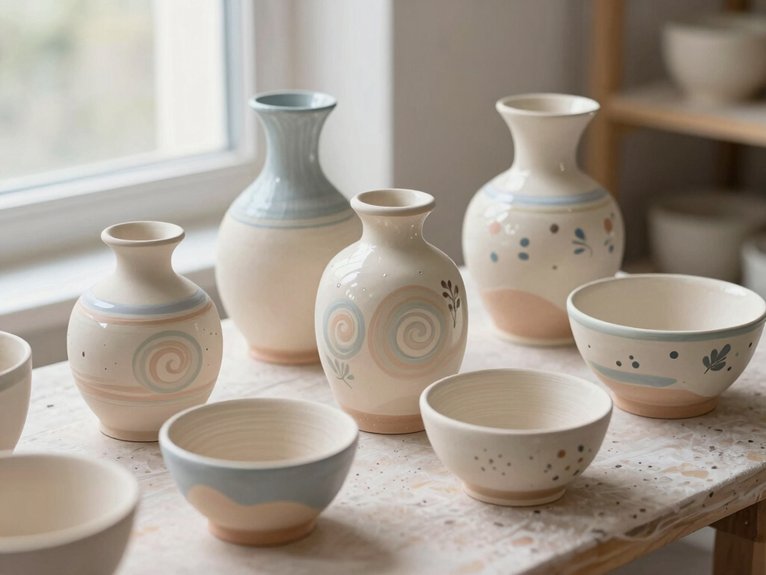
If you’re brand-new to ceramic painting, a beginner-friendly pottery class can be a total game-changer!
Start with Local studio options in Boston, Chicago, Houston, or your own neighborhood, and you’ll get friendly staff who answer the tricky stuff fast.
A first class takes away the fear of messing up at home, because the studio hands you brushes and ceramic-safe materials. Nice, right?
Ask for Studio supply guidance, and let instructors nudge you toward easy wins like dots, stripes, or simple patterns.
Even better, they can explain the paint-to-kiln process and timing, so you know exactly when your piece’s glow-up will be ready!
What You Need for Ceramic Painting
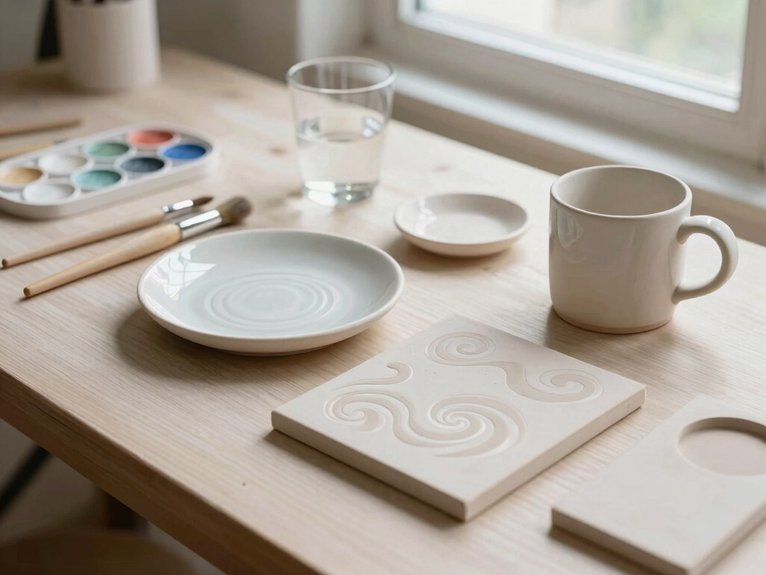
Now that you’ve got a class lined up, let’s talk gear, because the right supplies make ceramic painting way more fun and way less messy! Grab bisque-fired blanks, ceramic acrylics or underglazes, fine-to-medium brushes, and painter’s tape for neat lines.
| Supply | Why you need it |
|---|---|
| Paint | Adds color |
| Brushes | Handles details |
| Tape | Keeps edges crisp |
| Sealant | Protects your work |
Do some color palette testing first, then paint and let it dry fully. If your piece feels super smooth, lightly sand it so the paint grips better. Finish with clear sealant, and don’t skip brush cleaning tips, friends!
Choose the Right Pottery Piece First
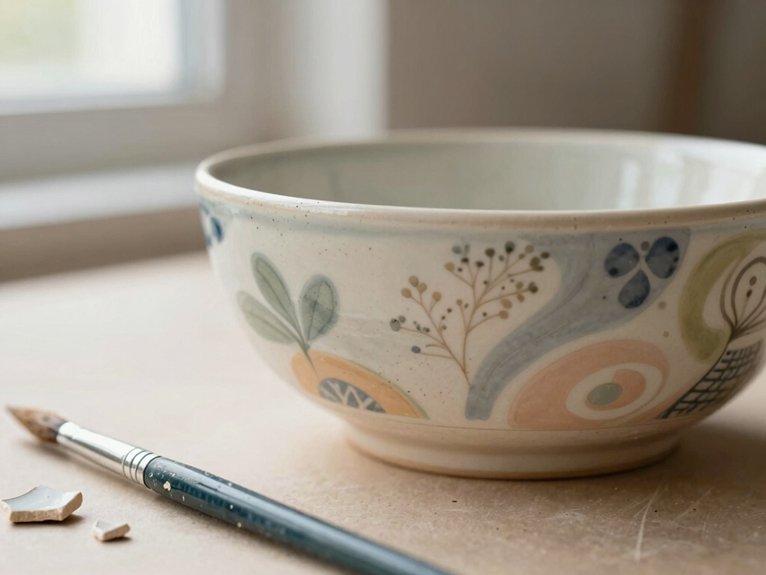
Start with a beginner-friendly piece like a mug, bowl, or plate—nice and simple, with curved edges that help you practice your brush control without making your hand do acrobatics!
Match the piece to the job, too: pick studio-safe pottery for everyday use, or decorative-only items if you’re painting at home with acrylics, because that keeps surprises off your table and out of the dishwasher.
And here’s a smart little trick, choose bisque-fired pieces or lightly sanded surfaces when you can, since they grab paint better and make your design look cleaner fast!
Pick A Beginner-Friendly Shape
A blank mug, bowl, or plate makes a super friendly first canvas, because that big simple surface gives you room to breathe and keeps the “uh-oh, what do I paint?” panic from kicking in. Start with a blank mug, bowl, or plate, and you’ll feel like part of the maker crowd right away!
Pick flat areas first, like the outside of a bowl or the center of a plate, so your brush can relax. Contrast paint thickness for easy shapes, then choose minimal decals if you want a quick win.
Bisque-fired pieces also help, since they’re smoother and less fussy.
Curves are trickier, so save them for later—your future self will cheer!
Match Piece To Purpose
Picking a cute shape is fun, but the piece you choose should match what you want it to do, too! For decorative vs functional, start with your goal.
| Piece | Best choice |
|---|---|
| Mug or bowl | Studio underglazes or food-safe glazes |
| Wall plate | Acrylic paint + clear sealant |
| Bisque clay | Great for underglazes |
| Glazed pottery | Light sanding helps acrylic stick |
For food contact considerations, check labels and ask your studio what’s safe after firing. Paint handles and rims carefully, and keep color off the bottom. That way, your piece looks cute and works like part of the crew!
Start With Polka Dots and Simple Shapes
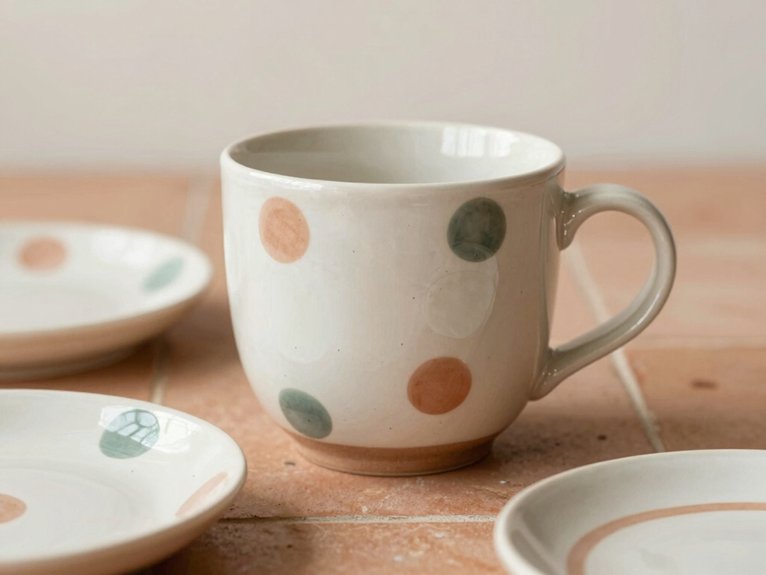
If you’re feeling a little nervous about decorating ceramics, polka dots are your best friend!
You can dot cups, bowls, or flower pots with an acrylic paint pen or small round brush, and even a light rim sketch helps if the layout feels tricky.
Start with Color contrast experiments: paint light dots first, then add darker details after each layer dries. Keep your brush clean, or the dots may gossip and bleed together.
After that, add themed icon additions like stripes, tiny hearts, or simple blocks.
The result? Crisp, cute pieces that feel intentional, not busy, and totally yours!
Try Floral Ceramic Painting Ideas
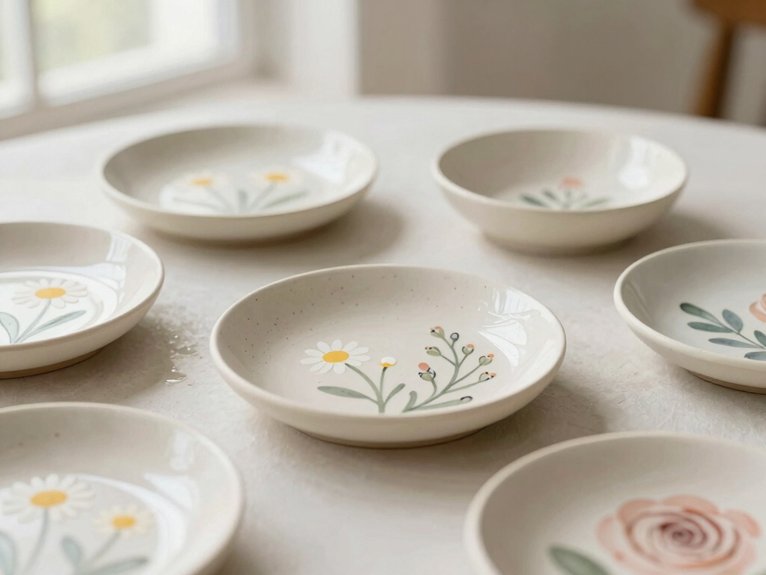
Polka dots are cute, but flowers bring the whole piece to life, don’t they?
You can start with a small 5-petal bloom, then add a leaf and stem, so your petals → details routine feels easy on mugs, bowls, or vases.
Grab a fine brush for outlines and veins, plus a bigger one for filling petals.
Try daisies with a dot and 8 petals for a clean look, or sunflowers with bright yellows and color mixing for extra cheer.
Follow floral layering, place blooms where they fit naturally, let each coat dry, then seal it.
Use Painter’s Tape for Clean Geometric Lines
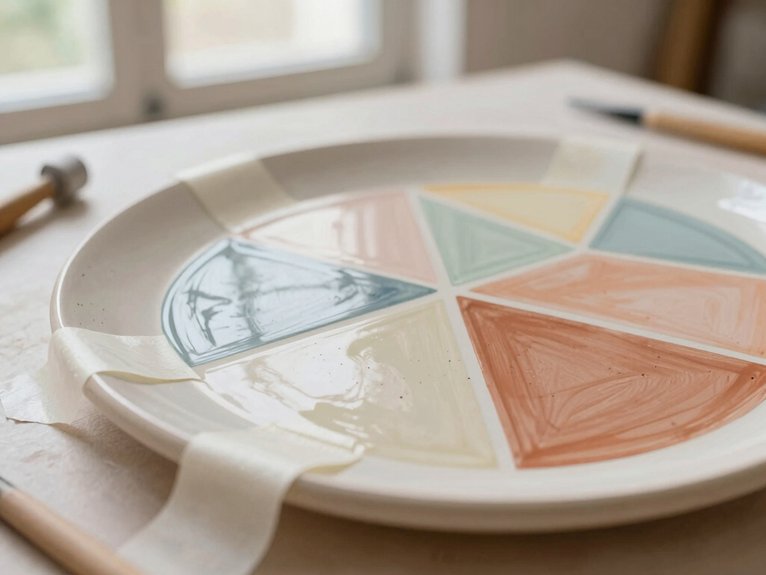
Painter’s tape is your best friend for crisp geometric lines, and you’ll get the cleanest look if you plan your layout first with a light sketch on the mug or bowl.
Press the tape down firmly, then use it to make easy beginner shapes like stripes, triangles, or color blocks—seriously, it’s like giving your ceramic a tiny road map!
Paint one section at a time, and peel the tape off while the paint’s still a little tacky for sharp edges that make the whole piece look polished.
Tape Layout Basics
To get those crisp geometric lines, start by sketching your layout lightly on the ceramic, then lay painter’s tape right along the bands or shapes you want—stripes, triangles, zigzags, the whole fun little lineup! You’ll feel like part of the cool craft crew fast.
- Test your design before you paint.
- Press tape down hard on curves.
- Use drying checks, so colors stay neat.
- Add tape strips for bigger patterns.
- Peel carefully to protect dried layers.
Paint over the tape edge, not wildly across it, and let each color dry fully before the next section. That simple rhythm keeps your geometry clean and your mug looking fresh!
Sharp Edge Techniques
When you want those crisp, showroom-clean geometric lines, start by planning your shapes first—stripes, triangles, hexagons, whatever makes your ceramic feel extra snazzy! Use painter’s tape as your mask, press it down firmly, then paint lightly so nothing sneaks underneath. A glazing primer helps the color grip, and your drying time matters more than you think.
| Step | Quick tip |
|---|---|
| Plan | Sketch clean angles |
| Tape | Seal edges well |
| Paint | Use light coats |
| Finish | Peel while tacky |
Rinse brushes between colors, too, so your lines stay sharp and your piece looks like it belongs in the cool crowd!
Beginner Geometric Patterns
If you’re just getting started with geometric ceramic designs, painter’s tape is your best buddy—it helps you build clean stripes, triangles, and hexagon blocks without turning your mug into a wobbly science project!
Start with color palette basics: choose two or three colors, sketch light guide marks, then press tape down firmly on bowls or mugs. Paint around the tape, keep your first layer light, and let it dry before adding darker shapes.
- Crisp edges
- Even spacing
- Easy cleanup
- Less paint bleed
- Glaze sealing tips
Peel tape only when dry to the touch, and your design’ll feel polished, playful, and totally yours!
Paint a Relaxing Mandala Design
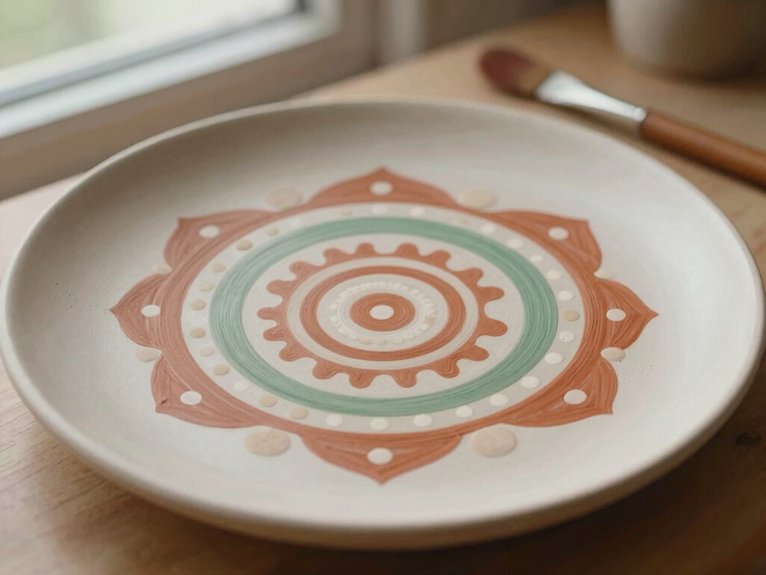
Around a tiny center point, a mandala can turn a plain ceramic piece into a calm little showstopper!
You’ll feel like part of a crafty crew as you try pattern symmetry practice and color harmony planning, one ring at a time.
Mark the center, sketch 1–2 outer rings, then paint petal shapes outward so everything stays balanced.
Use pencil guides or brief tape lines for crisp sections, and grab a small brush for dots and tips, a bigger one for petals.
Let each layer dry, then add tiny star dots for a bright finish—wow!
Keep Your Color Palette Simple
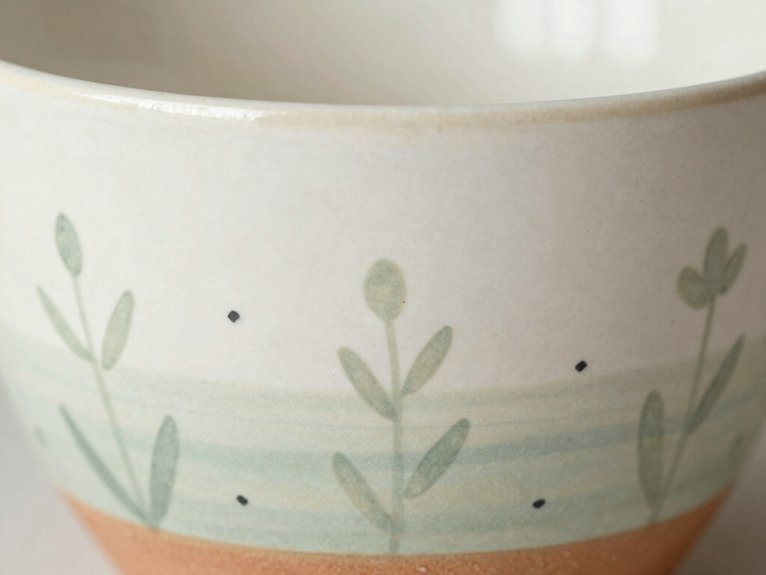
On a ceramic piece, a simple color palette can do big magic! You’ll feel right at home with 2–3 colors max, plus white or black if you want extra pop. Fewer shades mean less muddy mess and more cheerful, readable art.
- Pick colors that contrast your base.
- Keep a clean rinse cup nearby.
- Switch brushes, or rinse well, between colors.
- Let each coat dry between layers.
- Repeat the same palette for matching mugs, bowls, or plates.
That’s how you build Color consistency and create a set that looks planned, not random. Easy, friendly, and oh-so-cute!
Use Light Colors Before Dark Details
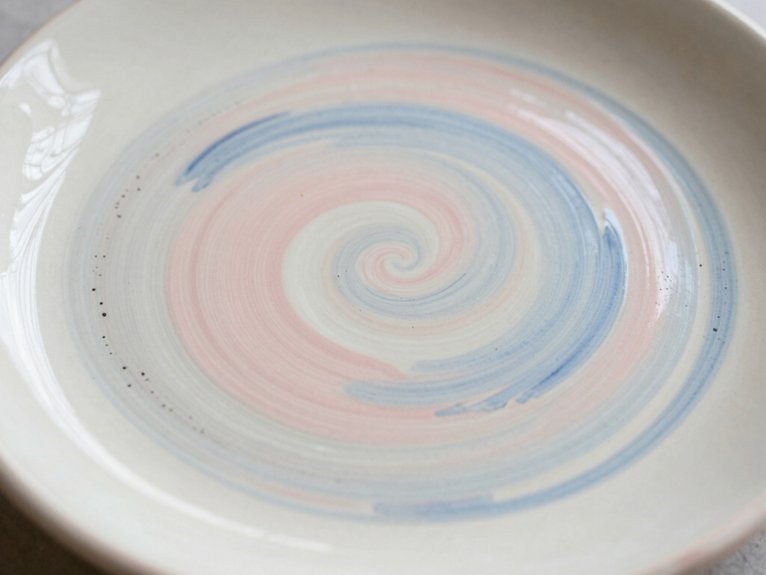
Start with your lightest hues first, and let each layer dry before you add the next, because that keeps your colors fresh instead of turning them into a muddy mess—yikes!
Then bring in medium tones, and finish with dark details last, so your outlines, stems, or little eyes pop cleanly without messing up the bright background.
Best part?
If you save the dark accents for the end, you’ll usually need fewer touch-ups, and your ceramic piece looks sharper fast.
Start With Light Hues
When you paint the light hues first, your ceramic piece gets a clean, happy little foundation that makes the darker details pop later! Start with pastels or off-white, and you’ll keep your color palette cohesion strong from the first swipe.
- Pick a light base for backgrounds
- Brush on 2–3 thin layers
- Let each coat dry fully
- Use brush rinse habits between shades
- Save deeper accents for later
This easy flow keeps edges crisp and costs little, too. If you rush, colors can get muddy, but if you slow down, your piece starts looking like it belongs in your own cute little studio!
Add Dark Details Last
After your light colors dry, you can add the dark details like the final little “ta-da!” that makes the whole ceramic piece come alive!
Start with soft bases first, then use navy, black, or maroon for thin outlines, borders, and tiny accents.
This keeps your color palette limits neat and helps the darker shades pop without extra coats.
Let each layer dry fully, and you’ll avoid smudges and weird bleed marks, which sounds elegant but just means less mess for you.
For clean brush care, rinse well or switch brushes, so your details stay crisp and your piece looks polished, not muddy.
Sketch Your Ceramic Painting Idea First
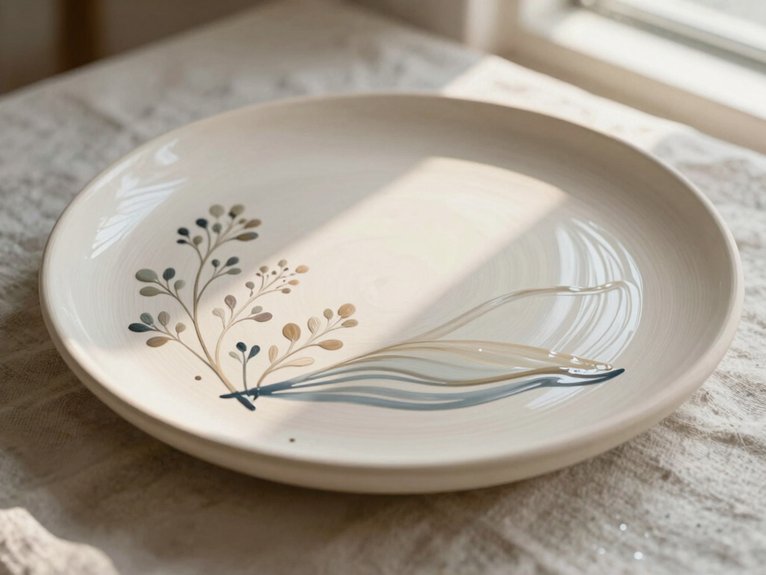
Before you dip a brush into paint, sketch your ceramic idea on paper first—it saves a lot of “oops” moments later! You’ll feel more confident, and your design will feel like it belongs on the piece.
- Check mug placement before you paint.
- Use edge planning to keep lines tidy.
- Map paint order from light to dark.
- Test color blocking on paper first.
- Copy the same brush size for practice.
Keep spacing open so handles don’t feel crowded, and avoid weird empty patches too. If you want straight shapes, mark tape spots on your sketch. A quick practice run can cost almost nothing, and it helps you nail the final look!
Add Cute Hearts, Stars, and Icons
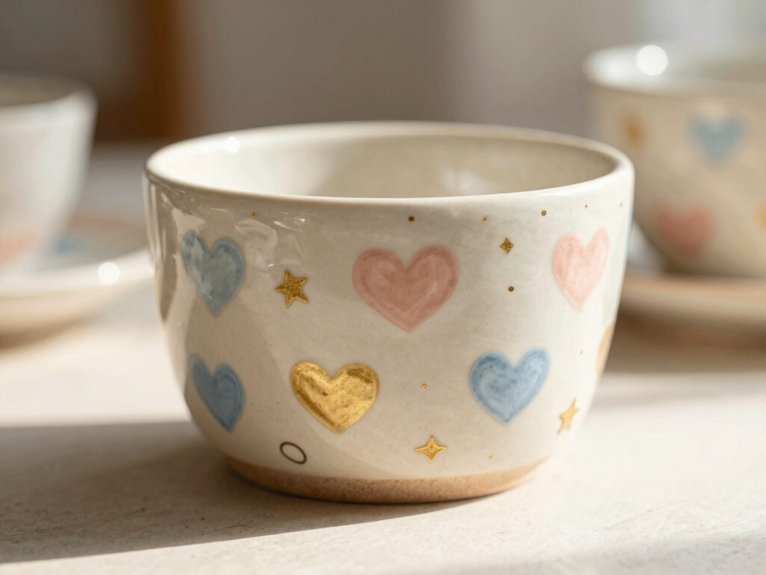
Now that your ceramic sketch is mapped out, it’s time to make it adorable with tiny hearts, stars, and little icons!
You’ll fit right in with a simple pattern that feels playful, not crowded.
Start by lightly spacing your shapes, then use Color contrast tips: bold outlines in one color, a softer fill in another.
Let the first coat dry fully, then add a second for crisp coverage.
For star dotting tricks, tap points with a fine brush or dotting tool, keeping each one even.
If you want super clean edges, press painters tape firmly, then peel it away.
Seal after drying, and you’ve got cute, hand-wash-friendly charm!
Create Nature-Inspired Ceramic Designs
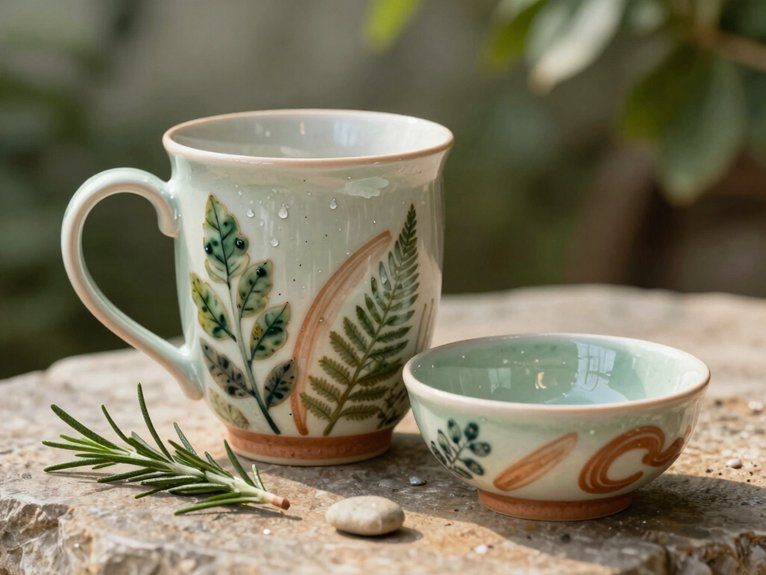
If you want your ceramic piece to feel fresh and a little outdoorsy, start with simple nature shapes that are easy to paint and still look amazing! You’ll fit right in with easy iconography like leaves, flowers, or tiny animals, and the vibe stays friendly.
- Pick 2–3 greens, plus one warm accent.
- Keep outline consistency with a fine brush.
- Fill petals with a larger brush.
- Let each coat dry fully.
- Seal after the final layer.
For more charm, try wave bands or a forest vase, but block in backgrounds first. Your piece’ll look polished, not muddy, and totally share-worthy!
Make Minimalist Stripes and Blocks
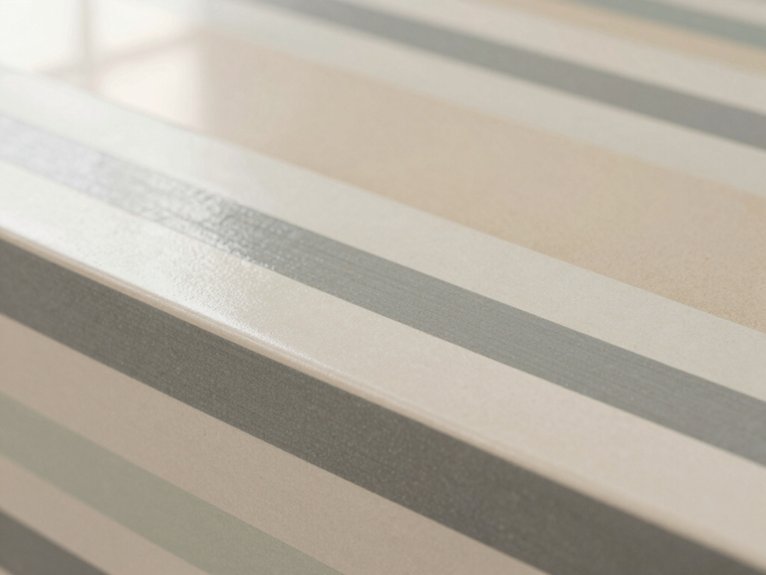
With just a few bold bands, you can turn plain ceramic into something sleek and modern, and it’s way easier than it looks! Grab painters tape, a small brush, 2–3 high-contrast colors, and a little patience.
Tape your stripes, press the edges down, then paint the light blocks first and let them dry before adding darker ones.
That light-to-dark trick keeps Color Contrast crisp and intentional, like you totally meant to be this stylish.
For Tape Free Lines, load your brush lightly, wipe off extra paint, and seal it after drying for a durable, group-worthy finish.
Try Fruit and Food Motifs
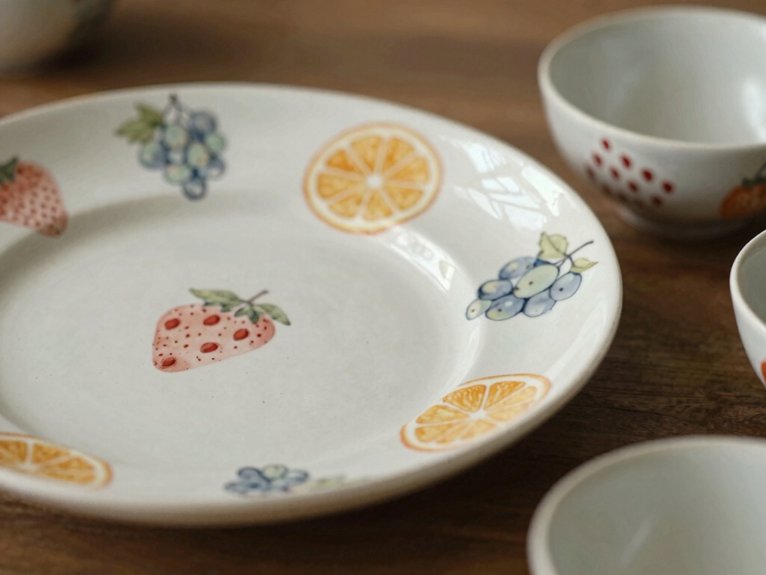
Cute citrus patterns can make your ceramic pieces feel bright and happy, so you can paint lemons, oranges, or apples in bold colors that really pop on mugs and plates—so fun!
Start with simple shapes like circles and curved ovals, then add tiny seeds, leaf stems, or even a few crosshatch lines for that sweet, easy-to-love look.
If you want a cleaner surprise, try painter’s tape for striped peels or little sections, then finish with rich layers of color so your fruit design looks fresh, tasty, and just a little bit delicious.
Cute Citrus Patterns
For a pattern that feels fresh, cheerful, and super easy to paint, start with simple citrus shapes like lemons, oranges, and tiny lime wedges on mugs, bowls, or plates. With smart color palette planning, you’ll keep yellow, orange, and green lively, and your design will feel like it belongs in the cutest kitchen squad!
- Sketch small fruit repeats first
- Paint bright base colors, then dry
- Add pulp dots, leaf stems, and highlights
- Use thin zigzags for rind texture
- Practice brush cleaning habits between colors
Finish with a clear acrylic sealant, and your ceramic will look sweet, crisp, and ready to show off!
Sweet Treat Designs
Sweeten up your ceramic pieces with fruit-and-food motifs that feel playful right away! You can sketch lemons, apples, carrots, or berries on mugs and bowls, keeping the shapes simple so they’re easy to outline.
Use cheap acrylic paint, a small brush, and a clear sealant. Start with pale base coats, let them dry, then add darker seeds, pith lines, and shadows. That light-to-dark trick keeps everything neat, and the food color contrast makes each piece pop.
Want extra charm? Add citrus wedge accents or sprinkle dots around one main strawberry. Cute, fast, and totally gift-worthy!
Paint Seasonal Ceramic Pieces
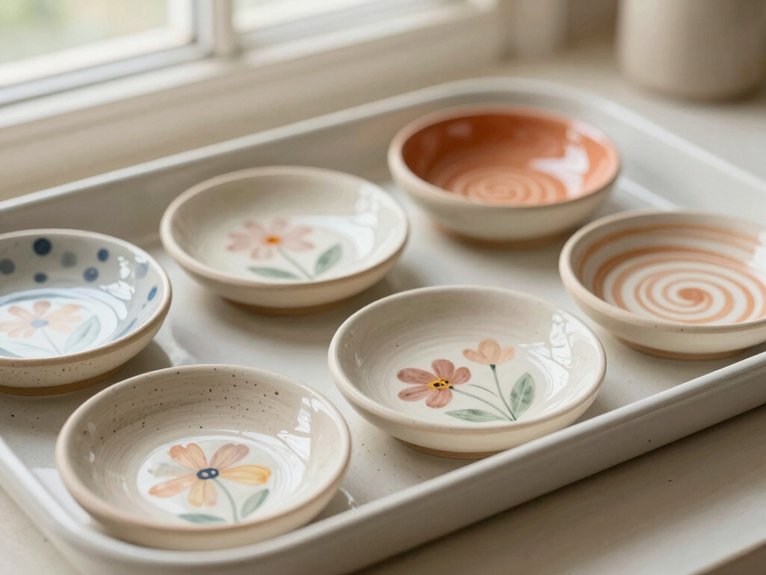
When the seasons start changing, your ceramic pieces can change right along with them, and that’s where the fun really kicks in! You’ll feel right at home with simple motifs and a cozy, made-by-you look.
Use color contrast and seasonal balance to keep things lively, not crowded.
- Fall: paint pumpkins and leaves
- Winter: add snowflakes or reindeer
- Spring: try flowers and butterflies
- Summer: go for sunflowers and beach waves
- Always sketch first, then build with thin coats
A pale base, then darker details, helps each design pop.
Finish with sealer, and your piece is ready to shine!
How Do You Keep Brushstrokes Clean?
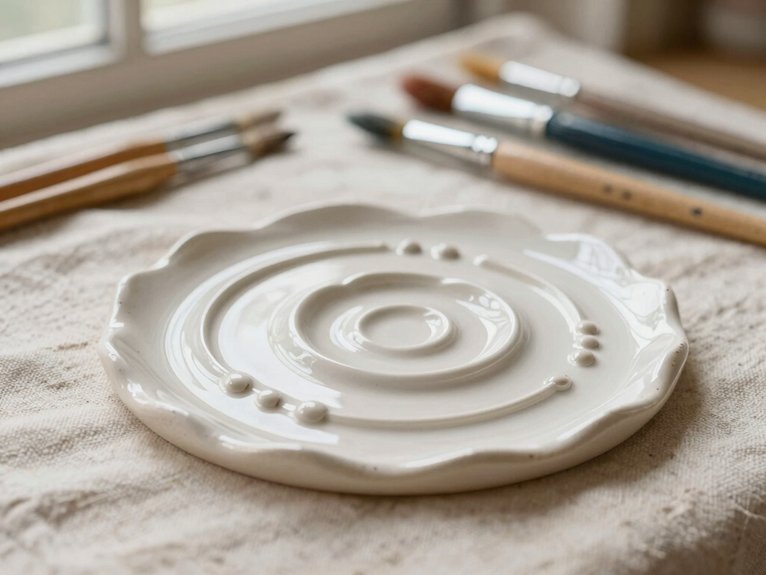
Clean brushstrokes are what make a ceramic piece look neat instead of a little wobbly and “oops, that leaf became a blob!”
You’ll fit right in when you rinse your brush in clean water each time you switch colors, then blot it on a paper towel, so muddy blending stays away.
Keep a water cup close, and load the brush lightly by wiping the edge of your palette.
Color palette limits help too, because fewer shades mean fewer surprises.
Plan your dry time planning so thin layers stay crisp, and for straight lines, tape the edge, then peel it off while paint’s still a bit wet.
How Many Coats Do Ceramic Paints Need?
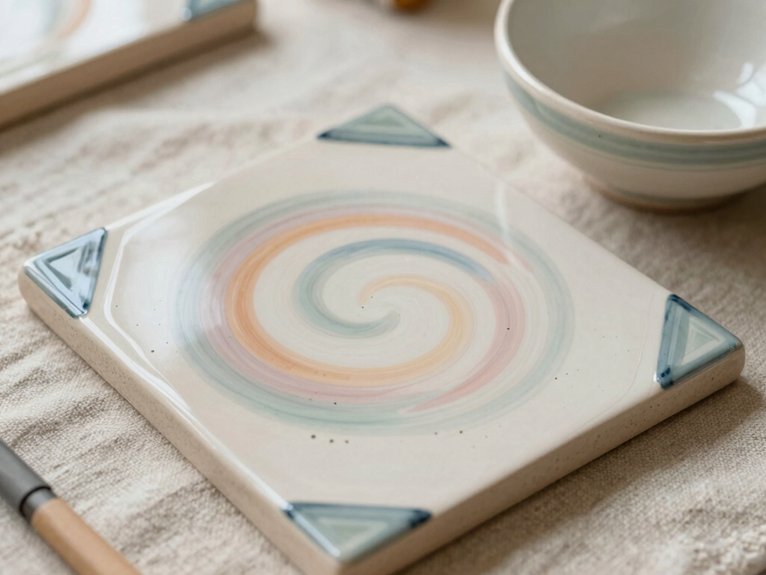
- Acrylic ceramic paints usually need 2-3 thin coats.
- Underglazes often need 2-3 coats for bold color.
- Let each layer dry fully, always.
- Color opacity testing helps you judge coverage.
- Layering dry time, keeps finishes smooth and crisp.
You’re not racing, you’re building a finish your crew can cheer for! Add coats until the color looks even, not thick. Extra paint can get lumpy fast, then seal acrylics with a clear coat.
What Mistakes Should Beginners Avoid?
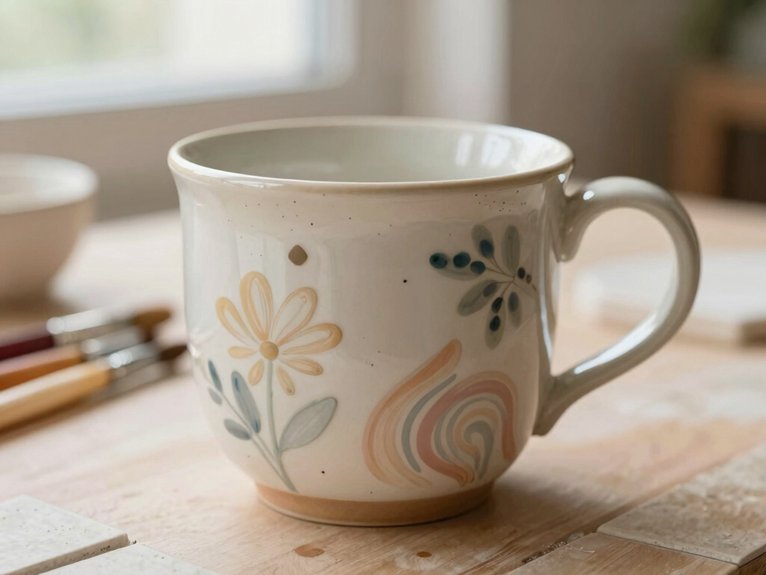
You don’t need a wild, super-detailed design to make your ceramic piece look amazing—simple shapes and clean lines often work best, and they’re way less stressful, too!
Let each layer dry fully before you add the next, because rushing can turn crisp color into a muddy mess, and that’s a sneaky little paint gremlin nobody wants.
Keep your brushes clean between colors, and you’ll get sharper results, brighter shades, and a lot fewer “wait… was that blue or brown?” moments.
Avoid Overcomplicating Designs
When you’re just starting out, keep your ceramic designs simple—seriously, a few stripes, polka dots, or a single floral outline can teach you way more than a super elaborate scene ever will! You’ll build confidence, and your mug won’t look like it lost a fight with your paintbrush.
Practice texture control and Palette contrast planning early, so your strokes stay steady and your colors pop.
- Choose one easy pattern.
- Use thin, even paint.
- Rinse your brush often.
- Leave room near rims and bottoms.
- Check each area before adding more.
That’s how you join the cool handmade club, fast!
Let Layers Dry
Drying each layer fully is one of those tiny patience tests that saves your ceramic project from a messy faceplant! You’re not being fussy—you’re building clean, cute color that actually lasts.
When you Test Layer Timing, tap the surface lightly; if it feels cool or tacky, wait. Go light to dark, and don’t pile on thick paint, or it’ll drip and blur those sweet edges.
For Avoiding Smudges, let underglaze or acrylic dry between coats, since most colors need 2–3 passes anyway.
If a slip-up happens, wipe it fast with a damp sponge.
Your finished piece will look crisp, polished, and proudly yours!
Keep Brushes Clean
A clean brush can save your ceramic piece from turning into a muddy little mystery! Keep a cup of water close, and rinse after every color so your fresh shades stay bright. Dirty bristles sneak in like tiny troublemakers, and nobody wants that.
- Wipe paint on the palette edge.
- Use smart brush loading habits.
- Switch brushes for light and dark tones.
- Keep crusty paint off bristles.
- Follow color mixing tips, not accidental mud.
When you let each coat dry, then use a clean brush, your pottery looks crisp, cheerful, and totally share-worthy. Beginners fit right in here!
How Do You Fix Ceramic Painting Mistakes?
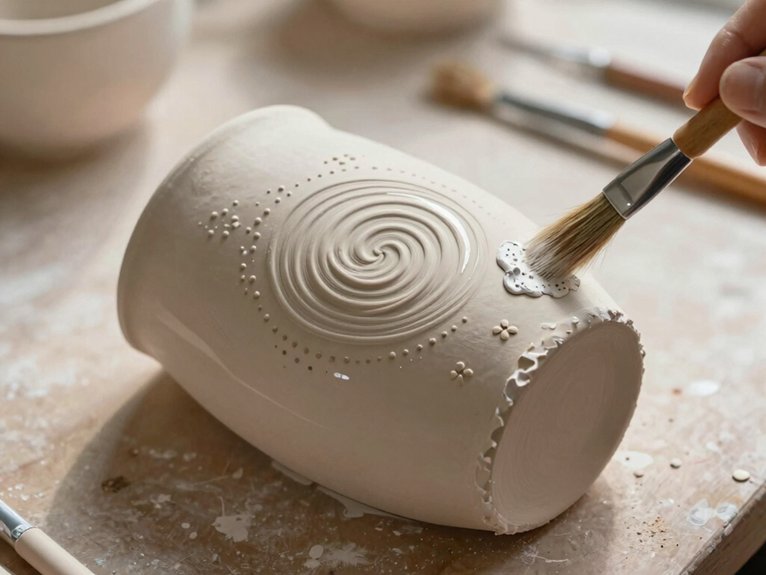
Mistakes happen fast on ceramics, but the good news is they’re usually fixable!
You can troubleshoot underglaze smears by wiping wet spots with a damp sponge, then letting them dry before repainting.
If the color’s already dry, gently scrape it off and brush on a fresh, thin layer to prevent muddy color layering.
For design slips, don’t panic, friend, just paint over them with a simpler motif, like dots or stripes.
When you’re using ceramic acrylics, fix everything before sealing, then re-seal after it dries.
Slow coats, full dry time, and you’re back in the groove!
Why Imperfect Pottery Painting Still Looks Great
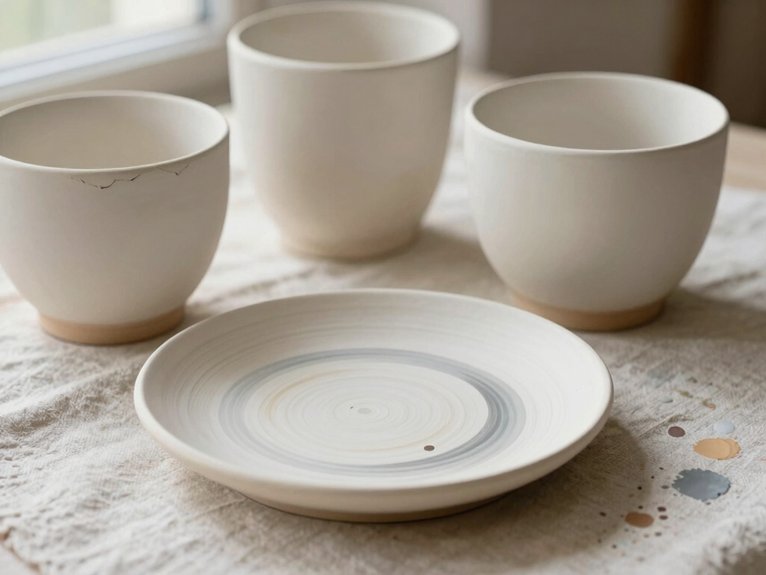
Even when your brush line wobbles a little, pottery painting can still look amazing, because those tiny quirks give the piece a warm, hand-made feel that a perfect print just can’t copy! You’re not messing up—you’re joining a crafty crowd that loves real texture and charm.
- Dots and stripes hide small slips.
- Simple faces make embracing asymmetry feel cute.
- Clean layers keep colors lively.
- Uneven edges add personality.
- A “red blobs” strawberry can become a playful new style.
What Happens After You Finish Painting?
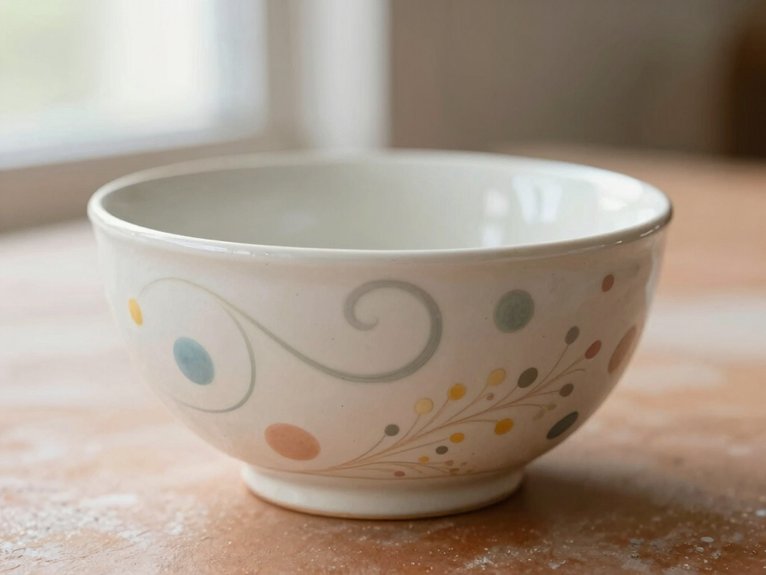
Once you finish painting, the piece doesn’t go straight from table to treasure chest just yet!
First, respect the Underlayer drytime, then check Glaze application timing so nothing gets cloudy or sticky.
In a studio, you’ll usually get a clear glaze and a firing cycle overview, and that kiln magic can bring a real Kiln color shift, making your colors pop brighter.
It may take one to two weeks, so patience is part of the club.
If you painted at home with acrylics, let it dry fully, then enjoy a hand-wash-only piece.
Smudged spots?
Sometimes they vanish before firing, which feels like a tiny miracle!
How Do You Seal Acrylic Ceramic Paint?
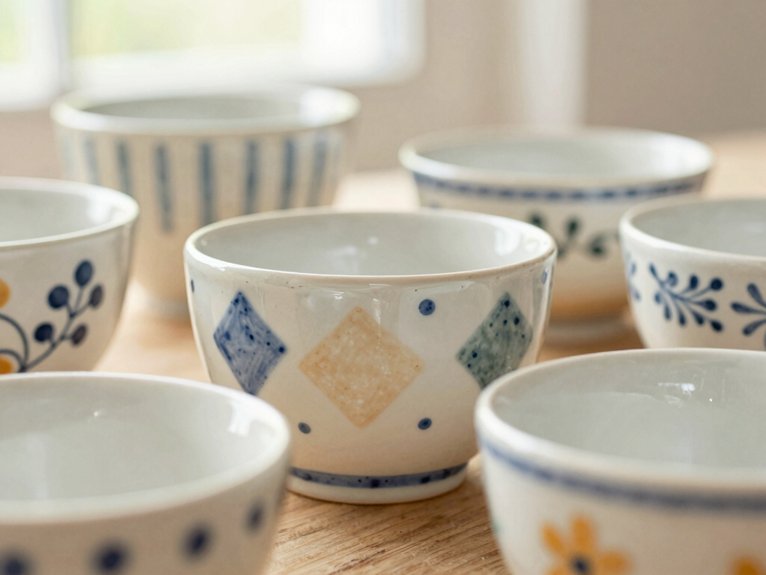
Before you seal your acrylic ceramic paint, make sure the design is fully dry, and if the surface is slick or glazed, give it a light sand so the spray has something to grab onto—easy fix, big payoff!
Then shake up a clear acrylic sealant made for craft ceramics, spray on a thin, even coat, and let it cure completely.
Pick a glossy or matte finish, and once it’s set, hand-wash the piece gently so your art stays looking sharp without any dishwasher drama.
Prep Before Sealing
To seal acrylic ceramic paint the right way, let your design dry completely first—usually 24 hours or more—so you don’t trap sneaky moisture or end up with a smudged clear coat, yikes!
For a polished result, use color pattern planning and test swatch variations before you commit, so your piece feels like part of the same crafty crew.
If your mug or plate is glazed, lightly sand it, then paint and dry again.
Next, choose a clear acrylic sealer finish, glossy or matte, that matches your vibe.
Keep it safe before washing.
- dry fully
- sand lightly
- pick finish
- seal evenly
- wait to use
Spray And Cure
Now that your paint job is dry and looking cute, it’s time to lock it in with a clear acrylic sealant, because acrylic on ceramic isn’t magically permanent like kiln-fired glaze, sad but true! Let it dry 24 hours, then spray thin coats. For smooth mugs, lightly sand first, wipe dust, and you’re golden.
| Step | Why it matters |
|---|---|
| Dry fully | Stops lifting |
| Sand lightly | Helps grip |
| Spray evenly | Keeps your color palette clean |
| Cure fully | Boosts durability tips |
Glossy or matte works, so choose the vibe that fits your texture effects. In the kiln versus acrylic debate, the sealant is your bestie!
How Can You Make Pottery Safe to Use?
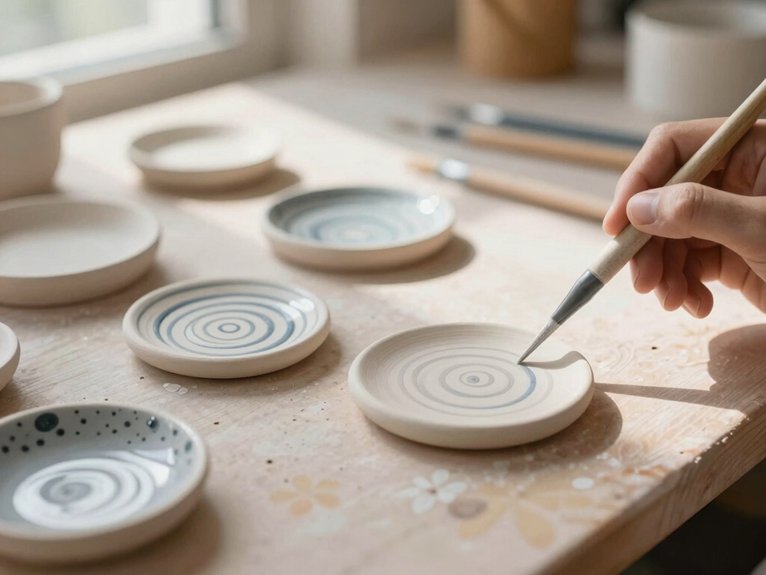
If you want your painted pottery to hold food or drinks, start with the right products, because that’s what keeps your cute mug from turning into a “please don’t eat from this” situation!
Use pottery-safe underglazes fired in a kiln, or ceramic acrylics with the maker’s food-safe sealant.
Check labels for food safe testing and paint compatibility, because not every paint or sealer can handle a latte.
- Let acrylic paint dry fully.
- Brush on a clear sealer.
- Hand-wash only, please.
- Skip scrub-heavy rims and bottoms.
- Ask your studio about glaze firing.
That’s how you keep your piece safe and happy!
Why Handmade Pieces Feel Better Every Day
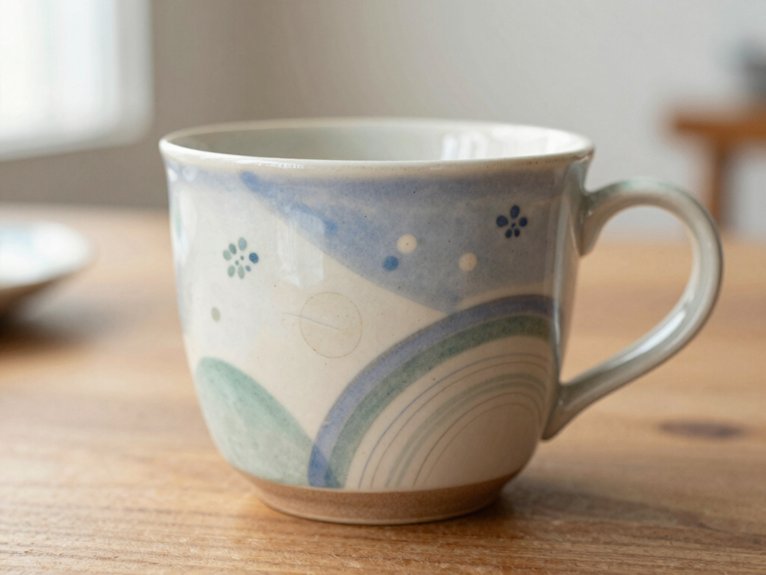
Because you’re painting something you’ll actually use, handmade pieces can feel better every single day in a way store-bought stuff just can’t.
Your coffee mug or snack bowl becomes part of your Personalized daily rituals, and that makes mornings feel warmer, more like yours!
Plus, mindful ceramic coloring can lift your mood while you paint, so the fun starts before you even sip.
Those tiny wobbles and brush marks? They add charm, not mistakes.
Toss in a name, little heart, or pet face, and suddenly your piece has a story.
Best part: each imperfect finish shows your style growing, which feels pretty amazing.
Frequently Asked Questions
What Brushes Work Best for Tiny Ceramic Details?
You’ll want micro detail brushes and precision liner tips for tiny ceramic details. They let you paint crisp lines, feel in control, and join a community of makers who love delicate, polished results.
Can You Paint on Glazed Ceramics Without Sanding?
Yes, you can, but isn’t better prep worth it? You’ll need non sanding prep, paint adhesion tips, and careful sealing glazed ceramics for ceramic surface care. Your work’ll last longer, and you’ll feel part of the makers’ circle.
How Long Should Ceramic Paint Dry Between Sessions?
You should let ceramic paint dry 24 hours between sessions, longer if it’s thick. Good layering timing helps prevent smudges. Let each coat cure before sealing, and you’ll keep your piece looking polished and part of the set.
Which Colors Look Best on White Ceramic Pieces?
You’ll usually love cobalt blue, sage green, black, gold, and blush on white ceramics; they feel clean and inviting. Add Bright Accent details or soft Pastel Harmonies so your piece fits right in beautifully.
Can Beginners Combine Multiple Patterns on One Piece?
Yes—you can, and you’ll fit right in. Layering Motifs with Pattern Mixing feels like a choir, not a clash, when you keep one shared color and repeat shapes. Start small, then let your style belong.