You can turn a gloomy basement into a real room with open bookshelves, ceiling-track curtains, or a half-wall with glass, and I’ve seen these save my own family from the “why does it feel like a cave?” complaint. Keep vents 12–18 inches clear, use moisture-safe materials, and check egress rules before building. For privacy, try low shelves, shoji screens, or barn doors. I’ll show you which option fits your space best next.
Key Takeaways
- Use open bookshelves or low storage units to divide space while keeping daylight and airflow in the basement.
- Choose curtain tracks, sliding doors, or folding screens for flexible zones like guest nooks, offices, or yoga areas.
- Keep HVAC vents clear by 12–18 inches and avoid airtight dividers so airflow and comfort stay balanced.
- Improve basement brightness with light-colored finishes, moisture-suitable materials, and added lighting near dividers.
- Check egress rules, vent locations, and local building codes before building permanent walls or half-walls.
What Makes a Basement Room Divider Work?
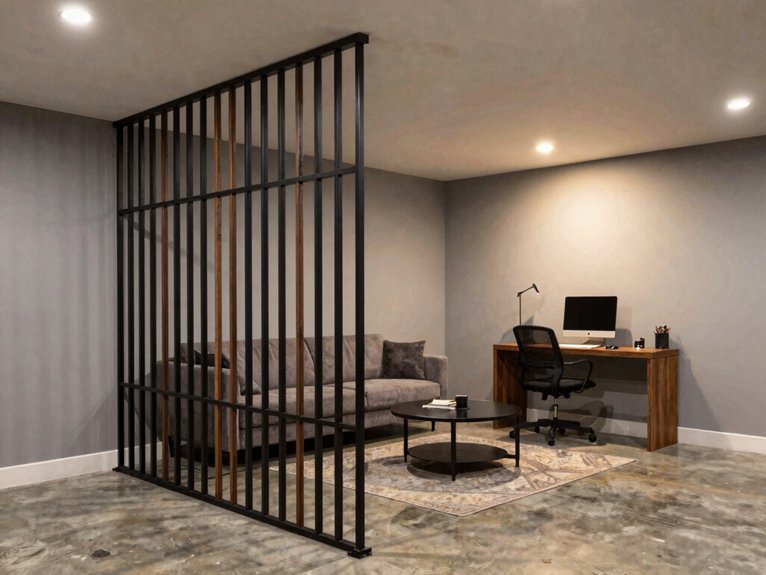
The best basement room divider does more than just split a room in two—it helps the space feel brighter, quieter, and actually useful.
You want one that lets daylight and airflow move through, like open shelving or a half-wall with glass. I’ve seen ceiling-mounted acoustic curtains calm echoes, though they won’t give you much privacy—no magic fortress here.
For moisture mitigation, keep materials suited to basements, and add lighting upgrades so the nook doesn’t feel like a cave.
If you need storage, a bookcase or wardrobe earns its keep.
Check vents, egress paths, and local rules before you build.
Choose a Basement Divider by Use Case
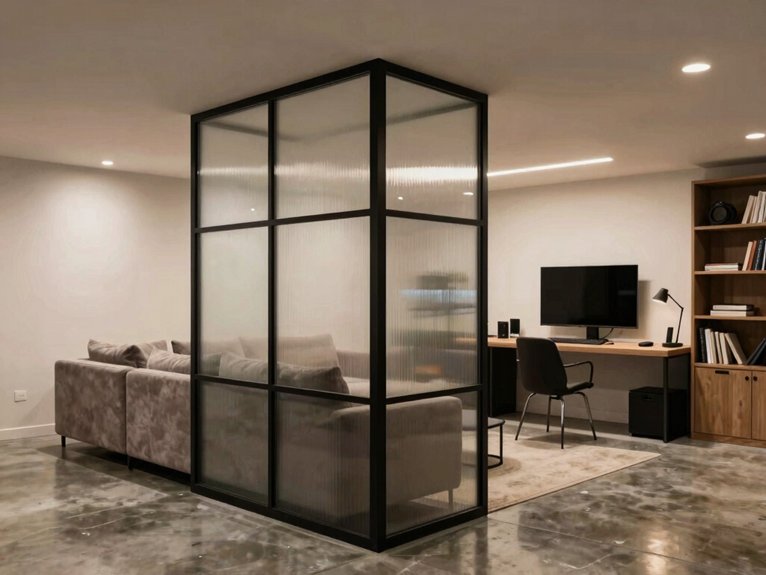
When I set up a basement home office, I like low open bookshelves because they keep light and air moving, add storage, and don’t make the room feel like a shoebox.
For a guest nook or yoga spot, I’d use ceiling-mounted curtains or track drapes—one Portland homeowner did it for under $150 with blackout drapes—and I’d keep vents clear so nobody ends up sweating like they’re in a tiny sauna.
If you need more privacy or a room that can change later, sliding barn doors, shoji screens, or a half-wall with glass can fit the job, and yes, the goal is to make the basement work for your life, not the other way around.
Home Office Zones
If you’re carving out a basement home office, I like to start with one big question: how private does it really need to feel?
For a shared family zone, I’d use open, low bookshelves; they mark your desk area, keep light moving, and stash supplies without turning the room into a cave. I’ve also used ceiling curtains with sound masking for quick focus, and blackout drapes can stay under $150.
If you need more separation, try sliding barn doors, half-walls with frosted glass, or ergonomic furniture tucked behind a Shoji screen. My kids call it my “serious zone.”
Guest Room Privacy
Creating a guest nook in the basement is all about matching the divider to how private you really want it to feel.
I’ve found these options work best for real families:
- Ceiling blackout curtains on a track: cheap, cozy, and decent for soft soundproofing methods.
- Sliding barn door or frosted glass: better for a suite vibe.
- Low bookshelves: great for accessory storage and airy light.
- Shoji screens: quick, movable, and easy on the wallet.
For my house, a half-wall with glazing feels most welcoming.
It hides clutter, keeps light flowing, and says, “You’ve got your own little corner here.”
Flexible Multi-Use Spaces
A basement divider should fit the job, not just the look, and I’ve learned that the easiest win is matching the piece to how you actually use the room.
In my family, low open bookshelves made my office feel calm, bright, and still part of the home. For a yoga nook or guest corner, I’d grab ceiling curtains; they’re cheap and easy, though they’re no sound booth, sadly. For a suite, sliding barn doors or folding panels add privacy. Shoji screens shine for seasonal flexibility, while half-walls with glass or built-ins bring storage and better acoustic treatments.
Open Bookshelves as Basement Dividers
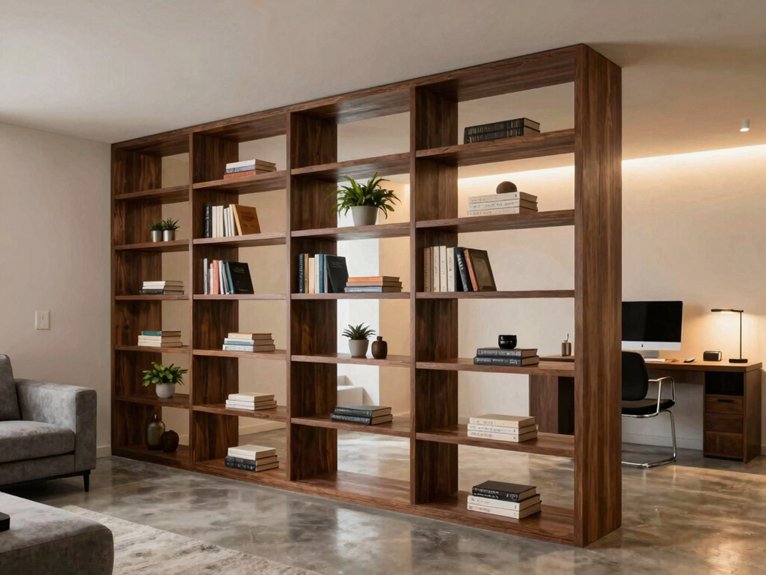
I’ve found that low, open bookshelves around 30–42 inches high work beautifully in a basement because you get storage without turning the room into a cave, and your vents can still do their job.
Pick sturdy, freestanding units with backless or slatted sides, then use adjustable shelves and baskets for office stuff, games, or that one holiday bin you swear you’ll label this year. I like to style mine with books, a few plants, and small decor pieces, so the divider feels like a planned part of the room—not a random wall that wandered in.
Light And Airflow
When I’m splitting up a basement, I reach for low, open bookshelves first, because they do a sneaky good job of making two zones without turning the room into a cave. You get better light and easier airflow, so your basement feels like it can breathe. Try these ventilation strategies:
- Pick staggered shelves.
- Leave vents clear.
- Add luminous fabrics nearby.
- Anchor units to studs.
I like open-back units from IKEA or Mainstays for renters; they’re cheap, sturdy, and friendly to tight spaces. My family’s study nook feels calmer, brighter, and way less like a forgotten dungeon.
Storage And Display
Open bookshelves keep doing the heavy lifting in my basement, because they give me storage, display space, and a clean line between one zone and the next without blocking the room.
I keep mine low and add baskets for decor organization, so the kids’ game stuff and my favorite books don’t stage a takeover.
When I place the unit perpendicular to a wall, it sets the boundary fast.
I choose sealed wood or metal for moisture protection, and I lift the shelves a little off the floor.
A slim LED strip makes the whole corner feel warmer and less cave-like.
Low-Profile Styling
For a basement divider that doesn’t feel like a wall on wheels, I keep coming back to low, open bookshelves. I’ve used 36-inch, backless units to split our family space, and they let light drift through.
They also keep the room friendly.
- Anchor a modular bookcase.
- Paint the back for color.
- Add baskets, books, and a plant.
- Pair it with low profile seating and compact lighting.
I like this setup because it makes my kids’ reading nook feel tucked in, not boxed out.
It’s practical, affordable, and the bookshelf never acts like it pays rent.
Best Spots for a Bookshelf Divider
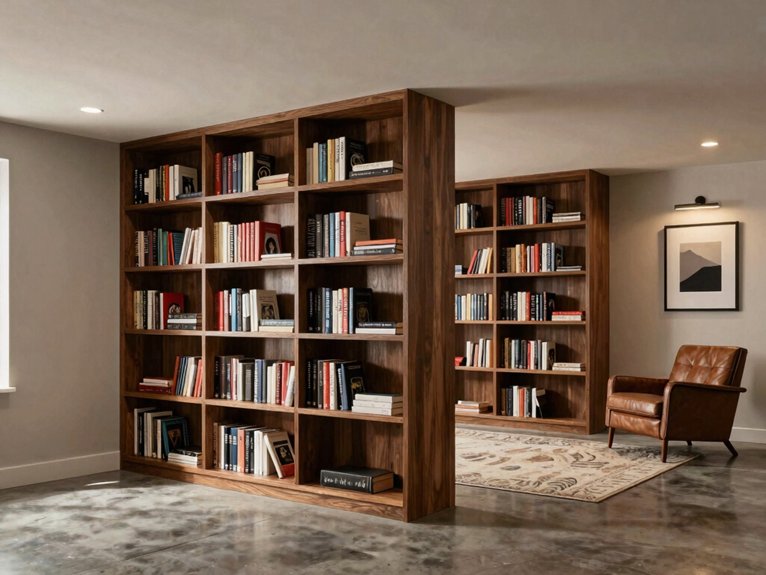
In my own basement makeovers, I’ve found that the best bookshelf divider spots are the ones that solve two problems at once, because nobody wants a divider that just sits there looking smug. You can tuck a low, open shelf near the staircase, perpendicular to traffic, for a quiet boundary. I like a corner bookshelf by a half-wall, or a floating divider between the living room and office. For my family’s guest nook, a back-to-back unit added privacy without closing the space. Under windows, use a long shelf for a study zone. At a bed’s foot, keep vents and exits clear.
Style an Open Shelf Divider
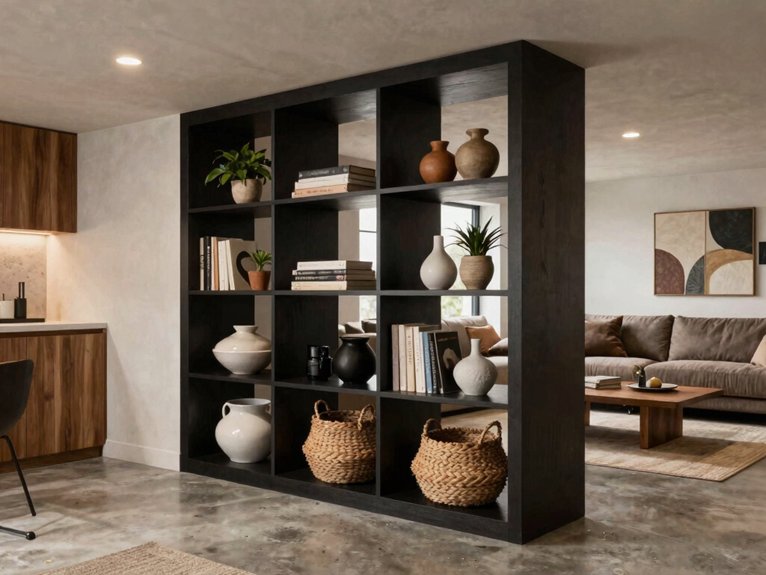
Once you’ve picked the best spot, the fun part starts: making that open shelf divider look like it belongs in your basement, not like it wandered in by mistake. I’ve learned a few tricks with my own family’s space, and they work.
- Use a 30–42 inch shelf.
- Add hidden storage with baskets.
- Mix in plant integration, lamps, and art.
- Choose sealed plywood or laminate.
I keep one side painted a deeper color and add LED strips for a cozy glow. Anchor it well, leave room for vents, and you’ll get style, storage, and fewer “where did that go?” moments.
Ceiling-Mounted Curtains for Basement Zoning
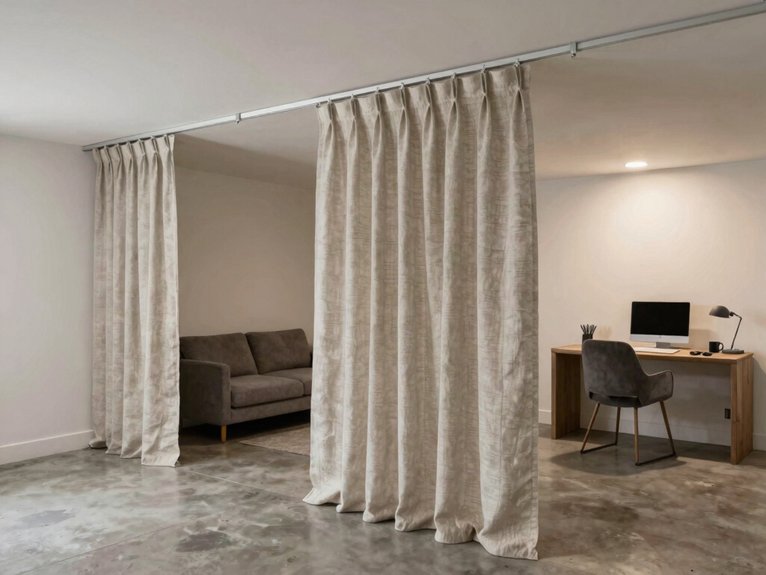
You can turn one basement into a guest nook, a yoga corner, or a home office with ceiling-mounted curtains on tracks, and I’ve seen setups like this work for about $50–$150 with blackout or thermal panels.
I like to hang them from joists or an L-shaped track so you keep the floor clear, and if your basement ceiling is low, use lighter fabric so the vents can still breathe without drama.
Blackout curtains give you nice privacy and softer light, and when my family wants a cozy zone instead of a cave, I’ll add LED strips above the track for a cleaner, brighter feel.
Flexible Space Separation
When I want a basement to pull double duty without spending a fortune, I reach for ceiling-mounted curtains first. You can split one room into a guest nook, yoga spot, or game zone and still feel like everyone belongs. In Portland, a homeowner used blackout drapes for under $150, and that’s a win I can cheer for.
- Run an aluminum track wall to wall.
- Pick acoustic curtains for calmer chatter.
- Use breathable panels so vents keep breathing.
- Skip flimsy setups if you need long-term sleep privacy; modular partitions may suit better.
Soft Light Control
For soft light control, I’d start with ceiling-mounted curtains because they’re cheap, fast, and surprisingly good at making a basement feel intentional. In my family room, I used a $120 blackout set and felt like I’d joined a calmer club.
| Option | Use |
|---|---|
| Sheers | Soft glow |
| Blackout | Nap zone |
| Wraparound track | Better coverage |
| Double track | Sheer + privacy |
I like breathable fabric diffusers in low ceilings, plus ambient dimmers for a softer mood. Anchor tracks to joists or rated anchors. Curtains slide open for airflow; closed, they create a cozy nook, not a cave.
When Track Drapes Make the Most Sense?
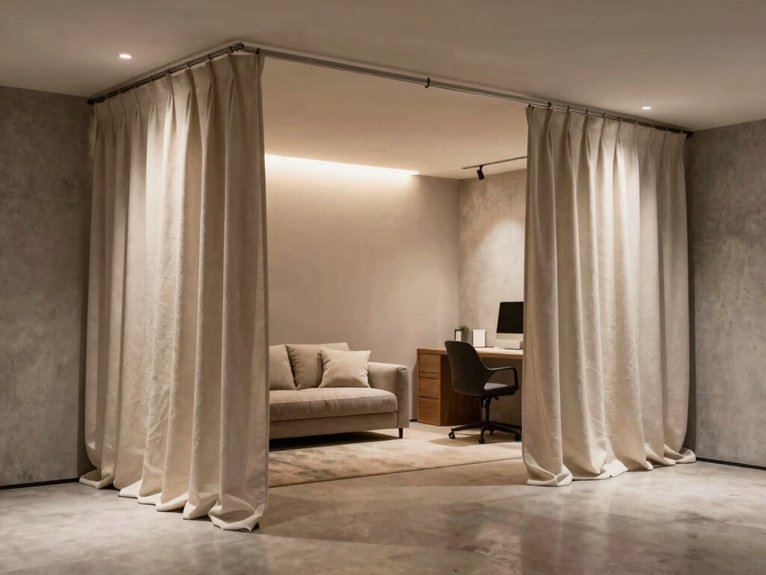
- Under $150, they’re a smart win.
- Blackout fabric helps overnight guests sleep.
- Breathable cloth keeps vents happy.
- Weighted hems calm the wobble.
Add sconces or LED strips, and you’ll get a cozier feel. Just don’t expect strong acoustic improvement or bedroom-level privacy.
Pick Basement Curtains That Feel Finished
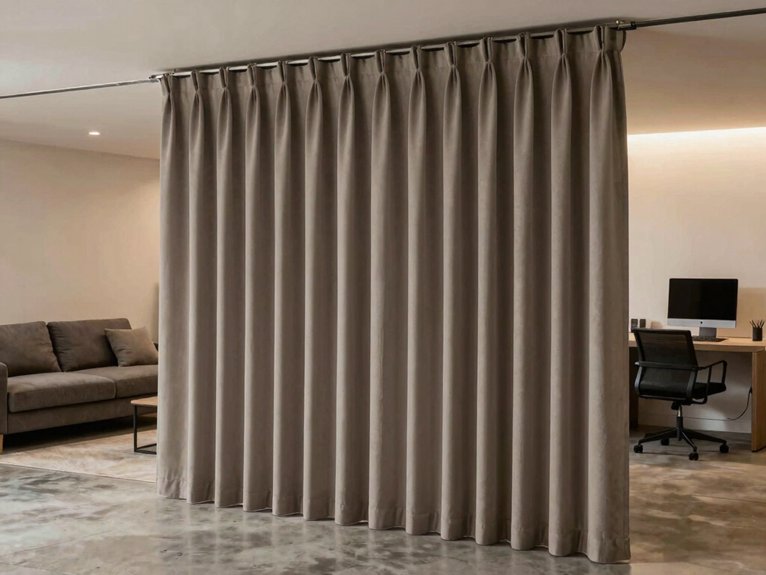
I’d mount your curtain track right near the ceiling, then hang floor-length panels that stop just an inch or two above the floor so the whole divider looks built-in, not like a blanket on a rod after a long day.
If your basement gets echo-y, I’d pick heavier, lined drapes or acoustic curtains; in one Portland home, blackout drapery on a track turned half a basement into a guest nook for under $150, which is a pretty cheerful price tag.
I also love layering a soft outer fabric over blackout or thermal lining, because you get privacy, warmth, and a finished look that says, “Yes, I planned this,” even if the rest of the basement still has mystery boxes.
Choose Ceiling-Mounted Tracks
Hanging from the ceiling, a curtain track can turn a basement corner into a real room without a full remodel, and I love how simple that feels.
I’ve used this trick for a guest nook, and it can cost under $150. For cozy belonging, get track placement right and check vent clearance first.
- Mount the track on joists.
- Use toggle anchors for heavy curtains.
- Choose breathable blackout drapes.
- Add a continuous track or curved corners.
I like weighted hems and magnetic seals, since they keep drafts and light from sneaking in like nosy relatives.
Add Softening Layered Drapes
Once the ceiling track is in place, I like to soften the whole setup with layered drapes, because basement walls can feel a little too much like “utility room with ambitions.”
In my own guest nook, a blackout panel behind a sheer front made the space feel finished fast, and it still kept most of the daylight in the room—plus the bedtime privacy my family actually needed. You can use fabric layers with weighted hems, clip rings, or pocketed tape so the panels hang straight, not like they’re startled. I also overlap blackout sheers by 4–6 inches, keeping airflow clear.
Sliding Barn Doors for Basement Privacy
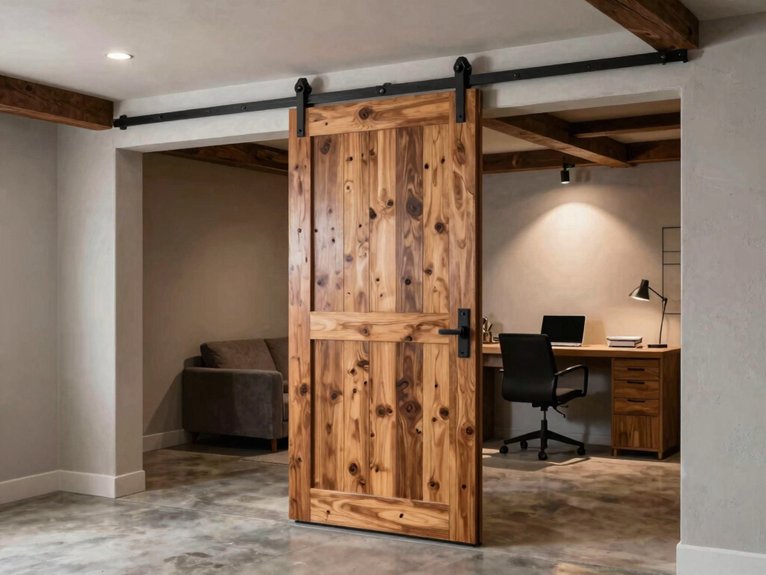
Sliding barn doors can be a smart, stylish fix when you want basement privacy without stealing precious floor space. I’ve seen families love them because they feel like part of the room, not a wall crash-landed indoors.
Try this:
- Frosted glass for light.
- Solid wood for stronger soundproofing strategies.
- Pair with a partial wall for bedroom privacy.
- Check track maintenance so it glides, not groans.
You’ll need ceiling or wall clearance for a 2–3 inch track, and heavier doors may need stud reinforcement. Budget about $300 to $1,200+.
Use Folding Panels Without Losing Flexibility
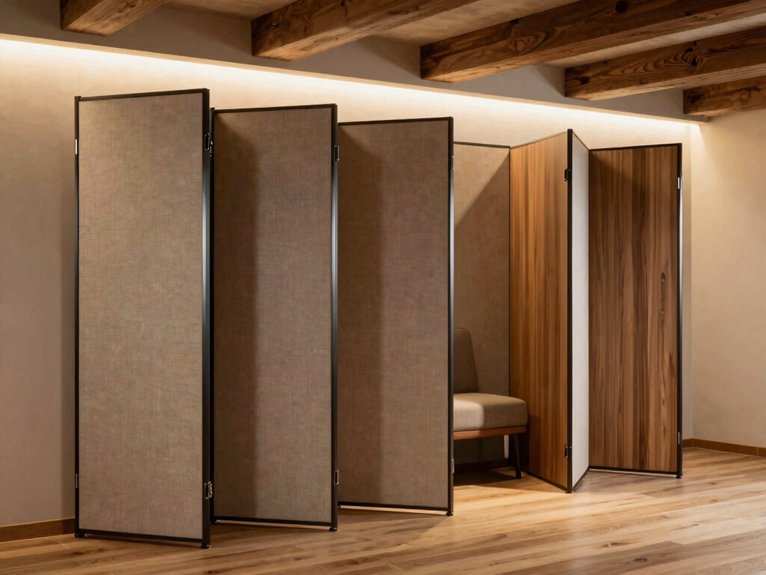
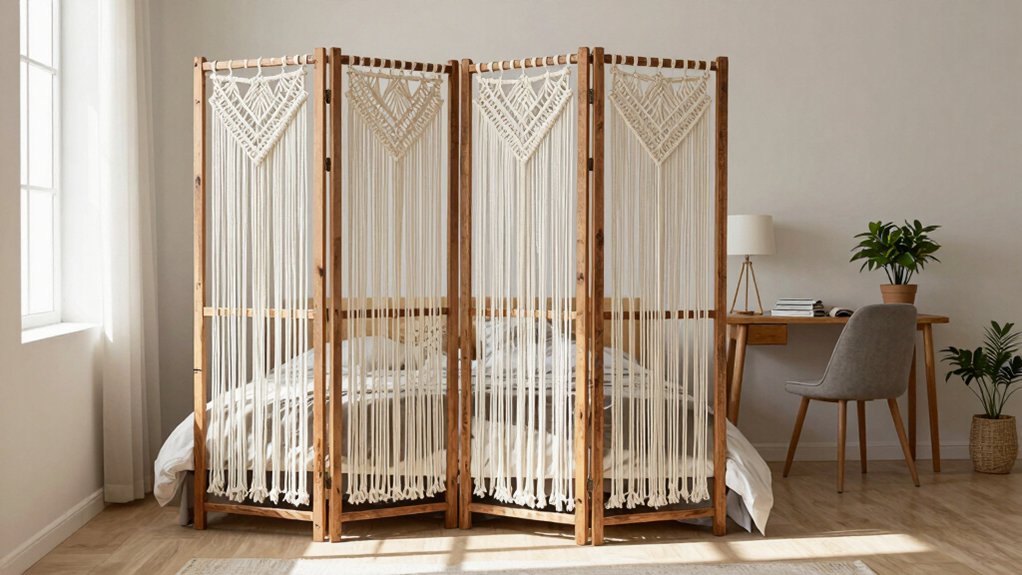
I’ve found that folding panels are a smart way to carve out a private nook in your basement without locking you into one layout, and you can tuck them away when the family needs the full open room again.
Pick lightweight bamboo or laminated wood panels that fold flat, then pair them with rolling furniture so you can switch from work zone to game space fast—because nobody wants a divider that acts like it owns the place.
Look for accordion-style screens with translucent rice paper or slats, since they keep light moving and still give you privacy, which is a nice win when the basement doubles as everyone’s favorite hangout.
Space-Saving Panel Layouts
A simple folding screen can do a lot more than just hide clutter in a basement. I’ve used 3-panel setups, and they fit my family’s messy game zone fast. Try this:
- Pick 16–24 inch panels for a 6–8 foot span.
- Use shoji paper or cane on compact pivots; they feel light, not wobbly.
- Add accordion shelving or a 12-inch bookshelf at one end for books and bins.
- Mount an L-track if you want a semi-fixed glide.
I like frosted inserts too—they keep things private, but still friendly.
Portable Privacy Solutions
When I want privacy in the basement without locking the room into one setup, I reach for folding panels that I can move in a minute. You can buy shoji or accordion screens for about $50–$300, and they’re renter-friendly, too. Pick panels 72–80 inches high for solid coverage, then choose paper, fabric, or slatted wood so air and light still pass through.
I like weighted feet and rubber pads on concrete; they keep things steady and cut the clack-clack. Add an open bookcase or floor lamp for noise masking, and use temporary signage when the kids need the “quiet zone.”
Choose Frosted Glass for Barn Door Light
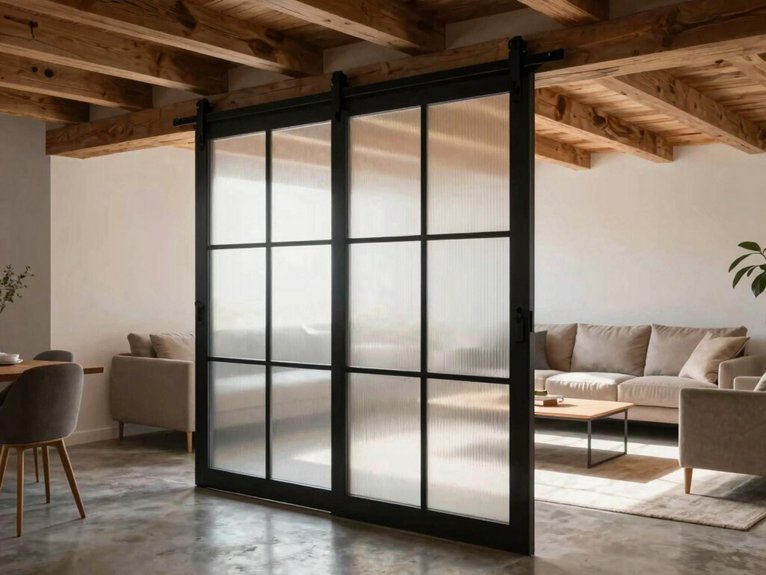
Choosing frosted glass for a barn door is one of my favorite tricks for a basement, because it gives you privacy without turning the room into a cave. I’ve used 1/4″–3/8″ tempered panels, and they bring a calm frosted ambiance that my family actually likes.
For safety glazing, I’d pick:
- Tempered glass
- Laminated glass
- Soft-close top track
- Floor guide
These parts cut rattling on uneven floors and keep traffic smooth. If you need bedroom separation, pair the door with a partial wall or wardrobe. Expect pro install to run about $400–$1,200. Pretty normal, basement-budget chaos and all.
Japanese Shoji Screens for Easy Separation
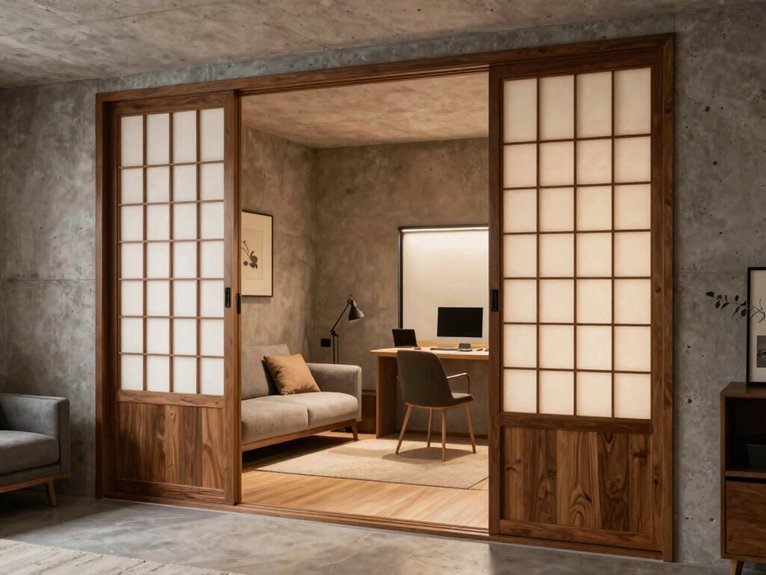
Japanese shoji screens are one of my favorite low-commitment tricks for a basement, because they let light drift through while still giving you that “this area has a purpose” feeling.
I’ve slid a 3-panel, 6-foot screen between my kids’ game corner and my reading chair, and it felt like instant community, not a wall. You get ambient diffusion, plus easy repositioning when life changes.
Do your shoji maintenance by wiping the frame and checking for tears. For humid basements, pick reinforced frames or synthetic panels.
They’re best for zones, not bedrooms, and prices usually run $50 to $600.
Best Uses for Foldable Basement Partitions
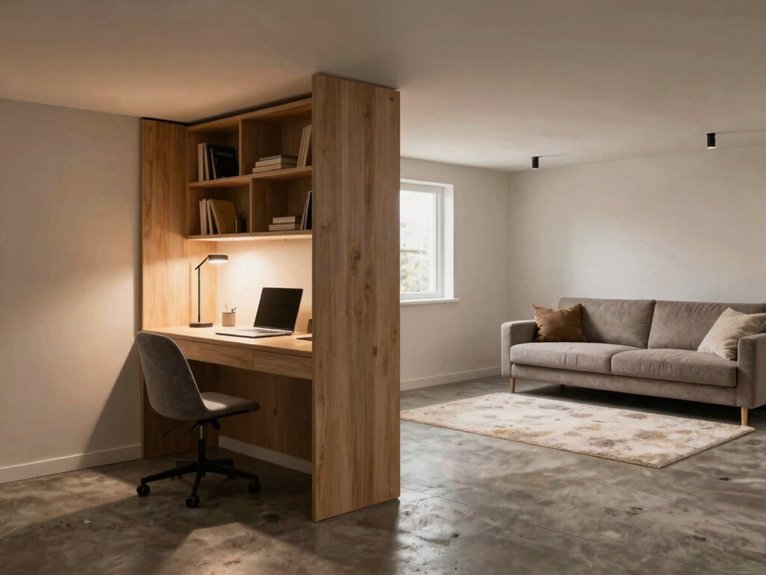
Foldable basement partitions really shine when you need a room to pull double duty without locking yourself into a permanent layout. I’ve used them for family movie nights, then slid them aside for a homework spot. Their foldable elegance feels like belonging, not clutter.
- Make a guest nook.
- Set up a yoga zone.
- Divide a home office.
- Shield a media corner.
Pick shoji or accordion screens under $200, or a low shelf when you want light and airflow. For renter friendlyprivacy, pair one with curtains, rugs, and LED strips. Easy, flexible, and no drama—just basement peace.
Make Portable Screens Look Intentional
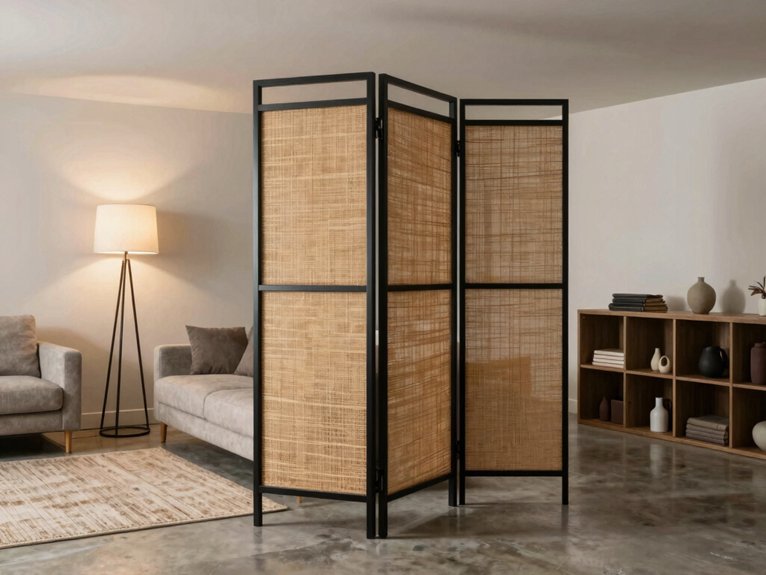
I’ve found that a foldable shoji or framed fabric screen looks way more intentional when you match it to your room’s colors and set it at a slight angle, like it knows exactly where it belongs.
Add a low open shelf or narrow console behind it, then place a floor lamp or 3000–4000K LED strip beside it so the whole setup feels like a real zone, not a lost prop from a school play.
If it tends to wobble on basement floors, I stick on rubber feet or hook-and-loop pads, and my family appreciates that it stays put instead of doing its little midnight shuffle.
Choose Matching Materials
A well-dressed screen can do a lot of heavy lifting in a basement. I’ve found that material harmony and finish continuity make your divider feel like it belongs. Try this:
- Match wood tones to trim or shelving.
- Echo metal legs or hardware with light fixtures.
- Pick fabric colors you already use, like charcoal or linen.
- Test stain on a hidden edge before you commit.
I once used a cane panel beside our bookcase, and it looked like it had always lived there. Keep the same frame and mix inserts for a custom feel. Your space won’t shout; it’ll welcome you in.
Style With Accessories
Portable screens can feel temporary until you give them a little stage time. I’ve found that you can make yours belong by flanking it with low bookcases or tall fiddle-leaf figs, like it finally got invited to the party.
Drape a patterned throw over the top rail, or add a string of LED lights for texture; neither blocks airflow. I like matching the frame to nearby furniture, even Benjamin Moore HC-154, and I check material sourcing and seasonal swaps too.
Add a slim shelf, clip-on lamp, or hanging planters. Style both sides with books, baskets, or art.
Anchor With Lighting
Lighting is usually the quickest way I make a divider feel planned instead of leftover. I’ve learned that when you add glow, the whole basement settles in, like it belongs.
Try this:
- Run an LED border along the top and bottom of a folding screen.
- Put floor lamps behind each end.
- Clip Puck accents on the inside for warm light.
- Use curtain lights or shelf spotlights if you need more support.
My family notices the change right away, and honestly, so do I. The screen stops looking shy and starts acting like a real room anchor.
Half-Wall and Glass Divider Ideas
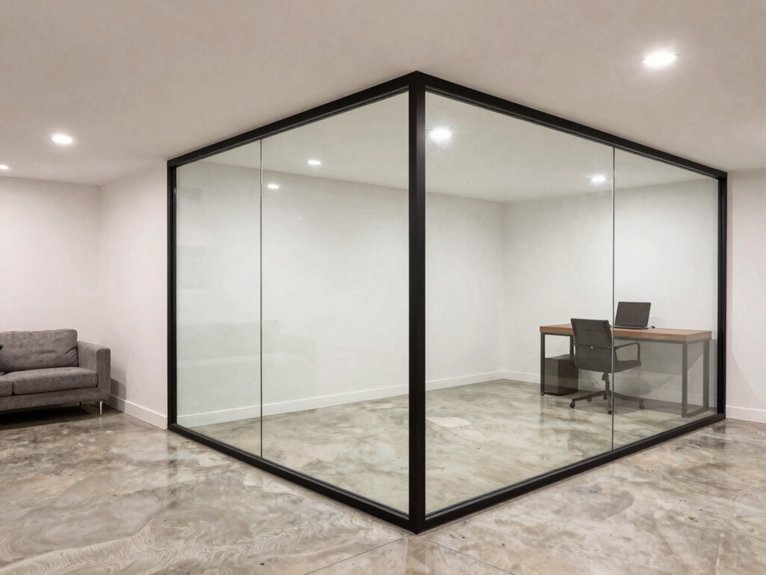
When I want to split a basement without making it feel like a cave, I reach for a half-wall with glass on top. You get a clear boundary and still share light. I like frameless paneling or retractable glazing for a clean look, and tempered glass adds safety.
Frosted or textured laminated glass gives privacy for your office or guest nook without turning things gloomy. Expect about $600 to $1,500. I’ve seen insulated double-pane tops cut noise nicely.
Finish the back with paint, shiplap, or shelves, and check code before you build—future you’ll thank you.
Why Partial Walls Work in Basements?
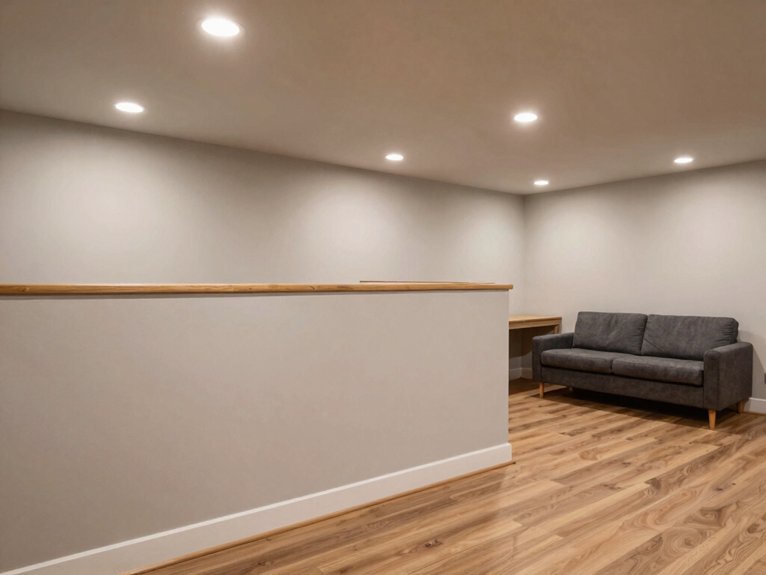
In my own basement, I’ve found that a partial wall keeps the light flowing and still gives you clear zones for a play area, TV nook, or home office—without turning the room into a cave.
You can add a 3–4 ft half-wall with tempered glass above it, or even build in shelves or a wardrobe, so you get privacy, storage, and better airflow around HVAC vents.
And if you’re setting up a rental or sleeping space, a partial wall with a sliding door can help you get closer to code-friendly privacy without building a full wall that eats up space like it’s at an all-you-can-eat buffet.
Preserving Light Flow
Because basements usually have small, high windows, I look for room dividers that don’t act like a brick wall for light. In my house, a half-wall keeps our basement feeling like part of the home, not a cave.
I like:
- 3–4 ft walls with glass above
- Frosted panels for window translucency
- Open tops for ambient continuity and airflow
- Low bookshelves with LED strips
These choices let daylight drift through, keep HVAC returns happy, and still give you a cozy edge. My kids call it “the no-dark-zone rule,” which is fair.
Defining Functional Zones
Definition matters in a basement, and partial walls make it easy.
You can carve out a game nook, a guest corner, or a quiet desk spot without closing off the whole room.
Half walls keep sightlines open, help light travel, and support acoustic zoning when you need less echo and less “who left the TV on?” chaos.
I like pairing one with modular seating, because it turns awkward space into a place your family actually wants to gather.
Add glass or built-in shelves, and you get more privacy, more storage, and a layout that feels friendly, not boxed in.
Meeting Code Needs
When I plan a basement divider, I always think about code first, not last, since a smart half-wall can save you a lot of headache later. I’ve learned that code friendly partitions keep your space feeling open and safe. They help you build egress friendly layouts that don’t trap anyone in a faux bedroom.
- You keep a clear path to exits.
- You avoid full-room bedroom rules.
- You usually skip extra ducts and circuits.
- You preserve light with glass or shelves.
My family loves that our basement still feels like one team room, not a maze.
Built-In Storage Walls That Divide Space
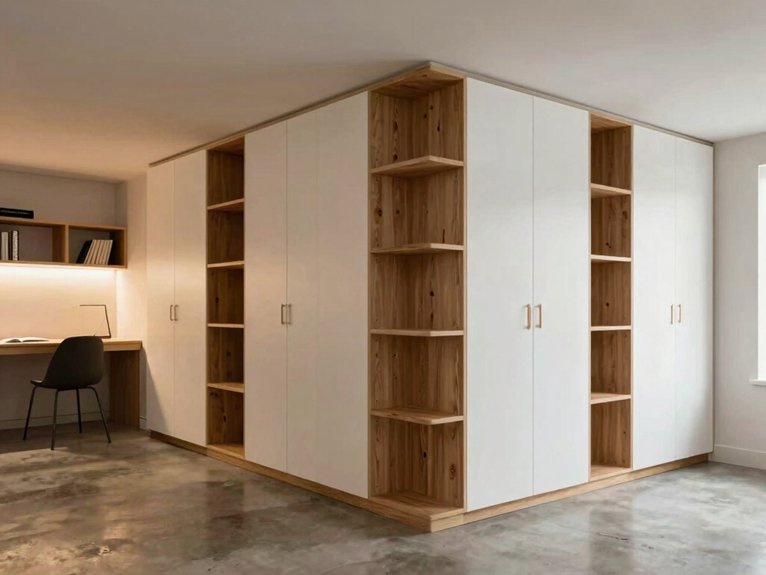
I love a good built-in storage wall because it does two jobs at once: it separates a basement into two clear zones and gives you a ton of useful storage without eating up the whole room.
I’ve seen families tuck toys, games, and folded blankets into cabinets that run 6 to 12 feet or more, and it feels like magic.
You can add built in niches or magnetic panels for notes and chargers.
I’d use treated plywood or melamine, since basements get damp and nobody wants a wavy wall.
Finish the back as a feature wall, and leave light with clerestory glass.
Turn Wardrobes Into Room Dividers
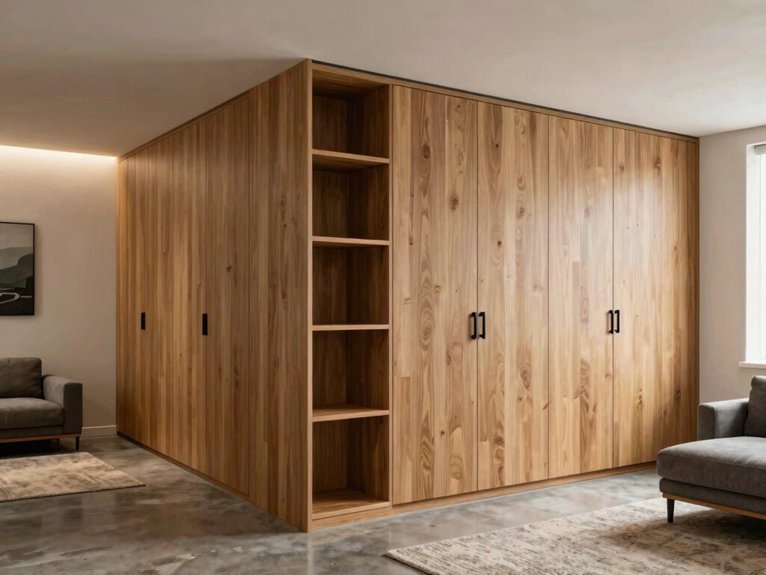
I’ve used a tall wardrobe or IKEA PAX to split a basement into a cozy sleep nook or a tiny home office, and at 72–80 inches high, it gives you real separation without making the room feel squished.
Go for a back-to-back setup or a double-sided unit so you get storage on both sides, because if a piece of furniture can hide socks and still look good, that’s a win in my book.
If the back shows, I like to paint it, add wallpaper, or even hang a few shelves and a light so it feels finished instead of “oops, I forgot this side existed.”
Storage And Separation
A little order can go a long way in a basement, and I’ve found that a wardrobe divider does two jobs at once: it separates the space and gives you a place to hide the stuff that always seems to multiply down there.
I like freestanding IKEA PAX or a modular ClosetMaid setup; they feel welcoming, not bossy.
- Back-to-back units create a cozy nook.
- Frosted doors keep light moving.
- Paint the back for wardrobe aesthetics.
- Check divider maintenance monthly, so hinges don’t grumble.
For rentals, I’ve paired one with a sliding door. It works, and everyone gets their corner.
Dual-Sided Functionality
Once the storage side is under control, the next trick is making the wardrobe earn its keep from both directions. I’ve used freestanding IKEA and Sauder units as basement dividers, and they give you dual storage plus solid visual privacy without any carpentry drama.
Pick 30–36-inch-wide, 18–24-inch-deep models, then anchor tall pieces to studs or the ceiling so they don’t wobble like a tired uncle. If you need a true guest-room feel, I’d pair the wardrobe with a sliding door or partial wall. Open cubbies or lights help air and daylight move, so the space feels welcoming, not boxed in.
Styling The Backside
Because the backside matters just as much as the front, I like to treat a wardrobe divider like a two-sided stage set.
In my family’s basement, painted backs make the room feel finished, not forgotten. Try this:
- Use 48–72″ freestanding wardrobes.
- Add LED backlighting, 12V and low-heat, for a soft glow.
- Mix open shelves outside and drawers inside.
- Keep a 36″ clear path for sleeping areas.
I’ve found modular systems with brackets work best for renters.
Pick wallpaper or paint that matches your vibe, and you’ll feel like the whole space finally belongs to you.
Plan Dividers Around HVAC Vents
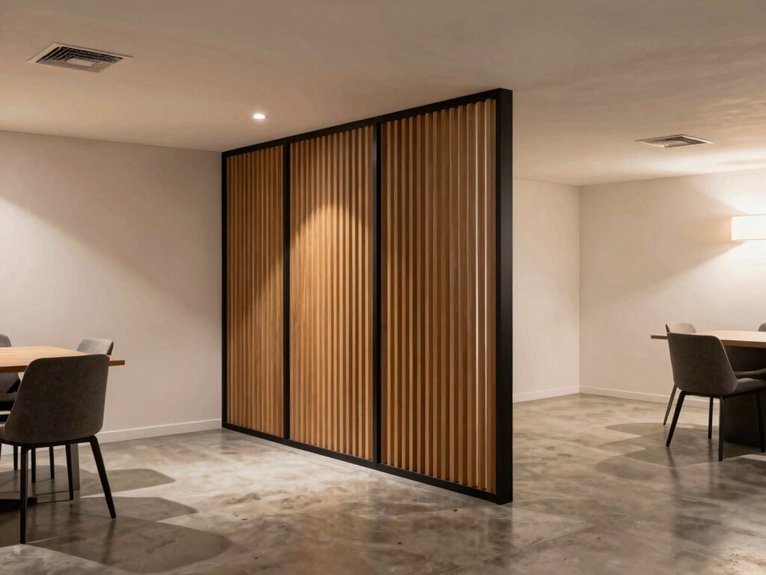
When I plan a basement divider, I always start with the vents, since nobody wants a cozy room that accidentally turns the HVAC into a wheezing marathon. I do HVAC mapping first, then keep 12–18 inches clear. | Divider | Best use | Tip |
| — | — | — |
|---|---|---|
| Low shelf | Near supply vents | Let air pass |
| Shoji screen | Tight spots | Stay breathable |
| Half-wall | Shared zones | Add grills |
| Curtain | Low ceilings | Leave a gap |
Choose breathable dividers, not airtight walls. If you’re building storage, check vent capacity with a pro; my family’s basement felt calmer after that.
Add Lighting Along Basement Dividers
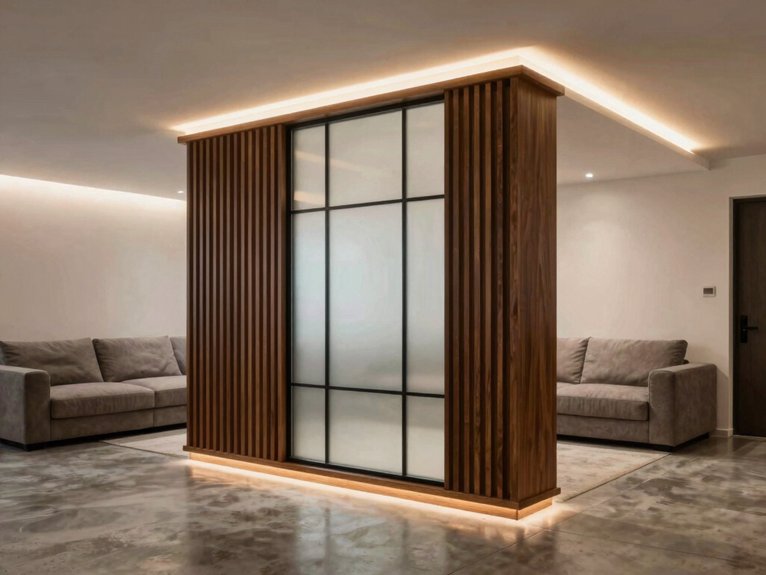
I usually add lighting right after I set the divider, since a dark basement can make even a nice room feel like a cave with furniture. You can make the space feel welcoming fast.
I’ve learned these tricks with my own family:
- Run LED accents under half-walls; 12V strips use little energy and keep things bright.
- Mount Battery sconces on storage walls for warm 3000K glow.
- Add track lights above barn doors every 4–6 feet.
- Stick puck lights on foldable screens for instant help.
Your basement can feel like your crowd, not a hiding place.
Reduce Echo With Rugs and Soft Surfaces
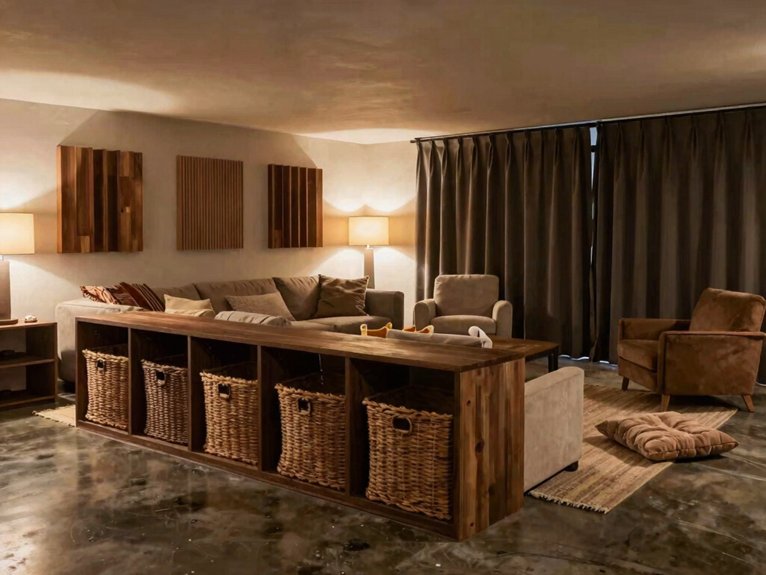
Softening the floor is one of the fastest ways I’ve found to calm a noisy basement. I grab a dense 8 lb/yd² area rug, then add a 3/8″ felt pad; the echo drops fast, and footsteps stop sounding like tap dancers.
In my home, acoustic rugscaping means layering rugs, not just one lonely mat. I also hang textile wallcoverings and keep bookcases full of books against shiny walls.
If money’s tight, I’ve used carpet tiles under a rug for under $50. My family notices the room feels warmer, cozier, and less like a cave with opinions.
Create a Guest Nook With Curtains
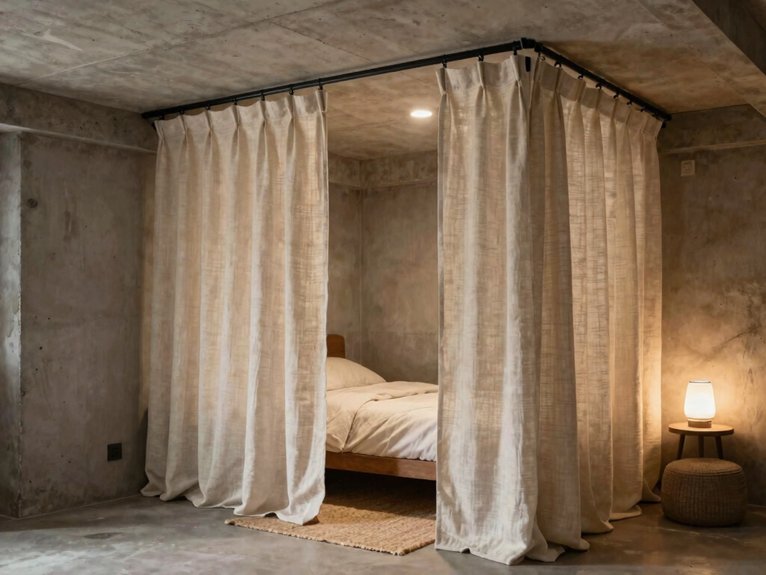
Ceiling-mounted curtain tracks are one of my favorite cheap tricks for turning part of a basement into a real guest nook. I’ve watched one Portland family convert half a basement with blackout drapes for under $150, and it felt welcoming fast.
Try this:
- Mount tracks to joists or a plywood board.
- Hang sheers and blackout panels on a double track.
- Leave 2–4 inches above the floor.
- Add a slim nightstand, plug-in sconce, and luggage rack.
Use breathable fabric, keep HVAC vents open, and add ambient lighting plus a floor cushion for a cozy, “stay awhile” vibe.
Set Up a Basement Home Office Corner
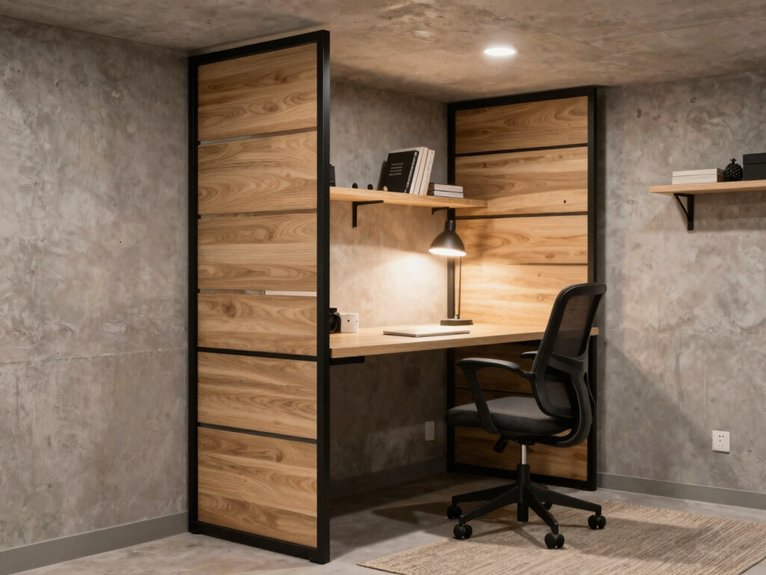
If you want a basement home office that actually feels usable, start by claiming one corner and giving it a clear boundary. I’d set a low, open bookshelf perpendicular to the longest wall; at 36 to 48 inches high, it stores files and decor, and it won’t block light.
For soundproofing techniques, I like blackout curtains on a ceiling track and a rug underfoot. My ergonomic layout uses a 36- to 48-inch desk, plus a lamp and LED strip. When my family needs flexibility, I grab a foldable shoji screen. It’s tidy, friendly, and call-ready.
Divide a Workout Area With Glass
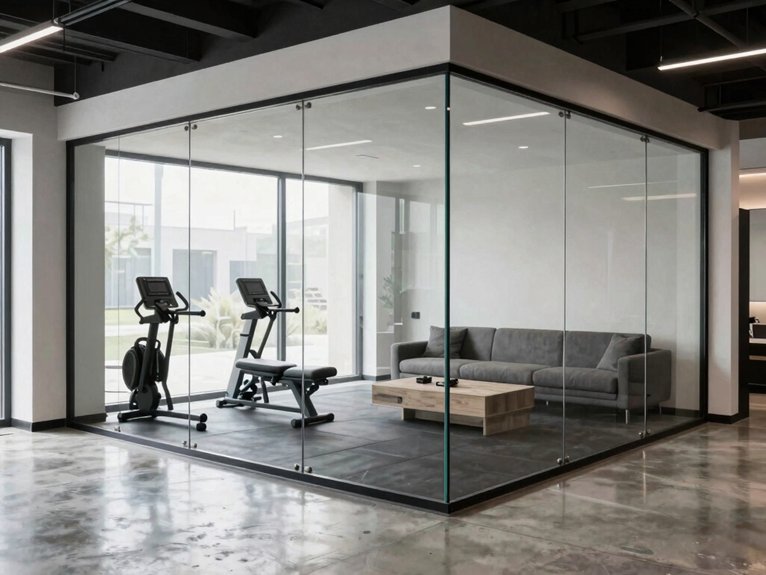
After setting up my basement office corner, I’d give the workout zone the same kind of clear boundary, but with glass so the space still feels open. You can build a half-wall with 3/8″ to 1/2″ tempered glass, or try framed panels with frosted glass.
I like the balance: safe, bright, and a little upscale without acting like a showroom. My family likes when the basement feels shared, not sliced up.
- Use laminated safety glass.
- Add rubber flooring.
- Try LED strips.
- Consider mirror backing for depth.
Separate a Basement TV Lounge
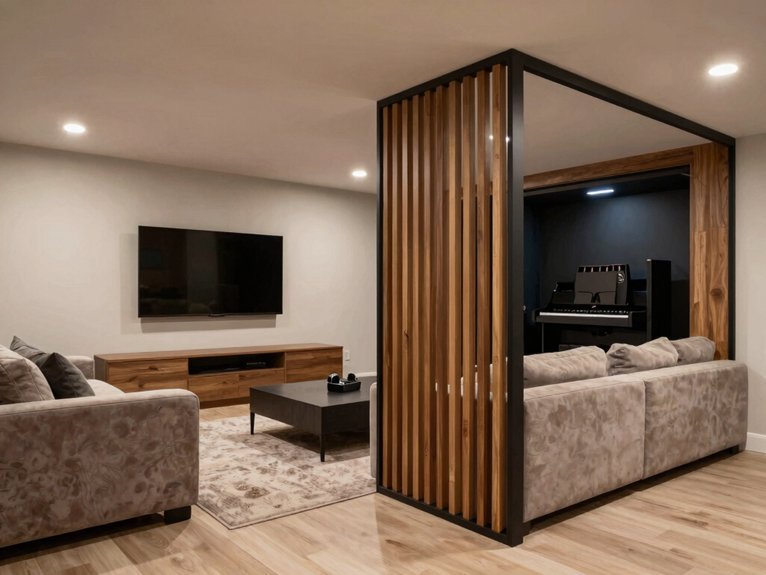
I’d carve out a TV lounge in the basement with something that feels easy, not fussy, because once the game starts or the movie gets loud, you want the space to work without turning into a cave. You can use low open bookshelves for media storage and decor, keeping sightlines open.
| Divider | Best Use |
|---|---|
| Bookshelf | Storage |
| Blackout curtains | Darken screen |
| Barn door | Semi-private room |
| Half-wall + glass | Open separation |
For acoustic zoning, add thick curtains, wall panels, or a rug so the room doesn’t echo like a stubborn gym. My family likes the cozy, shared feel.
Make a Yoga Zone Feel Calming
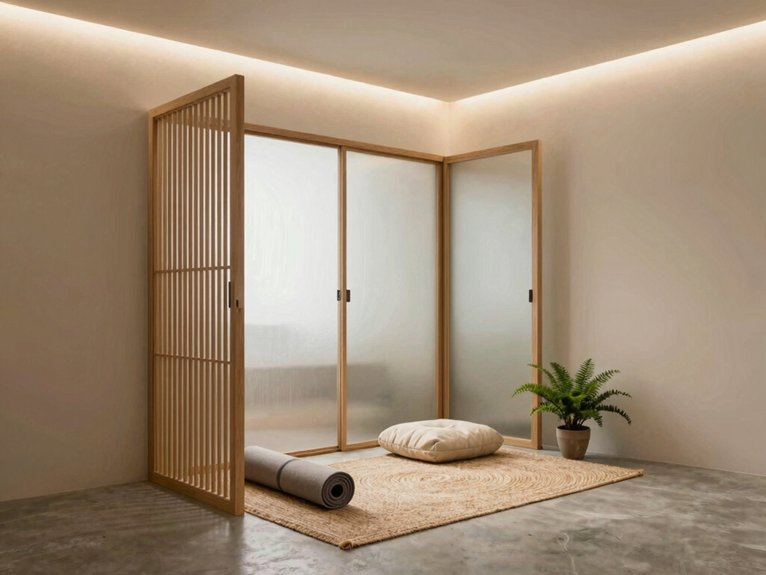
A basement that can host a loud game night can also make a surprisingly calm yoga nook, and I like that kind of balance.
I’ve set up a corner for my family with:
- blackout curtains on a ceiling track
- a low bookshelf for mats, blocks, and faux plants
- warm LED strips plus a dimmable lamp
- a plush rug with foam tiles
You can add a bolster, two blocks, and a blanket for restorative poses.
I use breathing exercises, soft scent layering, and even shoji screens when I want a peaceful backdrop. It feels like our own little retreat, no spa robe required.
Choose the Best Divider for Rentals
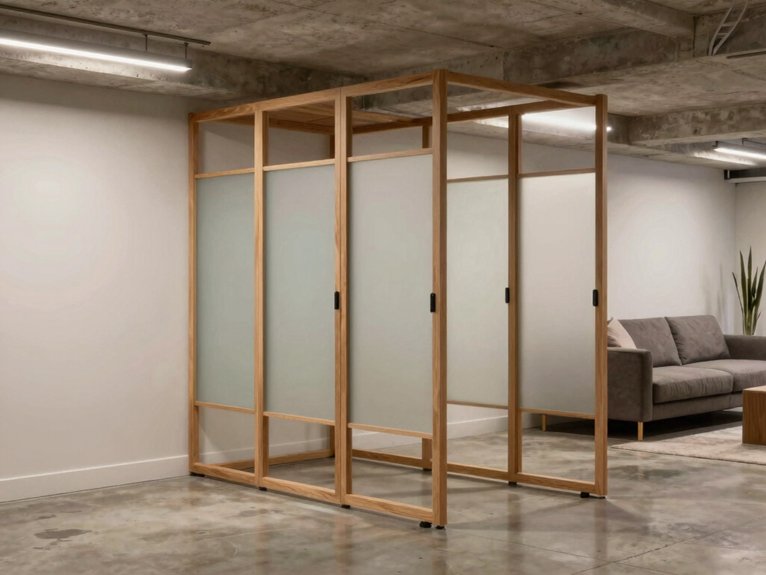
For a rental basement, I always reach for the least fussy divider first, because nobody wants a great idea to turn into a lease problem.
I’ve learned that lease friendly options like ceiling curtains, freestanding bookshelves, and folding shoji screens keep peace with your landlord and your sanity.
I like tension-rod curtains under $50 for a cozy guest nook or yoga corner; just pick breathable fabric so vents can breathe too.
Open bookshelves add storage and light, while portable tenant solutions shift as your family changes.
If you want barn doors, ask first. Wall drama isn’t cute.
Meet Egress Rules Before Building Walls
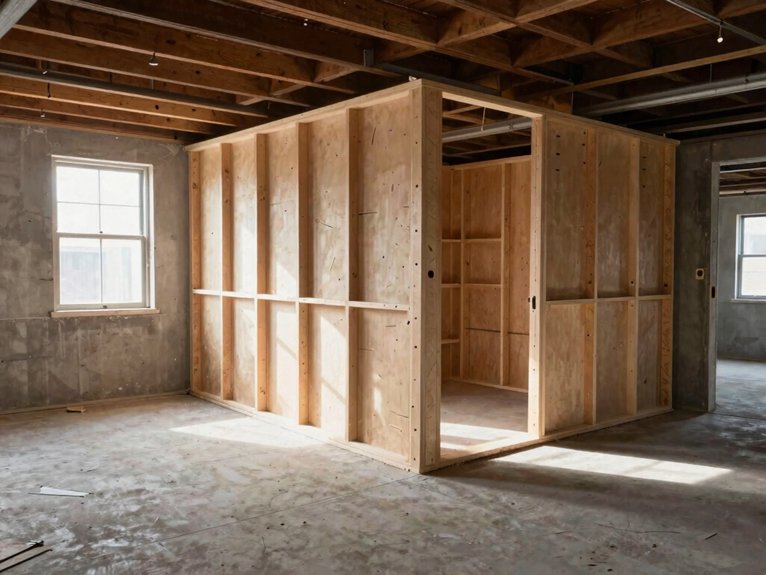
Once you’ve picked a divider that fits your rental, the next thing I check is whether the basement can legally handle a wall at all.
I’ve learned the hard way that a cozy nook can turn into a code headache fast. Use this legal checklist:
- Check egress window sizing and clear opening.
- Keep a direct path to an exterior door.
- Protect stairways, doors, and 7-foot ceiling zones.
- Ask your building office before you build.
If you want peace of mind, choose removable shelves or curtains instead of drywall.
My family likes the flexibility, and honestly, so does my wallet.
Compare Divider Costs by Budget

When I price out basement divider ideas, I start with the cheap stuff and work up from there, because your budget can change the whole project fast. I’ve learned that cost breakdowns help you stay calm and keep your crew happy.
For under $150, ceiling curtains or track drapes do the job fast. Around $100–$400, bookshelves add storage and still let light move. Shoji screens and foldable panels land near $150–$600.
If you want a stronger boundary, barn doors or half-walls can hit $800–$5,000+. My family loves clear material comparisons, and honestly, so do I.
Match Divider Style to Ceiling Height
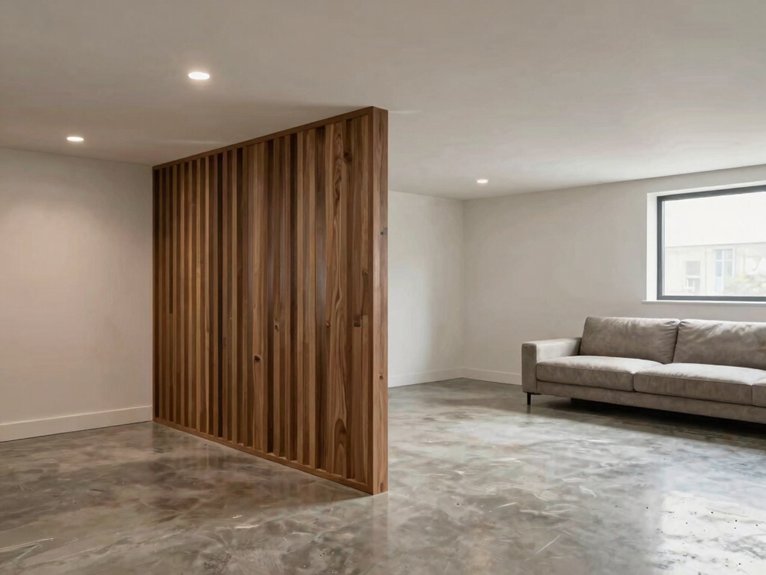
After figuring out what your divider might cost, I always check the ceiling height next, because a basement can make even a simple screen feel too tall or too bulky. I’ve learned that ceiling aware aesthetics matter here. Try this:
- Under 7.5 ft: choose sheer drapes or a low Shoji screen.
- Use low bookshelves to keep vents clear.
- At 8 ft or more, barn doors or glass half-walls feel right.
- For permanent builds, I’d verify egress rules first.
I like height adjustable materials because they keep my family’s basement cozy, open, and not cave-like.
Pick the Best Basement Divider for Privacy
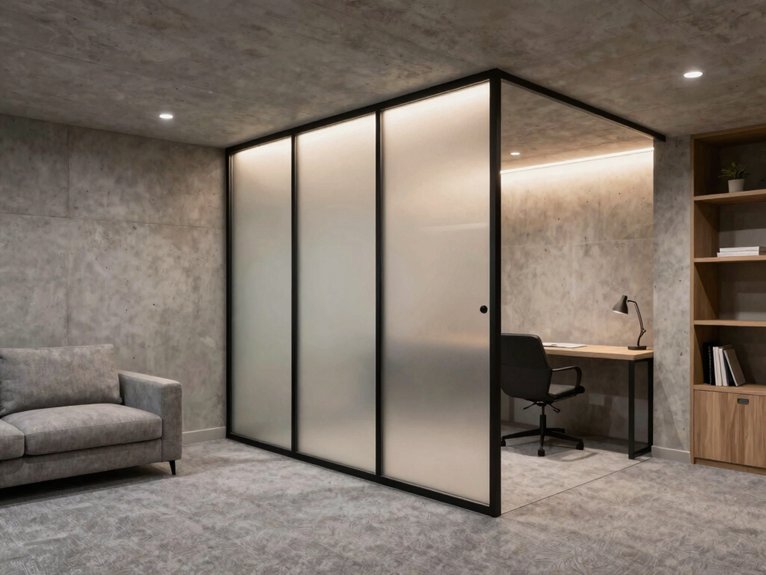
For privacy, I usually start by asking one blunt question: do you want “I can change clothes in here” privacy, or “nobody hears my late-night laundry shuffle” privacy?
I’ve learned with my own family that a full wall and a standard door win when you need real separation. For guest rooms, I like solid-core sliding doors or built-in wardrobes; they block views and hush noise better than soundproof curtains.
If you want flexible light, try half-walls with frosted glass. Cheap track curtains work, but they feel temporary. Think of privacy landscaping indoors: shape the space so everyone feels they belong.
Frequently Asked Questions
How to Divide an Open Basement?
You can divide your open basement with stacked shelving for storage and light, or add a sliding barndoor for privacy. You’ll create cozy zones, keep airflow, and make everyone feel more at home.
How to Divide a Room Without a Room Divider?
You can divide it with furniture zoning: float a sofa, anchor rugs, add lighting layers, and use a bookcase or console as a quiet gate. Like a village square, you’ll shape belonging without walls.
How to Make a Basement Room Less Depressing?
You’ll make your basement feel warmer by adding better lighting, warmer colors, soft rugs, curtains, and layered textures. Keep air flowing, use lamps and sconces, and add personal touches so it feels like your space.