Beginner eye makeup gets easier when you use less product, tap off excess, and build color slowly—no pigment explosions! Prime lids first, or use soft concealer, then blend with a fluffy brush and pack shimmer with a flat one. Keep liner thin at the lash roots, and let mascara coats dry to prevent spider lashes. If edges look harsh, buff them with a clean brush. Next, you’ll find an easy order that makes every step smoother.
Key Takeaways
- Use less product: tap off excess shadow, dot concealer sparingly, and build coverage gradually to prevent fallout, creasing, and heaviness.
- Prime eyelids before shadow or liner to prevent patchiness; use a soft-toned concealer or powder if primer is unavailable.
- Match brushes to the task: fluffy for transitions, flat dense for packing pigment, and angled brushes for controlled liner.
- Soften harsh shadow edges with a clean fluffy brush, blending gradually rather than adding more pigment in one spot.
- Start eyeliner thin and apply mascara slowly; build outer-corner thickness and separate clumps with a clean spoolie.
Using Too Much Product
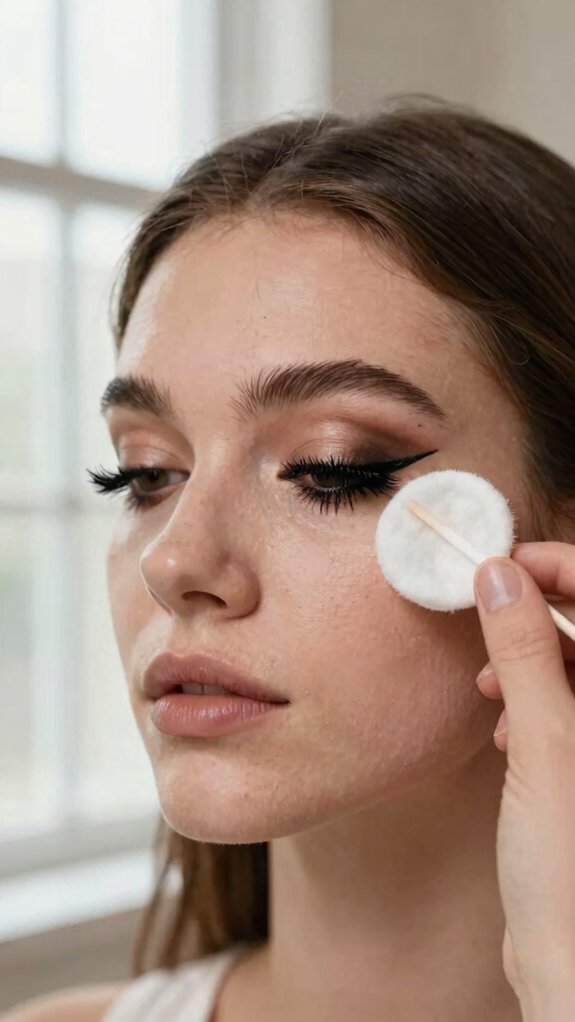
A little product goes a long way, especially around your eyes! You’re not alone if excitement makes you load up your brush, but a lighter touch keeps your look smooth and fresh.
For shadow, tap your brush on the container first. Use light hand blending for gradual color payoff, then add more for Buildable coverage and minimal fallout. Your cheeks will thank you!
With concealer, dot sparingly and blend outward only where needed so it doesn’t settle into lines. Next, keep mascara to two or three coats.
Here’s the game-changer: if the wand overloads lashes, wipe excess with a clean spoolie, then zigzag at the roots. Flex Tower brush ensures you reach root-to-tip for a sky-high finish and helps prevent instant clumps when layering.
Skipping Eye Primer
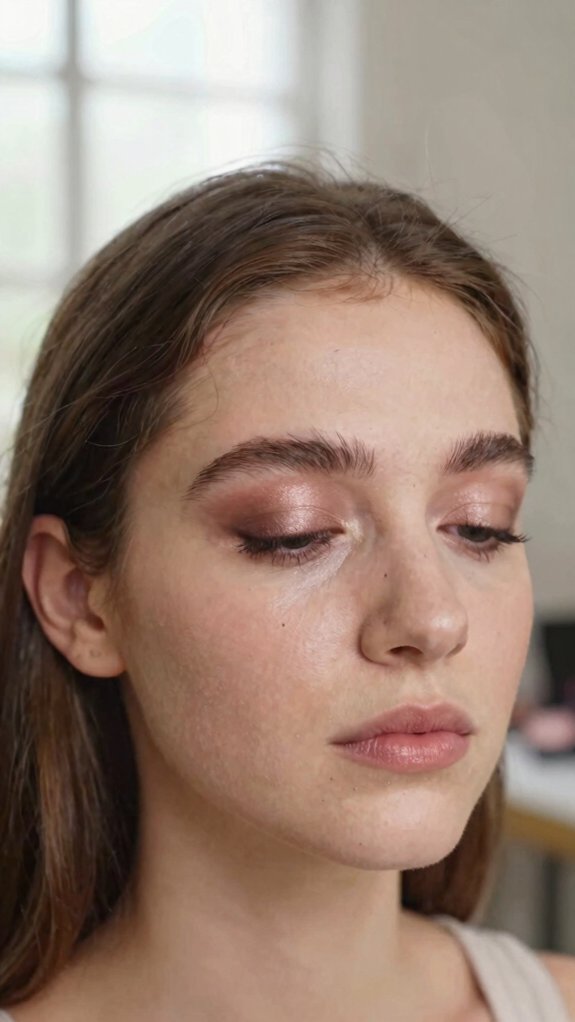
Even with the right amount of shadow, skipping eye primer can leave your lids looking patchy by lunchtime—ugh! Natural oil and moisture vary across your lid, so pigment may cling in random spots instead of blending evenly.
Before you join the eyeshadow fun, sweep on a thin layer of eyelid primer and blend the edges. No primer? A soft-hued concealer or powder can work in a pinch.
This quick step creates a Tacky base, helps colors look truer, and gives you smoother blending without highlighting fine texture. Apply it before shadow or liner, and you’ll also keep fallout from messing up the rest of your makeup—tiny effort, big difference! Using a cruelty-free, transparent formula aligns with ethical makeup choices and lets you confidently test shades without compromising values. cruelty-free certifications
Choosing the Wrong Brush
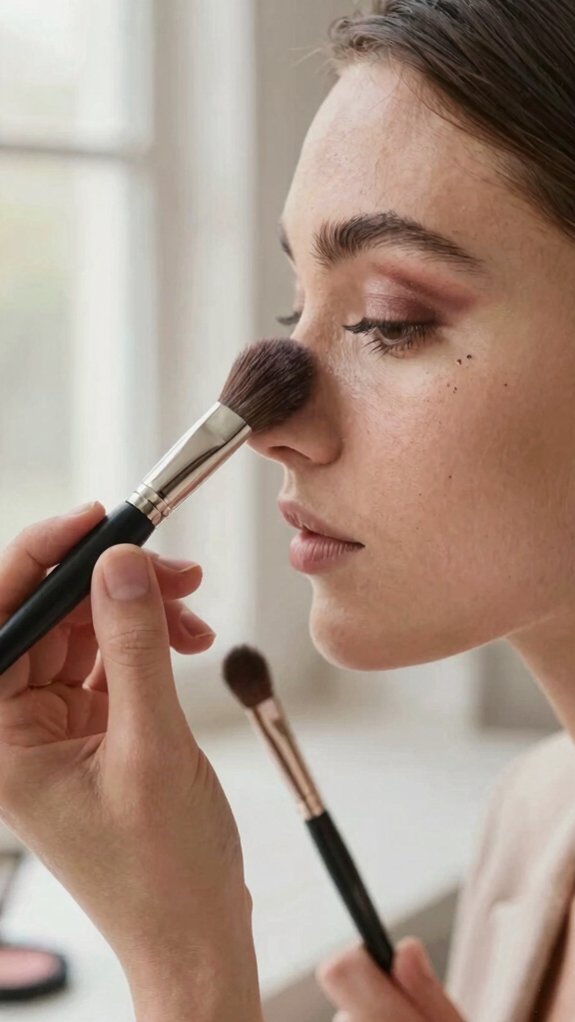
Choosing the wrong brush can turn a pretty shadow look into a patchy, muddy mess—so frustrating! Brush shape basics make a huge difference, and you’re definitely not alone in learning them.
- Use a fluffy brush for transition shades; it spreads color softly.
- Choose a dense, flat brush for blending vs packing lid pigment.
- Pick a thin angled brush for eyeliner, so your line stays steady.
- Tap primer on with a small concealer brush or fingertip.
Here’s the game-changer: clean or replace worn brushes regularly. Misshapen bristles can make even great shadow act cranky, while fresh tools help your look feel polished! Brush maintenance
Harsh Eyeshadow Lines
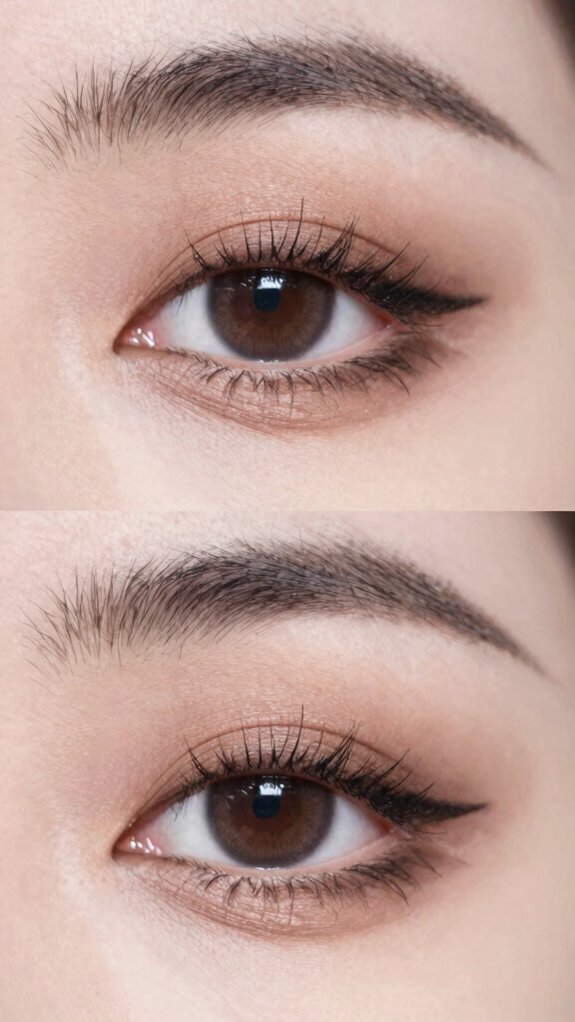
Great brushes help, but harsh eyeshadow lines can still sneak in when too much pigment lands in one spot—hello, accidental stripe! You’re not alone; soft blends take practice!
Remember to prep lids with a primer to smooth color, and push cuticles back and keep edges neat for a clean canvas. Precise brush control helps prevent heavy patches, so tapping is better than sweeping from one spot. Blend edge with a clean fluffy brush for a soft fade, and use a concealer brush to fix streaks for a fresh reset. Try these crease placement tips: keep less pigment at the edge, then blend in tiny circles. These transition blending tricks make shades melt together! If fallout appears, wipe it gently, re-blend, and you’re back in the glow-up club.
Overdoing Eyeliner
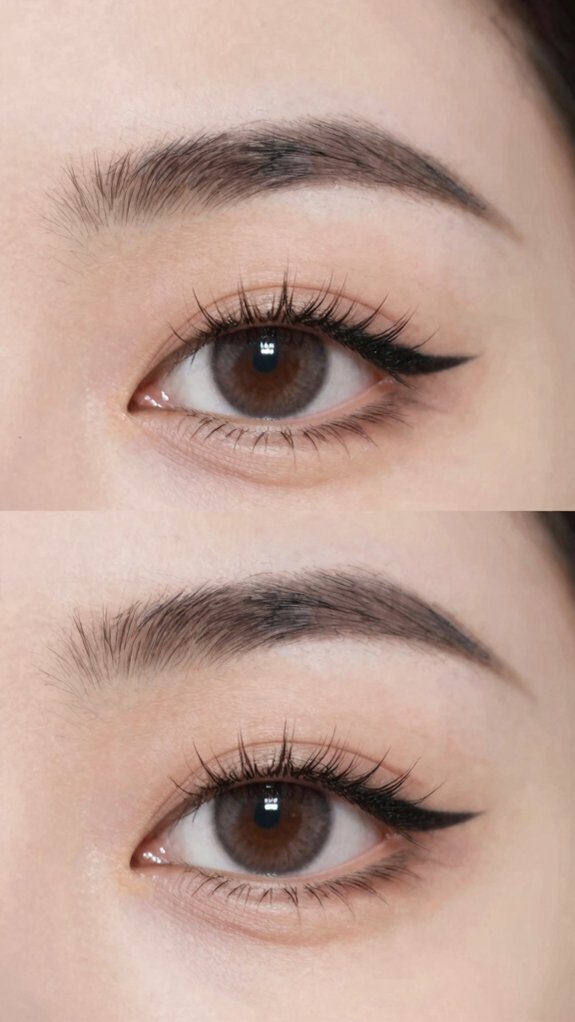
A bold liner look can turn from sleek to “whoa, that got big fast!” when you start too thick. You’re not alone—tiny adjustments keep your look polished, not dramatic by accident!
- Keep your eyes open, tracing close to the lash roots for a straighter line.
- Begin thin, then build only at outer corners to avoid uneven thickness.
- Dab smudges with a cotton swab and remover; don’t rub a dark “bruise” line.
- Skip Overdrawn wings and harsh bottom black liner; use soft shadow instead.
- For the cleanest finish, place liner just above the waterline. It helps prevent watering, running, and that surprise raccoon moment!
- Add a subtle glow with a light-reflecting top coat on the lash line to keep the look from appearing heavy. waterline proximity
Mascara Clumping
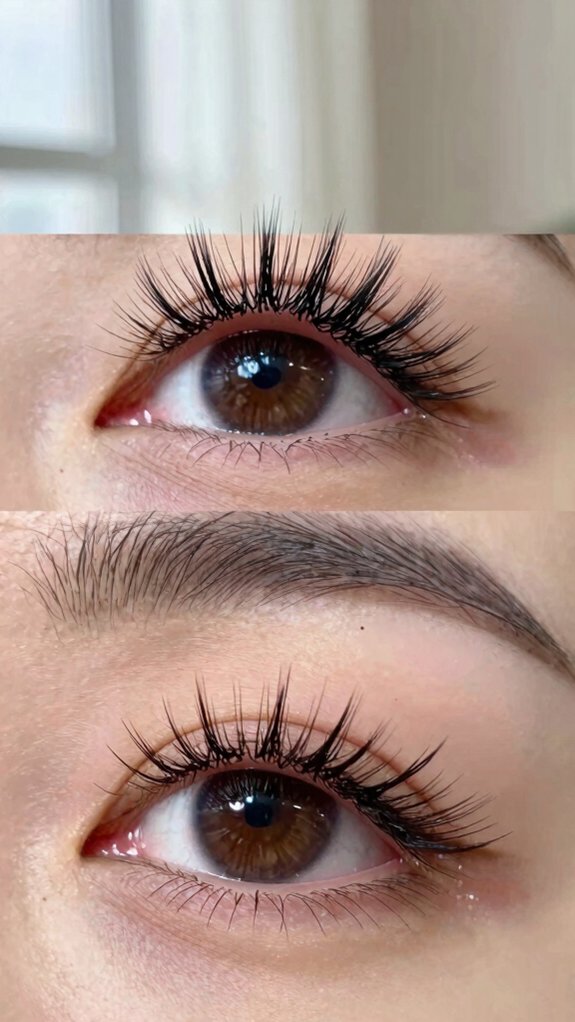
Mascara clumps can make even a fresh eye look feel a little “spider legs at noon,” but the fix is usually simple! You’re not alone—most beginners stack coats too fast.
Apply just two or three, letting each dry, then wiggle the wand from roots to tips for smudge prevention.
Keep clean application tools nearby: comb lashes with a clean spoolie or washed old wand.
Curious about lash primer alternatives? A careful, controlled zigzag works beautifully without extra cost!
Still clumpy? Use a cotton swab with a tiny bit of remover, then reapply.
Follow mascara storage tips too: replace opened tubes every three months.
Forgetting to Blend

Blend, blend, blend—this tiny step is what turns separate eyeshadow stripes into one smooth, smoky look! You’re not alone if harsh edges sneak in; they can make color look patchy fast.
- Tap off excess shadow for better color payoff control.
- Use a fluffy brush in light circles or windshield-wiper motions.
- Build thin layers instead of wrestling one heavy blob—no mud pies!
- Press a clean brush along liner and shadow edges for soft crease diffusion.
Pause between shades and let them melt together. This quick habit limits fallout, evens color, and gives your eyes that polished, “we all know the secret” finish!
Beginner-Friendly Product Order
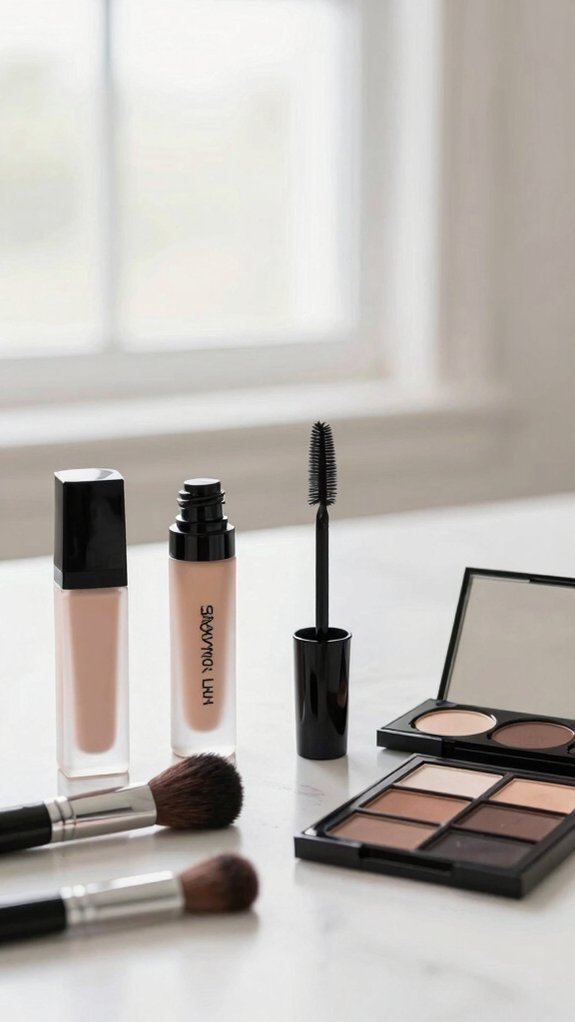
Before you reach for that pretty shadow palette, set your lids up for success! Clean, moisturise, and let skincare sink in.
| Step | What you do |
|---|---|
| 1 | Apply eye primer |
| 2 | Use concealer placement only where needed |
| 3 | Blend your shadow |
| 4 | Try the tap off technique |
| 5 | Add liner, then mascara |
Primer keeps colour smooth instead of patchy—welcome to the club! Tap excess powder from your brush before colour, so cheek fallout doesn’t crash the party.
Finish with eyeliner and mascara after shadow. Your lids stay neat, your lashes look lifted, and your makeup feels wonderfully beginner-proof!
Quick Everyday Routine
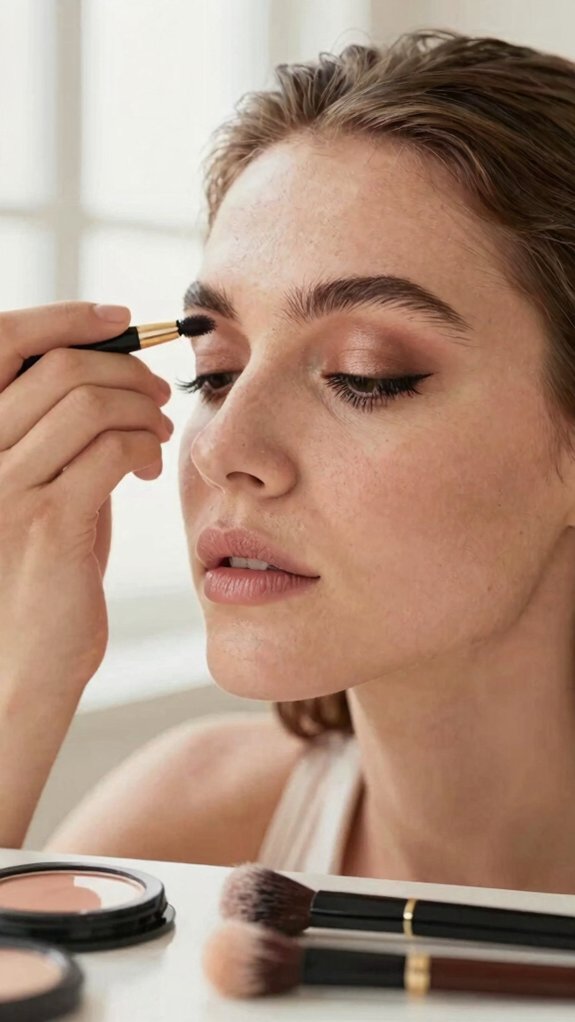
Most days, you can create a fresh, polished eye look in just a few minutes—no giant palette or makeup-artist skills required!
- Start with clean, moisturised lids; let skincare sink in for smoother blending.
- Tap excess shadow from your brush, then use concealer or soft powder to stop creasing.
- Keep eyes open for liner and mascara, a simple smudging prevention move that helps everyone feel put together.
- Try these lash application tricks: trim falsies first, or wiggle mascara from root to tip.
For layering, dust translucent powder between two or three coats—no flaky spider lashes, promise!
You’ll get a bright, wearable finish that fits right in.