Prep lids with a tiny dab of concealer, then set oily areas with translucent powder. Sweep a matte shade near your skin tone through the crease using soft circles—easy, affordable, and foolproof! Add brown or copper pencil in tiny lash-line sections, smudge fast, and wiggle mascara from roots upward. Finally, tap a nude-peach shimmer in your inner corners for that “I slept eight hours” glow. Keep going for more beginner-proof tricks!
Key Takeaways
- Prep lids with primer or concealer, then lightly set with translucent powder to prevent creasing and help shadows blend smoothly.
- Apply a matte transition shade close to your skin tone through the crease using a tapered brush and gentle circular motions.
- Define the lash line with softly smudged brown, copper, or browny-plum pencil liner instead of harsh black eyeliner.
- Brighten inner corners with a subtle nude or peach shimmer shade slightly lighter than your crease color for a rested look.
- Finish with one light coat of mascara, wiggling at the roots before pulling upward for natural, separated lashes.
Prep Your Eyelids
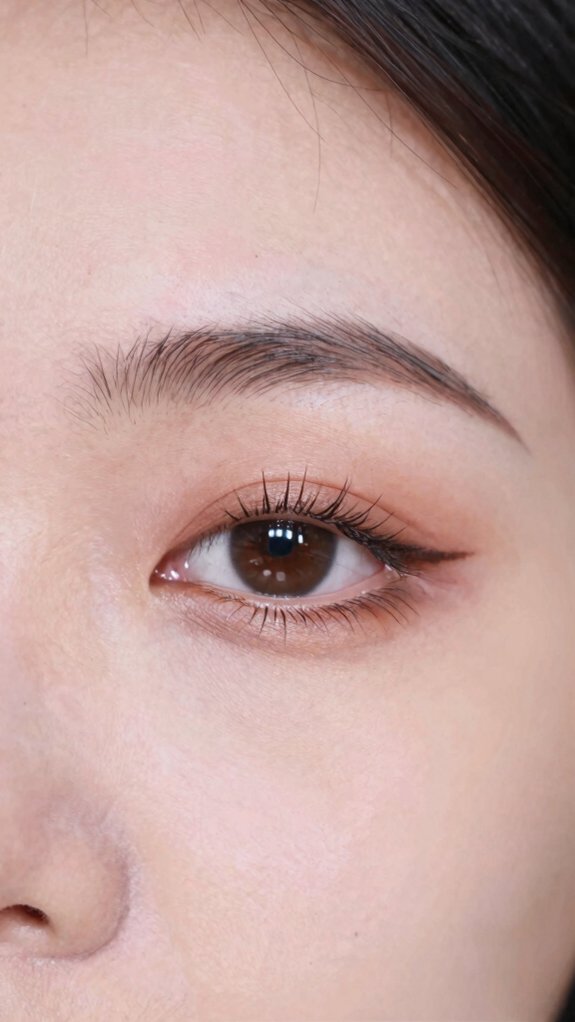
Before you reach for your favorite shadow, give your eyelids a quick, simple prep—it takes less than a minute, and it makes blending so much easier!
You’re officially in good company: Primer for longevity helps your look stay put through busy days and selfies.
For concealer base prepping, use a tiny amount, spread it evenly, and lightly set it if your lids crease or feel oily.
A small puff of translucent powder can stop slipping—no expensive tools needed!
Next, dust on a matte shade close to your skin tone to soften discoloration.
Let cream liner set first.
Your shadows will look smoother, softer, and wonderfully polished!
Brush Type and Bristles support clean application and help you choose the right tools for delicate eyelid skin.
Blend Transition Shades
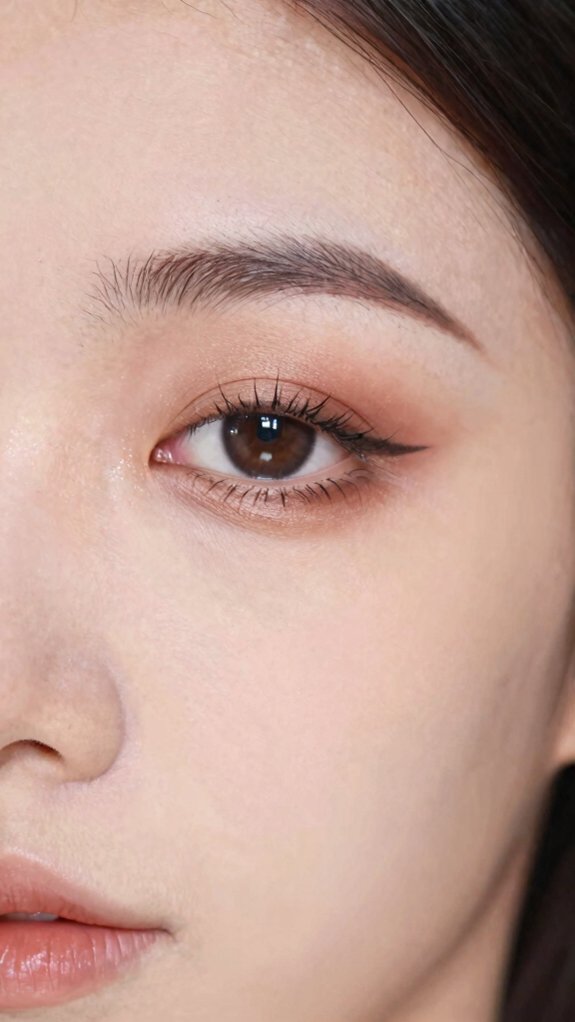
A soft gradient shade is the little secret that makes your eye makeup look blended instead of, well, like two colors bumped into each other! The technique benefits from keeping color mostly in the crease and using a tapered brush for precise application, just as described in the soft-blend approach. For best results, you can map crease depth by looking down and then blend outward as you look up, while using gentle circular motions to melt colors together. Crease depth mapping helps guide placement for different eye shapes, ensuring a seamless, natural transition.
Add Definition
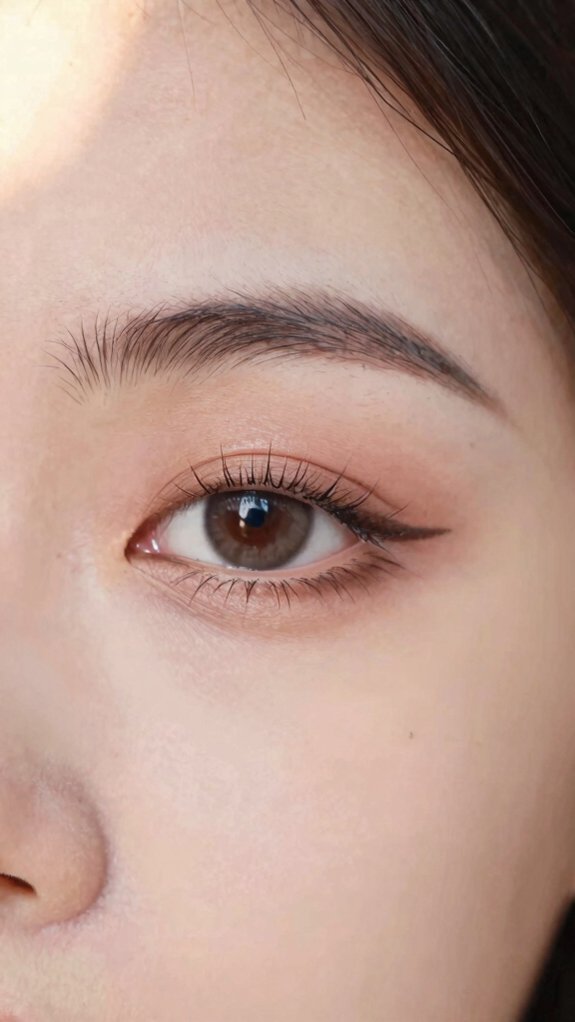
Now add a little lash-line definition—nothing dramatic, just enough to make your eyes look awake and softly framed! Choose brown for everyday softness, copper for warmth, or browny-plum for gentle contrast that suits your coloring. This approach helps achieve a sky-high, clump-free look by using a light, buildable mascara formula with a tapered wand to lift and separate lashes tapered wand for better corner-lash definition. Using a pencil liner, work in tiny sections along the tight lash line. Keep it thin; this isn’t the moment for a smoky wing audition!
Before it sets, lightly blur the edge for natural lash blending. Add a soft lower smudge close to the lashes, then stop while it still looks airy.
Want extra depth? Sweep matte bronzer through the crease first, then use the tiniest hint of liner. You’ll get that polished, everyone-belongs-here softness.
Brighten the Inner Corner
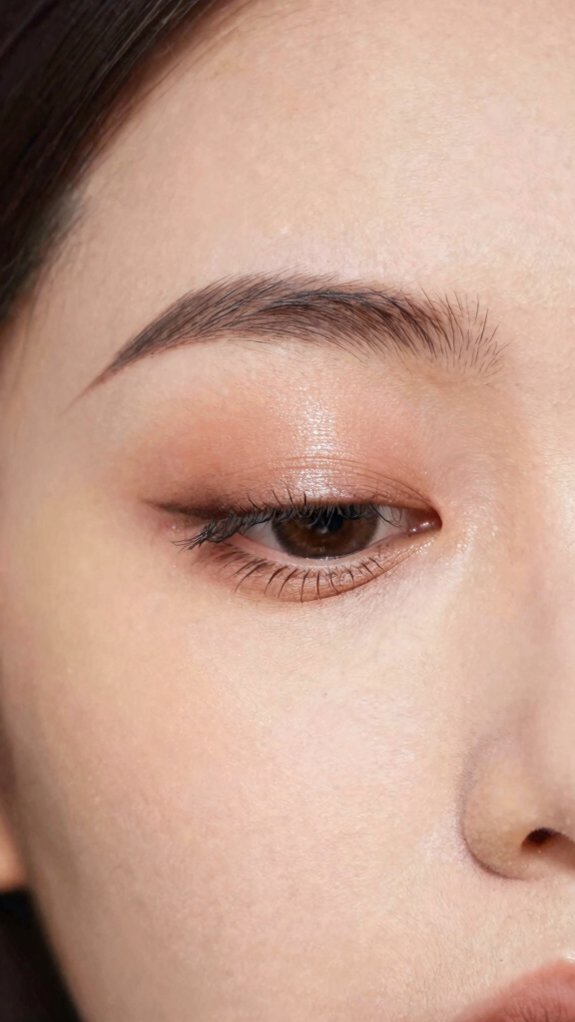
With your lash line softly defined, bring a little light back to the inner corners—this tiny step makes a surprisingly big “I slept great!” difference! This technique pairs well with a subtle matte or shimmer nude or peach shade that’s lighter than your crease color, and can be enhanced by layering a tiny inner-corner highlight for extra brightness inner-corner highlight. You’re officially in the bright-eyed club!
Apply Eyeliner Naturally
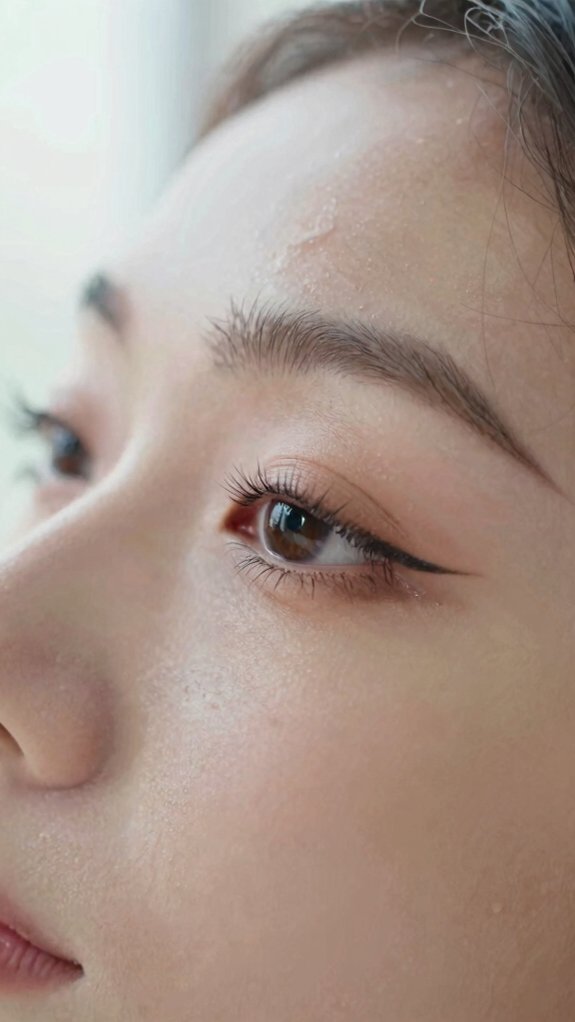
For a naturally defined look, choose a creamy brown, copper, or browny-plum liner instead of harsh jet black—it gives your lashes a fuller look without screaming, “Hello, eyeliner!” You’ll fit right in with this soft, everyday approach!
Work one eye at a time, using tiny strokes along the upper lashes. Careful liner placement keeps the line close to the roots, not thick or obvious.
Then use your smudge technique right away, before the creamy formula sets. Gently blur the edge with a small brush or cotton swab—easy, affordable, and beginner-friendly!
For the most cohesive finish, lightly soften liner beneath the lower lashes too. Keep it controlled, and you’ll get polished definition, not surprise smoky eyes!
cruelty-free certification brands can help you confirm the legitimacy of formulas and avoid animal testing across the supply chain.
Finish with Mascara
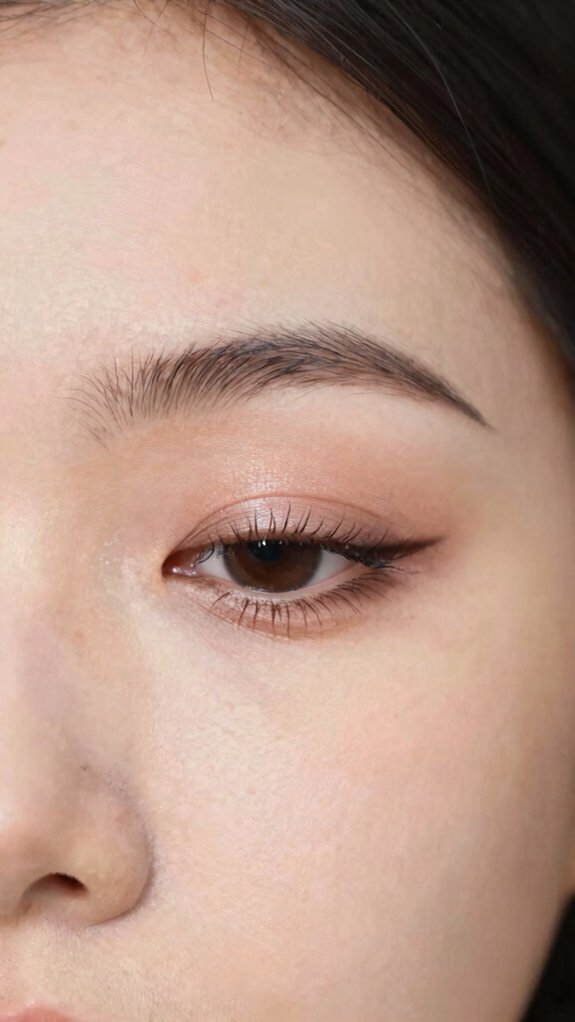
Start with mascara on your upper lashes, using a gentle wiggle at the roots before pulling the wand upward—this creates soft, wide-awake “round eyes” without piling on heavy eyeliner.
You’re part of the soft-glam club now! If you used light liner, apply mascara right away so everything blends.
- Start with one coat to find your baseline.
- Check both eyes in natural light.
- Add a second coat only where needed.
These Beginner Mascara Tips keep definition subtle, while Natural Lash Tricks let your lashes do the talking.
Want the surprise? Mascara can make your shadow look softer, too—no expensive tools, no spider-leg drama!
Common Beginner Mistakes
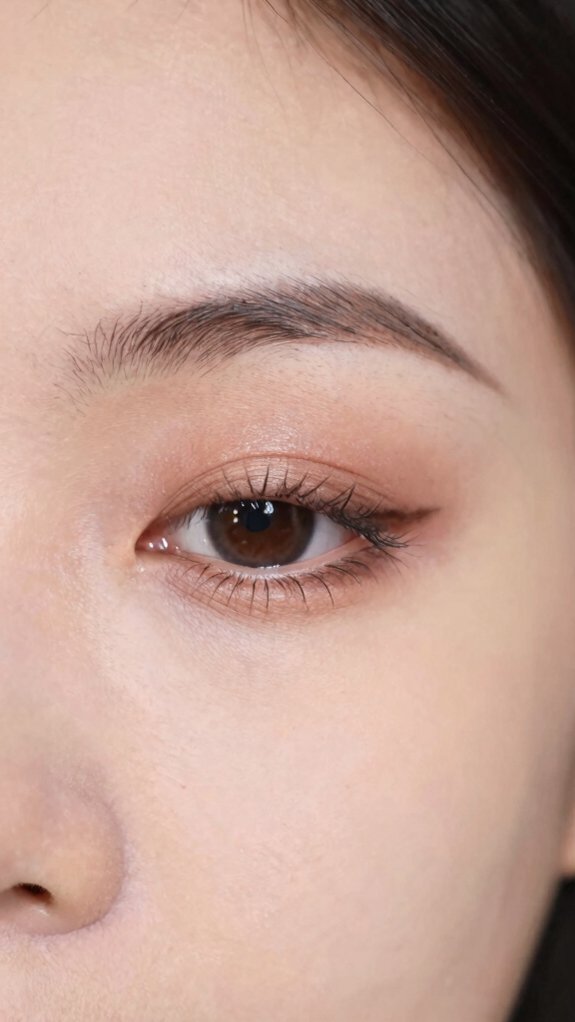
Before you call it done, watch for a few easy slipups that can turn soft glam into “why is my crease wearing a mud mask?” Overpacking bronzer is common, so use a fluffy brush and light windshield-wiper motions, keeping color near the crease before fading it outward.
Match placement to your eyes: big eyes can carry bronzer slightly into the crease, while hooded or smaller eyes need it a touch higher. You’ve got this!
Skip jet-black liner, too. Harsh eyeliner can steal the soft vibe; choose brown, copper, or browny-plum, work in tiny sections, and smudge quickly.
For one-shadow looks, pick a matte shade only a few tones deeper than your skin.