You can turn a plain tee into art with simple ideas like soft florals, bold butterflies, tiny stars, or crisp stencil lettering—no elaborate skills needed! Pre-wash the shirt, slip cardboard inside, and paint in thin layers with fabric paint or acrylic markers. Let each coat dry, then heat-set it for durability. Cotton works best, and cheap tees can bleed, so test first. Want the coolest tricks and cleaner results? There’s more just ahead!
Key Takeaways
- Choose cotton or linen tees, pre-wash them, and avoid synthetic blends over 10% for better paint adhesion and durability.
- Use stencils, sketch guides, or mandalas to create crisp, balanced designs that look polished on a basic shirt.
- Build color in thin layers with fresh acrylic markers or paint, letting each layer dry fully to keep edges sharp.
- Try airy florals, butterflies, or layered wing designs with soft palettes for a wearable, artistic finish.
- Protect the shirt with cardboard, heat-set after two days, and wait 4–5 days before washing for lasting results.
How to Paint a T-Shirt in Easy Steps
Before you grab a brush and start dreaming up your masterpiece, give your T-shirt a quick prep session—it’s the boring part that saves the day! Pre-wash and dry it, then check the tag, so you’re ready for a clean start.
Slip cardboard inside, lay it flat, and tape the edges to keep paint from sneaking through like a prankster.
Next, sketch lightly or use a stencil, then paint in thin layers, letting each one dry.
Want extra flair? Experiment with mixed media and try fabric safe adhesives for bold touches.
Let it dry two days, then heat-set it for lasting wear.
Choose the Right Fabric
Now that your design idea is bubbling up, let’s talk fabric, because the shirt you choose can make or break the whole paint job!
Pick cotton or linen first, since they grab paint better and feel comfy for your crew vibe.
Fabric weight matters too: a medium tee gives you a steadier canvas than a flimsy one.
Watch dye transfer risk with dark, cheap shirts, and skip pieces with pilling, snagging, or dull fades.
Synthetic blend limits matter, so keep polyester low.
Test your paint on the actual shirt, then you’ll know if it pops.
Pre-Wash Your Shirt First
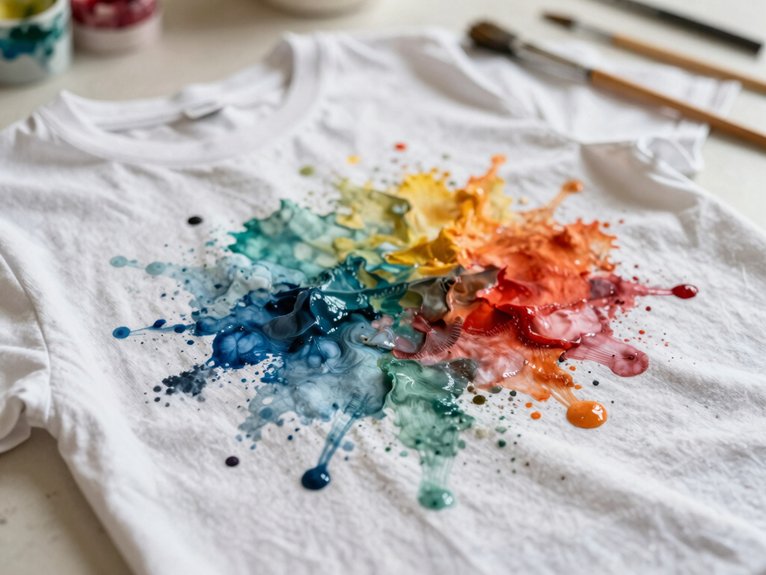
A quick wash can save your whole shirt painting project from a face-plant! You’re not just cleaning fabric, you’re setting up paint adhesion benefits and avoiding sizing removal reasons that mess with color.
Any washer works, so follow these machine wash tips: wash, then dry fully, because fabric drying time matters and a tiny shrink can shift your design.
- Use plain detergent
- Skip fabric softener
- Let it dry flat or tumble dry
Once the shirt feels truly dry, you’re ready. Starting fresh means your paint grips evenly, so your art looks crisp, bold, and part of your crew!
Set Up Your Painting Workspace
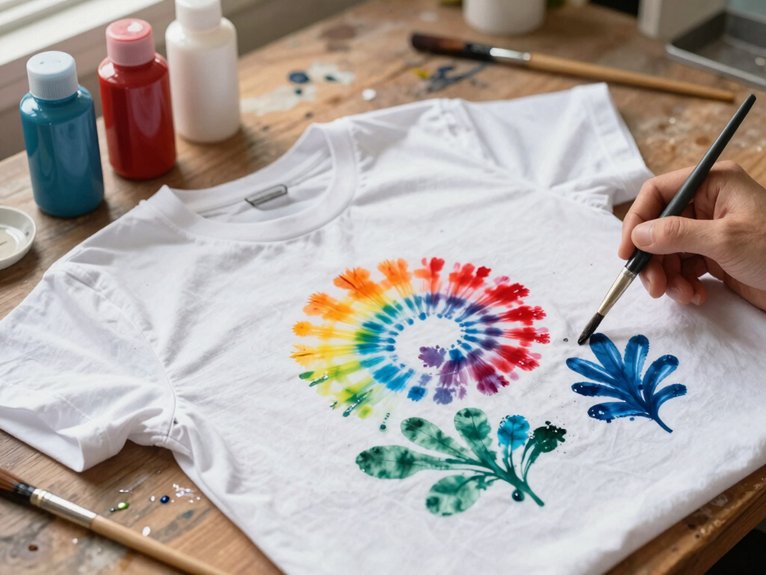
Clear off your table, grab some cardboard, and set your T-shirt on a flat surface so you’ve got a neat little painting zone—no random snack crumbs invited!
Pin or tape the shirt in place, add tape around the edges, and use good lighting so you can see every brushstroke without squinting.
If you’re using fresh acrylic markers, test them on scrap paper first, then let each layer dry fully so your colors stay crisp instead of turning into a surprise tie-dye party.
Clear Your Workspace
Before you even dip a brush into paint, set up your workspace like you mean it, because a little prep saves a lot of mess later!
Lay your tee flat on a steady table, slide cardboard inside, and pin or tape the fabric so it stays put.
Good Color palette planning starts here, and clean line strategies feel easier when nothing wiggles.
- Tape the edges for neat borders.
- Prime new acrylic markers on scrap paper.
- Keep the room bright and your design dry between layers.
That’s it—your crew-friendly setup helps you paint with confidence and get crisp results, not chaos!
Protect Shirt Layers
Once your shirt is laid out, protect those layers like you’re guarding treasure, because paint has a sneaky way of slipping where you don’t want it! Slide cardboard inside, then pin or tape the shirt flat so it won’t budge during stencil placement. Add tape to the edges, especially if you’re using acrylic markers or fabric ink, and you’ll catch surprise drips fast.
For smooth color mixing and clean design flow, let each layer dry before adding the next. New markers? Prime them on scrap paper first, so your paint consistency stays steady and your lines look crisp. Easy, cheap, and so worth it!
Set Proper Lighting
How do you make those tiny design details pop? Start with bright overhead light, then add side lighting or a desk lamp to cut shadows and help you spot every line, edge, and color shift. Your crew of brushes and markers will thank you!
- Tape or pin your shirt flat on a stable surface.
- Do quick Color contrast checks on a test scrap nearby.
- Try glare reduction hacks, like angling the lamp.
Keep the room evenly lit, because dim spots invite wobbly marks and “oops” moments. With clear light, your floral petals stay crisp, and your design feels pro.
Use Cardboard to Block Bleed
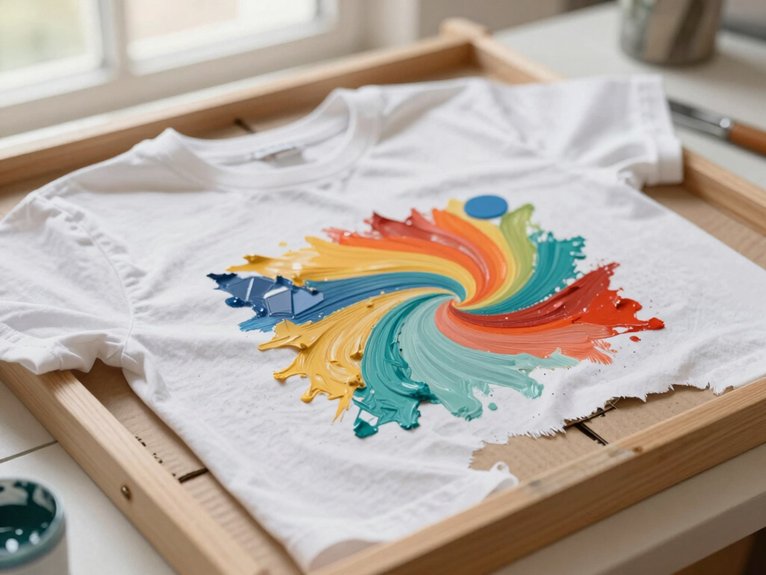
Slide a flat piece of cardboard inside your T-shirt and you’ll instantly make painting a whole lot neater! It blocks bleed, keeps the front and back from cozying up with stray paint, and gives you cleaner edges right away.
Lay the shirt on a flat surface, then tuck the cardboard directly under your design. For extra Stencil Precision, tape the shirt edges so nothing sneaks past the barrier, and you’ll feel like part of the cool DIY crew. With Color Layering, let each coat dry before adding the next, and yep, that little trick saves your art from muddy messes!
Test Paint Colors on Scrap Fabric
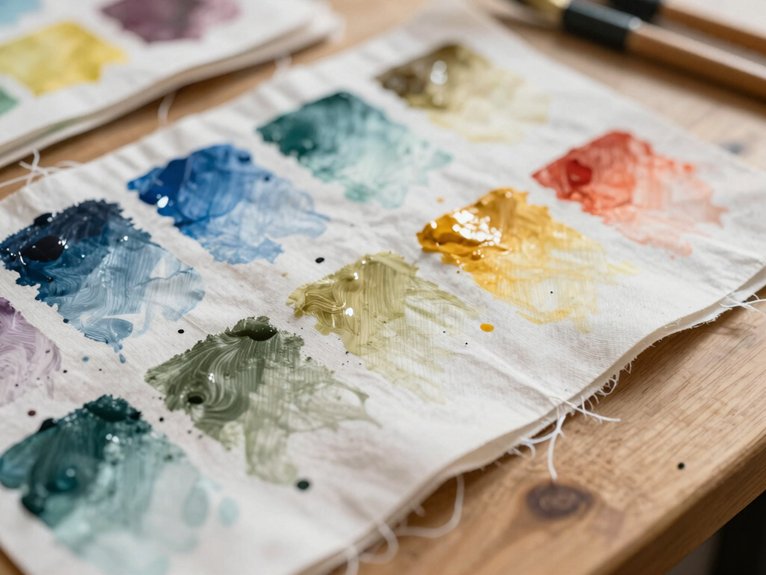
Before you paint the real shirt, grab a scrap of fabric and do a quick color test—trust me, the bottle cap shade can look wildly different once it dries!
Use the same cotton or linen, the same paint, and the same brush or marker, so your test actually matches your shirt.
- Try Color Mixing on a tiny patch.
- Check Marker Opacity with a light, medium, and heavy stroke.
- Let it dry, heat-set it, then do a quick layer test for bleed.
Jot down your best mix and tip, and you’ll repeat that winning look with zero guesswork!
Sketch Your T-Shirt Design First
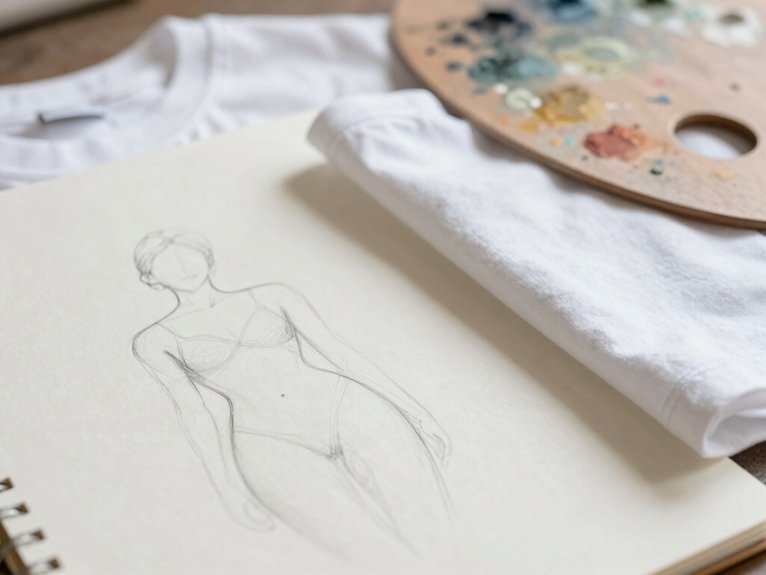
Grab a pencil and sketch your T-shirt design on paper first, because a little planning saves a lot of “oops” later! You’ll feel way more confident when you map the shape, size, and line thickness before paint hits fabric.
Lightly draw the main parts, then darken only the final guide lines so you can erase wonky bits fast. If you’re using a stencil, tape it down while you sketch, and keep it centered—hello, stencil alignment tricks!
Think in layers, test colors on scrap, and use color placement tips so your shirt looks polished, not chaotic.
Try Simple Floral Shirt Ideas
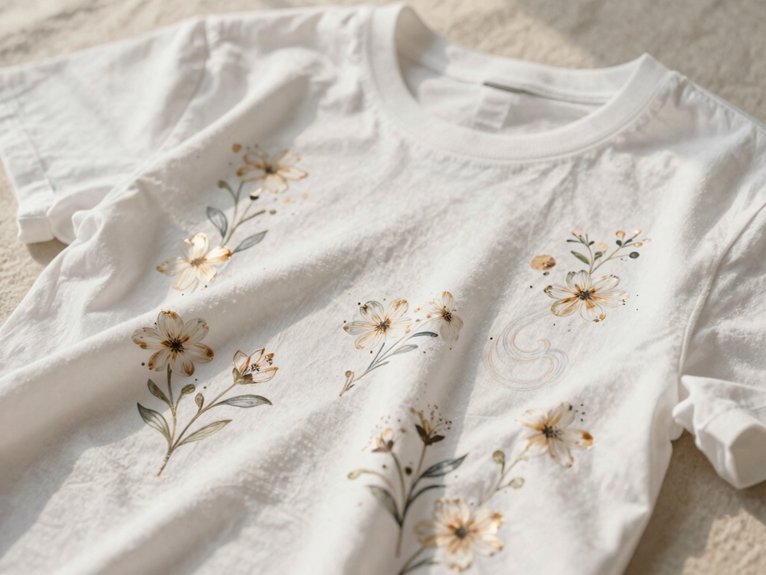
If you want a shirt that feels sweet, simple, and totally summer-ready, a small floral design is a great place to start!
You’ll fit right in with a clean, artsy vibe.
- Try a tiny bouquet with acrylic markers on a pre-washed white tee.
- Use Color palette inspiration from soft pinks, sunny yellow, and fresh green.
- For Minimalist floral placement, sketch lightly, add a thin base coat, and let it dry.
Slip cardboard inside the shirt, then finish with outlines or leaf veins for crisp detail.
Freehand too tricky? Use stencils for one flower per panel.
Let it dry two days, iron gently, and enjoy!
Paint Butterfly Designs on White Tees
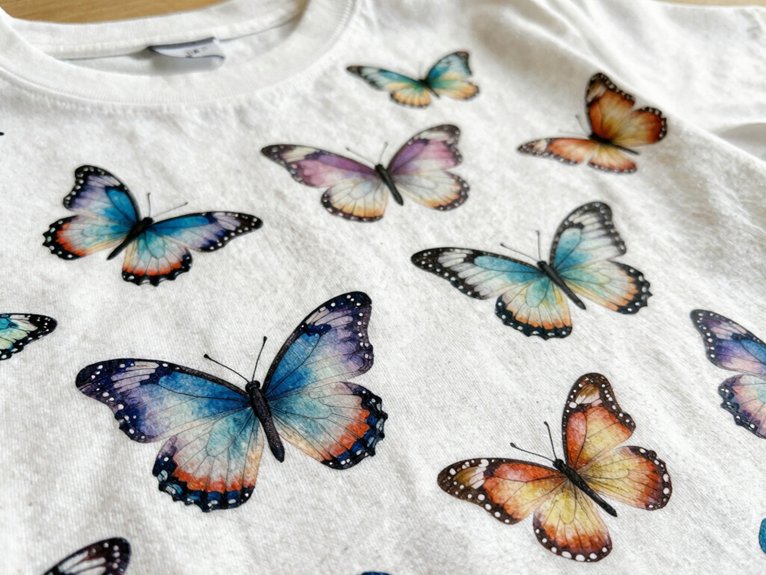
You can make your butterfly pop by placing it near the chest, shoulder, or hem, where it feels playful and balanced, and a clean white tee gives you a bright, easy canvas.
Try soft colors like pale pink, sky blue, or lavender first, then build up the wings with lighter layers so they look smooth instead of muddy—fancy, but not fussy!
Finish with fine lines and tiny antenna details, because those layered wing touches can turn a cute idea into a “wow, did you paint that?” moment.
Butterfly Placement Ideas
A white tee turns into a tiny art gallery when butterfly placements are chosen with a little care, and the best part is that it’s easier than it sounds!
Start with a washed, fully dry shirt, slip cardboard inside, and let your design squad see the magic.
- Accent near the collarbone for an easy, friendly vibe
- Oversized placement across the chest for bold color contrast, wow!
- Vertical trio at the sternum for a floating look
Use acrylic markers for crisp wings, then let each layer dry.
Wait two days, iron with a cloth, and you’ve got a tee that feels like yours.
Soft Color Palettes
Soft butterfly placement already gives your tee that dreamy, floating feel, and soft color palettes take it one step beyond, turning plain white fabric into something light and airy.
Choose light blues, lilacs, soft pinks, and pale yellows, then use Color harmony tips to keep each wing looking like it belongs in the same sky.
Grab acrylic markers or fabric paint, and start with tinted base layers for airy wing gradients.
Slip cardboard inside the shirt, let each layer dry, and avoid bleed.
Wash and dry cotton first, then heat-set later for a finish that feels totally yours, yay!
Layered Wing Details
Once your butterfly sketch is on a hand-painted white T-shirt, the magic really starts with layered wing details! You’ll feel right at home as you build each wing in clear sections, and it’s easier than it looks.
- Start with a white base, then add deeper color layering with acrylic paint or markers.
- Use a cardboard barrier and tape the edges so nothing bleeds through.
- Finish with vein outlining in black or brown, plus tiny highlights for that stacked-wing pop!
Let each layer dry fully, then wait about 2 days before heat-setting with an iron. Your tee’ll look bold, clean, and totally yours!
Make Hand-Painted Tank Tops
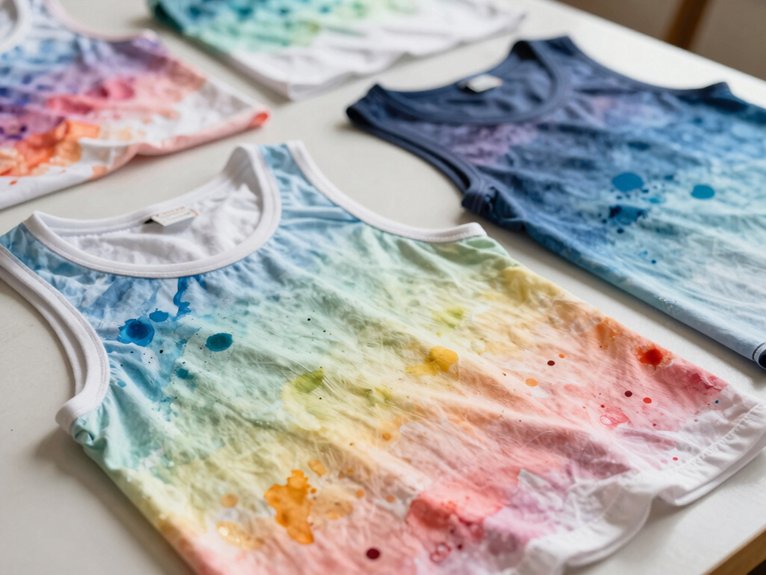
If you want your tank top to look like it came from a cute little street market booth, hand-painting is such a fun place to start! First, wash it, dry it, and choose cotton or linen so the paint sticks evenly. For easy color palette planning and texture variation tips, keep your colors simple at first.
| Step | What you need | Why it helps |
|---|---|---|
| Prep | Cardboard, tape | Stops bleed-through |
| Draw | Acrylic markers | Keeps lines crisp |
| Paint | Acrylic paint | Stays bright |
| Finish | Iron, cloth | Locks it in |
Let it dry 2 days, heat set it, then wait 4–5 days before washing.
Try a Hand-Painted Crew Neck
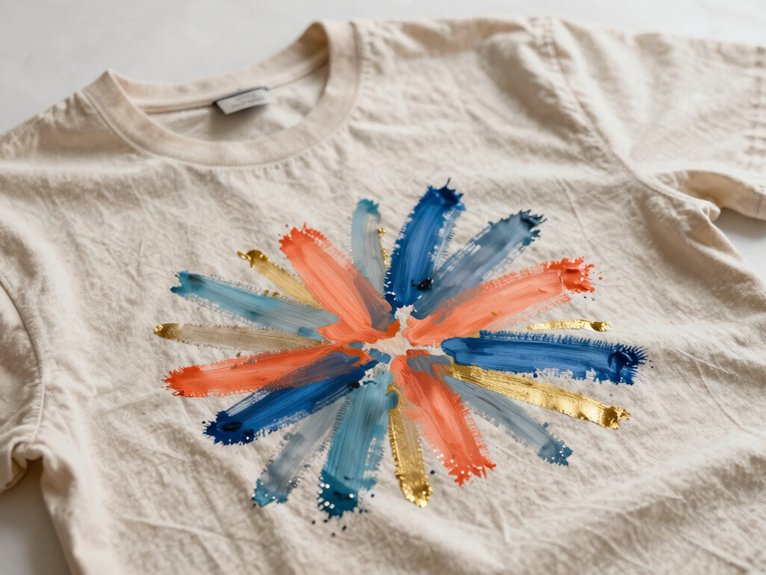
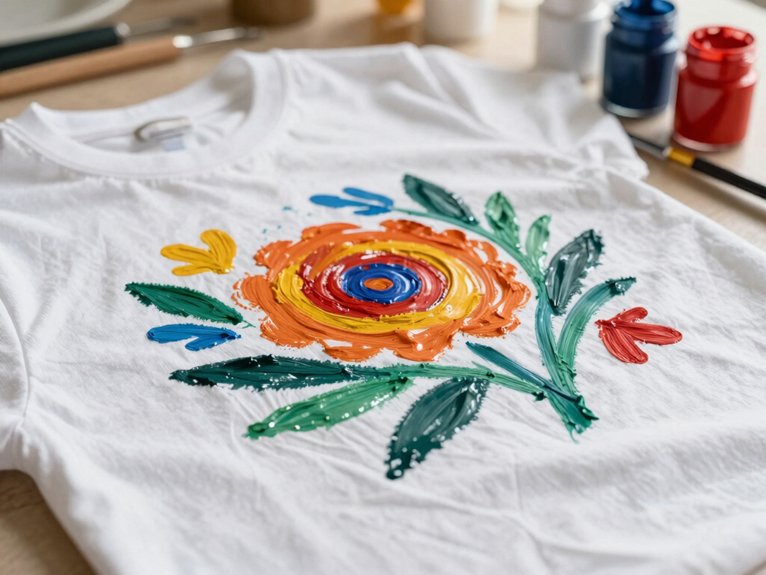
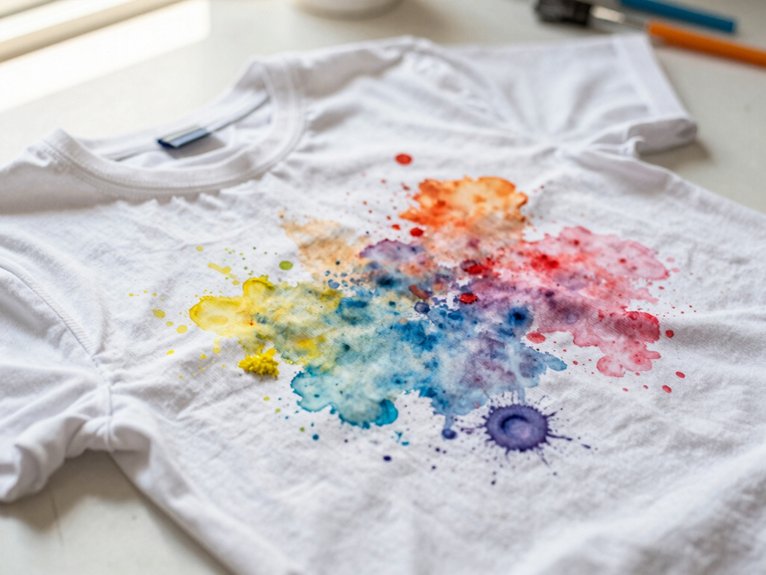
A hand-painted crew neck is a fun way to show off your style, and you can start with easy ideas like tiny stars, bold flowers, or a simple abstract splash that looks way fancier than it is!
Prep your tee by washing it first, slipping cardboard inside, and sketching your design lightly before you paint with acrylics or fabric markers.
Then let it dry for two days, heat-set it carefully, and wear it casual with jeans or shorts—because yes, your shirt can be the main character.
Crew Neck Design Ideas
For a crew neck that feels custom without getting fussy, try a hand-painted design on a plain cotton or linen tee—it’s an easy way to turn “just another shirt” into something that actually gets compliments!
You fit in fast when your shirt shows your style.
- Sketch first, then add watercolor effects or abstract patterns.
- Tape the shirt flat and use markers for clean lines.
- Swap in bold paint for color blocks, then let it cure.
It’s cheap, beginner-friendly, and honestly, way more fun than scrolling for hours.
Wait, then heat-set and wash later, and your crew neck stays ready for repeat wears.
Prep, Paint, Seal
Now that your crew neck sketch is in mind, it’s time to get the shirt ready so your design doesn’t turn into a blurry mess—because nobody wants surprise paint freckles on the back!
| Step | What to do | Why it helps |
|---|---|---|
| 1 | Pre-wash, dry | Removes sizing, sets size |
| 2 | Slip in cardboard | Blocks bleed-through |
| 3 | Tape edges | Keeps lines crisp |
| 4 | Paint gently | Improves Brush stroke control |
| 5 | Dry, heat-set | Locks in color |
Use fabric-friendly acrylic paint, and lean on Color blending tips as you work. After two days, iron medium-low with cotton between layers, then wait 4–5 days before washing. You’re making your crew neck last—nice!
Style It Casual
If you want your outfit to feel easy, fresh, and a little bit artsy, a hand-painted crew neck is such a fun move!
For casual styling, it slips right into your closet and feels like “you,” not a costume.
Try this simple idea:
- Pick a breathable cotton/linen crew neck, then wash it first.
- Lay it flat with cardboard inside, sketch in pencil, and add acrylic marker flowers.
- Let it dry, then heat-set it before wearing.
It’s perfect for everyday layering under jackets or over tees. Keep it out of sun while drying, and you’ll have a cool, low-cost piece fast!
Create Artistic Short-Sleeve Tees
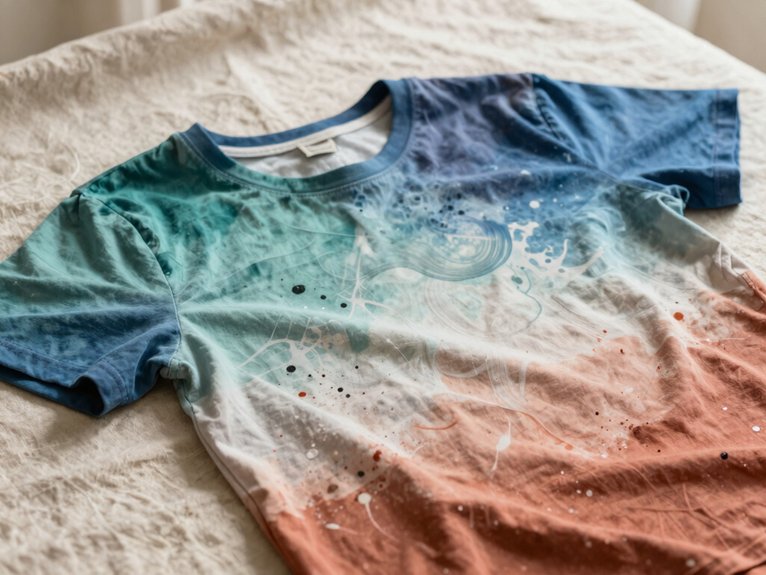
Grab a washed, fully dried short-sleeve tee and turn it into a mini art canvas—fun, fast, and way less scary than it sounds!
Choose natural cotton or linen with no pilling, then slide cardboard inside and tape the edges so your colors stay put.
Try ambient pattern placement with light graphite sketches, or add mixed media embellishment using fabric paint and markers in gentle layers.
Test each color on a scrap first, then press softly as you fill in your design.
Let each layer dry, and wait two days before heat-setting with a dry iron.
Your tee’ll look polished, personal, and proudly yours!
Use Stencils for Clean Lines
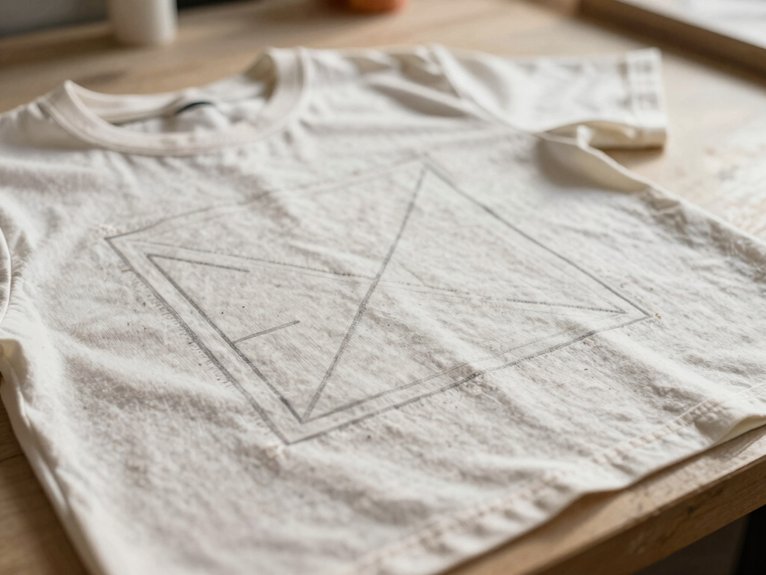
A stencil can turn your tee from “cute try” to “wow, that’s sharp!” in a hurry, especially when you want crisp lettering or a logo that actually looks like it meant to be there.
Trace the stencil with a graphite pencil first, then paint.
- Pin or tape it flat, and slip cardboard inside the shirt.
- Try stencil alignment tips, then test new pens on scrap fabric.
- Use fabric-safe markers with light pressure; for multi-layer looks, let each coat dry.
That’s crisp lettering practice without the chaos. You’ll blend in with the makers’ crowd, not the smudge squad!
Draw a Mandala Step by Step
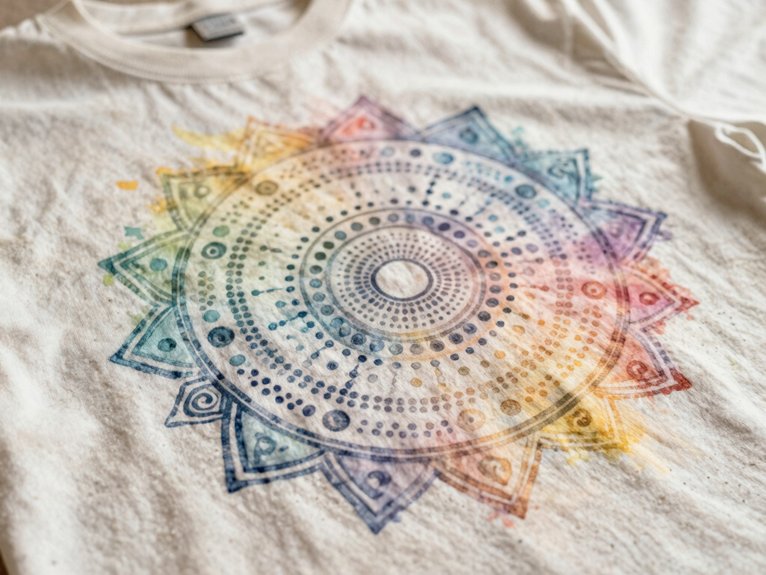
Start your mandala with a straight center line, then add semicircles and two neat rows of petal shapes around it, easy peasy!
From there, build it in stages with bigger double petals and a curly, sunflower-like outer border, so your design gets that wow factor without turning into a scribble monster.
When it’s time to color, layer your acrylic markers, let each part dry, then finish with black outlines and tiny contrast dots for a clean, photo-ready shirt!
Mandala Outline Steps
When you’re drawing a mandala on a T-shirt, it helps to sketch the shape first so your design stays nice and symmetrical, wow! Keep it simple, and you’ll feel like part of the cool creative crew right away.
- Mark a center point, then add a line, semicircles, and petal rows.
- Build bigger double petals, then a second border for balance.
- Add inner ornaments last, so the main shape stays clear.
As you outline, watch line weight and marker opacity for crisp symmetry.
Color layering can wait, but your outline should already feel bold, friendly, and ready to shine!
Mandala Coloring Details
With your mandala outline set, you can bring it to life by coloring in layers, and that’s where the magic really kicks in! Grab acrylic markers, and start with the smallest center flower, tinting it blue, orange, or pink.
That first pop helps your mandala symmetry tricks stay clean and balanced.
Next, move outward to bigger petals, curly sunflower shapes, and the halo, using lilac on the upper semicircle and yellow around the glow.
Let each layer dry, then add black accent lines for crisp contrast.
Finish with tiny droplets or balls in matching shades, and you’ve got a bold, friendly design!
Add Layered Acrylic Color
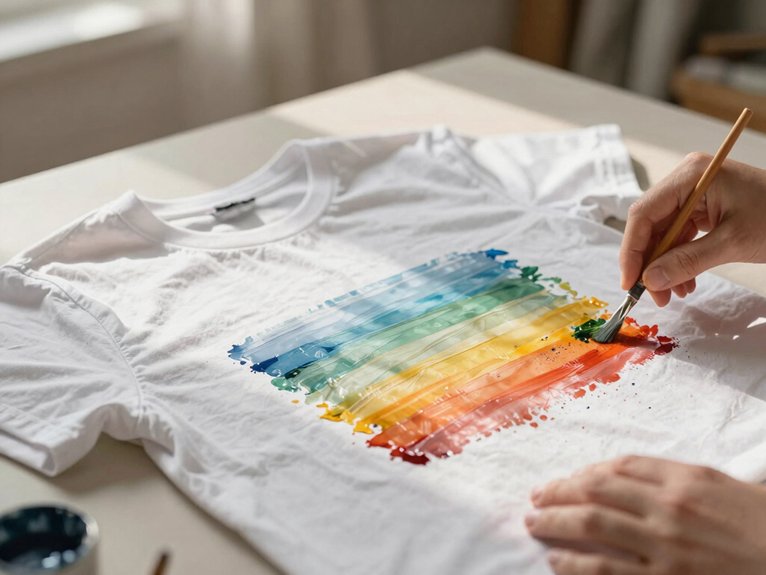
Layer your acrylic color like you’re building a tiny fabric painting masterpiece, because that’s exactly what’s happening!
Start with light base shades, then add darker and mid-tone layers for depth and a friendlier vibe.
- Use color mixing to match your palette, not guesswork.
- Try stencil techniques or a light pencil sketch to keep edges crisp.
- Paint thin coats, and let each one dry overnight so nothing smears.
This takes patience, but it’s beginner-friendly and cheap.
After the last layer dries, heat-set it with a dry iron, cotton cloth, and cardboard inside.
Boom—your tee feels polished and proudly yours!
Blend Bright Colors for Bold Designs
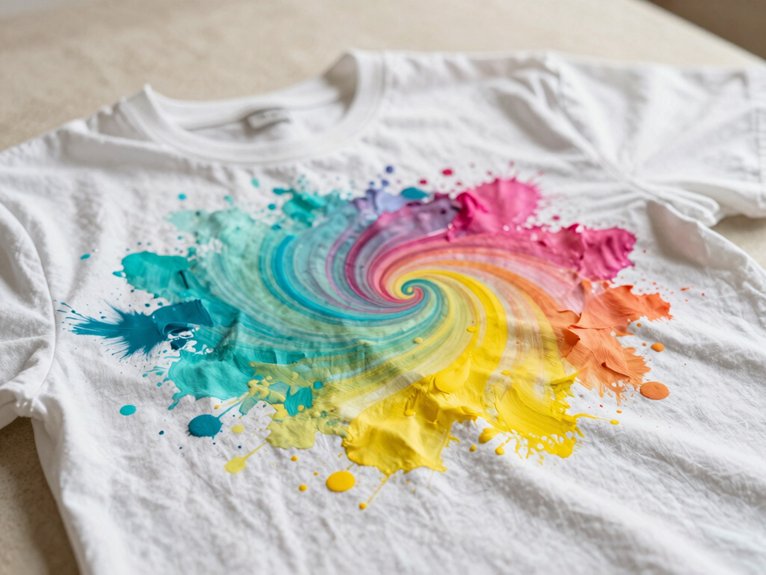
A clean, pre-washed white cotton or linen T-shirt gives your bright colors the best chance to pop, and a quick scrap-fabric test saves you from any “wait, why is my orange looking like neon tomato?” surprise!
Start with a bright blue, pink, or orange base, then add purple, yellow, or other accents after each layer’s drying time.
For bold blends, tint small sections with adjacent markers and sweep outward in semicircles or petal shapes.
Use gentle pressure, so your color contrast stays crisp, and tuck cardboard inside to block bleed-through.
Let it cure, heat-set it, and you’re set!
Paint Pop Culture Characters
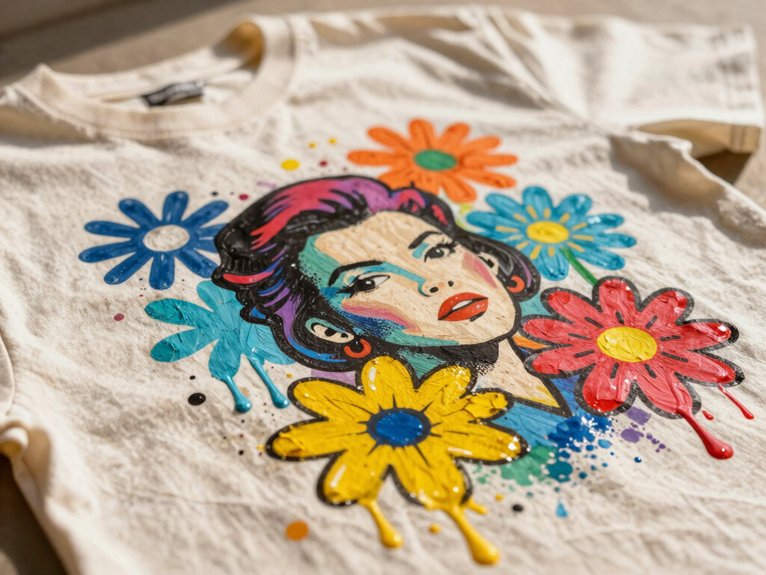
Pop culture characters are a super fun next step after bright color blends, because you can turn a plain shirt into something that looks straight out of a cartoon, movie, or game!
- Pick Stenciled Characters, then trace with a graphite pencil for clean edges.
- Prime your markers on scrap paper, add a white base, then build darker colors.
- Use acrylic pens for Outline Precision and fabric paint for filled spots; wait for each layer to dry.
Cardboard inside the shirt stops bleed-through, and once everything dries for about 2 days, heat-set it with a low iron and cotton cloth.
Nice, right? You’ll wear your fandom with pride!
Make Disney and Cartoon Tees
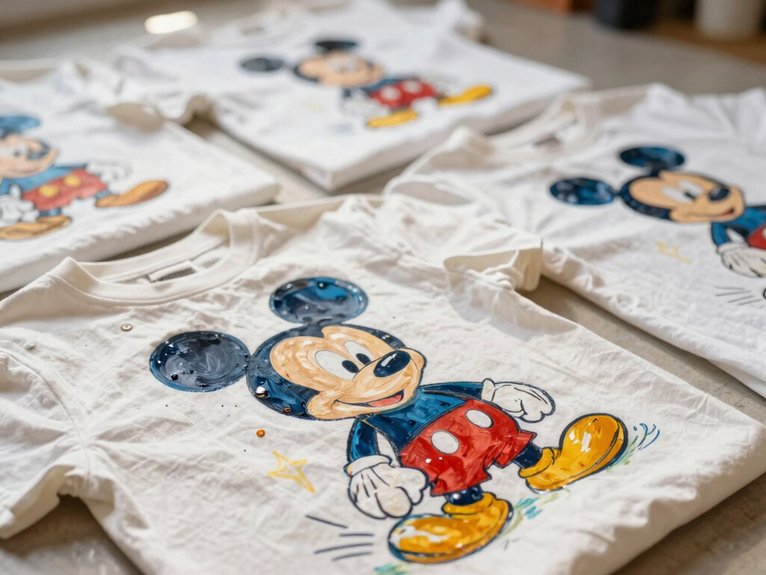
You can turn a plain tee into a fun Disney or cartoon favorite by tracing a simple character stencil, then filling it in with easy color blocking, so even a beginner can get bold, clean shapes—cute, right?
Start with a white base if you need one, use cardboard inside the shirt to keep the paint from sneaking through, and let each layer dry for crisp lines that actually look polished.
For the extra wow factor, try adding gold lettering at the end, because that little shimmer can make your shirt feel custom-made without costing much at all!
Disney Character Stencils
Want an easy way to make a Disney tee look polished without having to freehand Mickey’s ears or Minnie’s bow? Use Disney character stencils and you’ll feel like part of the club in no time!
Wash and dry your shirt first, then slide cardboard inside so paint stays put.
- Tape or pin the stencil on a flat shirt.
- Fill it with fabric paint, or use Custom marker techniques for tiny lines.
- For layered shading effects, let each color dry before the next.
Lightly trace with graphite first, then add stars and highlights. After 24 hours, heat-set it with a dry iron.
Cartoon Color Blocking
Start with a washable, pre-washed white T-shirt, then slide cardboard inside so your cartoon color-blocking paint stays sharp and doesn’t sneak through the fabric—because nobody wants a surprise tie-dye situation!
Next, sketch simple Disney-style shapes with a stencil or marker pen, then test your palette on scrap fabric first. You’ll feel way more confident, and color palette testing keeps your tee from looking muddy.
Fill big areas with fabric-safe acrylics or markers, and practice edge thickness practice so outlines stay bold.
Build in layers, letting each one dry completely.
For the coolest pop, use a light base first, then add dark blocks.
Wait two days before heat-setting, and you’re set!
Add Gold Lettering
For a Disney or cartoon tee, gold lettering can make your design feel instantly magical, like it wandered out of a theme park gift shop in the best way! You’ll fit right in with your crew when your shirt glows with fabric shimmer and playful charm.
- Lightly sketch the word first, then trace it with a fine paint pen.
- Test gold acrylic or markers on scrap fabric for the right color highlight.
- Paint a solid base, add gold shadowing, then a lighter edge for Texture contrast.
Keep cardboard inside, let layers dry, cure 24 hours, and heat-set. Your tee’ll last, wow!
Add Lettering to Your Design
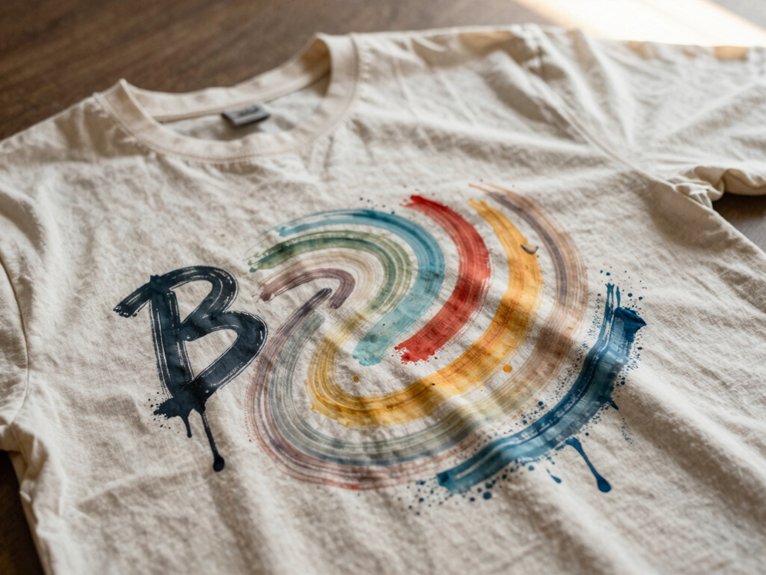
If your shirt design needs a name, quote, or bold little word, lettering can pull the whole look together in a snap! You belong in the creative crew, and smart Typography placement helps your words feel intentional, not random.
Check Color contrast considerations on scrap fabric first, because shirt colors can surprise you—like, “Wait, that neon looked calmer online!”
Sketch the exact size, then use stencil or masking tape for crisp edges.
For tiny text, grab fabric paint markers, press gently, and keep your hand steady.
Let each layer dry fully, then heat-set for a lasting finish.
Fix Paint Mistakes While Wet
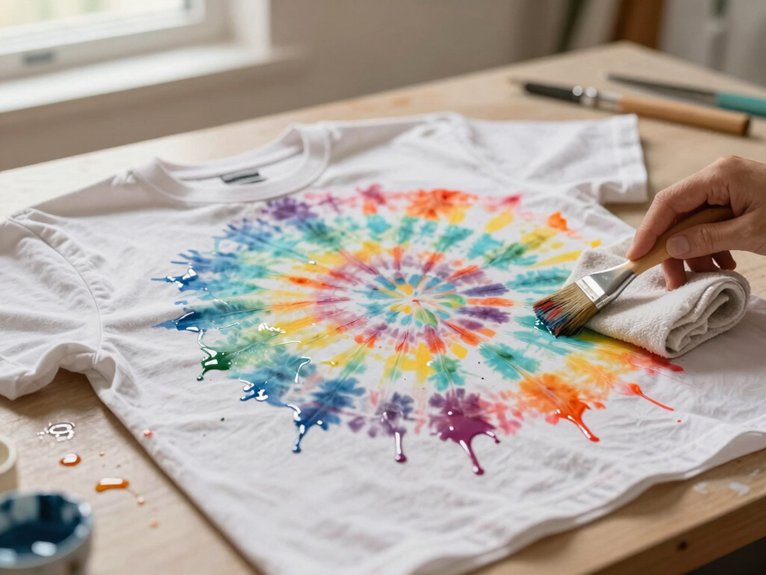
Oops, a paint slip doesn’t have to ruin your shirt—when it’s still wet, you can blot it first, lift off the extra paint, and redraw the line before it sets.
Work gently with a dry cloth or paper towel, because rubbing just turns a tiny mistake into a full-on art drama.
If an edge looks fuzzy, fix it right away with a clean, damp cloth, and your design will stay crisp and neat!
Blot Before It Sets
While the fabric paint is still wet, you’ve got a small window to fix little mistakes before they turn into permanent drama! You’re essentially in the rescue squad now, and it’s easier than a full redo.
- Blot, don’t rub, with a clean paper towel or cotton cloth.
- Check color mixing and edge cleanup right away, since wet paint can spread.
- Use dry testing on a scrap for tiny blotting or a mini patch test, then mind seal timing.
Move fast, because fresh paint locks in quickly. After cleanup, let it dry fully, then heat set it before wearing.
Lift And Redraw
Got a wet paint mistake on your T-shirt? Don’t panic!
You can lift and redraw fast, and your crew will never know.
Grab a clean damp cloth or paper towel, then blot gently to pull up extra color before it sets.
Keep pressure light, because fabric paint can wander into nearby fibers.
For stubborn spots, try a tiny cheap brush with a little bleach, but test a hidden area first, okay?
Dab, don’t scrub, then stop with a wash.
Follow color mixing rules and use edge cleanup tips.
Work in thin layers, let each one dry, and keep the shirt out of direct sun before heat-setting.
Correct Edges Early
At the edge of your design, a tiny mistake can turn into a big blob fast, so catch it early and you’ll save yourself a lot of drama! With smart Pattern Planning, you stay in the crew and keep your tee looking sharp.
For Color Mixing, test blends first, then clean the border while the paint’s wet.
- Use a clean, slightly damp cloth to wipe slips fast.
- Slip cardboard inside the shirt for Mistake Prevention.
- Add tape to the outer edges and move with steady Brush Control.
If you need a fix, try a tiny bleach test first. Wait between layers, and your edges stay crisp!
Let Each Layer Dry Fully
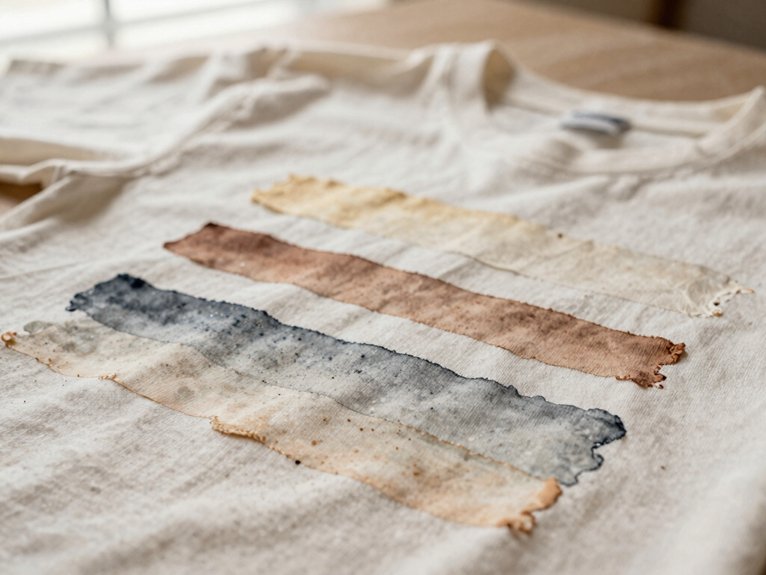
Once you’ve painted the first layer, give it time to dry fully before you add anything else, because rushing this step is the fastest way to turn crisp lines into a colorful blob-fest!
Your color mixing tips get way better when each coat stays separate, and crisp outline control feels easy when the shirt isn’t tacky.
For halos, shadows, or tiny details, wait until the paint feels totally set to the touch.
Use the same drying time each round, and check again before you paint—seriously, sticky spots love surprises!
When you finish, let the whole design rest before you move on.
Seal Your Shirt With Heat
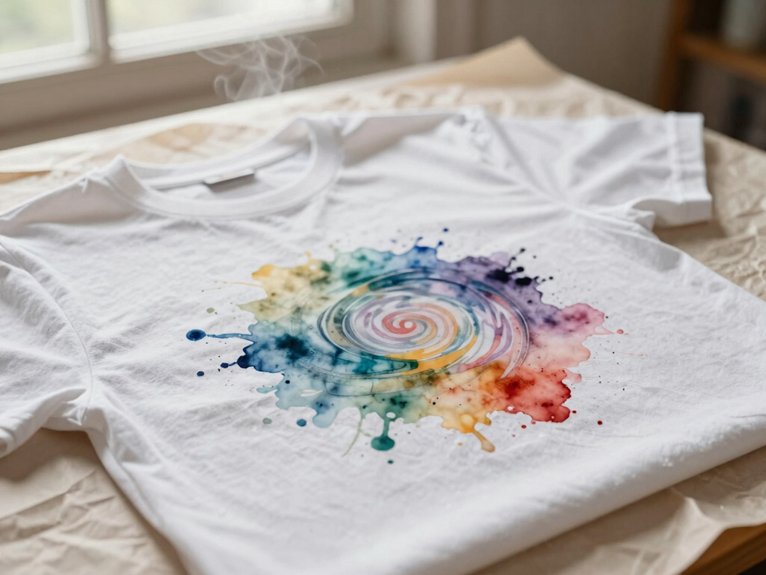
After your design has dried, you can lock it in with heat so all that hard work doesn’t vanish in the wash—yay for staying strength!
You’ll feel like part of the maker crew, and that’s the fun.
- Let it cure 24–48 hours first.
- Place cardboard inside the shirt, then a cotton cloth on top.
- Use medium-low heat for 5–10 minutes, or hover the iron if you want less contact.
Use fabric markers, practice layering, and try temperature testing on a scrap to improve adhesion.
Wait 4–5 days before washing, and your colors should stay bright.
Iron the Design for Durability
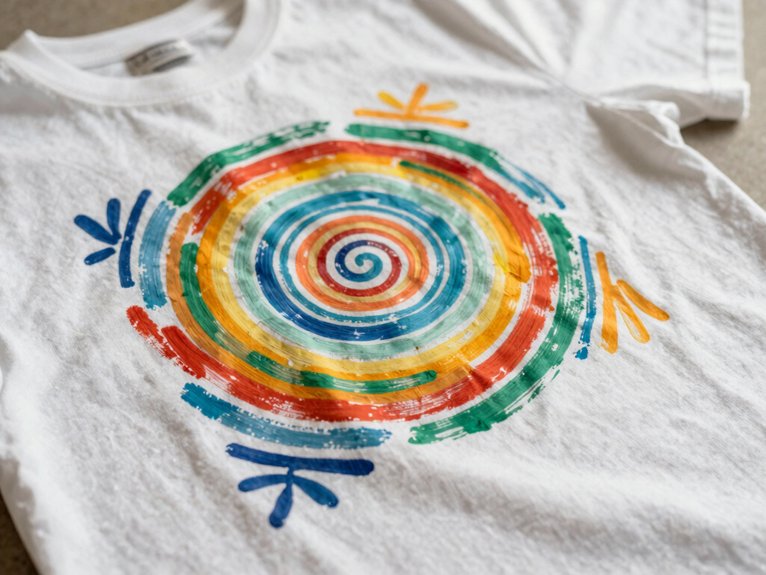
To help your painted shirt last longer, let it dry for at least 2 days before you even think about heat-setting it—patience really does pay off here!
Then slip cardboard inside the shirt, lay a piece of cotton fabric over the art, and iron on medium-low for 5–10 minutes. Nice and easy, team!
If you want extra Longevity tips, keep the shirt out of direct sunlight while it dries, so the colors stay bright.
For raised details, try indirect heat by holding a warm, dry iron just above the paint.
Follow this washing care, and wait 4–5 days before washing.
Photograph Your Finished Shirt
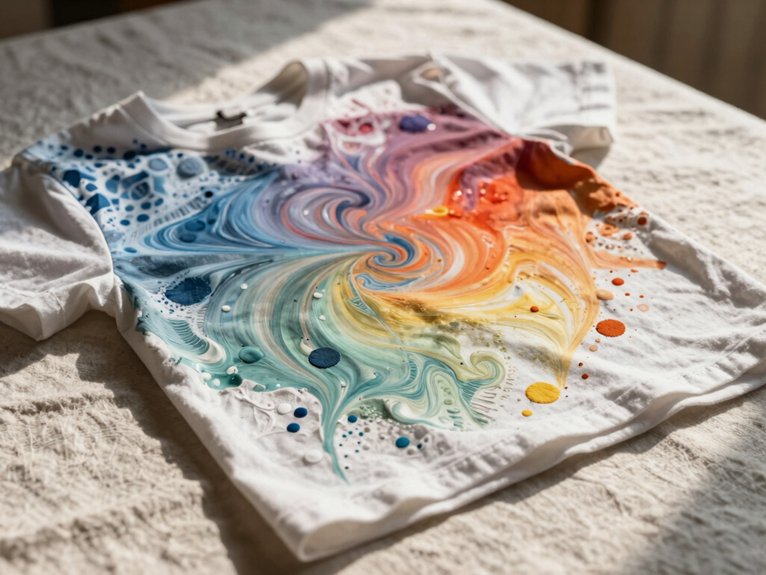
With your painted T-shirt fully dry, set it on a clean, flat surface and slide a piece of cardboard underneath so the fabric stays put while you snap away—no sneaky wrinkles, no wobble, no drama!
Now you’re ready to show off your mini masterpiece, and yes, your crew will want to see it.
- Choose photo angles that keep the design crisp and centered.
- Use editing tips to brighten the shot, but keep the colors true.
- Shoot in bright, indirect light, then grab a front view, a sleeve or hem detail, and one full-shirt photo.
If you heat-set it, wait until it’s cool first, then shoot against a solid, contrasting background.
Avoid Fabrics That Don’t Hold Paint
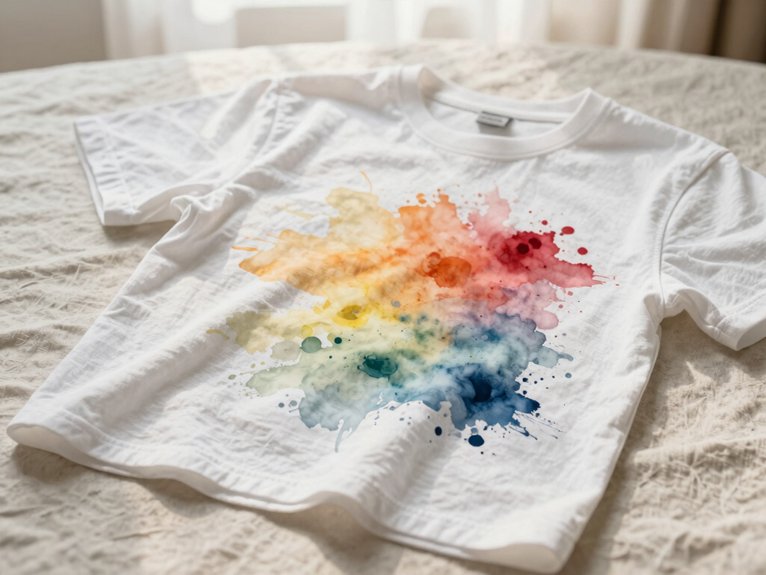
Before you grab a brush and start painting, check the shirt itself, because the wrong fabric can turn a cute idea into a blotchy mess!
You want cotton or linen, not snaggy, pilled, or faded shirts, since rough spots hurt color durability and stencil adhesion.
Skip blends with more than 10% synthetic fibers, too.
Wash and dry first, so hidden coatings won’t fight your paint, and your shirt won’t shrink later.
Unsure? Test marker vs paint on a hidden seam first.
Then, add heat set sealing, and your design’ll stick with style.
Nice, right?
Frequently Asked Questions
Can Chatgpt Create T-Shirt Designs?
Yes, you can use ChatGPT to create a custom design and rapid mockups—why start from scratch alone? You’ll get sketches, palettes, layouts, and painting steps, so your shirt feels uniquely yours and part of your crew.
How Profitable Is Selling Tshirts?
You can make solid money if you price right; Pricing profit margins depend on your labor, materials, and fees. With online sales growth, you’ll earn more by selling unique tees directly and building a loyal community.