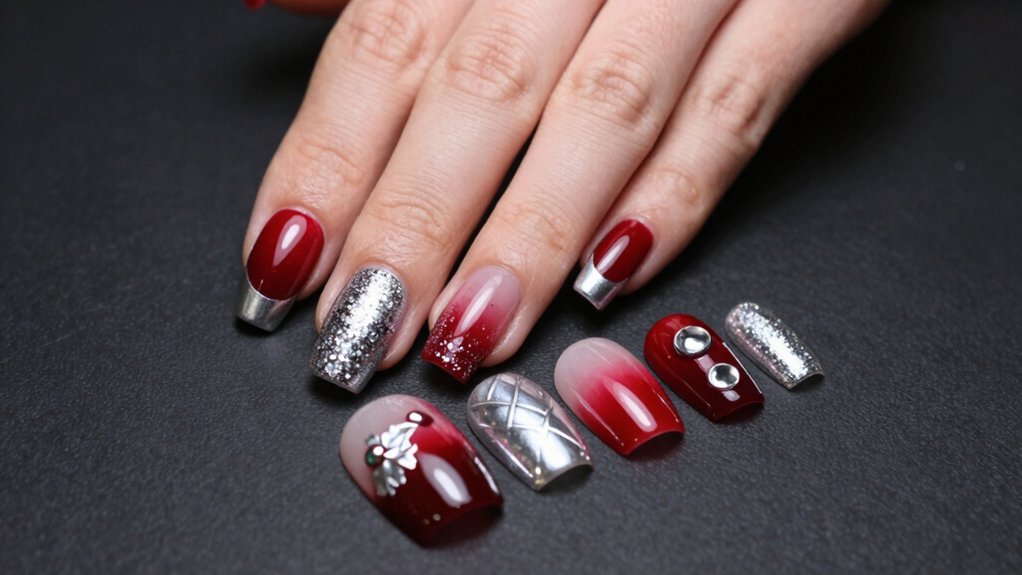
You can make red nails feel totally spring-ready by choosing juicy shades like cherry, coral, or watermelon, then keeping things bright with glossy shine and crisp white or denim contrast. Try a quick DIY with red polish, a sheer base, and tiny French tips, hearts, or seed dots for a fresh look. Want extra wow? Pair cherry red with a neon orange edge or a watermelon tip for a playful finish that really pops!
Key Takeaways
- Choose bright, warm reds like cherry, coral, tomato, or watermelon for a fresh spring feel.
- Avoid burgundy and wine shades, which can look too heavy and wintry.
- Pair red nails with crisp white, denim, or tiny florals to keep the look airy.
- Add glossy or jelly finishes for lighter, juicier color that pops in daylight.
- Try spring-friendly designs like red French tips, cherry hearts, watermelon tips, or red-and-pink ombré.
What Makes Red Spring Nails Feel Fresh?
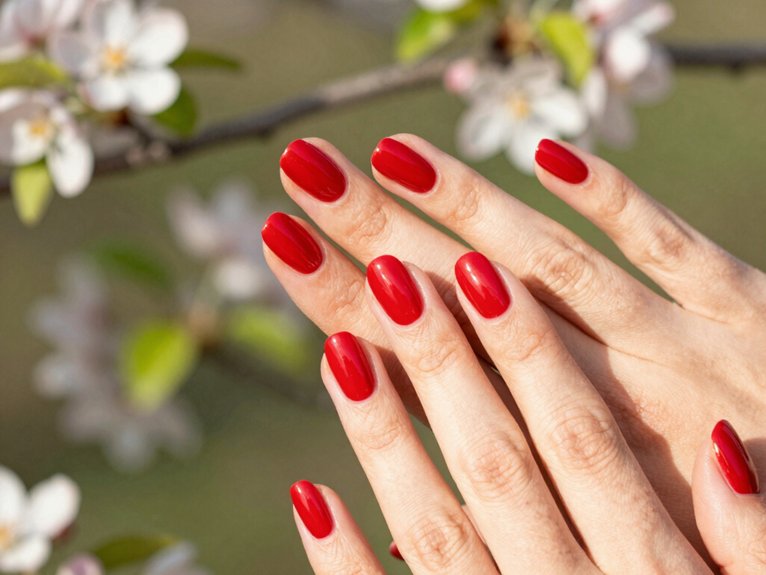
If you want red spring nails to feel fresh, the secret is to keep them bright, warm, and a little juicy—think cherry, watermelon, coral, tomato, or even fire-engine red instead of deep burgundy or wine.
You’ll fit right in when your shade feels like sunny fruit, not heavy velvet!
Try skinny contrast with crisp white linen, denim, or tiny florals, and the color suddenly breathes.
Sheer layering also helps; a jelly topcoat or glossy finish makes red look lighter, almost poolside glam.
Want the quickest test?
Hold your polish beside a winter red, and the spring vibe pops fast.
Pick the Best Red for Spring
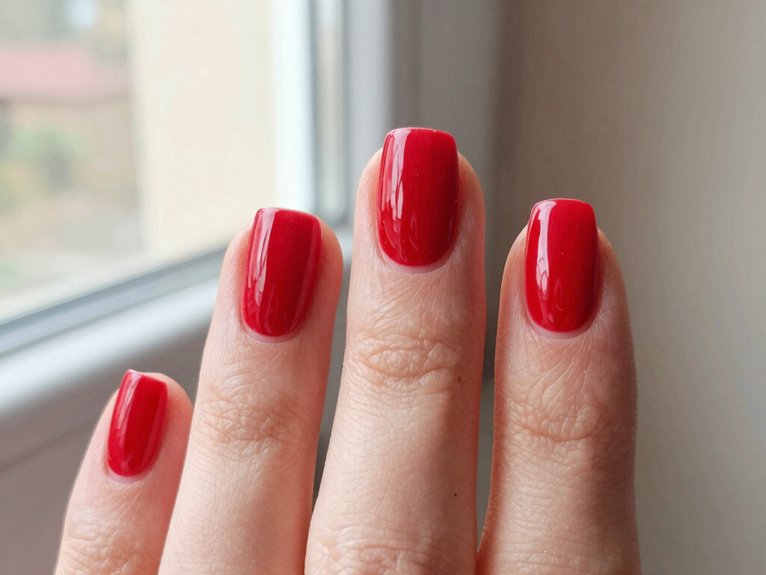
Which red should you pick for spring? Start with cherry red, because it feels warmer, juicier, and friendlier than winter berry shades.
If you want fresh + playful, coral or tomato red gives you that easy, sunny vibe, and it looks great with Pairing Red Whites.
Need a little edge? Try bing cherry for a deeper, still-spring look.
For bold energy, fire-engine red is the surprise star, crisp in daylight and so easy to wear with Spring Accessories,.
Compare swatches side by side, since warmer reds usually feel brighter than moody wine tones.
That’s the trick, and it’s fun!
Why Cherry Red Works So Well
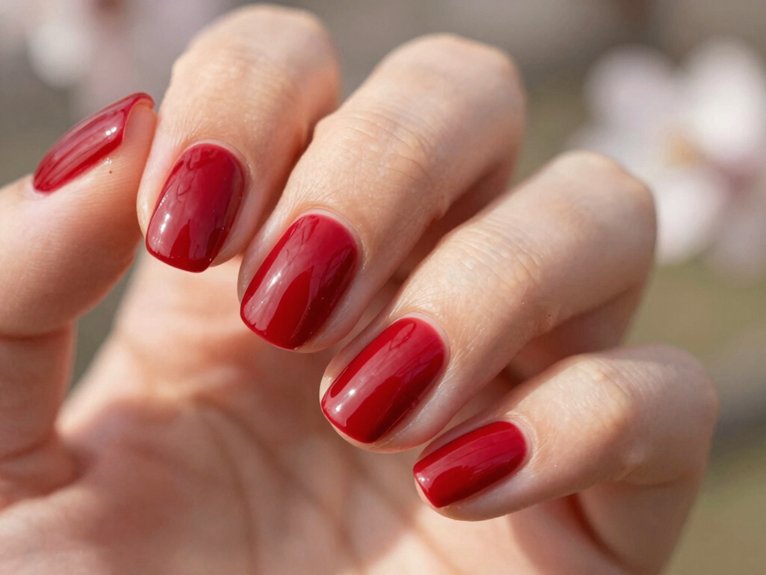
Cherry red works so well because it hits that sweet spot between bright and wearable, so your nails feel fresh without looking too heavy or wintery. You can choose bright cherry, deeper bing-style cherry-red, or softer maraschino tones, depending on how bold you want to go.
It’s an easy win for spring outfit styling, since the shade pops against white and even chrome. For a cute Cherry nail pairing, add light fruit accents like tiny cherries or seed dots, and choose jelly vs glossy based on your vibe. Jelly feels breezy, glossy looks extra polished—either way, you’ll fit right in!
Bright Coral Red Nails for Spring
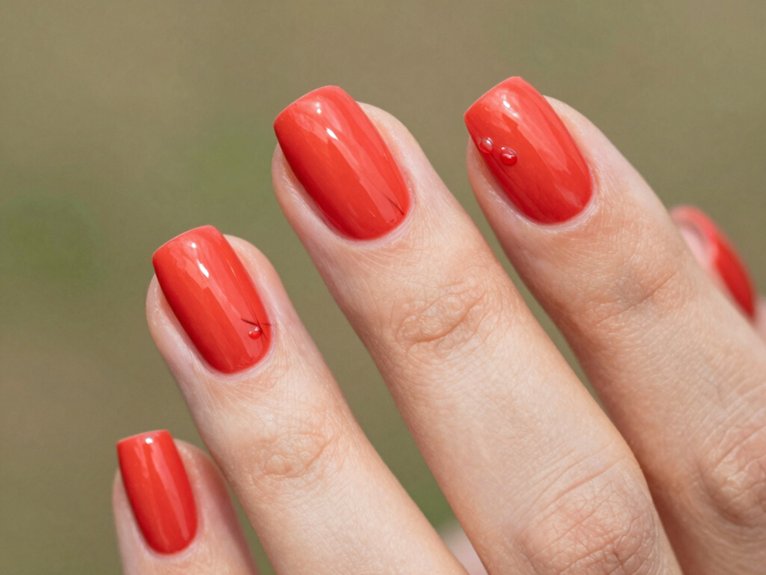
When you want a spring mani that feels sunny instead of heavy, bright coral red is such a fun choice! This warm, orange-leaning shade looks fresh, flatters lots of skin tones, and plays nicely with white linen, denim, and pastel florals.
For easy Red Nail Care, use a glossy top coat or a jelly finish, and your nails will look lighter and breezier.
Trying Spring Color Matching? Start with coral French tips, then add tiny fruit dots or soft pink color-blocking.
Want a trendier twist? Ask for a coral-red ombré, lighter at the cuticle, deeper at the tip. Wow, cute!
Compare Winter Reds and Spring Reds
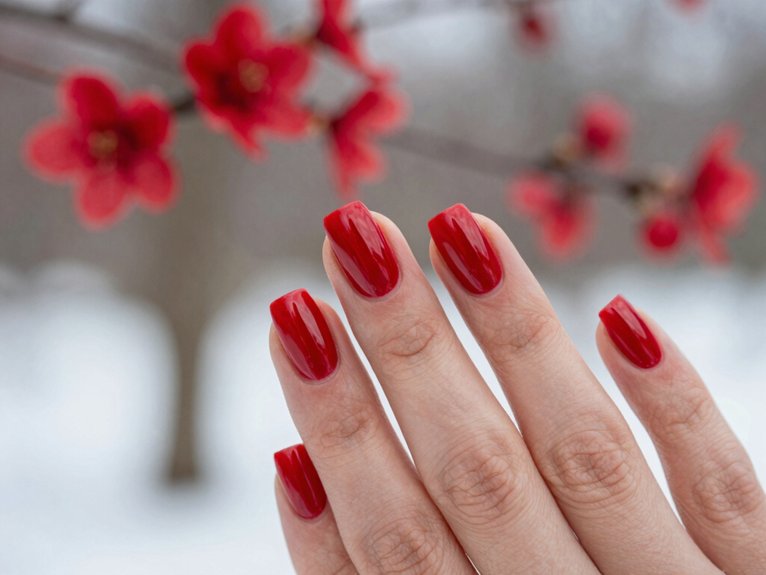
If bright coral red is the sunny side of spring, winter reds are its moodier cousin, and wow, the difference shows right away!
You’ll spot it in undertone swatches: winter leans cool, deep cranberry or wine, while spring glows warmer, with cherry, poppy, and tomato vibes.
For a quick seasonal contrast, lay two swatches side by side, use hex labels if you’ve got them, and let the darker shade act like a baseline.
Then try the brighter one as your pop.
Swap in warmer reds, and your mani stays juicy, fresh, and never heavy.
Classic Red Spring Nails That Always Work
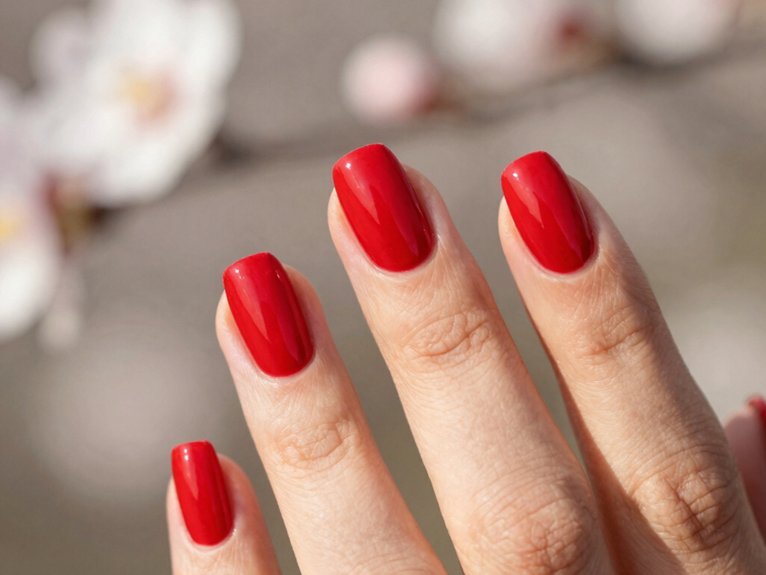
For a spring mani that just works, classic red is the easy win you can always count on. You get that bright, poolside pop without trying too hard, and it still looks polished and expensive—nice!
Try red accent styling by painting one nail, then adding tiny hearts or cherry decals with a dotting tool and a few stickers; it’s cheap, fast, and beginner-friendly. Clean cuticles keep the look rich, while white tees, denim, and florals love coral cherry pairings.
Want more zing? Go for cherry-red jelly or glazed cherry chrome for the same classic vibe, just brighter.
Cherry Red Glossy Nails
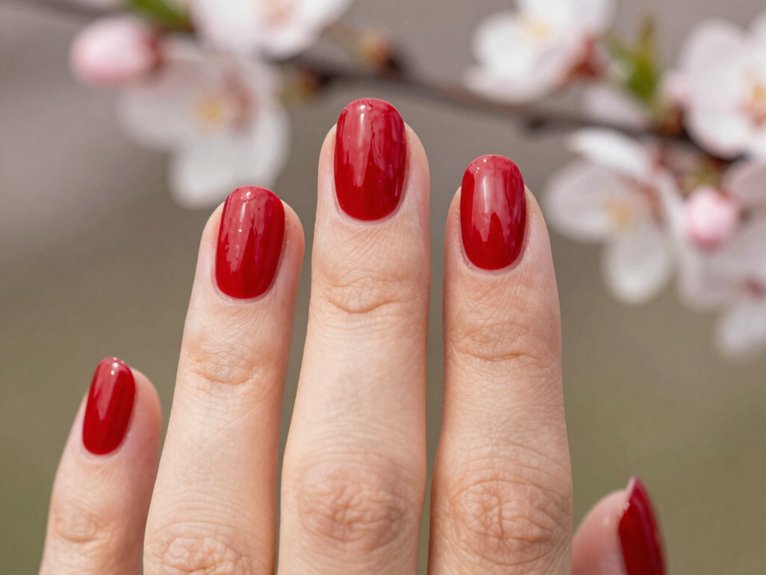
Cherry red glossy nails are the kind of spring mani that make your hands look like they’ve been basking poolside, even if you’re just holding an iced coffee! You’ll fit right in with spring nail trends when you choose a true cherry shade, not a deep berry, because it reads brighter and warmer.
Grab a smooth red polish, a fine brush for tidy cuticles, and a high-shine top coat. Paint on thin, even layers, then seal everything with glossy topcoat tips for that expensive, wet-look finish.
Any nail shape works, and the crisp color keeps your mani looking fresh, bold, and totally shareable.
Watermelon French Tips for Spring
Watermelon French tips are such a fun spring switch-up, and you can start with a pale pink base that makes the bright red tips pop like a juicy slice of fruit!
Add tiny black seed dots near the edge for that cute watermelon look, and keep them neat so the design stays clean, not messy.
It’s playful, fresh, and a little cheeky, so your nails feel seasonal without trying too hard—pretty smart, right?
Pink Base Contrast
If you want a spring nail look that feels bright but still sweet, start with a pale pink or milky pink base and add bold red French tips—instant watermelon vibes, and yes, it’s as fun as it sounds! You’ll fit right in with a fresh, playful crowd. For gloss vs matte, glossy wins here, because it makes the color pop in daylight.
| Step | What to do |
|---|---|
| 1 | Pick a sheer pink base |
| 2 | Paint red tips |
| 3 | Keep edges soft |
| 4 | Seal with shine |
| 5 | Follow nail longevity tips |
Tiny Seed Details
Now that your red tips are looking glossy and bright, it’s time to give them that cute little watermelon feel!
Start with a pale pink or near-bare base, then add tiny black seed dots across each red tip.
For easy seed placement tips, keep the dots sparing but even, and stay mostly inside the French-tip area so your nails still look clean.
A thin brush works, but my dotting tool choice is a tiny one, because it keeps each seed micro-sized and neat.
Seal everything with a high-gloss top coat, and boom, your nails look like juicy fruit gel—so cute, so spring!
Playful Spring Twist
For a sweet spring twist, you can turn classic French tips into a watermelon-inspired manicure that feels fresh, fun, and super easy to wear!
- Start with pale pink for Seasonal Nail Prep.
- Paint bright red, slightly rounded tips.
- Add tiny black seed dots.
- Finish with glossy shine for Styling Red Outfits.
You’ll get clear base-to-tip contrast, so the look reads playful, not messy. This DIY stays budget-friendly and beginner-friendly, and it gives your nails that juicy spring pop!
Keep the red tips a little thicker, and suddenly your manicure feels like picnic season.
Red Floral Nail Art for a Soft Look
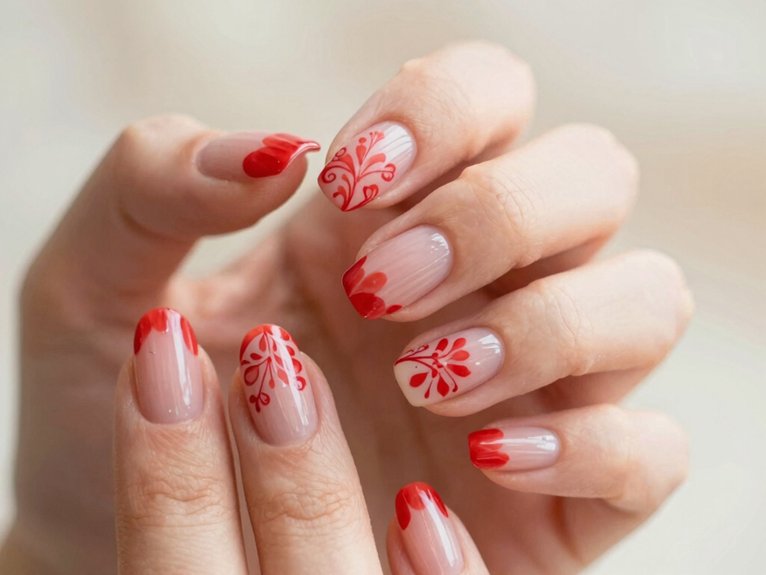
With red floral nail art, you can keep the whole look soft and springy by starting with dainty poppies or hibiscus details on a nude or white base, and that little contrast makes the red pop without feeling loud.
Try sheer floral placement along the edges, because it gives your nails red nail breathability and a lighter, friendlier vibe.
Grab a thin brush, dotting tool, and sheer red polish, then sketch tiny petals, add a glossy top coat, and you’re set!
If you want easy mode, use sticker accents on one or two nails, and keep the rest clean for balance.
Matte Coral Red Nails
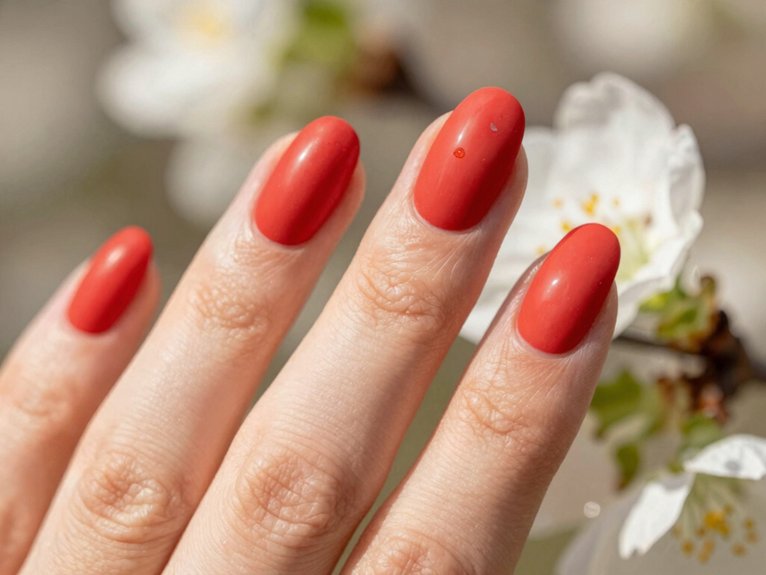
Because spring loves a fresh pop of color, matte coral red nails are a super easy way to get that bright, juicy look without going full neon!
You’ll love how the warm, orange-leaning shade feels sunny, not heavy, and the matte finish gives it a velvety, modern twist.
- Try short almond shapes for a fresh, easy vibe.
- Pair it with white tees and linen denim pairings.
- Use a clean cuticle line for a neat look.
- Add one tiny gold foil dot if you want a little wow!
It’s beginner-friendly, affordable, and seriously spring-ready.
Red and Pink Ombre Nails
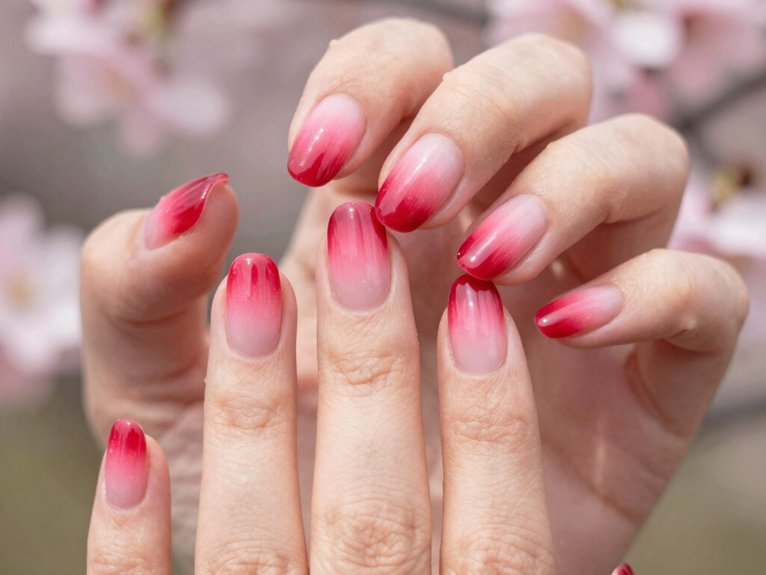
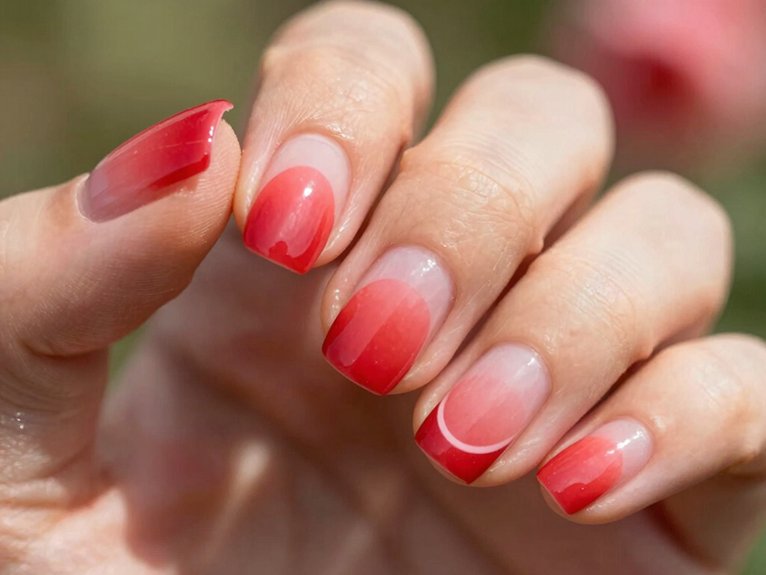
Red and pink ombré nails give you that dreamy sunset fade blend, with deeper cherry red melting into soft pink for a look that feels fresh and springy.
You can keep it smooth with 2–3 red shades plus one pink, then paint thin layers so the transition stays soft and pretty—no harsh lines here!
And honestly, the best part might be how that lighter base keeps the whole look from feeling too heavy, so your nails stay bright, breezy, and totally vacation-ready.
Sunset Fade Blend
At the tip of a bright spring mani, a sunset fade blend gives you that dreamy red-to-pink ombré that feels soft at the base and bold at the ends—so it looks like a tiny beach sky on your nails!
You’ll fit right in with this easy, cheerful look.
- Pick milky pink, cherry red
- Use a sponge or brush
- Blend at the center
- Seal with shine
Texture contrast tips: keep edges smooth, then add Glossy finish options for extra pop.
DIY costs little, needs basic polish, and the fade hides grow-out nicely.
That’s a win, right?
Soft Spring Contrast
A soft spring contrast can make your mani feel fresh, playful, and a little bit stylish all at once!
You’ll love a red-and-pink ombré that melts soft pink into cherry or tomato red for that sunset vibe.
Start with a milky pink base, then use ombre brush placement to keep the darker red near the tips, fading upward so new growth hides better, too.
For short nails, keep the blend tight and chic; for longer nails, stretch it out for poolside glam.
Finish with high-gloss top coat and glossy finish tips, and you’ll get a clean, not streaky, look!
Red Nails With Gold Foil Accents
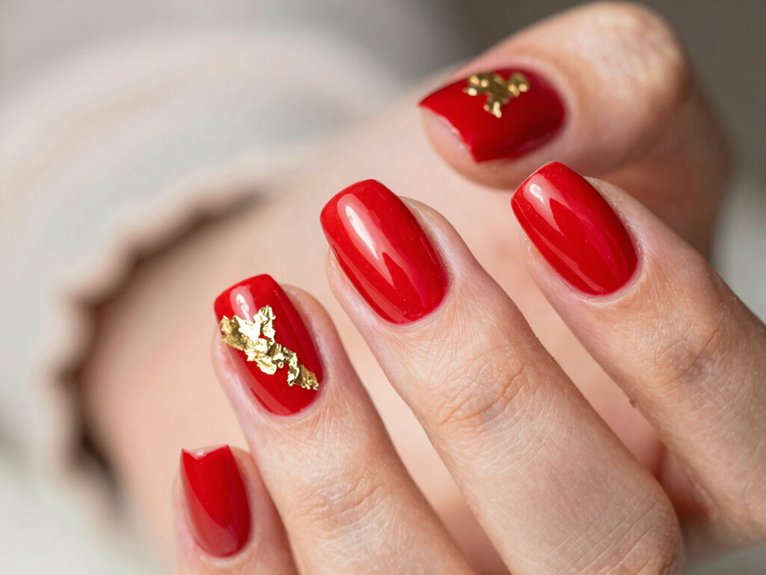
When you want your spring manicure to feel bright but still a little luxe, try pairing a cherry-red base with gold foil accents—it’s such a pretty combo, and yes, it shines!
You can keep it simple, friendly, and easy to wear.
- Use spring nail removers for any cleanup.
- Follow cuticle care tips so the finish looks neat.
- Place foil in random shards or tiny flecks.
- Keep it to one or two accent nails.
The gold feels sunlit against red, especially when you choose cherry, coral, or tomato-bright polish.
Add a spotted underlay, and the shine pops even more.
Mini Strawberry Accents
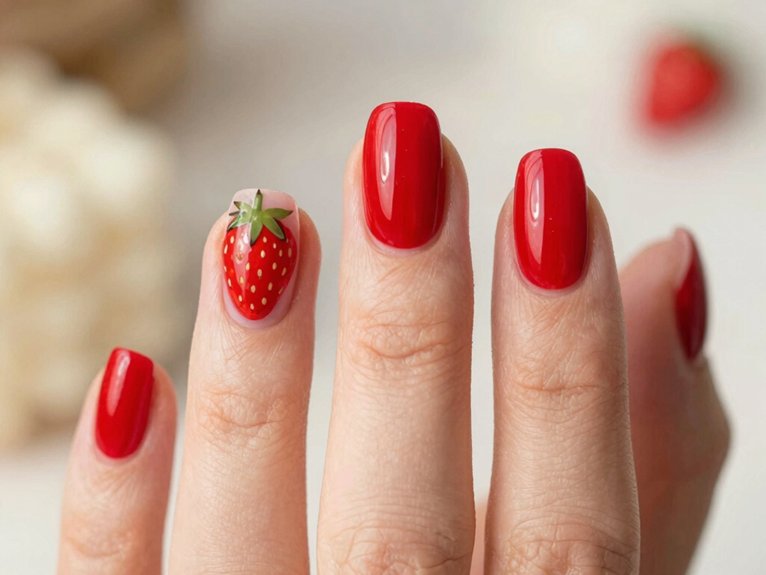
If you want a spring mani that feels cute, fresh, and just a little playful, mini strawberry accents are such a fun pick!
You can start with a red base, then add tiny strawberry bodies and leafy green tops on one or two accent nails, so your look stays sweet, not busy.
For DIY, grab red polish, a thin brush or sticker sheet, and maybe a dotting tool.
Keep your strawberry placement balanced, and use micro nail borders or tiny tips to frame the art.
A few seed dots later, you’ve got a polished set that feels cheerful, easy, and totally wearable!
Tomato Red Coffin Nails
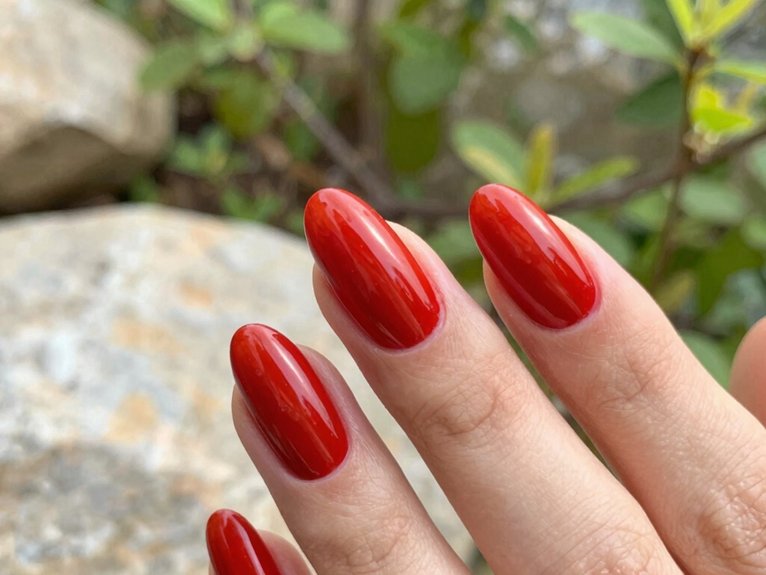
Tomato red coffin nails bring such a bold, polished spring vibe, and honestly, they look amazing on longer lengths! You’ll fit right in with this sleek, sunny shade, and it feels fresh without trying too hard.
- Pick a warm red-orange tomato tone
- Apply two coats for smooth coverage
- Add a glossy top coat for shine
- Try nude bases or subtle white details for variety
Coffin shape keeps the color elegant, and that clean finish helps with fresh manicure longevity.
For spring nail care tips, keep cuticles hydrated and hands protected. Tiny effort, big payoff, friend!
Red and White Swirl Nails
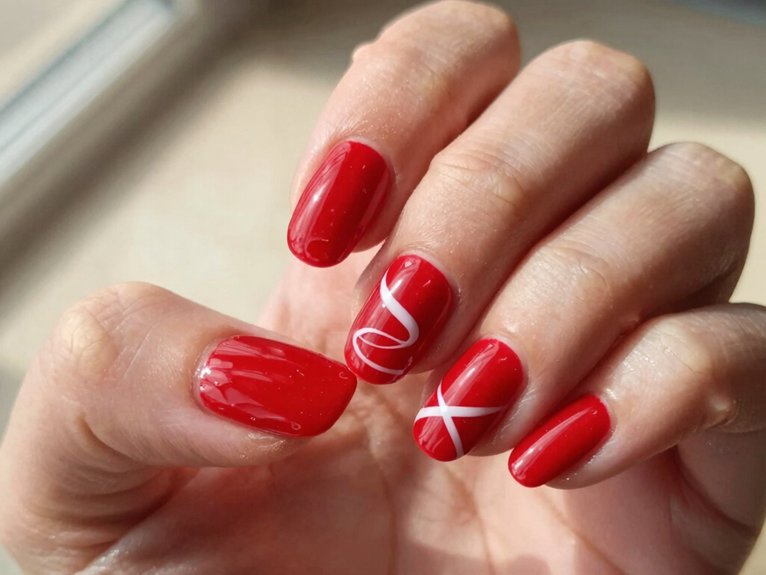
Red-and-white swirl nails give you that classic retro contrast, with glossy red ribbons twisting through a crisp white base for a look that feels fresh and springy—so good!
You can keep the swirls thin and spaced out so they stay clean, then let a high-shine top coat make everything pop in daylight.
If you’ve got shorter nails, even better, because the curves add playful movement without crowding the design, and yes, it’s cute without trying too hard.
Retro Color Contrast
For a nail look that feels straight out of a vintage dream, these red and white swirl nails bring major retro energy without being fussy.
- Use a retro swirl technique with cherry red and crisp white.
- Keep one base coat steady for smoother vintage color matching.
- Paint thin white spirals, then let the contrast do the work.
- Seal it with glossy top coat for a bright, spring-ready shine.
You’ll get a clean, defined shape that feels bold and friendly, like your nails showed up to the party first.
It’s beginner-friendly, affordable, and so easy to wear with denim, dresses, or your favorite sweater!
Playful Swirl Placement
When you want your mani to feel playful but still polished, swirl placement makes all the difference! You can keep red-and-white swirl nails cohesive by starting with a sheer nude or milky base, then adding cherry red curves with bright white accents so the contrast pops.
Try swirls near the tips or around the edges, not all over, so each nail feels styled, not randomly marbled. A thin striping brush, tape guides, and a little swirls mapping help you nail the curve with clean linework. Finish with glossy topcoats for that glassy, spring-ready shine.
Red Heart French Tips
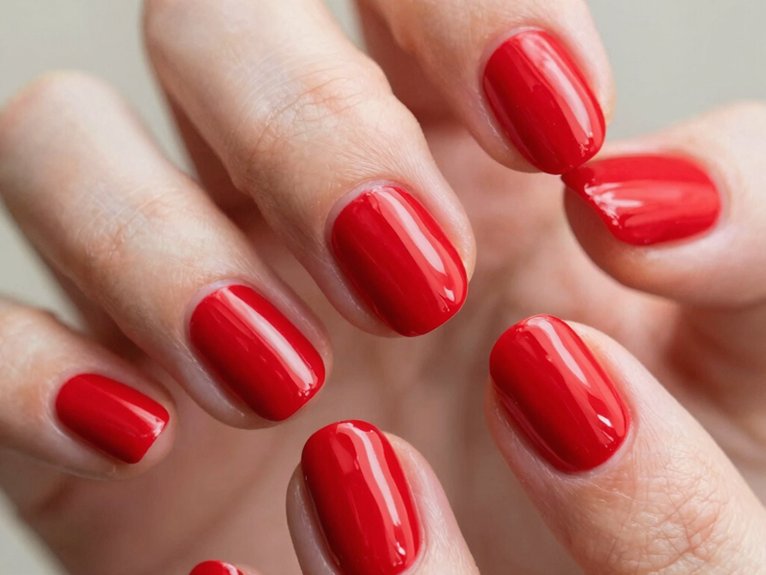
If you want a French manicure that feels sweet, flirty, and a little extra in the best way, red heart French tips are such a fun pick!
After your spring nail prep, start with a nude or sheer base, then paint crisp red tips and add tiny hearts right at the edge.
- Keep heart placement tips tight for clear photos.
- Use micro hearts, not huge ones.
- Add a glossy top coat for a smooth, raised look.
- Try one accent nail, or go full set for a bolder vibe.
Easy, cute, and totally team-worthy!
Floral Fabric Red Nail Art
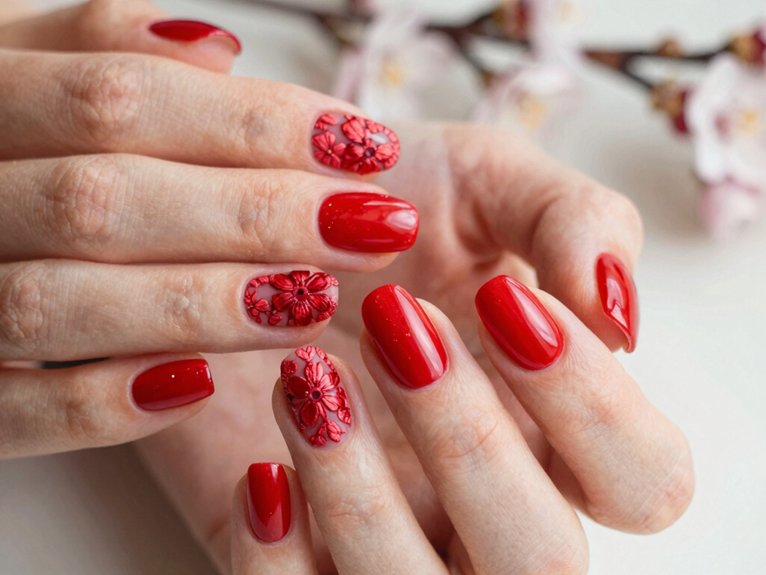
You can start with a sheer red base, then layer on a floral pattern that looks light and pretty at first glance—so spring!
A red velvet finish comes next, and that’s what gives your nails that rich, fabric-like feel without making them look heavy.
Finish with a crisp red border, and suddenly your nails look tailored, dimensional, and just elegant enough to make you smile every time you catch them in the light!
Sheer Floral Layers
Sheer floral layers bring a really pretty twist to red spring nails, because they start with a sheer red base and then add an opaque floral overlay that looks almost like delicate fabric on top of the nail.
- Try Textured floral tips for a soft, boutique look.
- Use a sheer coat so your nails still feel airy and bright!
- Add clean red borders, then do glossy border cleanup for crisp edges.
- Seal it with top coat so the flowers pop and you feel instantly put-together.
You’ll get a dimensional, spring-ready manicure that looks elegant, but still feels totally wearable.
Red Velvet Finish
A red velvet finish gives your nails that posh fabric look without making them feel stuffy—just a sheer red base, then an opaque floral pattern layered on top like tiny patterned trim, and wow, it’s instantly more interesting!
You’ll love the Red sheer layering effect, because it lets light glow through and keeps everything bright for spring.
Start with a sheer red polish, a detail brush, and a glossy top coat.
Add floral border framing on one nail or all ten, keeping the motif consistent.
It’s easy, affordable, and looks rich, not fussy.
Finish shiny, and your crew will notice!
Chrome Aura Red Nails
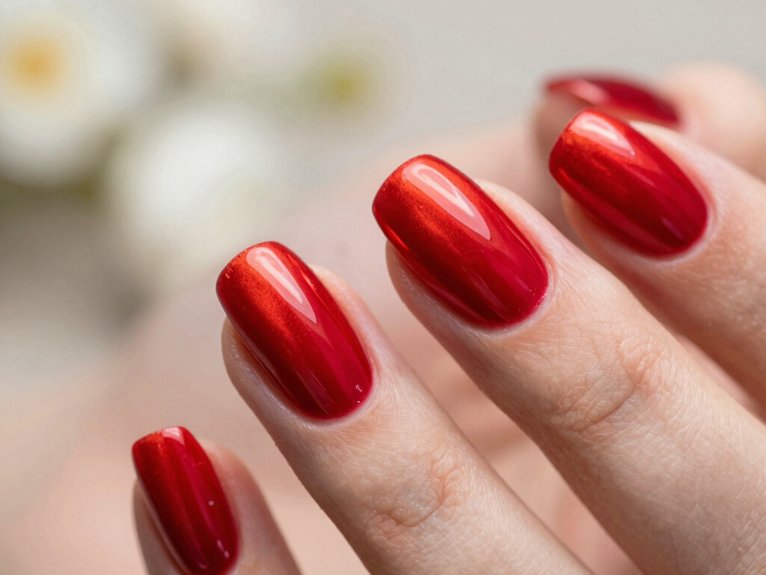
Chrome aura red nails take classic red and give it a seriously glossy upgrade, with a bright center that fades into a soft halo before a chrome topcoat seals in that wet-look shine. You’ll spot them in seasonal trends because the cherry glow feels fresh, bold, and a little stylish, perfect for spring hangouts!
- Start with a red base and a soft sponge blend.
- Add a clear center for that aura glow.
- Brush on chrome last for mirror shine.
- Follow simple nail care tips so your manicure stays smooth.
They look stunning alone, and honestly, that’s the magic!
Two-Tone Red Nail Designs
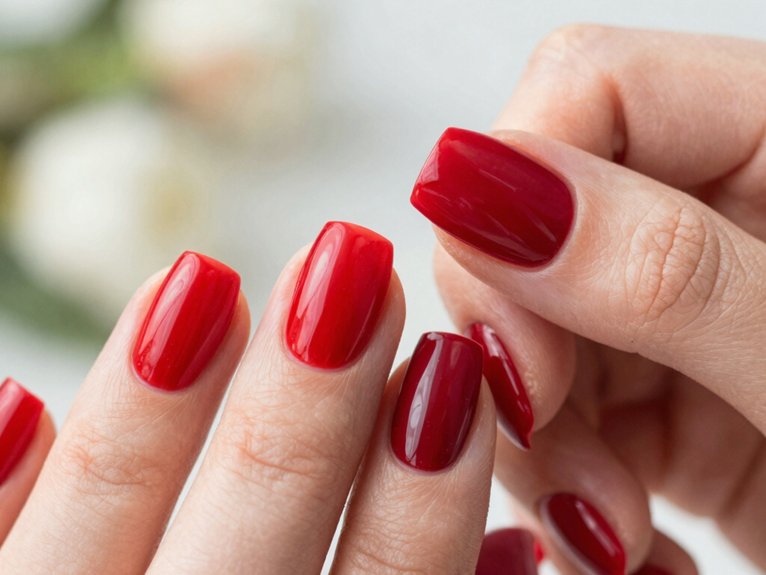
You can make two-tone red nails feel instantly fresh by pairing cherry red with a neon orange edge, or by trying red-and-pink blocks that look bright and springy—super easy, super cute!
For a playful twist, add retro red-and-white swirls with a thin brush or striping tape, then seal it all with glossy top coat so the colors stay crisp and polished.
If you want a bigger wow moment, finish with negative-space curves or a red French tip plus a second-tone accent nail, and yes, it looks like you spent way more time on it than you did.
Red Accent Pairings
When spring calls for something brighter, two-tone red nails answer with full-on main character energy! You can mix cherry-red with neon orange, white, or black for a look that feels playful, bold, and totally yours.
- Try a cherry base, then add red-and-white retro swirls for instant cool-girl charm.
- Blend pink into red for a sunset ombré that grows out softly.
- Use signature red placement on just your thumb index pairing for easy statement style.
- Keep the rest of your nails cohesive in red so the accent feels special, not loud.
It’s beginner-friendly, affordable, and seriously cute!
Swirl and Border Details
For this DIY, grab a sheer red polish, a bright red shade for the swirls, a thin nail art brush, and neon orange for the border. Paint your base, then sweep red swirls through the center or along the side walls so you stay in the cool crew, not color chaos!
Next, trace a slim orange edge for neon border placement, and let it act like a tiny frame.
These border details make the design look planned, not messy.
For easy texture contrast tips, keep the swirl shade close to your base red, then let the border do the talking. Boom, crisp, springy, and super wearable!
Overripe Cherry Nail Shades
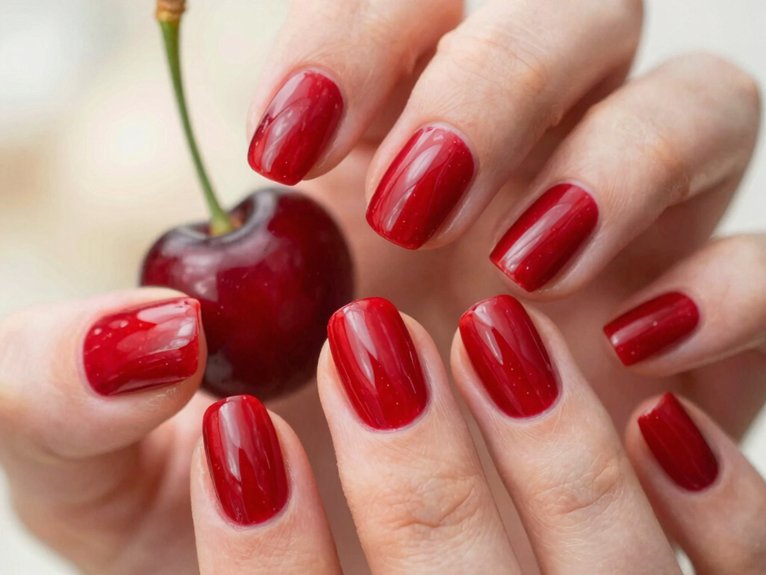
Overripe cherry nail shades take classic red and turn up the drama a notch, with deeper bing-cherry vibes that feel rich, jammy, and just a little bit extra. You’ll love how they fit seasonal nail textures and translucent topcoat layering for that fresh, glossy feel!
- Try a maraschino red on one nail, deeper cherry on the next.
- Use a glossy top coat for that juicy shine, wow!
- Keep accent nails in the same cherry family.
- Choose this look when you want summer-but-moody energy.
It’s easy, affordable, and beginner-friendly, and the result feels bold, polished, and totally in the group.
Fractured Matte Red Texture
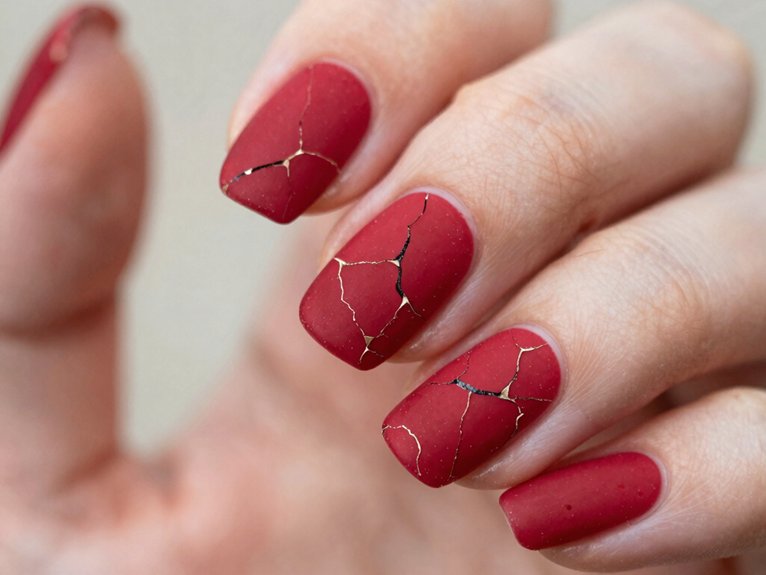
If you’re ready to swap juicy cherry shine for something a little moodier, fractured matte red nails bring the drama in the coolest way! You’ll love how the fragmented pattern mixes edgy, animal-print energy with clean lines, so your manicure feels bold but still polished.
For matte finish prep, start with a base coat, then paint red in slightly different shades across each broken section. Add a matte top coat to kill the gloss and make every crack pop.
It’s beginner-friendly, low-cost, and great for spring nail longevity. Keep the art minimal, and let the texture do the talking, friend!
Glazed Cherry Nails With Chrome
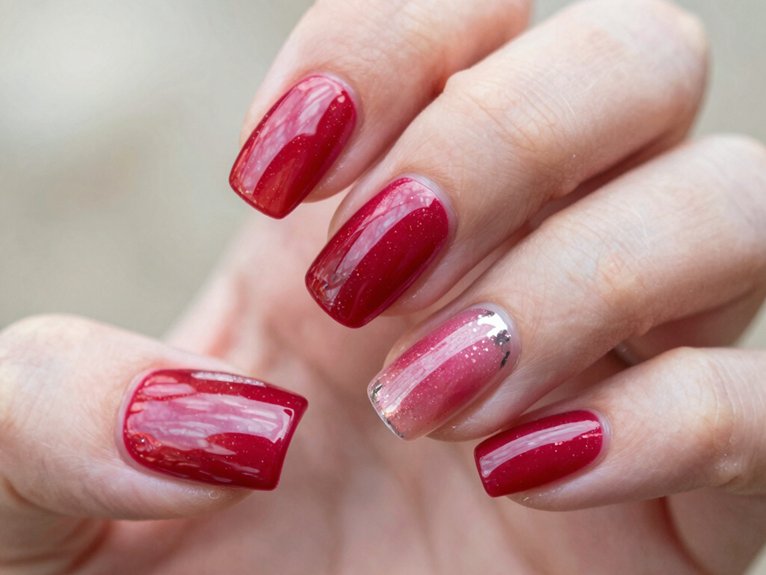
When you want red nails that look extra juicy and expensive, glazed cherry nails with chrome are such a fun pick! You get a cherry-red base, then a shiny chrome topcoat that makes your nails look wet, rich, and dimensional.
- Start with bright red polish
- Add a clear chrome layer
- Keep cuticles clean
- Smooth the topcoat evenly
This look fits short or long nails, and it’s easy enough for beginners. You don’t need extra art, because the shine does all the talking.
For seasonal nail textures and spring color harmony, it’s a total win, and your hands feel right in the club!
3D Cherry Nail Decals
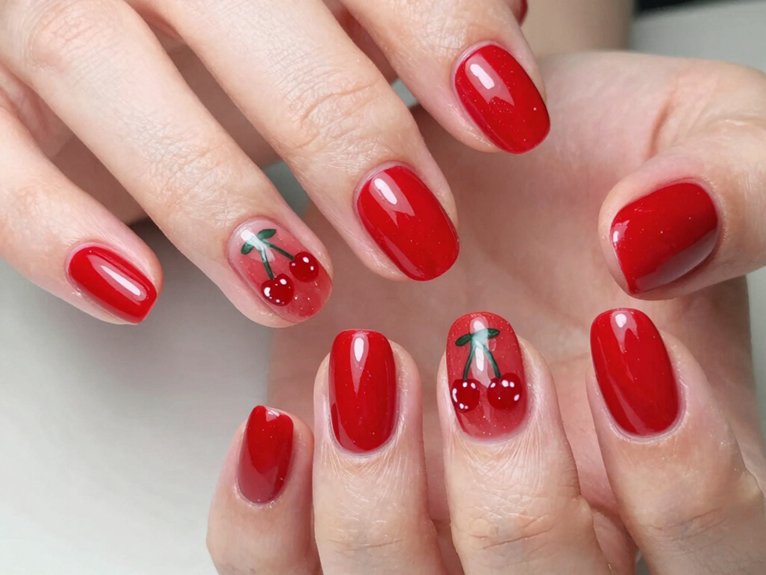
Cherry nail decals are such a cute next step if you want that juicy red look without having to paint tiny fruit by hand! You’ll feel instantly in the spring club, and yes, it’s beginner-friendly.
| Tip | Why | Result |
|---|---|---|
| Clean nails | Helps grip | Less lifting |
| Bright cherry decals | Pops on nude bases | Looks fresh |
| Accent nails | Keeps it balanced | Easy chic |
| 3D seed dots | Adds depth | More polish |
| High-shine top coat | Seals edges | Gloss topcoat longevity |
Try DIY decal placement tips: slide, press, seal. Cute, quick, and totally wearable!
French Tips With Florals
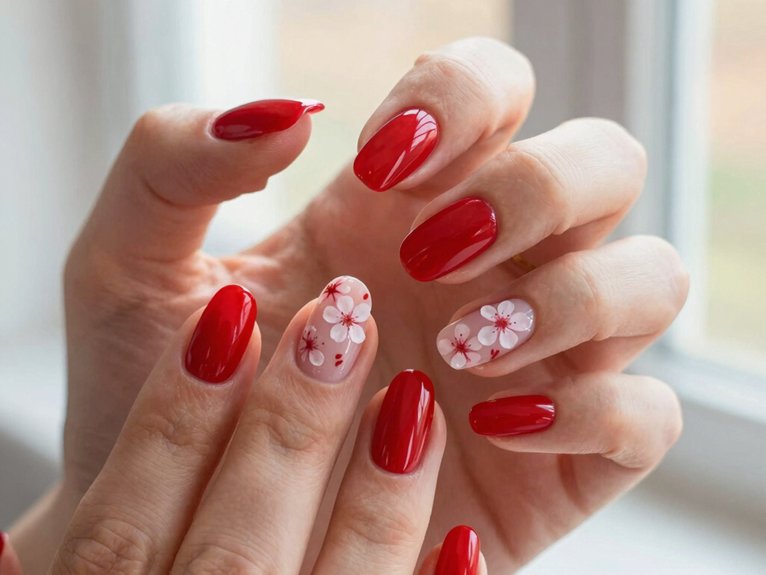
For a DIY version, you’ll only need a fine nail brush, red polish, a nude base coat, and a tiny poppy or hibiscus-inspired detail in white, pink, or even a darker red.
Paint sheer base, then red French tips.
Add tiny florals at the edge, not all over.
Keep blooms light, so your nails still look crisp.
Seal everything with glossy top coat.
This look fits your nail care routine and feels easy, not fussy.
If your nail bed’s a bit larger, the flowers frame it beautifully.
Bonus: it works with spring outfit pairings, from sundresses to jeans, and still looks fresh-off-the-runway!
Bold Poppy Nail Art
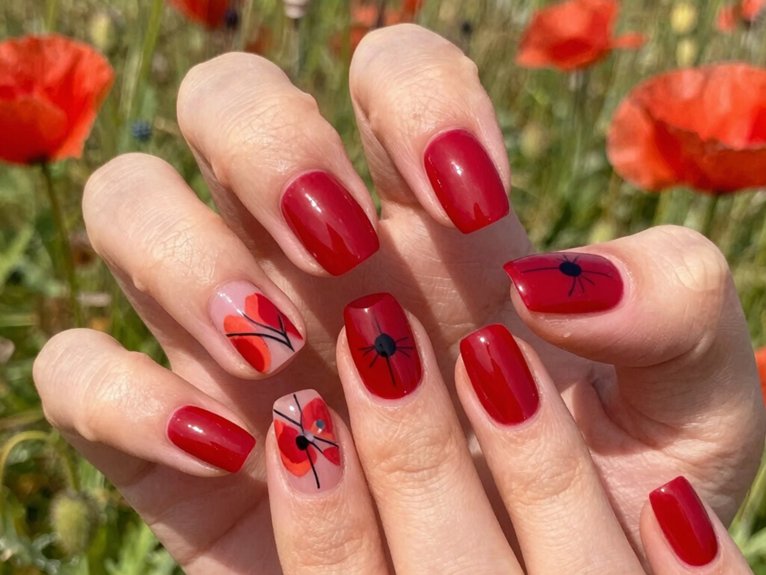
Poppy petals, let’s go! You can wear bold poppy nail art and feel right in the spring crew. Start with hot-pink or coral-red bases, then add vivid blooms for a bright, seasonal pop.
| Idea | Easy win |
|---|---|
| Base | Pick saturated red or pink |
| Flowers | Paint simple poppies |
| Seeds | Dot on tiny black specks |
| Finish | Choose glossy spring nail finishes |
| Texture | Add nail art texture with seeds |
Try a repeating accent pattern: flowers on a few nails, solid reds on the rest. It’s low-cost, beginner-friendly, and the deeper red blooms pop against brighter bases. Fresh, playful, and never heavy—nice!
Cherry Accent Nails That Tie It Together
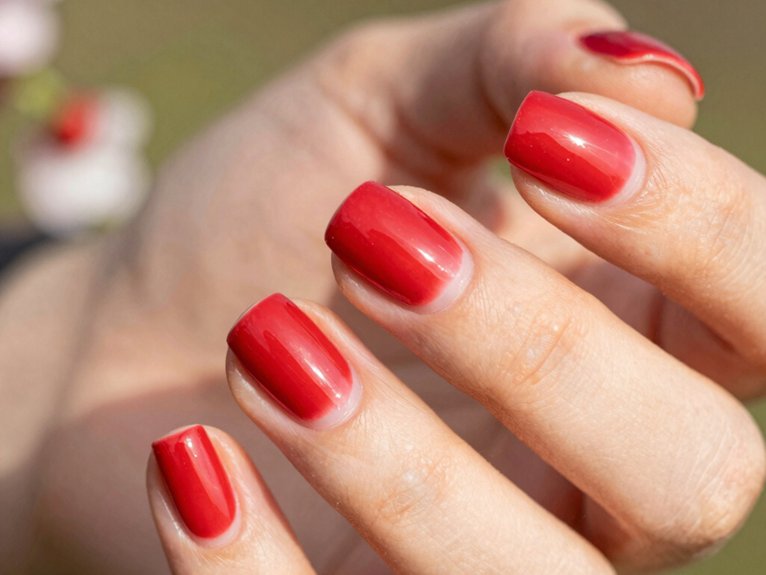
If the poppy petals already got you in the spring mood, cherry accent nails are the easiest way to tie the whole look together—cute, polished, and just a little flirty! You can keep your set feeling like your crew with these cherry placement tips and a shade that matches across every finger.
- Try bright cherry red, bing, or cherry jelly.
- Put decals on thumb and index, or just a few nails.
- Add white borders for a clean pop.
- Finish with glossy topcoat ideas for that juicy shine.
Want extra wow? Tiny 3D cherries keep it cohesive, not busy.
Strawberry Accent Nails for a Cute Twist
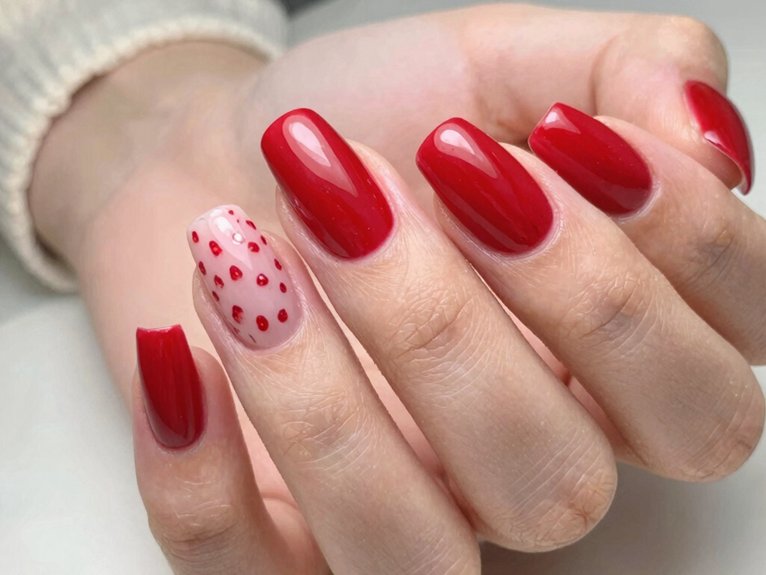
While cherry nails bring the color, strawberry accent nails add the cutest little twist, and they’re easier to pull off than they look!
You can alternate classic red nails with French tips or a nude-red base, so the berries become the star.
Use a dotting tool, red polish, and a tiny brush for green leaves, then place the art on just 1–2 nails, usually the ring finger.
That keeps your look clean and seasonal.
For better Nail art longevity, seal everything with a glossy top coat.
Strawberry color theory says matching reds makes the whole set feel sweet, coordinated, and totally on your team!
Tortoise Shell Accent Nails
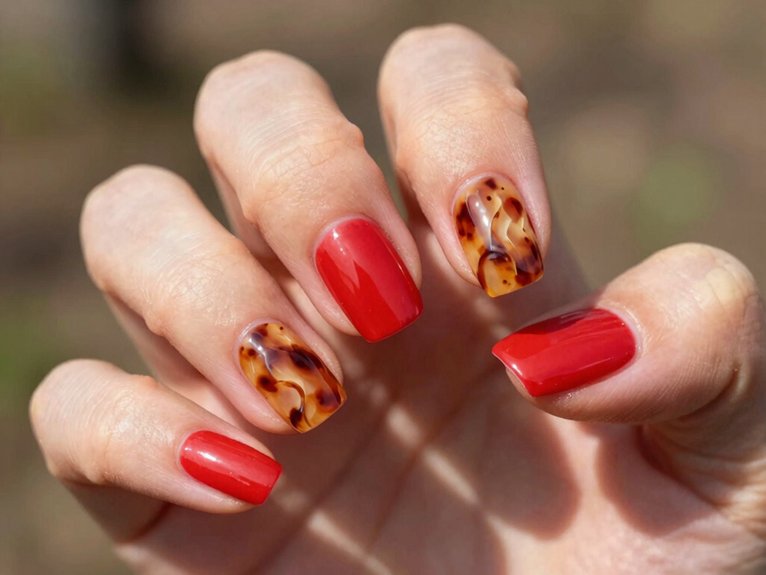
Tortoise shell accent nails bring in that classic mottled amber-brown pattern, so you can add a warm, earthy twist without losing the bright red spring vibe—cute, right!
You only need to place the print on 1–2 nails, like your ring finger or thumb, and keep the rest glossy and red for that clean pop.
For an even richer look, add a little gold foil on top, because those tiny flashes make the whole manicure feel extra polished and a bit elegant!
Classic Tortoise Pattern
For a manicure that feels classic with a little extra sparkle, tortoiseshell accent nails are such a fun move! You can keep your red set bright and springy, then add one cozy pattern that feels like your style crew showed up.
- Start with sheer base layering for a soft, lifted look.
- Paint the tortoise pattern in brown and amber.
- Try gold foil placement on one ring finger or thumb.
- Finish the rest glossy and clean-cuteicle.
It’s easy, budget-friendly, and doesn’t need salon-level skills. The mix looks enhanced but timeless, and honestly, it gives your nails main-character energy without trying too hard!
Gold Foil Accents
Once you add a little gold foil to tortoiseshell accent nails, the whole manicure suddenly feels richer, shinier, and way more spring-ready! You don’t need every nail to sparkle; keep tortoiseshell on one or two accent nails, then let the rest stay clean and red.
| Style | Step | Result |
|---|---|---|
| Foil | dab | glow |
| Accent | place | focus |
| Red base | polish | balance |
| Edge streaks | trim | luxe |
| Gel care | seal | shine |
For easy gel nail care, press foil in tiny clusters, not all over. Try these spring prep tips, and you’ll get that jewelled, sun-glint finish fast!
French Tip Nails With a Snake Detail
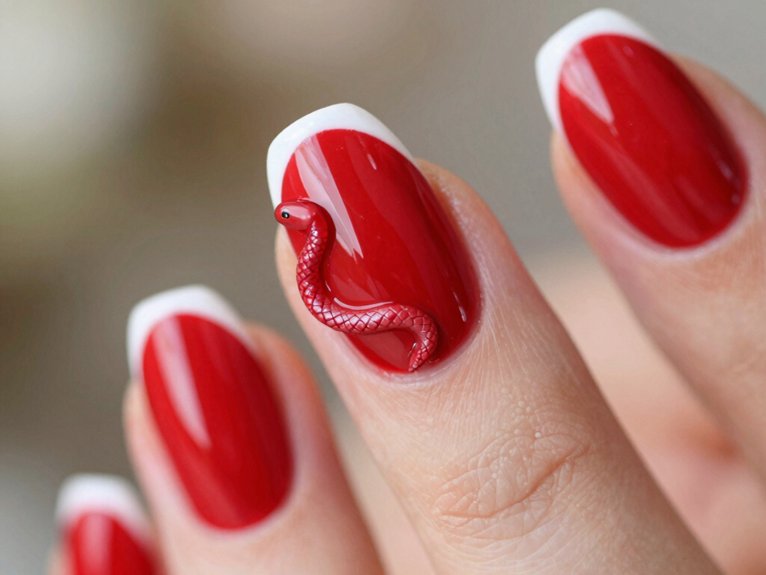
A thin red French tip can look so fresh and crisp on a clean base, and it’s the perfect way to nod to spring without going over the top!
- Try true cherry red for clear spring color pairings.
- Place the snake decal near the edge for smart nail sticker placement.
- Keep the line super neat, so the French stays the frame.
- Choose a glossy or raised snake for extra shine.
You’ll need polish, a fine brush, and one tiny decal. Paint the base, draw the slim tip, then add the snake at the tip.
The result feels salon-polished, playful, and a little fierce—like your nails know the group chat too!
Checkerboard Red Nail Designs
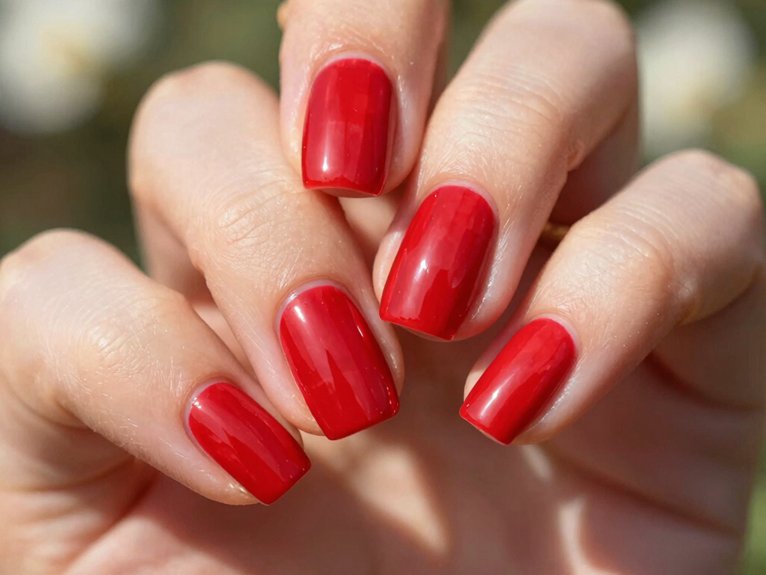
If you want a nail look that grabs attention fast, checkerboard red nails are such a fun pick! You’ll get that bold red, black, and white pattern that pops from across the room, and it feels playful when you choose a vivid cherry shade.
For a DIY set, grab thin striping tape, polish, and one high-gloss top coat. Paint the grid, fill the squares, then seal it smooth.
Want extra flair? Add a swirl accent nail for movement. These spring nail finishes can nod to racing vibes or Alice-in-Wonderland whimsy, and glossy topcoats tips help every square look crisp.
How to Style Red Spring Nails
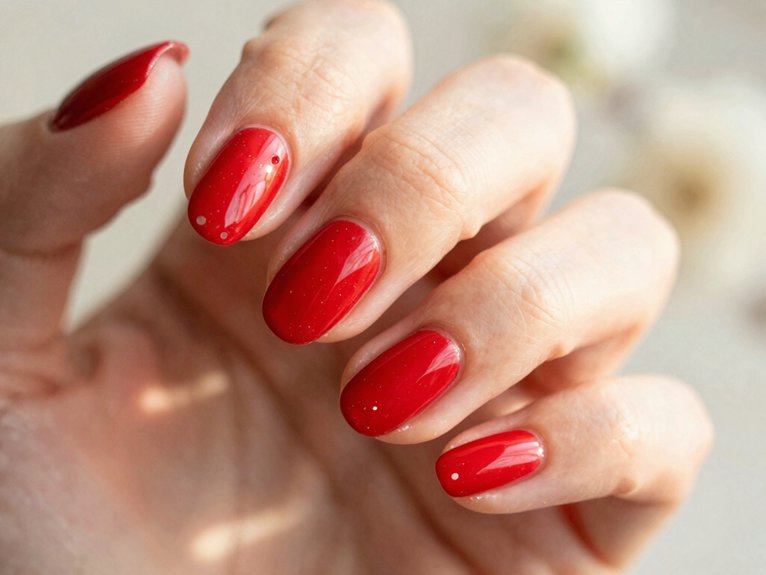
For a red spring manicure that feels fresh instead of heavy, start with warmer shades like cherry, coral, or poppy, then decide on the finish that matches your vibe—super glossy for that poolside-glam shine, or jelly-like for a sheer, breezy look. You’ll fit right in at brunch or the office!
- Try mini French tips with tiny seed dots for sweet Spring party designs.
- Add glazed cherry chrome, or red and white swirls for retro fun.
- Want texture? Go matte coral or negative-space swirls.
- Finish with gold foil or a 3D charm, and keep darker tips balanced for effortless Office ready red nails.
Best Colors to Pair With Red Nails
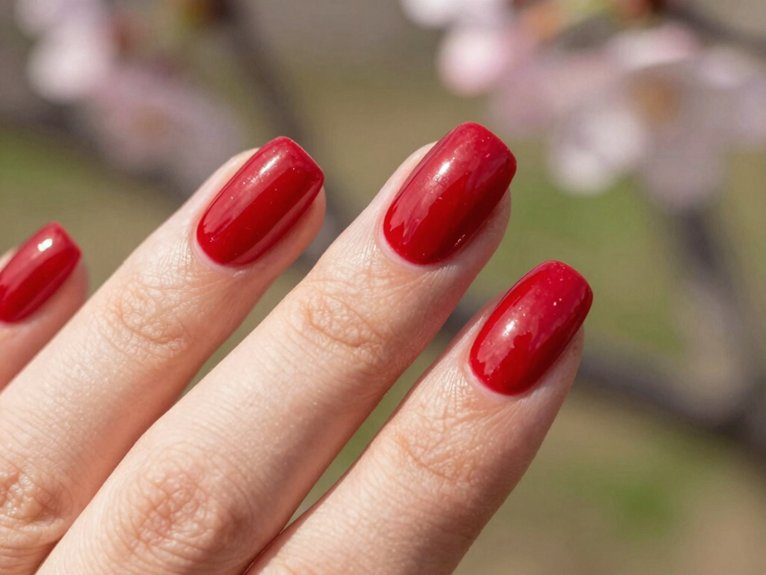
Red gets a whole new mood when you pair it with the right colors, and that’s where the magic starts! For easy Color matching tips, try cherry, coral, tomato, or fire-engine red first, since these warmer shades feel fresh, not wintry. Then lean into Spring nail trends with white linen or denim, which make your nails look lighter and super beachy.
If you want a floral vibe, coral-red or poppy-red looks adorable with hibiscus or poppies—so cute! Save pink for a punchy duo on shorter nails, and add gold foil when you want shine that still feels wearable.
Frequently Asked Questions
What Season Is Best for Red Nails?
Spring suits red nails best because you can wear bright cherry shades like a fresh bloom. You’ll also love winter occasion shades for festive holidays timing, but warmer spring reds feel most welcoming and seasonal.
What Is the Red Nail Rule?
You choose a red shade meaning confidence, then follow nail styling tips: pick brighter spring reds, keep bases light, add glossy finishes, and match accents so you feel polished, seasonal, and totally in the group.