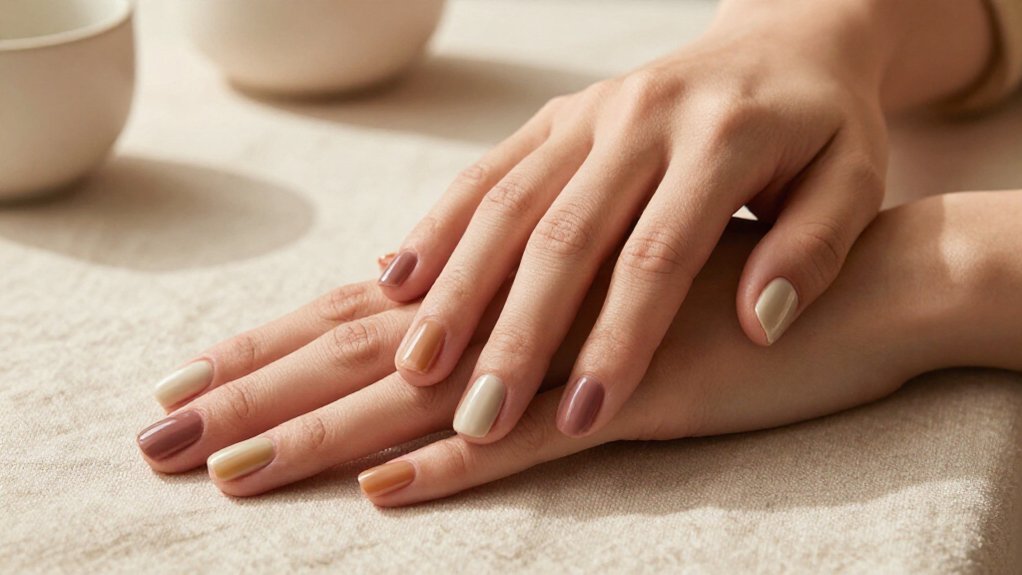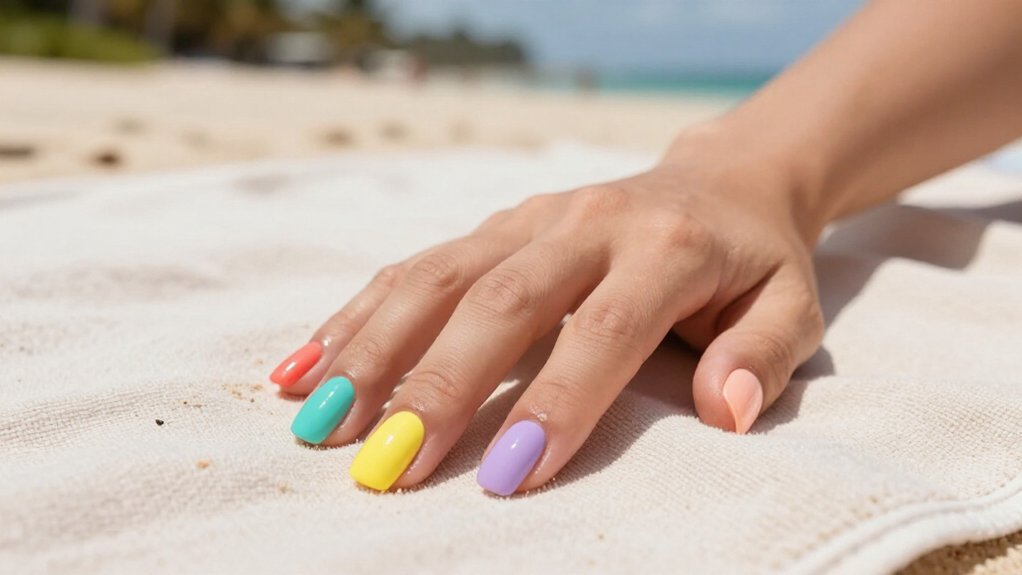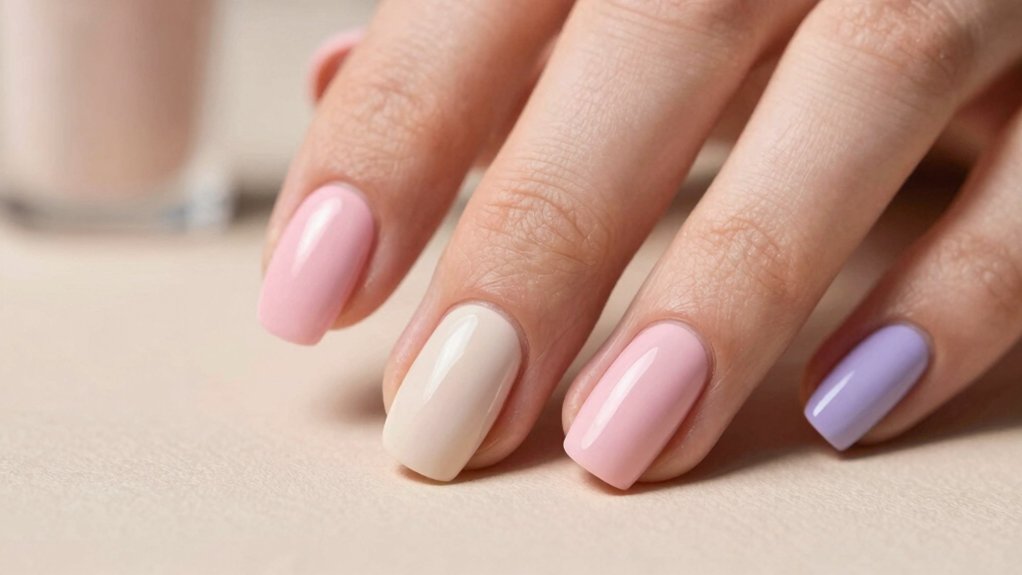
Solid color spring nails give you that clean, chic “your nails but better” vibe fast! Try milky lilac, blush, butter yellow, or sage on short almond or oval nails, then add a glossy top coat for that fresh, office-ready shine. DIY? Just prep, paint 1–2 thin coats, and seal the tips to help them last. If you want the prettiest twist, a sheer pastel with a hint of chrome is the sneaky showstopper—and there’s more where that came from!
Key Takeaways
- Choose soft spring shades like milky lilac, butter yellow, sage, baby blue, or blush for a clean, chic look.
- Keep the color palette minimal with one shade or two close tones to avoid a busy finish.
- Short almond or oval nails make solid spring colors look tidier and more polished.
- Use a sheer base and high-gloss top coat to create a smooth, healthy, “your nails but better” effect.
- Pick office-friendly pastels or nudes like milky white, blush, or sheer nude for easy, elegant wear.
Why Solid Spring Nails Look Polished
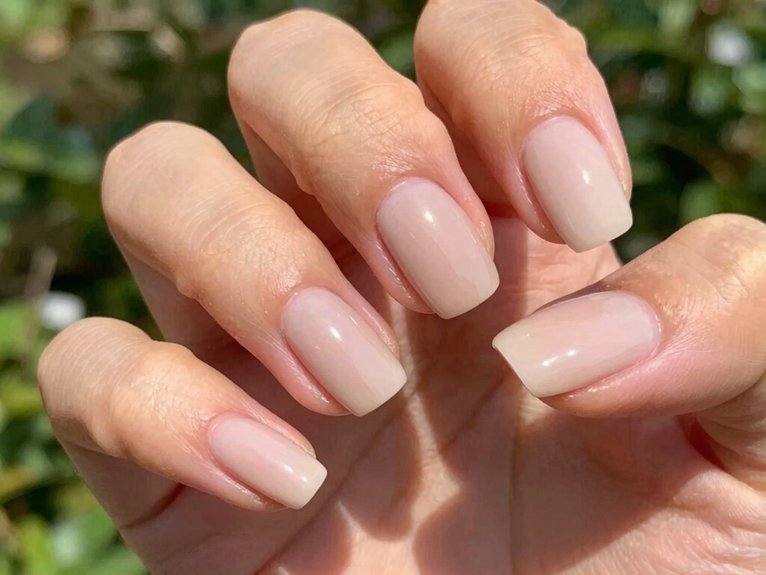
When you want your nails to look polished without trying too hard, solid spring shades are such a smart move!
You get that clean, chic feel from Spring solid shades in just one to three soft colors, so your manicure says “your nails but better” without shouting.
Minimal nail prep helps, too, because the simple look hides small flaws and keeps things office-friendly.
Try butter yellow, milky lilac, sage green, or soft coral, then add a high-gloss top coat for that fresh, glassy shine.
Bonus: shorter almond or oval nails look longer and tidier, which is pretty satisfying!
The Clean Girl Palette for Spring Nails
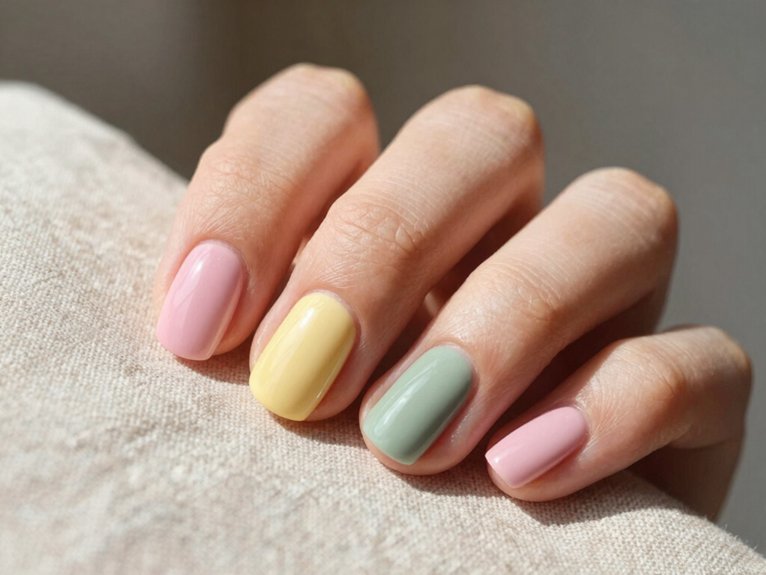
To get that clean-girl spring nail look, start with a palette that feels like your nails, just a little prettier!
Sheer nudes, soft pinks, milky whites, and gentle pastels like sage or lilac give you that “I belong here” vibe without trying too hard.
Keep Clean girl nail prep simple: shape short almond or oval nails, tidy cuticles, then brush on one or two glazed shades.
For easy DIY, use a sheer base, then seal with a glossy top coat for Sheer base longevity.
Want extra charm? Add a whisper-thin mint line or tiny chrome glow—cute, cheap, and surprisingly office-friendly!
Sheer Nude Spring Nails for Everyday Wear
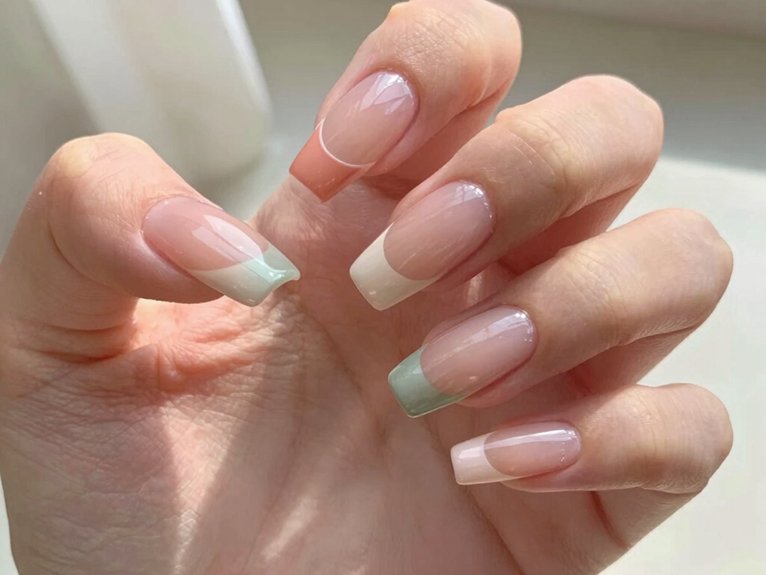
Sheer nude spring nails are the easy little secret for looking polished without looking like you tried too hard—basically, your nails, but with a fresh filter!
You’ll fit right in with this soft, natural vibe, and it’s super simple:
- Start with cuticle prep and a translucent nude base.
- Pick milky shades for a clean, office-ready glow.
- Add micro French tips in baby pink, lavender, or mint.
- Finish with a gloss topcoat for that fresh, healthy shine.
Keep one tiny accent, or skip art entirely. Either way, you get a neat, pretty look that costs less, feels easy, and always reads chic!
Soft Pink Spring Nails for a Fresh Finish
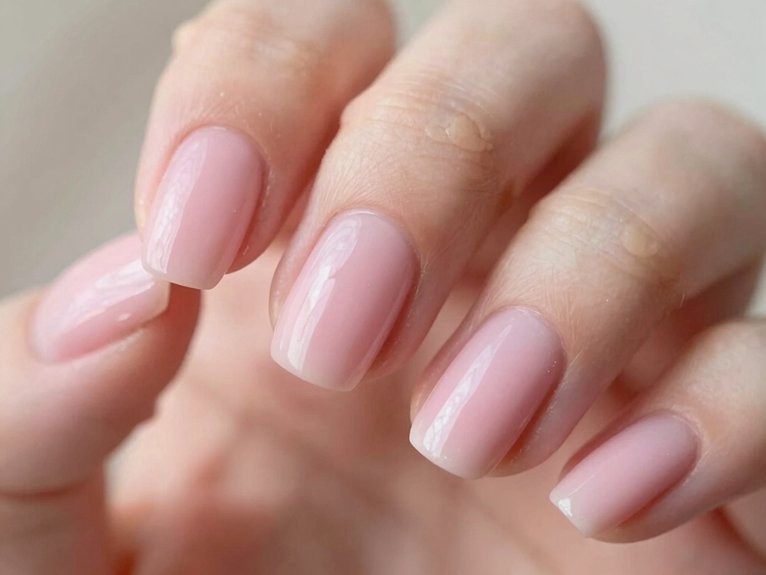
Soft pink spring nails bring that fresh, clean finish that somehow makes your hands look more put-together instantly—like you slept eight hours and drank the cute little water bottle, even if you absolutely didn’t! For a polished DIY, start with cuticle prep, then brush on a nude base in sheer baby pink.
| Look | Why it works |
|---|---|
| Short almond | Looks chic and practical |
| Oval shape | Keeps things soft |
| Glossy topcoat | Makes color look healthy |
| Micro accent | Adds just enough charm |
Try a micro French tip, or one tiny dot per hand. It’s low-cost, easy, and super cute!
Milky White Spring Nails for a Modern Glow
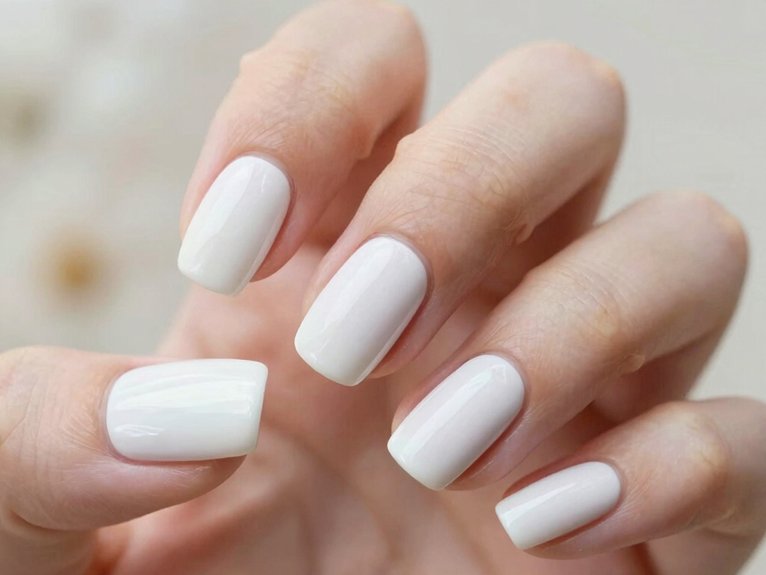
Milky white spring nails bring that clean, glowing vibe that makes your manicure look instantly polished, like you’ve got your life together and a tiny spotlight following your hands around.
- Pick a soft, semi-sheer milky white polish.
- Add a glazed top coat for shine.
- Keep details tiny, like a micro French line.
- Choose short ovals or short almond for milky white longevity.
You can DIY this look with polish, a thin brush, and patience, or ask your nail tech for a translucent base.
The result? Your nails but better, bright, chic, and easy to wear with the whole spring crew.
Butter Yellow Spring Nails That Feel Fresh
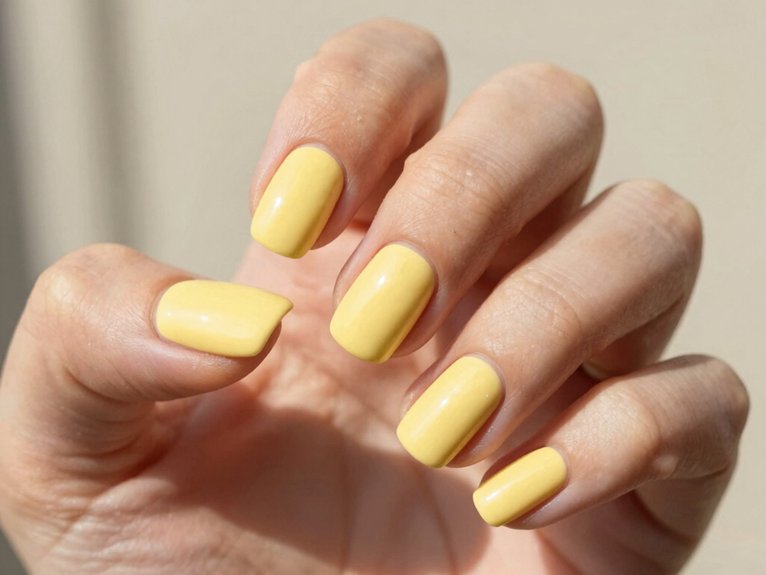
Butter yellow is quietly becoming the spring shade of 2026, and wow, it’s giving creamy, clean, and just a little bit playful! You can wear it on short-almond or oval nails for that easy, I-fit-right-in vibe.
Try sheer base prep: use a nude base, then add soft butter yellow so it stays bright, not heavy. Love a little twist? Use butter yellow pairings with a spring micro French in mint, peach, or soft pink, and keep the lines thin.
For the cutest finish, add a pastel chrome glow, and your nails catch light like a tiny sunny secret!
Baby Blue Spring Nails for a Soft Pop
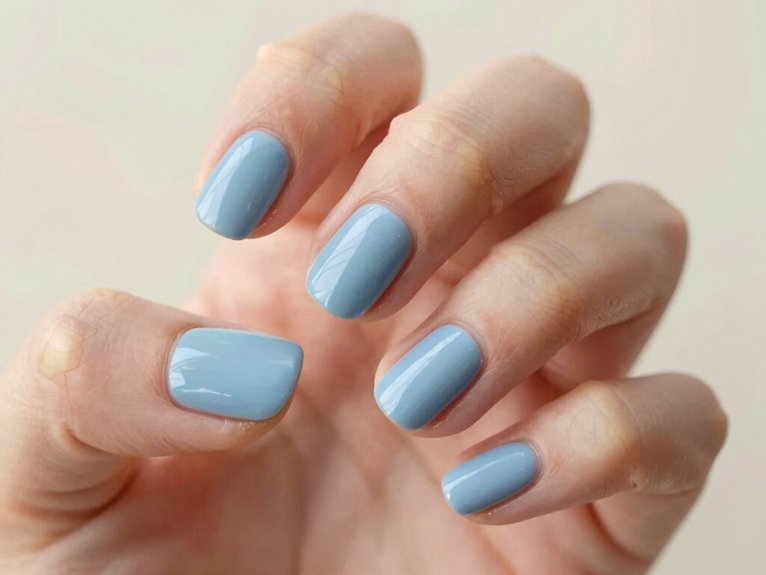
Why does baby blue feel so fresh the second it hits your nails? You instantly look polished, like you belong in every spring photo and coffee run.
- Start with a glossy sheer nude base.
- Paint a thin baby-blue French tip for easy chic.
- Try Baby blue ombré with a sponge, then seal it.
- Add micro French details or one tiny abstract shape for a playful twist.
Keep it simple, and your nails stay office-friendly, not loud. If you want extra glow, use a milky blue wash or iridescent chrome top coat. Baby blue on short nails feels sweet, clean, and surprisingly stylish!
Sage Green Spring Nails for Easy Chic
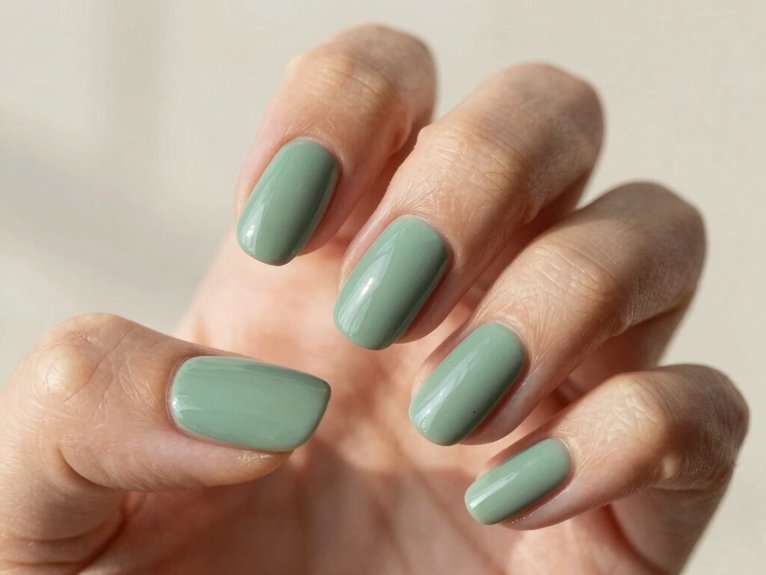
Sage green gives you that clean, quiet spring vibe, and it looks especially sharp when you wear it as a full-color manicure or with little negative-space details—so chic, right?
If you want an easy upgrade, try micro French tips on a sheer nude base, then add tiny white dots or a simple dot-French layout for a playful touch that won’t feel busy.
For the freshest finish, seal it with a glossy glazed-donut top coat, and on short almond or oval nails, the whole look stays neat, polished, and smoothly cool!
Sage Green Minimalism
If you want a spring manicure that feels calm, clean, and a little elegant, a milky or muted sage green is such a pretty pick!
Start with sage cuticle prep and short nail shaping so your nails look neat before polish goes on.
- Use a sheer nude base for negative space.
- Paint a tiny sage line near the cuticle.
- Try a micro French tip on short almond or oval nails.
- Add tiny white dots for a sweet surprise.
Seal it with a glossy top coat, and you’ll get that fresh, polished vibe without trying too hard.
Chic Accents And Finishes
For a spring mani that feels polished without looking ornate, soft sage green on a milky nude base is such a cute win!
You’ll get office ready sage vibes with tiny micro French tips, or a small negative-space swoosh, so your nails stay tidy and bright.
Grab a thin brush, sage polish, and a nude base, then paint the edge, let it dry, and seal it up.
Want a little extra sparkle? Add tiny white dots first, then finish with a glossy top coat.
For the coolest twist, try glazed chrome tips—they look ornate, but they’re still super easy!
Lilac Spring Nails With a Gentle Wash
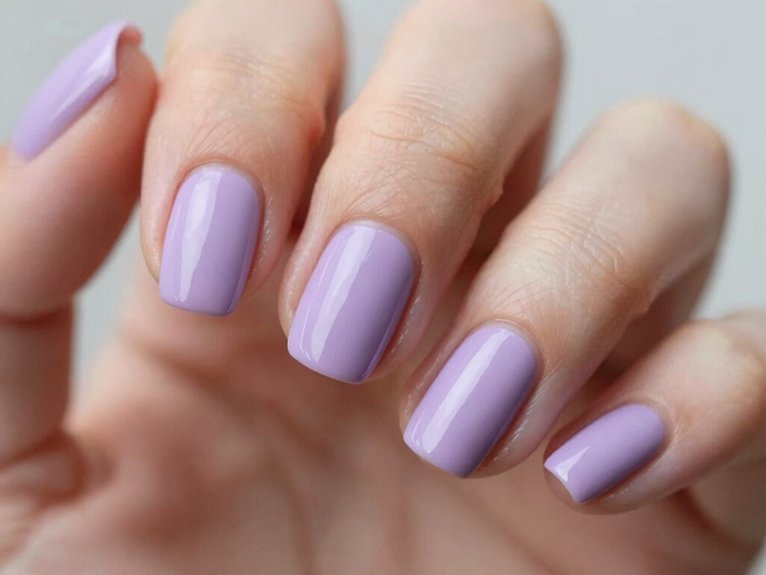
Lilac spring nails look extra pretty when you keep them soft and sheer, almost like a milky lavender veil instead of a full-coverage pop of color. You’ll fit right in with this gentle wash, and it feels fresh, not fussy!
- Try milky tint techniques with one thin coat.
- Choose an office ready application for an airy, low-saturation finish.
- Add a micro French tip or single spring line.
- Seal it with a super-shiny or pearly top coat.
That glazed, watercolor look makes your nails seem brighter and cleaner. On short almond or oval shapes, the sheer lilac really shines, no drama needed!
Short Almond Spring Nails Look So Polished
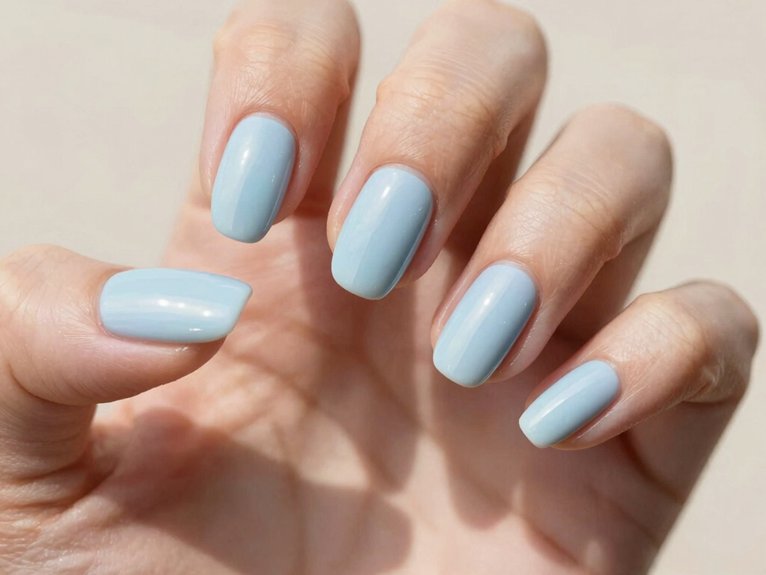
Short almond spring nails are having a very polished moment, and honestly, it’s easy to see why! You get that fresh, neat vibe without the drama of extra-long tips, so you fit right in with the clean-girl crowd.
| Look | Why you’ll love it |
|---|---|
| Milky bases | Give you a soft “your nails but better” glow |
| Micro French | Adds a tiny pastel edge, not a loud stripe |
| Gloss top coat | Seals the shine and keeps everything neat |
Try spring gel prep, then add a chrome pastel over your base for a light-catching finish. Keep one tiny accent, and you’re set!
Oval Spring Nails for an Effortless Feel
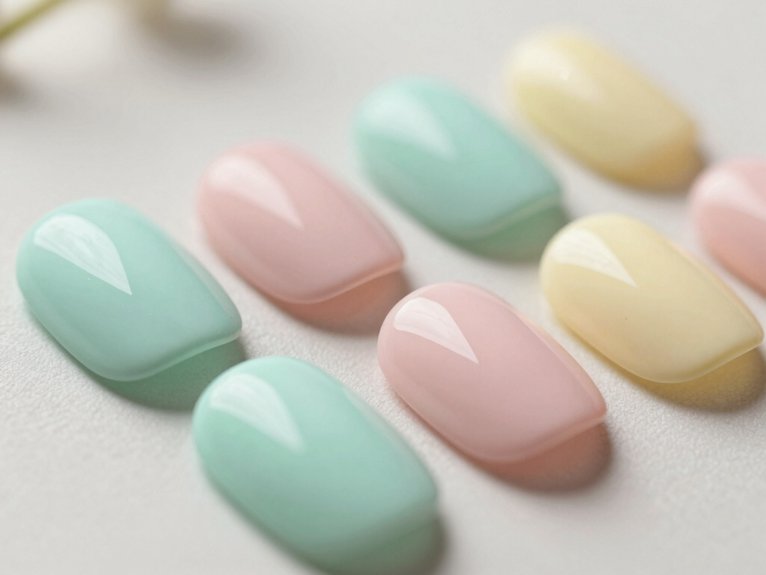
Oval spring nails bring that easy, polished vibe that always looks like you’ve got your life together, even if you’re just trying to make it through Monday! You fit right in with the clean-girl crowd, and your hands look softer and longer, yay.
- Pick a neutral base color, like milky nude or lilac.
- Add a high-shine top coat for that glazed finish.
- Try micro accent placement, like one thin line or tiny negative space.
- Choose one pastel shade, such as sage or blush, if you want color.
They’re cheap, simple, and office-friendly, so you’ll feel chic without trying too hard.
Micro French Spring Nails With Solid Bases
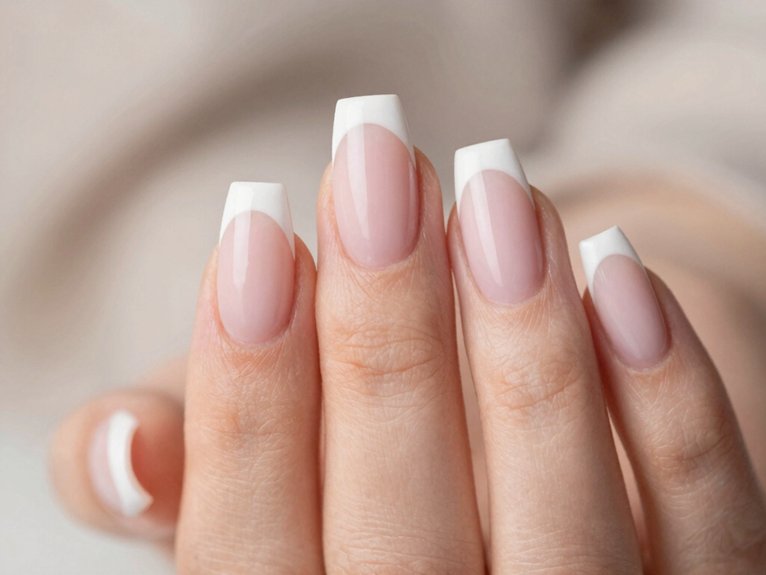
With micro French spring nails, you get that tiny, polished detail that somehow makes your whole manicure look extra expensive, and honestly, it’s such a good trick!
You’ll love how Precision micro tip lines on sheer nude, blush, butter yellow, or baby blue bases keep things fresh and tidy.
For at home nail tools prep, grab a fine-tip gold nail art pen, a dot of polish, and a steady hand, then trace a razor-thin edge.
It’s easy, low-cost, and perfect for short nails.
The result? Clean girl office polish that feels subtle from afar, crisp up close, and very you!
Why Milky Finishes Look More Expensive
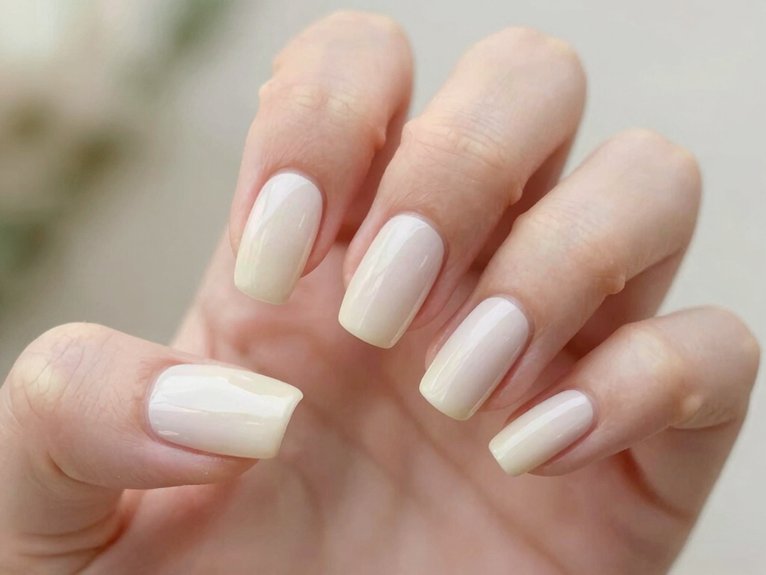
Milky finishes instantly make your nails look pricier because that soft, sheer color lets a little of your natural nail show through, so the whole look feels clean, calm, and polished.
You get that dreamy glazed shine too, and shades like milky lilac, sage, sky blue, or blush look like a gentle watercolor wash instead of flat pigment—so pretty!
Best of all, this finish can hide tiny uneven spots and grow-out better than bold opaque polish, which keeps your manicure looking fresh longer.
Milky Finish Effect
When you want your spring nails to look instantly cleaner and pricier, a sheer pastel can do the trick in the sweetest way! You get that milky finish effect, and it feels like your nails joined the cool crowd.
- Choose milky lilac, blush, or sky blue.
- Do your milky pastel prep with one to two thin coats.
- Keep it on short almond or oval shapes.
- Finish with a glassy top coat for that glazed, creamy glow.
This soft blur makes your manicure look fresh, polished, and a little luxurious, without trying too hard. Tiny glam, big payoff!
Sheer Color Depth
Because sheer spring shades let your natural nail peek through, they create a soft “depth” that opaque polish just can’t fake, and that’s a big reason they look so pricey!
You get that airy, blended glow in milky lilac, blush, or sky blue, and it feels instantly put-together, like you’re in on the secret.
Try a sheer nude with a glossy top coat for easy sheer nude wearability, or add tiny micro French tips over a milky base for polish that still feels fresh.
The best part? That translucent wash helps with milky base longevity, too.
Glazed Shine Appeal
There’s just something about a glazed spring manicure that looks instantly pricier, right? You get that soft, light-catching glow, not a flat paint job, so your nails feel like the cool girl in the room.
- Try lavender or blush over a nude base.
- Use sheer layering techniques for a watercolor wash.
- Add a chrome-adjacent top coat for sparkle.
- Finish with one glossy coat, and you’re set.
With different base colors, you can keep it subtle or dreamy. Milky finishes look refined from far away, then sparkle up close, like your nails know the assignment. Easy, pretty, and totally group-chat approved!
How to Keep Spring Nails Glossy
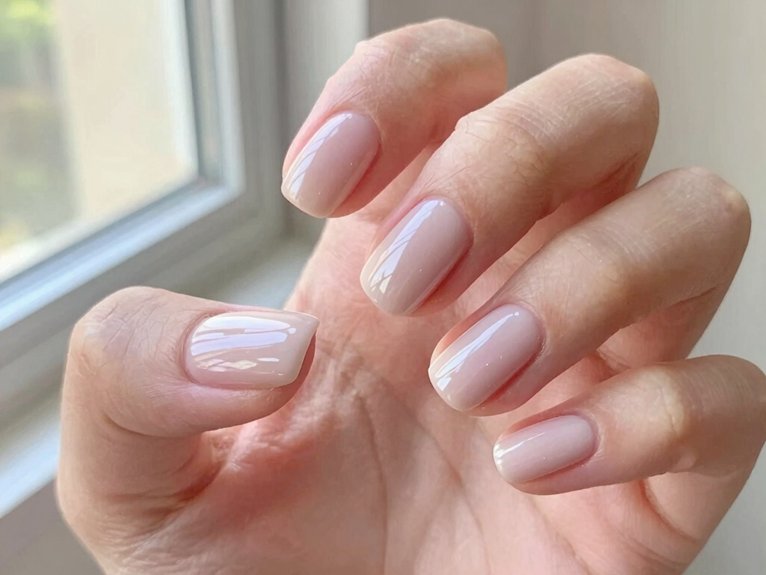
To keep spring nails looking shiny and fresh, start with a high-shine gel top coat, or even a chrome or glazed top coat if you want that glassy, “my nails but better” finish!
These glossy topcoat tips help your color stay bright, clean, and totally group-chat worthy.
Apply thin, even layers, and seal the free edge so chips don’t sneak in and steal your shine.
If you love milky pastels or butter yellow, pair them with a super-glossy finish for that glazed-donut glow.
Always follow cure times too, because avoiding undercuring keeps your manicure smooth.
For extra wow, finish with a fast-dry gloss and let it set—no smudges, yay!
How to Prep Nails for a Smooth Finish
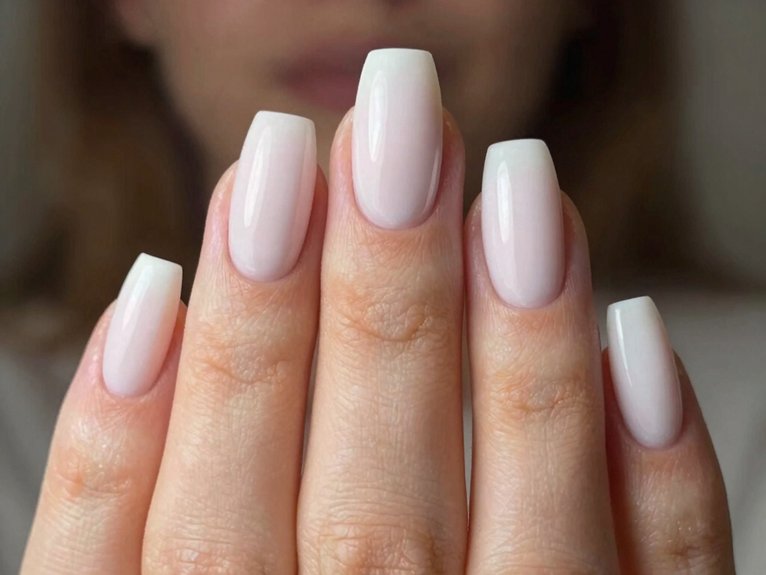
A glossy top coat can make spring nails look fresh and glassy, but the real magic starts before the polish even hits your nails! You can totally get that clean-chic vibe at home, and it’s easier than it sounds.
- Trim, shape, and lightly buff for a smooth base.
- Gently push back cuticles, keeping the line neat.
- Wipe nails with alcohol or acetone to cut oil.
- Apply thin color layers, then finish with top coat curing and free edge sealing.
This prep keeps polish from streaking, lifting, or looking chunky. Tiny steps, huge payoff—your nails will look salon-fresh, not sleepy.
Cuticle Care for Clean Spring Nails
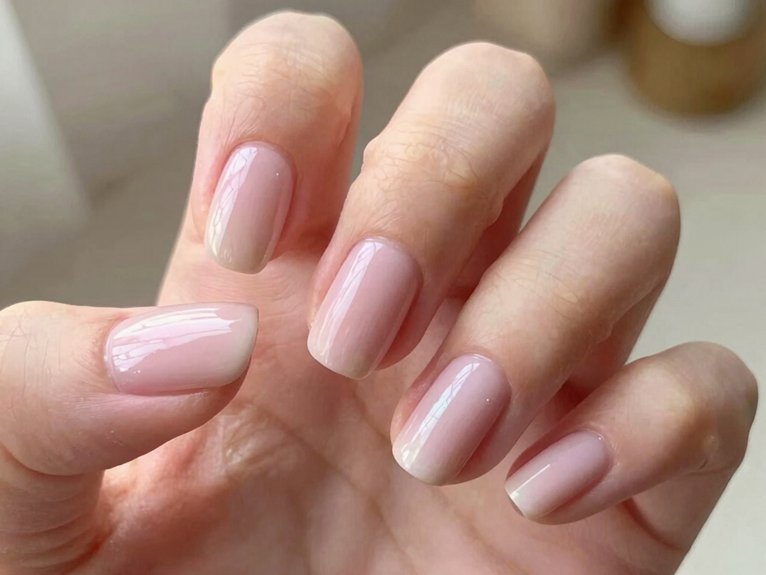
Start by prepping your cuticle line after a warm soak, then gently push back the skin and snip only the little hangnails that stick out like tiny troublemakers. Next, hydrate the area with cuticle oil or a light hand cream so it looks neat, not dry or ragged, and your spring color sits on the nail bed like it was meant to be there.
For the cleanest finish, keep the polish close to the cuticle, seal it with a glossy top coat, and you’ll get that polished, office-ready shine without a lot of touch-ups—nice, right?
Prep The Cuticle Line
Right at the cuticle line, your spring mani gets its clean, polished vibe! For cuticle cleanup, gently push back the soft skin, then tidy only what truly needs trimming. That clean base prep keeps your polish looking like it belongs on your nails, not your skin—hello, crisp crew!
- Use a pusher, not pressure.
- Snip sparingly, if needed.
- Wipe away dust and oils.
- Brush on base coat close, not touching.
This little routine helps sheer pinks, milky whites, and glossy pastels stay smooth, with less flooding and lifting. Tiny effort, big clean-girl payoff!
Hydrate For A Neat Finish
Once your cuticle line looks neat, don’t stop there, because hydrated skin is what gives your spring manicure that soft, “my nails but better” finish!
For spring nail prep, keep a nourishing oil nearby:
| Step | What you do |
|---|---|
| 1 | Massage oil into cuticles daily |
| 2 | Gently push back, don’t scrape |
| 3 | Seal with budget friendly topcoats |
This tiny routine helps prevent peeling, so your solid color polish lands smooth and crisp. You’ll get that clean edge everyone notices, without spending salon money. It’s easy, feels luxe, and honestly, your hands’ll thank you!
Maintain A Polished Look
Polished spring nails really come down to what’s happening at the cuticle line, because a neat edge makes even a simple solid color look expensive!
- Soften first, then do gentle cuticle cleanup, or book pro prep if you want zero fuss.
- Shape short nails into oval or short almond, then lightly buff for a smooth base.
- Use a thin coat, place color close to the cuticle, and keep a tiny gap so nothing floods.
- Finish with Milky Topcoats or glossy sealers, cap the edge, and touch up early.
That’s how you stay in the clean-girl nail club!
Seal Spring Nails With a Glassy Top Coat
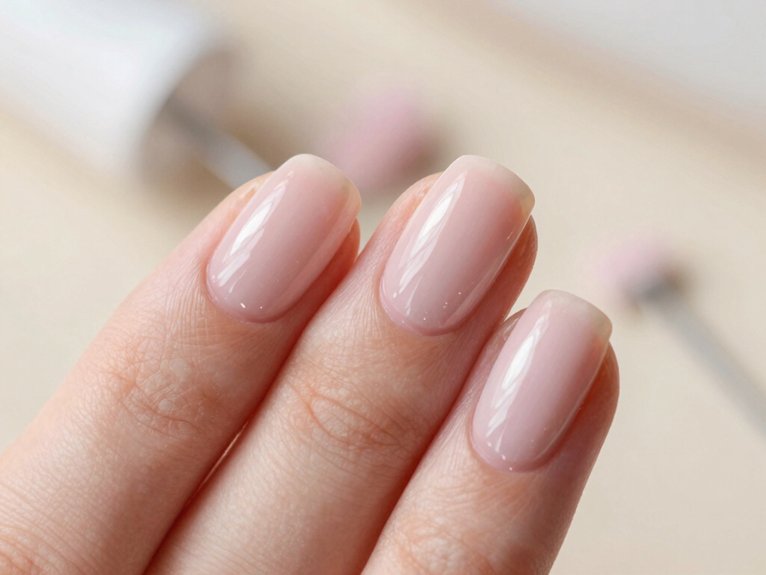
For that fresh spring finish, start with a sheer or milky pastel base, like blush pink, sky blue, or lilac, then seal it with a super-glossy, crystal-clear top coat for that “your nails but better” shine.
You’ll fit right in with the clean-girl crowd!
Keep clean cuticle prep and gloss longevity tips in mind, then brush on thin, even layers and cap the free edge.
That keeps the surface smooth, not streaky.
Want extra glow? Lightly buff first, so the top coat sinks in like glaze.
It also makes tiny gold lines and micro French tips look sharp, chic, and pricey.
How to Keep Spring Nails Chip-Free Longer
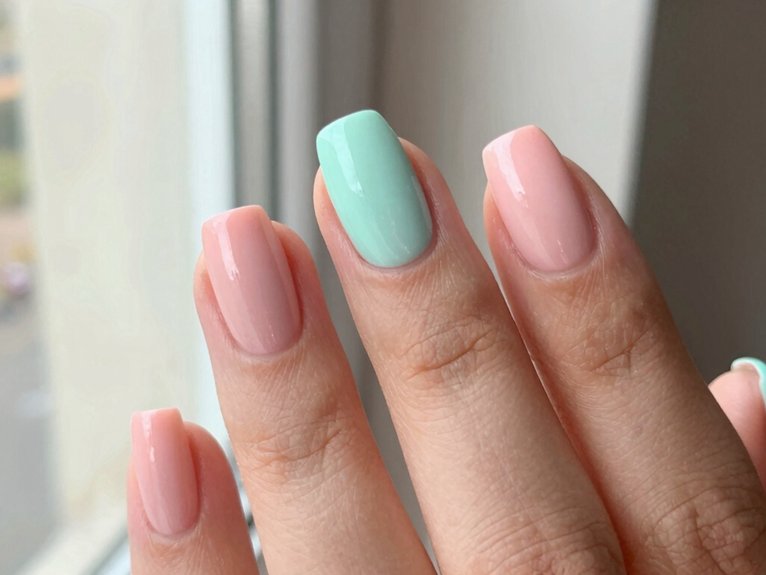
To keep your spring nails chip-free longer, you’ve gotta start before the polish even goes on—file neatly, push back cuticles, lightly buff the shine, and use a good base coat so everything grips like it means it!
Next, paint on thin, even layers and remember to cap the free edge of each nail, because that tiny tip takes the biggest beating when you’re typing, texting, or hunting for your coffee.
For extra lasting power, keep a glossy top coat handy and refresh it every few days, since a quick touch-up can make your manicure look fresh instead of “I’ve had this polish since Monday.”
Prep Before Polish
A clean nail prep is the secret sauce, friend, especially when you’re going for soft spring shades like milky lilac, butter yellow, or sheer blush!
Your nail shape choice matters too, because smooth edges help polish sit pretty and last longer for better spring color longevity.
- Buff the nail plate lightly.
- Wipe away every bit of oil.
- Brush on a thin base coat.
- Cure it fully, no rushing!
Then paint 2–3 thin coats, not one gloopy blob, and keep cuticle edges covered.
Want extra lasting? Finish with a glossy top coat, and dodge water and sanitizer for a few hours.
Easy, chic, and so worth it!
Seal The Free Edge
Right at the free edge, that tiny nail tip is where chips love to sneak in and crash the party, especially when spring brings more hand-washing, watering plants, and random “just one more errand” moments! Try this Free edge technique: after color, paint a thin swipe over the tip, then repeat after top coat. | Step | Quick fix |
| — | — |
|---|---|
| Prep | Buff lightly, dust off |
| Base | Apply for grip |
| Color | Keep it thin |
| Seal | Cap the tip |
| Finish | Refresh in 3–5 days |
Use a smooth top coat, one firm stroke, and skip thick blobs—those lift fast. These chip prevention tips keep your mani glossy, clean, and so you.
Daily Care Habits
In everyday spring life, your nails need a little backup if you want that clean, glossy look to stick around! You’ll fit right in with Seasonal Nail Trends when you keep your routine simple and steady.
- Moisturize cuticles daily with fragrance-free cream or oil.
- Wear gloves for dishes and cleaning, even for quick jobs.
- Skip heavy buffing; file gently for shape only.
- Refresh your top coat every 2–3 days for extra shine.
These small habits help Color Blocking Ideas and soft pastels stay crisp, not chipped.
Dry nails fully before touch-ups, and you’ll keep that fresh, just-done vibe longer.
Solid Spring Nails for Office Style
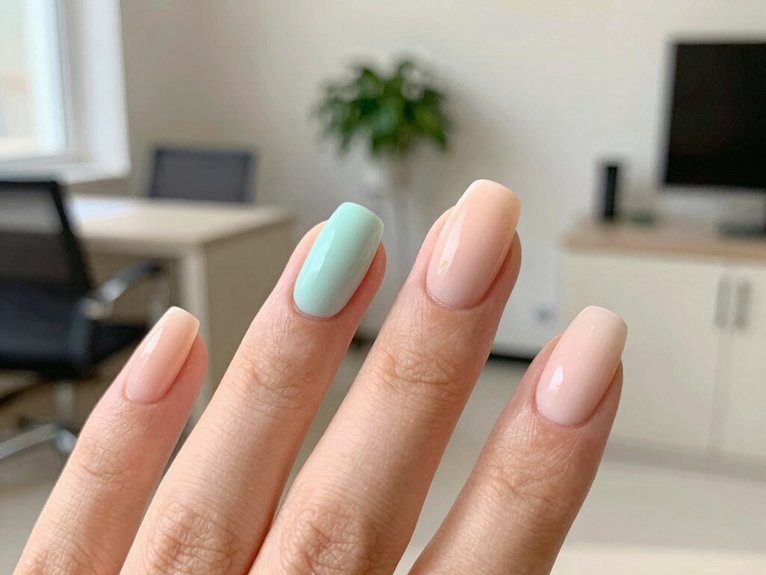
If your office vibe calls for nails that look polished without trying too hard, solid spring shades are your best friend! You’ll fit right in with a neat, friendly look that feels fresh, not fussy. Try this quick guide:
| Shade | Office mood |
|---|---|
| milky lilac | soft and calm |
| butter yellow | sunny but subtle |
| sage green | cool and neat |
| baby blue | light and easy |
| blush | clean and classic |
Choose short oval nails, then add sheer polish tips or micro accent ideas if you want a tiny twist. Finish with glossy shine, and your nails read crisp all day!
Solid Spring Nails for Brunch Plans
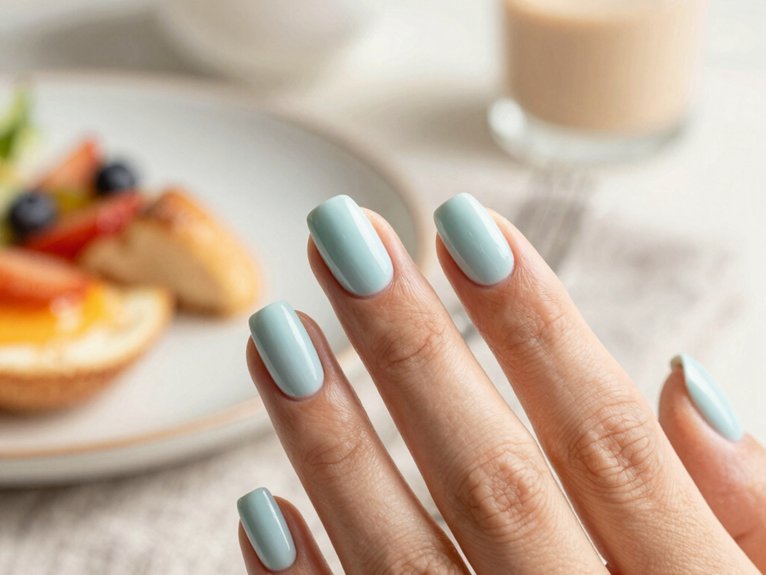
Brunch nails should feel like your nails, just a little more charming, and that’s exactly where solid spring shades shine!
For your brunch outfit pairing, choose:
- milky blush
- butter yellow
- soft coral
- sheer nude
Paint one solid color, or add one accent nail if you want a tiny twist.
Keep the shape short almond or oval, then seal it with a crystal-clear top coat for that glossy, glazed look.
You’ll stay photo-ready, and your solid nail longevity will thank you.
Sweet, simple, and totally “I belong here” chic—without trying too hard!
Tiny Dots on Spring Nails Add Just Enough
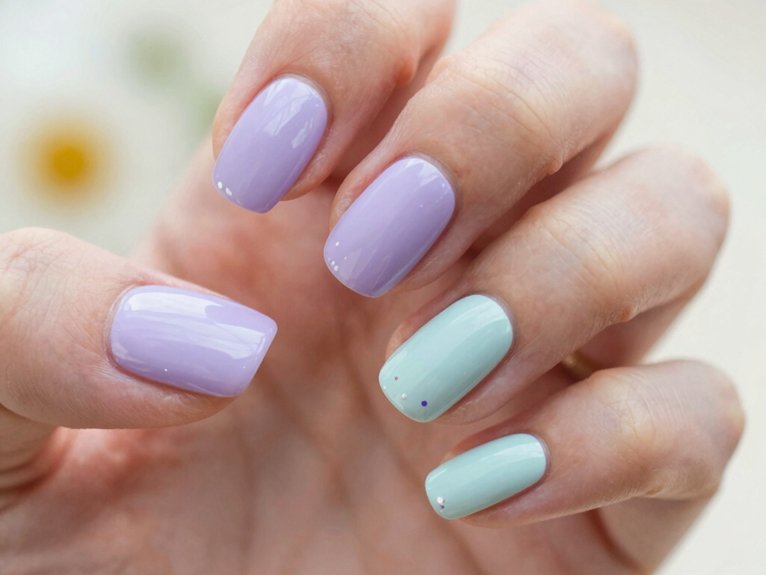
Tiny dots are the cutest little way to give your spring nails a wink without making them shout!
You can start with a sheer nude or milky base, then add just 1–3 tiny clusters in pastel blue, lavender, mint, or baby pink.
Use Nail dotting tools, or even a bobby pin, and follow Precision placement tips so your dots stay even near the cuticle or nail base.
A straight row feels neat, while a tiny triangle looks playfully polished.
Want extra freshness? Try a reverse-color combo.
Finish with glossy top coat, and your nails’ll look chic, clean, and totally in the club!
Soft Aura Spring Nails for a Gentle Glow
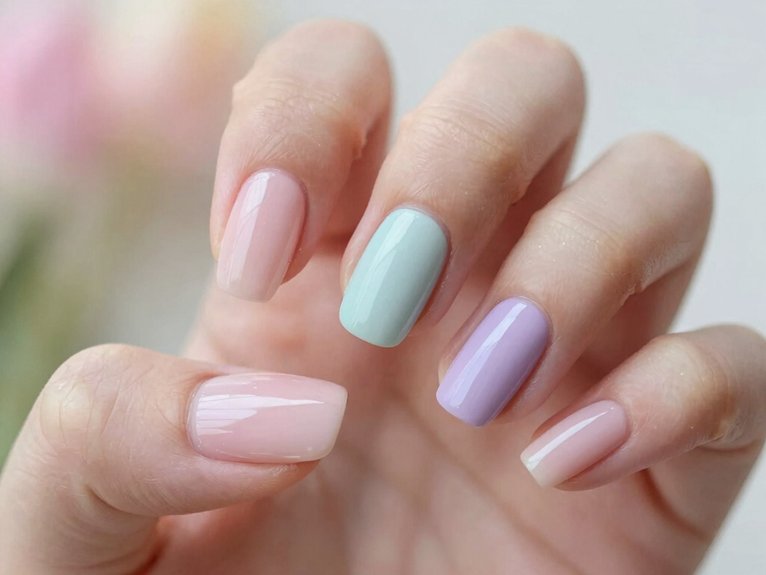
Soft aura spring nails give you that gentle glow by blending color softly around the center of each nail, so the look feels airy, not loud—so pretty!
For a clean spring vibe, you can pair baby pink with pale yellow, or keep things extra fresh with a sheer, milky base that lets the halo shine without feeling heavy.
Want a quick office-friendly win? Use one aura shade per nail for a neat finish, then add a glossy top coat for that dreamy, stained-glass glow.
Aura Glow Basics
Aura glow nails bring that dreamy, fresh-spring feel without looking overdone, and that’s exactly why they’re so pretty!
You can join the soft-aura crowd with Pastel aura techniques and airbrush gradient tips that keep things beginner-friendly.
- Pick a milky or sheer base.
- Dab baby pink, lilac, or pale yellow at the center.
- Blend outward for a soft halo.
- Seal with glossy top coat for that glassy finish.
Keep one aura color per nail, and you’ll get a polished “your nails but better” vibe.
It’s easy, cheap, and honestly, it looks like you belong in the chicest brunch chat!
Soft Blend Color Pairings
For a gentle glow that still looks super polished, start with pairings like baby pink and pale yellow, or sheer lilac with a whisper of sage, because these milky pastels blend into that “your nails but better” effect without shouting for attention!
You’ll love how Soft aura tips keep the center light and the edges soft, so your nails feel fresh, friendly, and easy to wear.
Try Milky pastel combos with one shade or layer two for a brighter halo, using a sponge, thin brush, and glossy top coat.
The result? Clean, chic nails that look softly lit, not overdone.
Delicate Florals for Clean Spring Nails
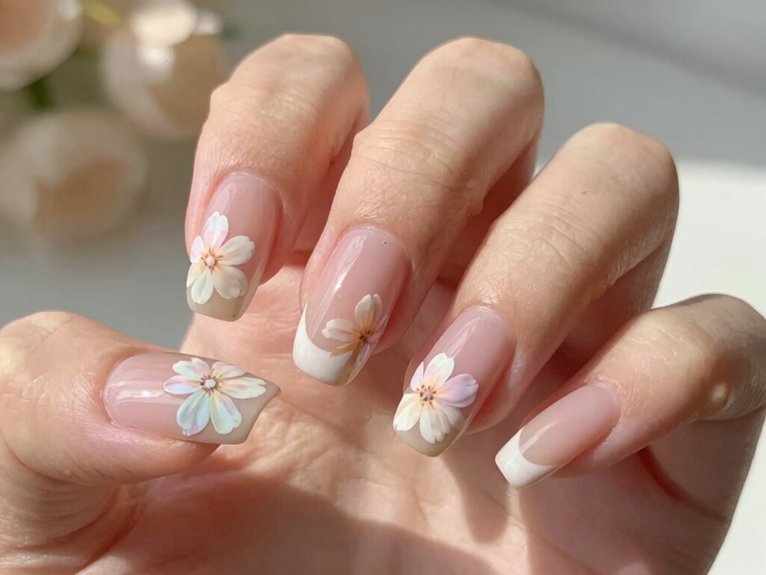
When you want spring nails that feel polished without looking busy, tiny florals are the sweetest little trick!
You can keep the vibe friendly and clean with floral placement tips that tuck blooms near corners or cuticles.
- Try a fine dotting tool for simple daisies.
- Use brushwork precision for tiny leafy sketches.
- Paint on sheer nude, milky white, or soft pastel bases.
- Finish with a glossy top coat for a fresh pop.
A tiny watercolor wash can look dreamy, too, and it won’t steal the spotlight.
You’ll get nails that feel subtle from afar, stunning up close, and totally “you.”
Chrome Touches That Keep Spring Nails Soft
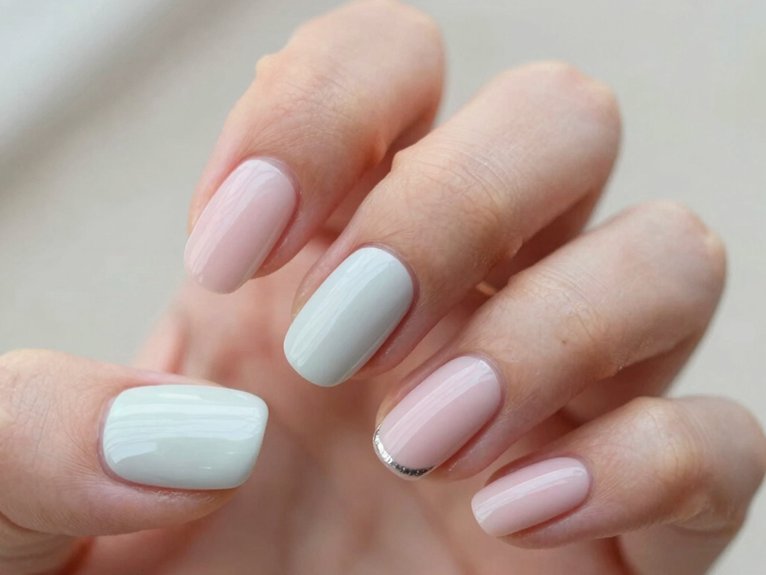
Tiny florals already keep spring nails sweet and neat, but a soft chrome touch can make that clean look feel extra fresh, like sunlight hitting a glossy mug!
You can brush the pastel chrome technique over milky lilac, sage, blush, or butter-yellow polish for a glazed donut shine that feels dreamy, not loud.
Grab a sheer base, chrome powder or topper, and a glossy coat, then swipe on thin accents or a pearly fade.
It’s easy, budget-friendly, and still office-safe.
On short almond or oval nails, this little glow looks polished, modern, and quietly cool—like you’re in on the secret!
Pastel Ombré Spring Nails Without the Drama
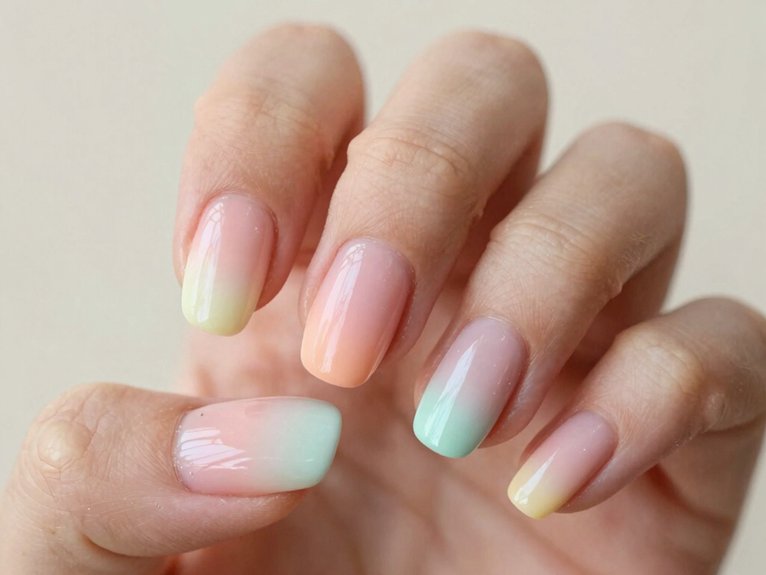
You can start with a soft pastel fade that feels light, airy, and totally wearable, especially if you keep the blend gentle instead of shouty. Try a milky ombré base in blush, sage, lavender, or sky blue, then use a sponge or airbrush with one or two sheer layers so the color melts like a watercolor wash.
If you want a little extra sparkle, add a subtle chrome sheen on short almond or oval nails for that glazed glow—cute, polished, and office-friendly, with zero drama!
Soft Pastel Fade
A soft pastel fade is the easiest way to make spring nails look fresh, clean, and a little dreamy without going full rainbow explosion!
You’ll fit right in with this watercolor ombré vibe, because sheer pastel layering keeps things airy and sweet.
- Try lilac into blush for a calm glow.
- Mix sky blue with milky nude for cool balance.
- Blend sage with pale pink for a soft, fresh feel.
- Use a chrome top coat for a glazed finish.
Short almond or oval nails work best, and the diffused fade looks polished, not loud—just your kind of chic!
Milky Ombré Base
When you want spring nails to look polished without shouting for attention, a milky ombré base is such a sweet little cheat code! You can try the milky ombré technique with pastel lavender, sage, blush, or sky blue, then soften each tip with sponge blending for that airy, watercolor fade. It feels friendly, not fussy, and it fits right in.
| Step | What to do |
|---|---|
| 1 | Pick a sheer base |
| 2 | Dab pastel with a sponge |
| 3 | Layer lightly |
| 4 | Seal glossy |
On short almond nails, the fade makes you look longer, cleaner, and quietly cool.
Subtle Chrome Sheen
Right on top of a sheer milky pastel base, a subtle chrome sheen can make spring nails look fresh, elegant, and still totally chill! If you’re after that clean-girl vibe, keep your ombré soft and your shine whisper-light.
- Start with lavender, sage, baby blue, or blush.
- Blend a pastel watercolor fade.
- Add Pastel chrome placement near tips or center.
- Seal it with a glazed donut topcoat, then a crystal-clear finish.
You’ll get a polished glow that works in office lighting and sunlight, without the drama. Cute, easy, and yes, your nails can absolutely join the group chat!
Monochrome Pastel Spring Nails by the Week
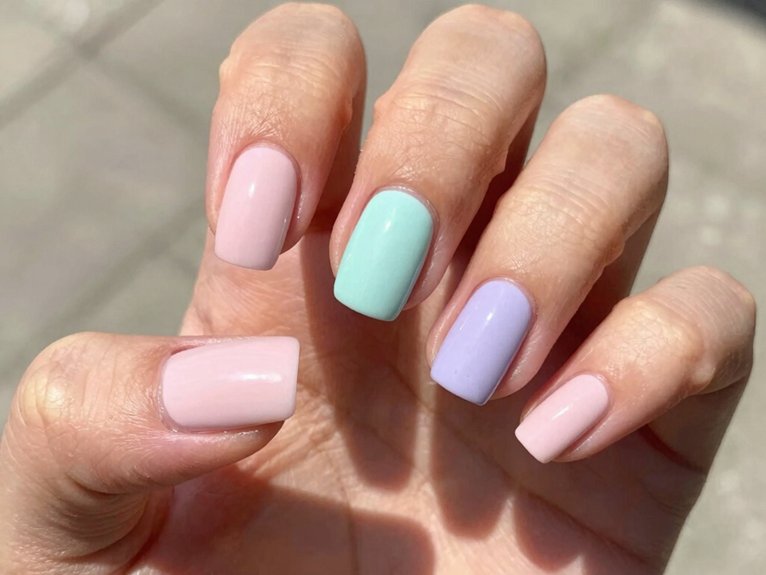
This week-by-week pastel nail idea keeps things easy, fresh, and super polished! You can pick one soft shade each week, like lavender, sage, blush, or sky blue, for that clean-girl vibe everyone wants.
Grab a file, base coat, polish, and a glow topcoat, then shape your nails into short almond or oval tips with minimalist cuticles for a crisp finish.
Paint one sheer pastel per hand, let it dry, and seal it glossy. It’s cheap, beginner-friendly, and office-ready, yet still playful.
For the prettiest surprise, add a clear crystal layer and watch the pastel light up—so cute!
Mix and Match Spring Nails Without Clutter
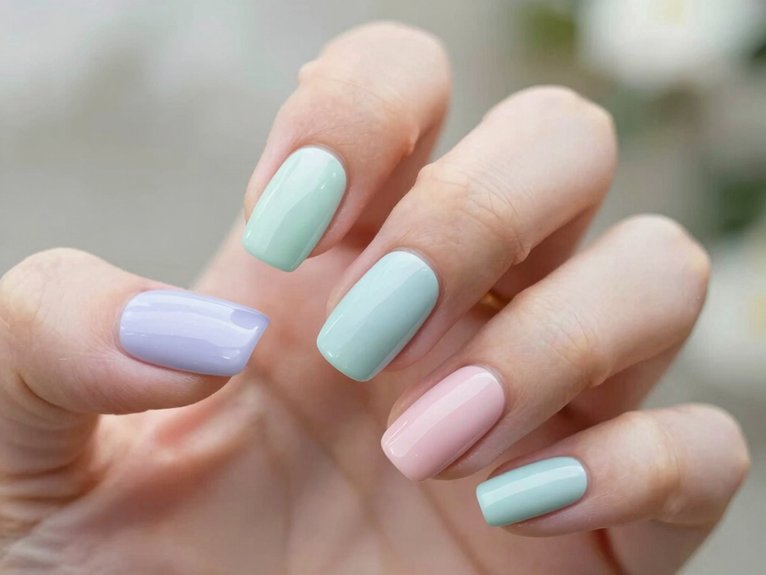
You can mix spring shades without making your nails feel busy by sticking to a tiny palette, like milky white, butter yellow, or soft lilac, and letting just one or two nails do the talking.
Try a micro French tip, a tiny daisy, or a few neat dots, and keep the rest of the nails simple so the look stays fresh, not fussy.
Want the real wow factor? Add a subtle glazed finish or a soft chrome touch on a couple nails, and boom—your mani looks coordinated, clean, and cute!
Balanced Pastel Pairings
When spring pastels start calling your name, the trick is to keep the mix soft, not shouty! You can still look like part of the nail crowd, just with better taste. Try these easy combos:
- milky lilac + sage green
- butter yellow + baby blue
- pastel texture contrasts with one chrome nail
- minimalist accent placement, like one tiny dot
Start with 1–3 muted shades, then keep most nails sheer or solid. A single accent per hand keeps things calm.
If you want a cute payoff, pair warm-with-warm or cool-with-cool for that clean, chic finish—easy, cheap, and totally doable!
Minimal Accent Mixes
Balanced pastels are lovely, but if you want that polished spring look to feel even cleaner, tiny accents are where the magic happens!
Start with a sheer blush or milky base, then add one micro French tip, a few dots, or a slim pastel line.
You’ll need a fine brush, dotting tool, and three soft shades.
Keep the same colors moving across your nails, not new ones every finger, so the set stays friendly, not busy.
Try negative space tips, micro floral accents, or one gold line on an accent nail.
The result? Chic, easy, and totally group-chat worthy!
Best Spring Nail Colors for Short Nails
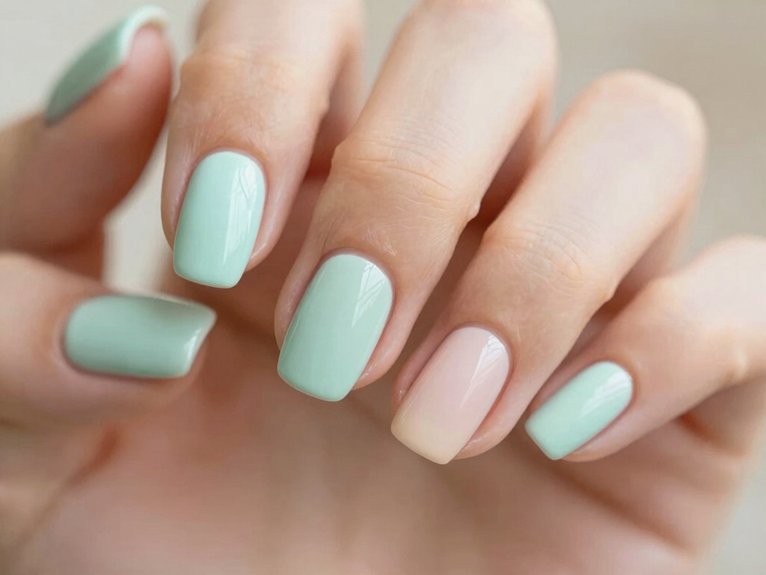
Short nails can look incredibly fresh in spring, especially when you pick shades that feel light instead of loud. With smart Short Nail Prep and a few Quick Gloss Tips, you’ll fit right in with that clean, chic crowd!
- Milky white or sheer nude: easy, low-cost, polished.
- Blush, sage, or baby blue: soft, friendly, never too much.
- Warm coral or peach: bright, flattering, simple.
- Butter yellow or milky pastels: trendy, glossy, quietly bold.
Pick one shade, or mix just two, then seal it with super-shiny top coat. You’ll get that neat, “your nails but better” finish—no salon drama required!
Best Spring Nail Colors for Longer Nails
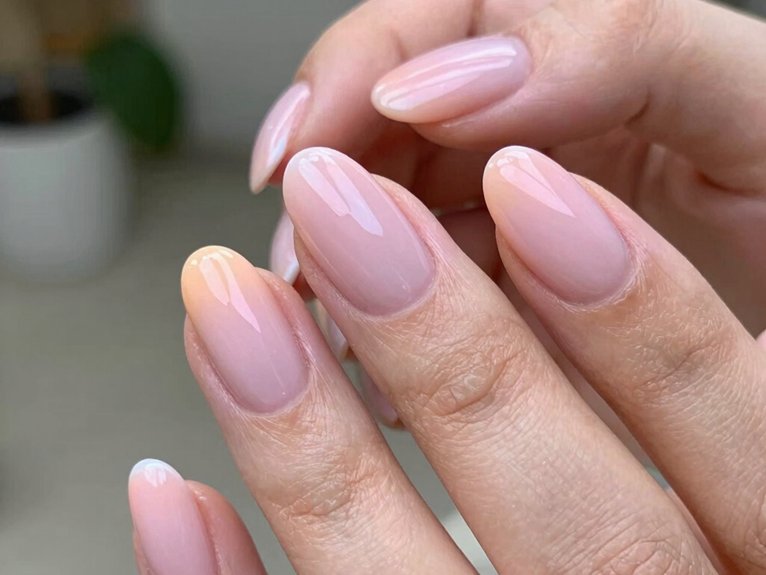
For longer nails, you can’t go wrong with spring shades that feel like “your nails but better,” like milky lavender, sage, sheer blush, or sky blue—soft, glossy, and super clean!
Butter yellow is a total star on almond or oval shapes, because it looks fresh and a little playful, almost like a neutral with a sunny side.
And if you want a polished upgrade, a glossy nude finish with a hint of chrome can give your nails that chic glazed look without shouting for attention.
Butter Yellow Neutrals
Butter yellow is the spring neutral that quietly steals the show, and honestly, it looks extra cute on longer-looking nails like short almond and oval! You’ll love the soft glow, and butter yellow application stays beginner-friendly.
For office chic styling, keep it sheer, glossy, and solid, so you look polished, not loud. Try:
- a thin micro French tip
- baby blue line accents
- mint or soft pink details
- a glossy top coat
It’s cheap, easy, and super wearable.
On longer nails, this clean finish gives you that “your nails but better” vibe, and the little shine? Total main-character energy!
Milky Pastel Shades
Milky pastel shades are *mostly* spring’s prettiest little secret, and they look so clean on longer nails! You get a soft, glazed wash of color that lets your nail shape shine, not hide.
| Shade | Vibe | Best Use |
|---|---|---|
| Milky lilac | Airy | Everyday chic |
| Milky blush | Sweet | Minimal accents |
| Milky sage | Fresh | Calm spring sets |
For better spring nail longevity, start with pastel base prep, then seal it with a high-shine top coat. Want extra depth? Add a whisper of chrome over the milky base, and you’ll join the “effortlessly polished” crowd fast!
Glossy Nude Finishes
A glossy nude finish is fundamentally spring’s easiest “clean girl” win, and it looks especially pretty on longer nails!
You can stick with sheer pinks, translucent beige, or milky blush for that “your nails but better” vibe.
- Try transparent milky layering with two thin coats.
- Add a crystal-clear top coat for glassy shine.
- Pick nontoxic polish picks if you want safer everyday wear.
- Save glazed-donut milky lilac or sage blush for a soft twist.
Keep edges neat, and your nails’ll look smooth, polished, and totally in the group chat of chic girls.
Mother’s Day Spring Nail Ideas
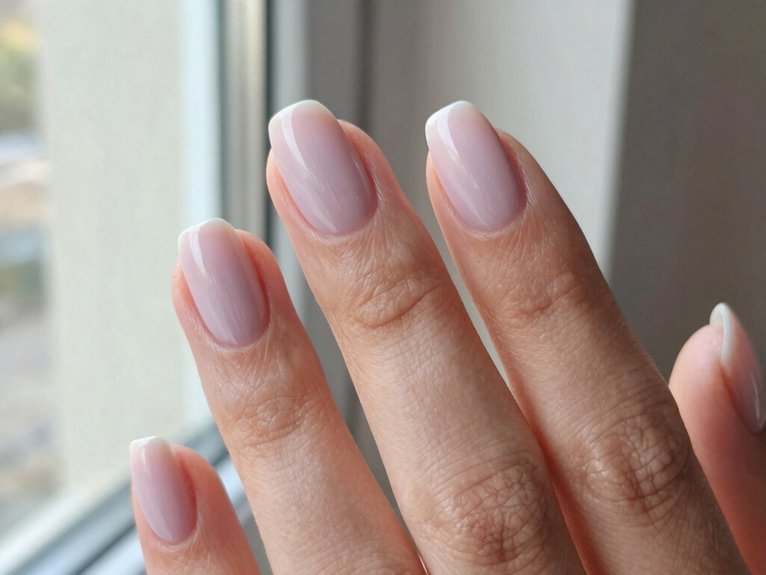
If you’re picking Mother’s Day nails, start with a soft, clean palette like sheer nude, milky blush, milky white, or even a whisper of milky lilac for that “your nails but better” vibe. You’ll fit right in, but still stand out, yay!
Add glazed nail tips with a tiny pastel line, or try micro flower accents for a sweet touch.
Want a little shine? Choose lavender, sage, or sky blue with a chrome top coat for a glazed finish.
For the prettiest surprise, add one raised bloom.
Purluxe says appointments fill fast, with a free gel add-on, April 20–May 10.
Fast Spring Nail Ideas for Busy Weeks
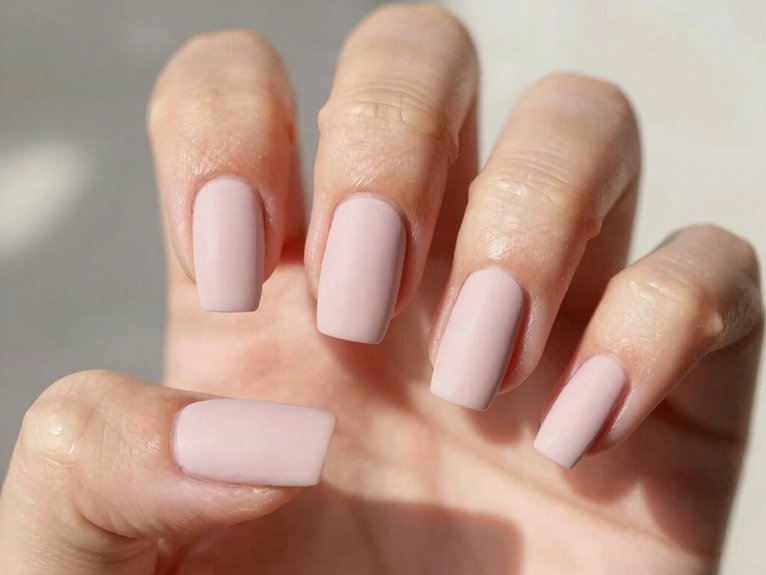
Busy week? You can still look polished, and you’ll fit right in with these quick manicure hacks! Start sheer nude longevity with milky white or lilac polish, one thin coat, then glossy top coat.
- Butter yellow: one coat, top coat, done.
- Sage green: keep it simple for office-to-brunch ease.
- Pastel micro French: use tape, paint only the tip.
- Press-ons: choose short almond, add shine, and go.
If you want more variety, try monochrome pastels, one shade per nail. It costs less than salon art, feels fresh, and saves time, yay!
Best Clean Spring Nails to Save
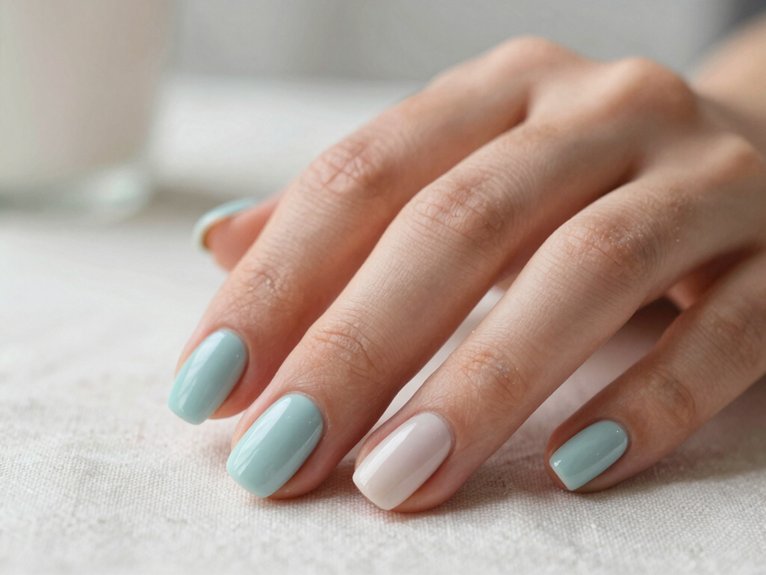
If you want nails that look instantly clean and chic, start with soft neutral shades like sheer nude, milky white, or a whisper of pink, they’re office-friendly and never try too hard.
Keep the vibe minimal with one tiny accent, maybe sage green or baby blue, and short oval or almond shapes that make everything feel neat and polished.
For a little extra wow, add a glazed, high-shine finish, because yes, your nails can look stylish without shouting about it!
Soft Neutral Shades
- Try milky blush for office-friendly glow.
- Pick a warm nude that flatters your skin.
- Add minimalist nail art like tiny pastel tips.
- Finish with iridescent topcoats for a glazed shine.
These shades stay soft, never loud, and they look fresh on everyone. Best part? They’re easy, cheap, and always feel put together, even on messy Monday mornings!
Minimal Chic Details
A tiny detail can make spring nails look instantly polished, and that’s the magic of going minimal! You don’t need busy art to fit in and stand out, yay.
Start with minimalist nail prep, then paint short almond or oval nails in one soft shade, or keep a little negative space for that “your nails but better” vibe.
If you want more, try a micro French tip in baby blue, mint, peach, or soft pink—so cute!
Still craving a twist? Use micro detail placement for one tiny dot, thin line, or gold accent on 1–2 nails.
Spring Nails With a Soft Chrome Finish
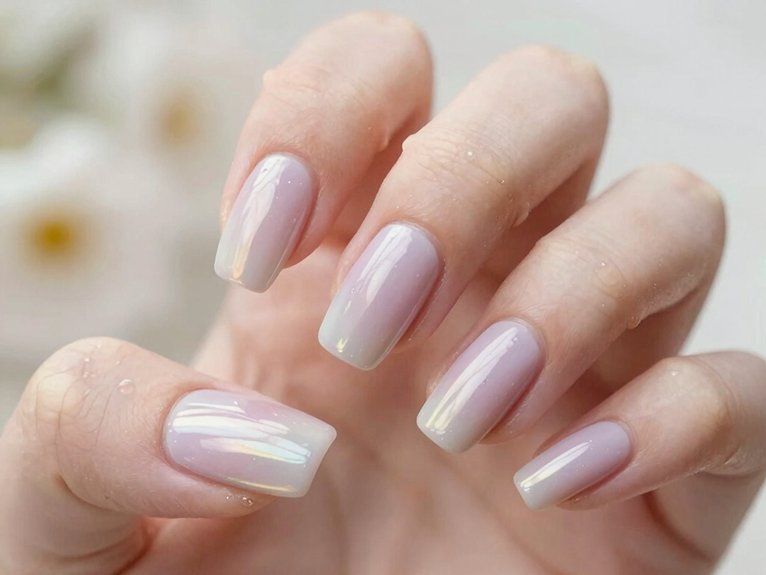
Soft chrome spring nails can look so fresh and pretty, especially when you start with pastel shades like milky lilac, sage, baby blue, or butter yellow and add that pearly, glazed-donut shine on top. You’ll fit right in with the clean-girl crowd, and your nails still feel playful!
- Pick soft Pastel Undertones for a gentle base.
- Ask for chrome over the pastel, not full coverage.
- Keep shapes short almond or oval for a neat look.
- Seal everything with gloss for better Chrome Longevity.
A sheer, milky finish keeps things light-catching, not loud. Try chrome dust for that watercolor glow—so easy, so chic!
Spring Nails With Subtle Floral Accents
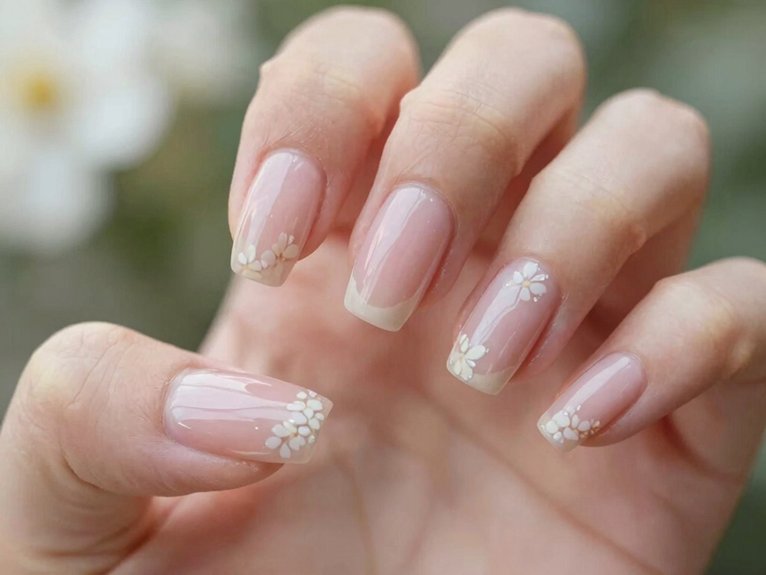
If you loved the fresh feel of those glossy spring nails, tiny floral accents are the next pretty step, and they don’t have to look busy at all!
Start with a sheer milky nude base, then add tiny daisies with a dotting tool or even a bobby pin.
Keep floral placement near the cuticle or corners for minimalist balance, and pair it with a pale French tip for extra charm.
Want something artsier? Ask for watercolor blooms on nude or rose tones.
Add just one accent per hand, and you’ll get that “your nails but better” vibe—cute, calm, and totally in the club!
Spring Nails That Look Fresh and Bright
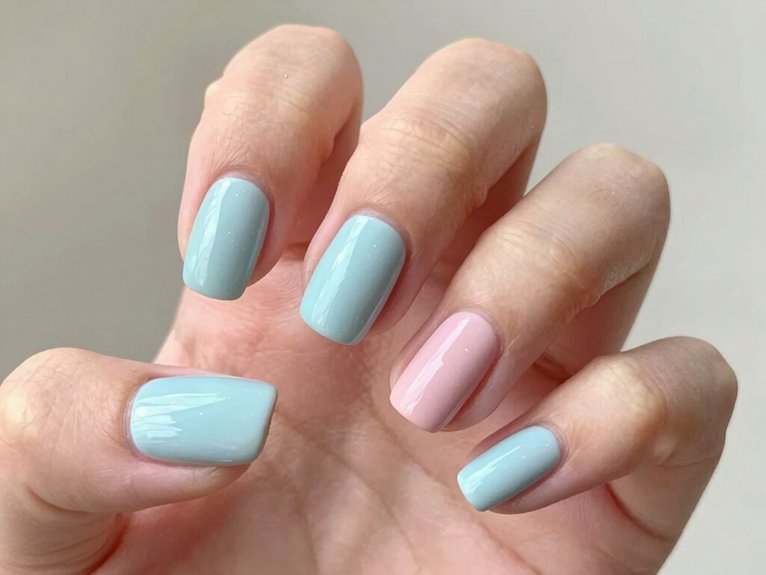
When you want your spring nails to look fresh and bright, start with a clean “your nails but better” palette—think sheer nudes, soft pinks, milky whites, and pretty pastels like sage, baby blue, or lilac haze, all finished with a super-glossy shine.
- Try short almond nails, then add micro detailing with baby-blue tips.
- Keep pastel placement light, using mint or peach on just one edge.
- Layer a milky glaze for that airy, not-neon feel.
- Finish with tiny dots or one soft aura glow, and you’ll look polished, like you belong in the prettiest spring crowd!
Frequently Asked Questions
Which Nail Color Looks Classy?
You’ll look classiest in a sheer nude or pastel blush; they’re polished, soft, and without much effort chic. Choose milky, glossy finishes, and you’ll fit right in with a clean, elegant spring vibe.
What Are Some Elegant Spring Nail Designs?
You can choose sheer nude, milky pink, or sage with soft pastel accents, minimalist floral details, and a glossy finish. Keep shapes short and oval, then add a tiny gold dot for polished, inclusive elegance.