You can carve out a calmer bedroom with cheap DIY dividers: I’d start with an IKEA BILLY or KALLAX, then try a clothing rack with a draped quilt, ceiling-hung sheers, or a 1-inch PVC frame. Old shutters, thrifted window frames, macramé, and slatted boards add style fast. Anchor tall pieces, hide cords, and use sandbags or books so the whole thing doesn’t do the wobble-dance my family knows too well; keep going and you’ll see more smart options.
Key Takeaways
- Use a freestanding clothing rack with draped fabric for a fast, low-cost divider.
- Hang sheers or blackout curtains from a ceiling rod or tension rod for flexible privacy.
- Build a simple PVC pipe frame and stretch fabric or sheers across it for an easy DIY screen.
- Repurpose shutters, window frames, or macramé panels for a decorative, budget-friendly divider.
- Use a tall open-backed bookcase or storage shelf as a functional room divider, and anchor it securely.
Choose the Easiest Budget Divider
If I’d to pick the easiest budget divider, I’d start with a freestanding clothing rack and a pretty blanket or fabric draped over it. You can sometimes use one you already own, or grab a free one through Freecycle, which feels like winning a tiny home lottery.
I’ve done this in my own family room, and it quickly changed the space perception without making things feel closed-in. The cloth softens the look and helps with noise reduction, too. Best part? No tools, no drama, just a cozy corner that says, “Yep, you belong here.”
Use a Clothing Rack and Fabric
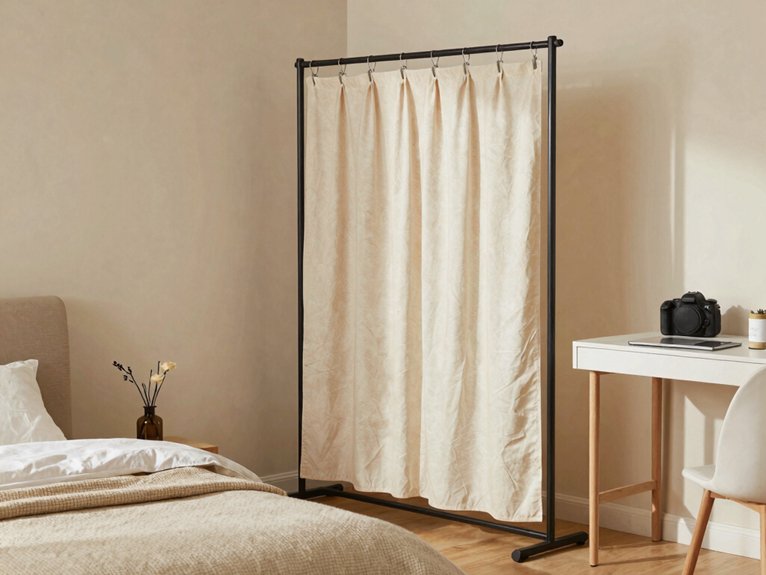
Another easy win is a freestanding clothing rack with fabric draped across it. I’ve grabbed cheap ones from Freecycle and Dollar General, then pinned a quilt so the pretty side faces my bedroom. You can do this too.
| What you need | Quick tip |
|---|---|
| Rack | Pick one with no wheels |
| Fabric | Use a lightweight quilt or panel |
| Pins | Space them every 10–12 inches |
| Stability | Add books or sandbags |
That spacing helps fabric tensioning, so it won’t sag like a tired hammock. Clothespins can help in a pinch, but safety pins hold better. It’s one of my favorite decor swaps for a cozy, friendly room.
Hang Curtains From a Ceiling Rod
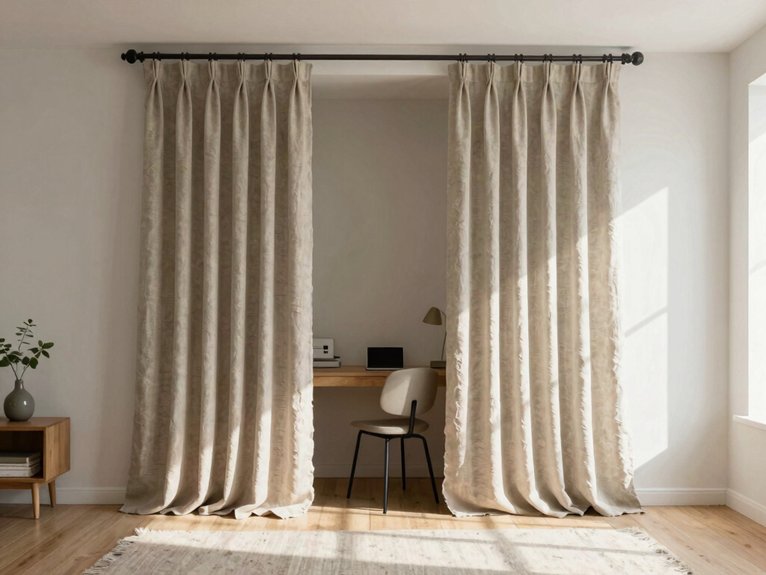
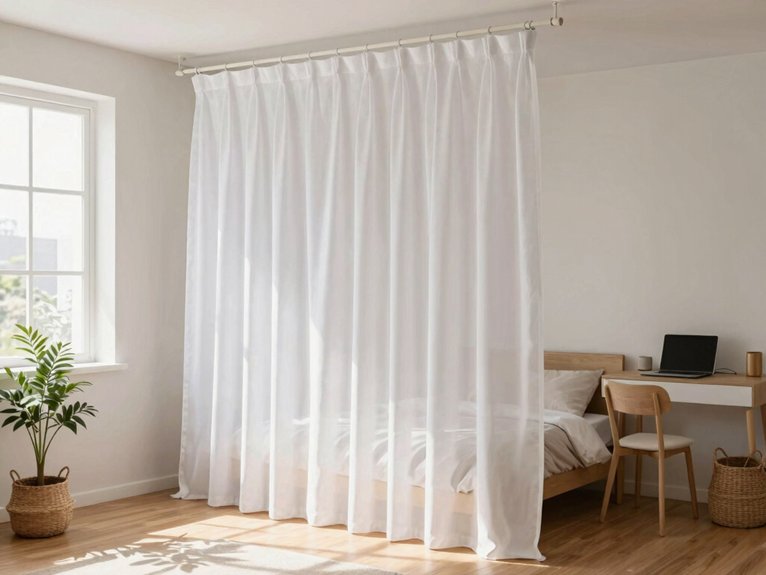
You can turn a plain bedroom into a soft, private zone by hanging curtains from a ceiling-mounted rod, and I’d measure the opening carefully first so you’re not wrestling with a rod that’s too short or too wide.
I like lightweight sheers for daylight and blackout panels for full privacy, and clip rings or drapery hooks make it easy to slide them open when my family wants the room to feel bigger.
If you need a budget fix, a shower rod or 1-inch PVC pipe on ceiling hooks can work too, and I’d hem the panels so they just graze the floor—because nobody needs a curtain acting like a tiny tripwire.
Ceiling Rod Setup
For a ceiling rod setup, I like to start with hardware that won’t wobble like a cheap cafeteria table. I’ve learned to choose a tension rod or ceiling track rated for 10–25 lbs per linear foot, so your drapes don’t sag over an 8–10 foot span.
If you need a quick fix, a shower rod or spring rod can hold panels, blankets, or curtain rings, though I’d upgrade later. I use a stud finder, screw into joists, and hang light-filtering sheers with an industrial pulley or magnetic track for smooth, neighborly privacy.
Soft Zoned Privacy
Soft zoned privacy can change a bedroom fast, and I’m a big fan of using curtains to do the heavy lifting without making the room feel boxed in. You can hang lightweight curtains from a tension rod or ceiling rod, then slide them open when you want the room to breathe. | Option | Tip |
| — | — |
|---|---|
| Sheer | Keeps light in |
| Cotton blend | Adds privacy |
| Ceiling height | Looks built-in |
| Clip rings | Open fast |
| Budget hack | Use a rack |
Pick fabric textures you like, and add acoustic panels nearby if noise bugs you. At my house, that combo feels calm, cozy, and very “we’ve got this.”
Build a PVC Pipe Room Divider
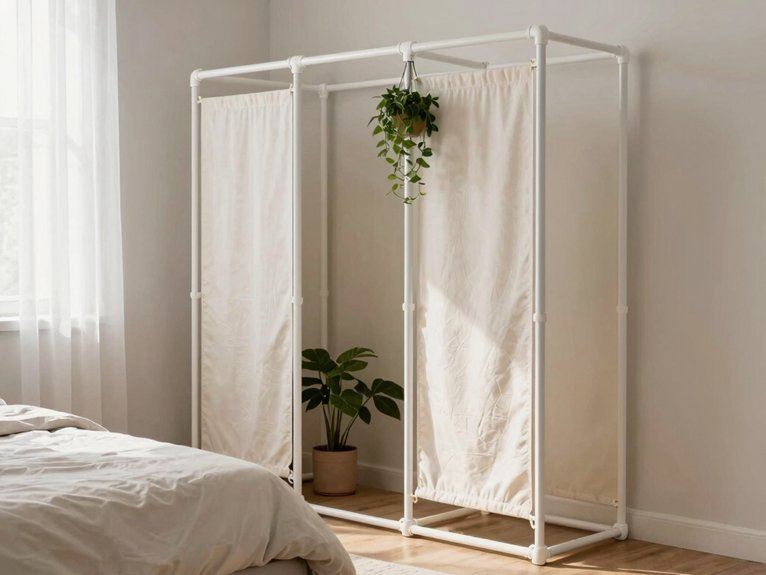
I’d build your frame with 1-inch Schedule 40 PVC, T-joints, elbows, and slip connectors, since it’s cheap, light, and easy to cut with a handsaw or miter saw.
Set the uprights about 18 to 24 inches apart, add top and bottom rails, and you’ve got a sturdy divider that won’t act like a wobble monster in your bedroom.
Then I’d stretch fabric over it or clip on sheer panels, because that gives you privacy without turning the room into a cave.
PVC Frame Basics
Grab your measuring tape and a few PVC pipes, because this is one of those projects that looks more complicated than it really is.
I’ve built a 6-foot-by-3-foot frame with schedule 40, 1-inch pipe, and elbow and T fittings, and it cost me about $20.
You’ll want two long side runs, two shorter crosspieces, and a center brace so the whole thing doesn’t wobble like my uncle after dancing at reunions.
For PVC maintenance, wipe dust off; for Joint reinforcement, add PVC cement or wooden dowels.
I like modular panels, since they’re easy to move, stash, and tweak with family needs.
Easy Fabric Covering
Once your PVC frame is standing straight, the fun part is making it look like real furniture instead of a science fair leftover. I’d slide a curtain rod pocket over the top pipe, then clip the sides with clothespins so the front stays tidy. My family likes a soft drop cloth, but a pretty blanket works too.
| Look | Why it helps |
|---|---|
| fabric pockets | Easy to slide on |
| magnetic panels | Quick to swap |
| safety pins | Hold corners flat |
| sandbags | Keep it steady |
Add corner braces and 1-inch Schedule 40 PVC. My kids call it our cozy nook.
Turn Old Shutters Into a Folding Screen
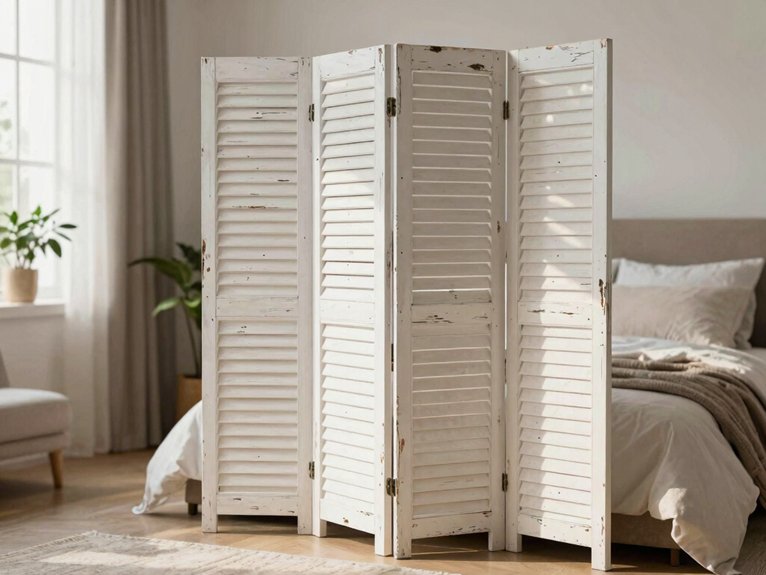
For a room divider that feels a little upscale and a lot practical, I love turning old wooden shutters into a folding screen. I’ve found three or four salvaged shutters for $10-$50 each at ReStores or curbside.
Sand, prime, then paint or stain them to fit your room. Connect them with shutter hinges, and add felt pads so your floors stay happy.
If you want more light, cut out a few slats and add fabric insets with brads or a staple gun. I set mine at 48-72 inches wide, and honestly, my family thinks it looks custom.
Make a Macrame Hanging Screen
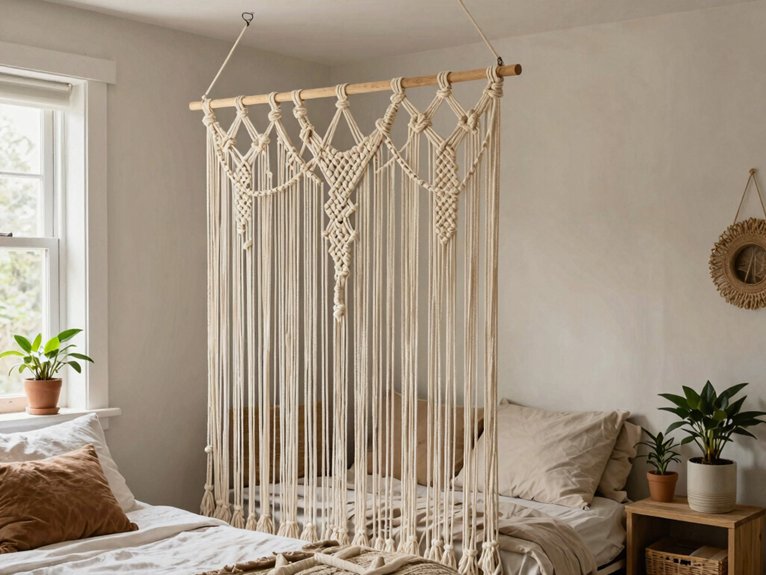
A macramé hanging screen can really level up a bedroom, and it’s easier to make than it looks. I’d start with cotton cord for soft bohemian textures, then knot square knots and lark’s heads around a dowel or branch.
| Item | Detail |
|---|---|
| Size | 3–6 feet wide, 5–8 feet tall |
| Cord | 200–800 feet, 3–6 mm thick |
| Finish | weighted hems or beads |
I’ve seen a $25 panel feel cozy fast, and my family liked the privacy without blocking light. Add hooks or a frame, and you’re set. Trust me, your room’ll thank you.
Set Up a Bookcase Divider
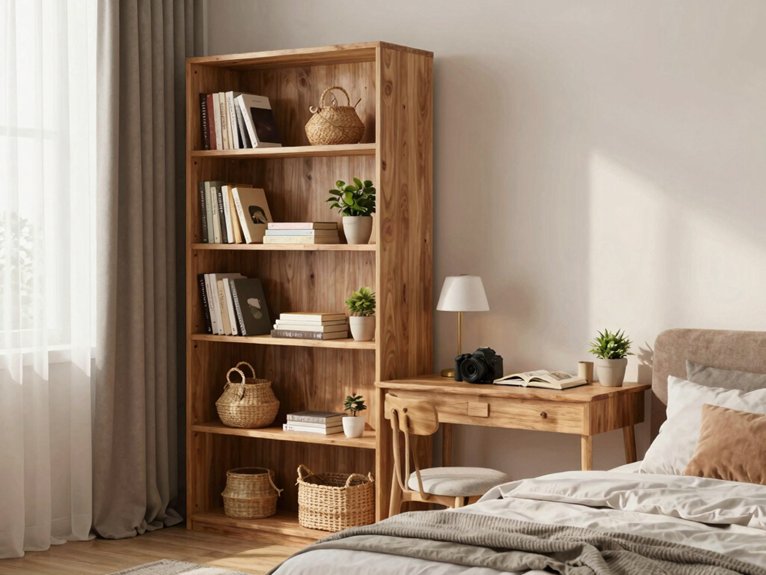
I’ve used a tall, open-backed bookcase like an IKEA BILLY or KALLAX to split a bedroom, and it works fast without making the room feel boxed in.
You can set it perpendicular to the wall, then style the open shelves with books, bins, and a few pretty things so one side hides clutter while the other still feels calm and light.
Just anchor it with L-brackets or an anti-tip kit, because nobody wants a wobbly shelf doing its best drama queen impression.
Choose a Tall Bookcase
When I want a room divider that actually works in a bedroom, I start with a tall, sturdy bookcase that’s at least 72 inches high. I’ve found it becomes a vertical focalpoint fast, and it gives you dual access cabinetry on both sides, which feels smart and tidy.
- Pick open-back or low-shelf styles for brighter rooms.
- Use solid-back units if you want more privacy.
- Place it perpendicular to a wall, or float it with anchors.
- Fill shelves with boxes, books, and decor.
- Try IVAR, KALLAX, or BILLY for budget wins.
Style Open Shelves
Open shelves can pull double duty in a bedroom, and I love how fast they make the space feel organized instead of crowded.
I set a tall, narrow bookcase, like an IKEA KALLAX, perpendicular to the bed, and it works like a friendly little wall. Choose open shelving that’s 60–80 inches high and 12–16 inches deep, then anchor it so nobody gets a surprise wobble. I keep a minimalist display up top with books and plants, and I use baskets below for the mess life hands us. Paint it to match your wall for a calm, built-in feel.
Add Storage And Privacy
Turn that bookcase into a hardworking little wall, and you’ll get privacy without losing the light.
I’ve used an IKEA KALLAX and a BILLY, and both stood tall between my bed and my work spot.
You can tuck bins on the bed side, show neat decor on the room side, and keep the vibe calm.
I anchor mine to the wall, because kids, pets, and wobbly furniture are a spicy mix.
- Add soundproofing panels behind it
- Use a portable wardrobe nearby
- Pick adjustable shelves for flexibility
- Hide cords with fabric backing
- Build a tiny desk nook for homework
Add Sheer or Slatted Layers
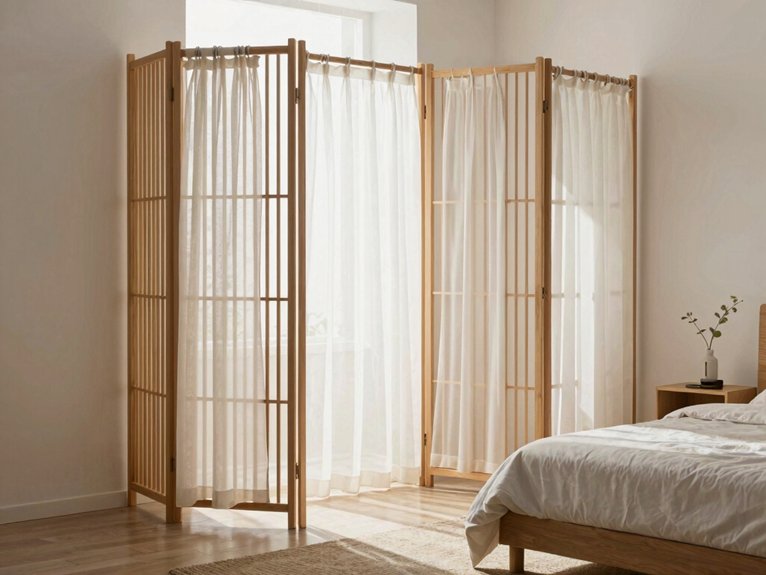
I often reach for sheer or slatted layers first because they can change a bedroom without making it feel boxed in.
In my house, sheer layering gives you daytime privacy and keeps the room bright, so nobody feels like they’re hiding in a cave. Hang sheer curtains from a tension rod or ceiling track, or staple them to a 1-inch PVC frame for a quick, cheap fix.
I also love slatted textures: 1- to 2-inch wooden slats on a simple frame let light and air move through. Paint them warm for a cozy, boutique feel.
Use Window Frames or Room Screens
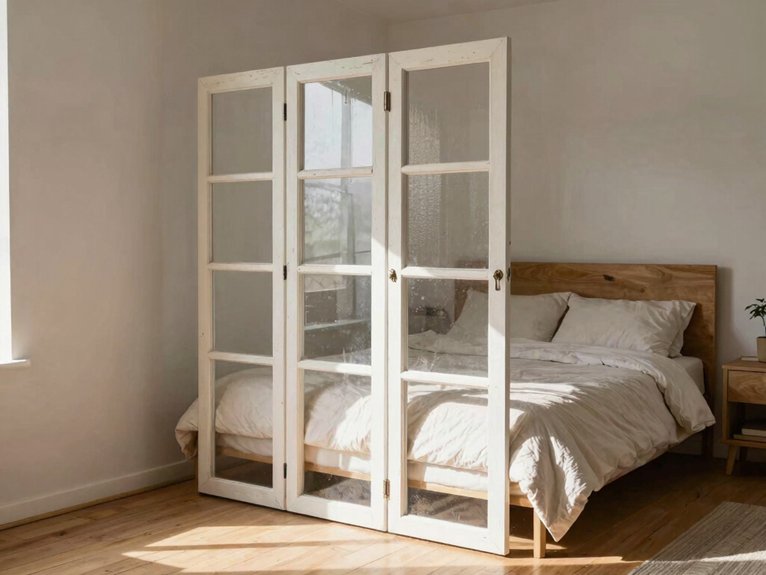
Old window frames can do surprising things in a bedroom, and I reach for them when I want a divider that feels more like decor than a wall.
I hinge two or three 18-inch frames with brass hinges, then I lean on thrift-store finds. You can swap in fabric, chicken wire, or scrapbook paper, or keep vintage glazing and stained glass for charm.
- Paint them deep green or navy
- Add magnetic catches below
- Use a slim base for stability
- Zip-tie them to a clothing rack
- Mix in mirrored inserts for extra bounce
My family calls it “fancy fence,” and honestly, fair.
Finish With Light and Color
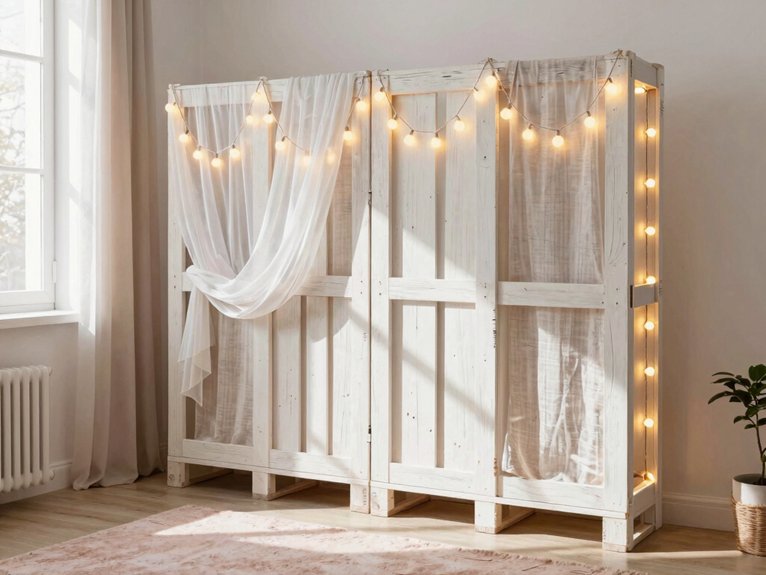
Once you’ve got the bones of your divider in place, the finish can make it feel airy instead of heavy. I like sheer panels, thin slats, and light reflecting finishes because they keep daylight moving. Use warm pastel palettes—creams, blushes, soft ochres—so your room feels like a cozy club, not a cave.
| Finish | Effect |
|---|---|
| Pale paint | Bounces light |
| Mirror tiles | Expands space |
| Fairy lights | Adds glow |
| Gauzy fabric | Stays bright |
| Metallic spray | Lifts frame |
My sister loved adhesive mirror squares on a shutter; I did too.
Frequently Asked Questions
How to Divide a Bedroom Cheaply?
You can divide your bedroom cheaply with budget partitions like curtains, blankets, bookcases, or salvaged doors. Use creative zoning to carve out privacy, storage, and comfort, so you’ll feel settled and truly at home.
How to Divide a Room Without a Room Divider?
You can hang curtains, use open shelving, or place a rug to separate zones without blocking light. These simple moves help you carve out your own space and make the room feel like it belongs to you.
What Can Be Used as a Room Divider?
You can use fabric panels, hanging plants, bookshelves, curtains, or even a clothing rack to divide your space. You’ll create privacy, keep things cozy, and make the room feel like it truly fits you.